Since it’s flu season and almost everyone I know is sick with a cold, I wanted to share my favorite natural remedies with you guys! I’ve been traveling a ton to different climates, sitting on airplanes with sick passengers, and hanging out with sick friends, and these two magical little items have recently helped me ward off a few colds that I felt coming on in the past several months. And when I say “ward off,” I mean wake up with a full on sore throat, take a few drops of oregano oil in the morning, swallow a few cloves of garlic at night, and by the next morning any sign of a cold is completely gone!
These remedies may sound a bit hippie-ish, but I’ll break them down for you below, and I think you will be believers like me!
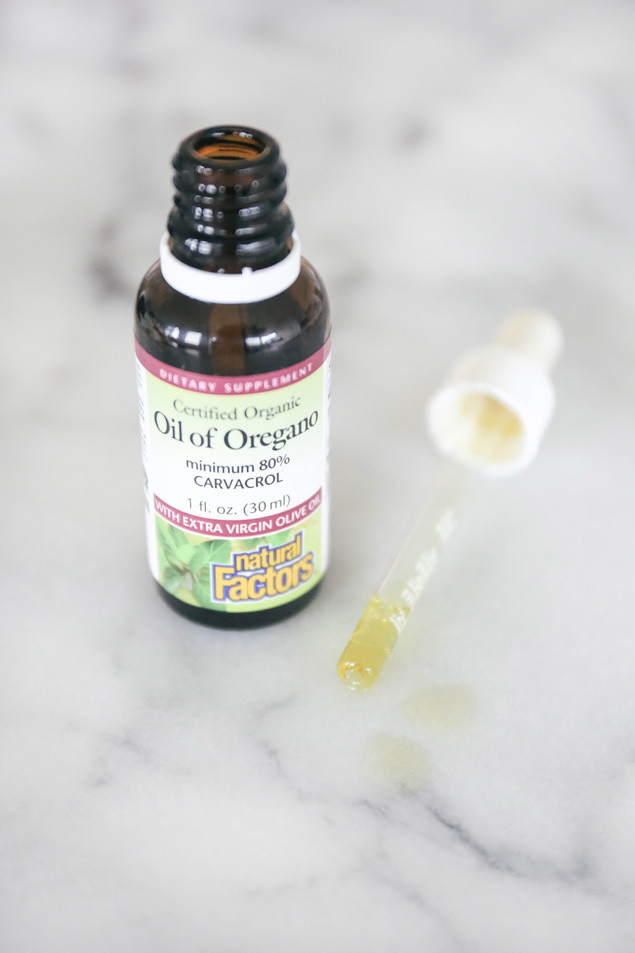
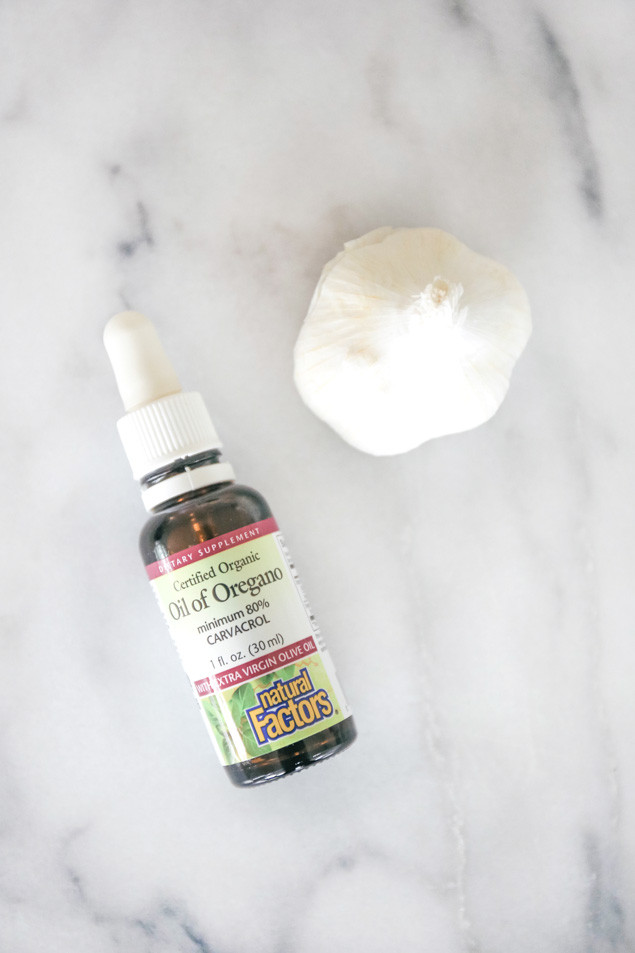
Meet oregano oil aka nature’s antibiotic. Oil of oregano is effective at killing bacteria, and can also help the immune system take action against viruses, fungi and parasites.
Warning, this is the strongest, most potent flavored stuff! Don’t let the word “oregano” fool you, because it is way more intense in oil form! I mean, it makes apple cider vinegar taste like apple pie in comparison, but the outcome is so worth it! The first time I put the drops under my tongue, my mouth was burning and I was frantically searching for water to chase it down – BUT, the next morning my sore throat was completely gone. I always have a bottle of this magical little herb in my house at all times, and any time I feel achy or sick I take a few drops and the next day, I feel fantastic and symptom free!
OREGANO OIL //
Where to buy it: Amazon, Whole Foods, Sprouts, and most health food stores
How much is it: $15-$20 per 1 oz. bottle
How to take it: 4 drops underneath your tongue (or as directed on the bottle) 2-3 times daily.

Garlic, not just for cooking! Garlic may be particularly useful in preparation for cold and flu season as it contains compounds capable of killing viruses and bacteria that can cause earaches, colds and influenza!
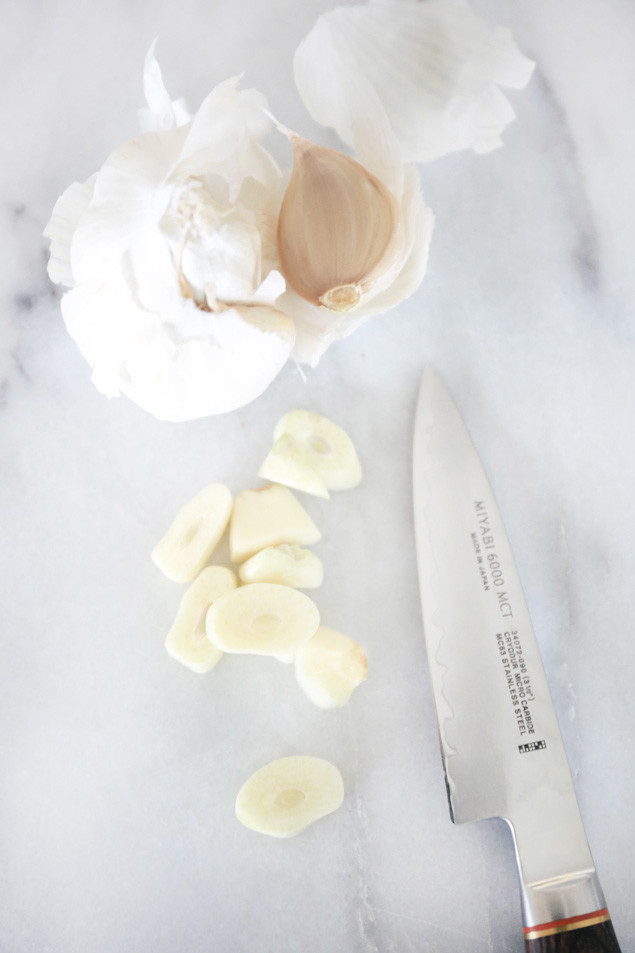
It’s best to do this remedy at nighttime just before you go to bed. I mean, garlic has quite a strong scent, and you don’t really want to smell like garlic all day! Plus, if you go to bed right after taking the garlic, this remedy will go to work while you are asleep. Start with 3-5 fresh cloves of garlic (jarred, or powdered will not have the same benefits as fresh). Next, chop the garlic into pill sized pieces pieces (you can also dice/mince them but the flavor will be stronger). To maximize the health benefits, you should chop/dice/crush your garlic at room temperature and allow it to sit for about 15 minutes before swallowing – this triggers an enzyme reaction that boosts the healthy compounds in garlic. Finally, swallow the chopped garlic with a glass of water or orange juice (as you would with pills – If you chew the raw garlic, it will burn!). Go to bed, and wake up cold/flu symptom free! Repeat if necessary!
The first time I did this, I was literally gagging on the “pill sized” pieces of chopped garlic. So if you have a really bad gag reflex and are sensitive to strong flavors like me, dice it up, put it on a spoon, and swallow it with some OJ!
GARLIC //
How much to take: 3-5 cloves
How to take it: Chop it, let it sit for 15 minutes, swallow with water or OJ.
When to take it: Right before going to sleep
Next time you feel any little symptom of a cold or flu, definitely give these remedies or at least one of them a try! I literally swear by them! Let me know if these natural remedies work for you!
Health & Happiness
![]()
Do you have any natural remedies you use when you are trying to ward off a cold or flu?
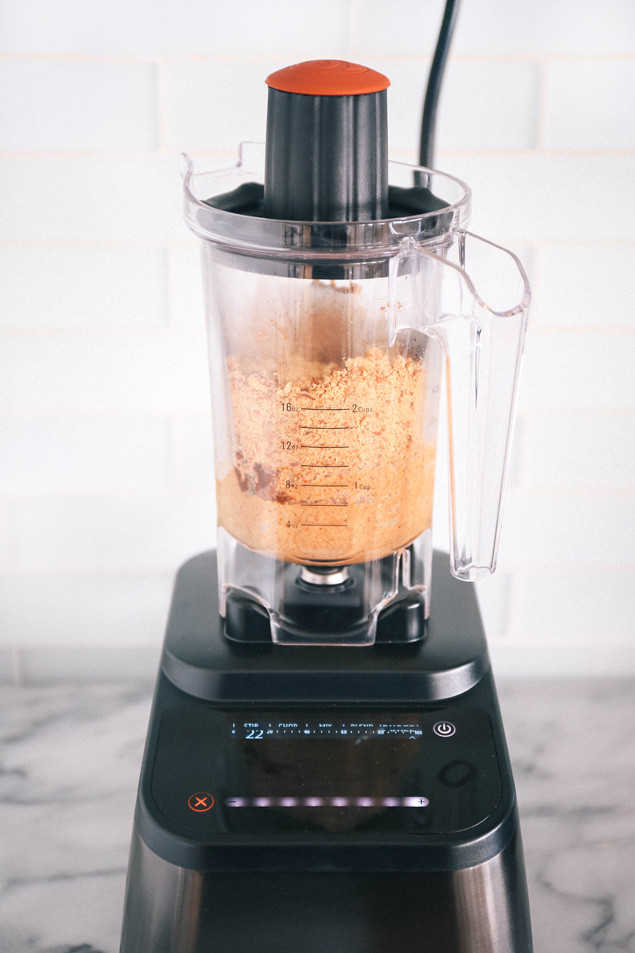
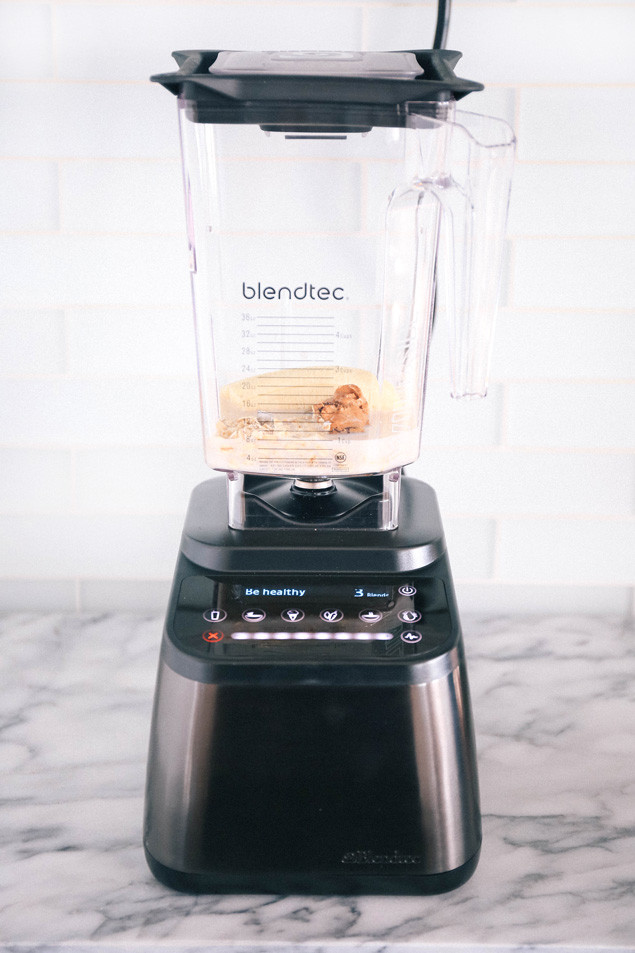
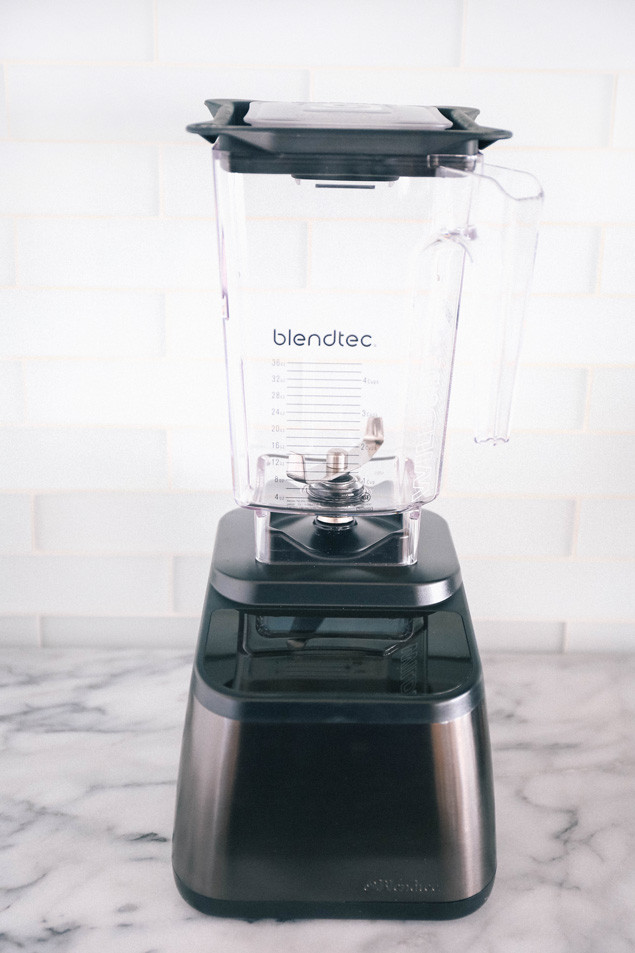 When I first pulled it out of the box I thought to myself. “Where are the buttons? They forgot the buttons! My blendtec is missing all of the buttons and knobs!” But then I plugged it in, and it lit up like a little space ship!
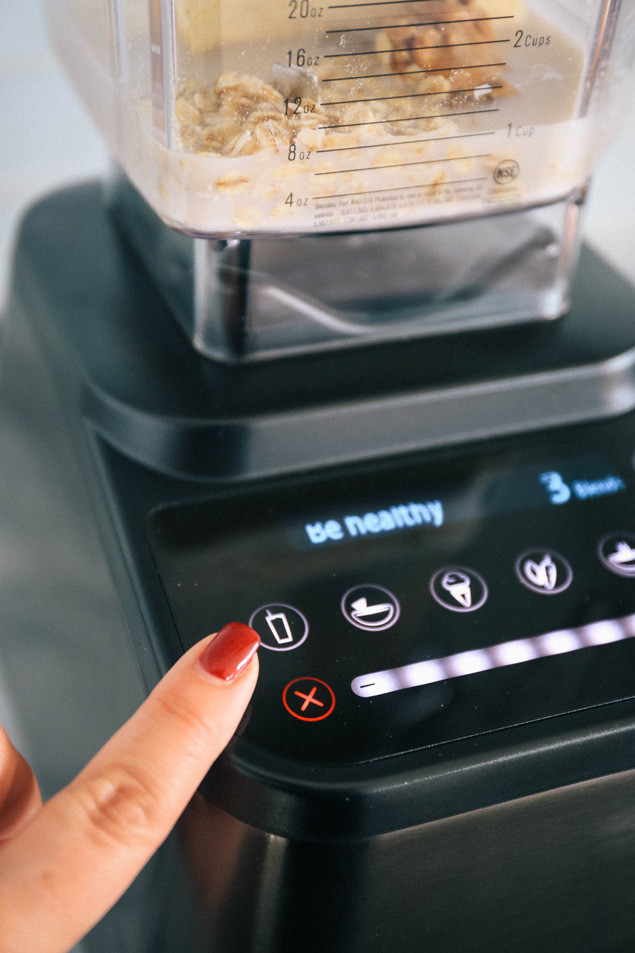
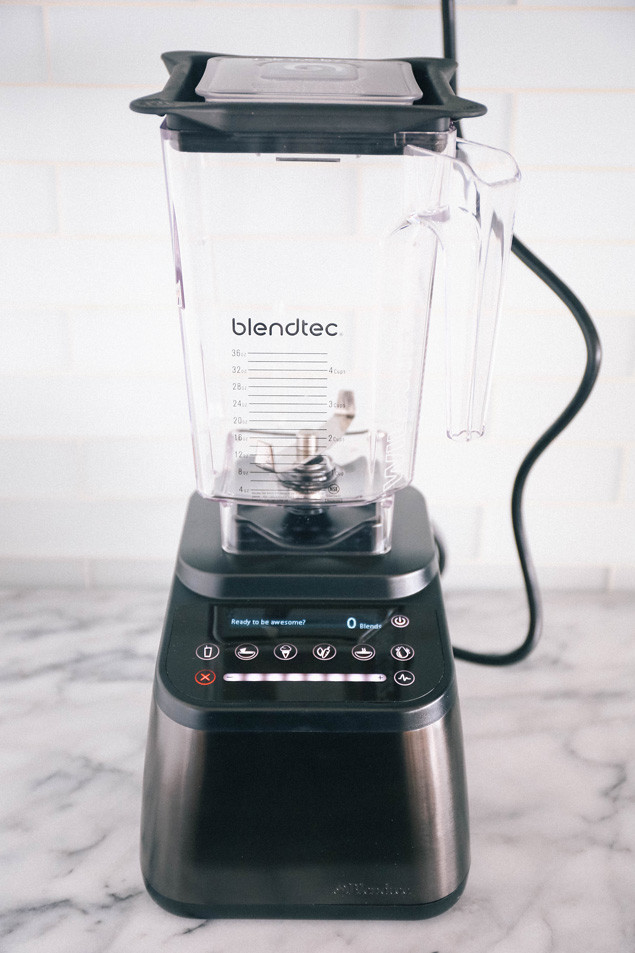 The digital touchscreen interface is the coolest thing! Is this what I have been missing out on for years?! The touchscreen allows you to select the speed by sliding your finger along the line at the bottom of the screen, plus it makes cleaning a breeze. During my first blend I quickly learned that there are 100 speeds, yes 100 speeds on this puppy! I slid my finger a little too fast and it went into lift off mode and I thought this thing was going to take off to mars! I cannot believe how much power it has – I’m so used to generic speeds 1-10!
 Another reason I had always been hesitant to try Blendtec was because of it’s single blunt safety blade. Blentec’s signature is their single blade which is 80% thicker and 10 times stronger than their competitors blades, and completely safe to clean and use. It seems kind of strange right? One dull blade? I mean, wouldn’t you want multiple sharp blades to chop up and pulverize your produce and ingredients? I am SO SO SO very glad that I gave Belndtec a chance and tried it out, because they have 100% proved me wrong and have completely blown my mind! The single blade pulverized everything in sight!
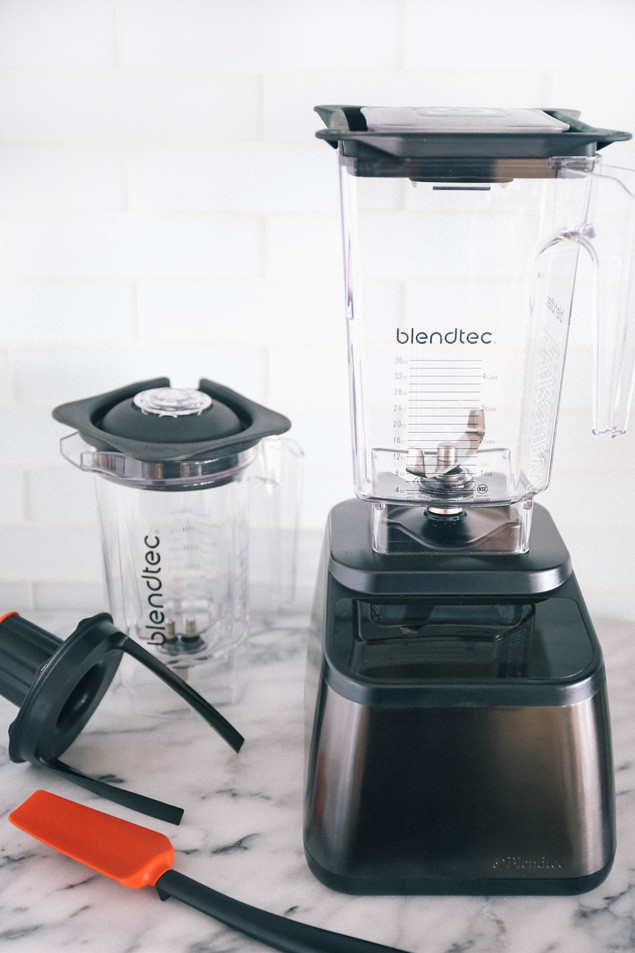 Above is the
 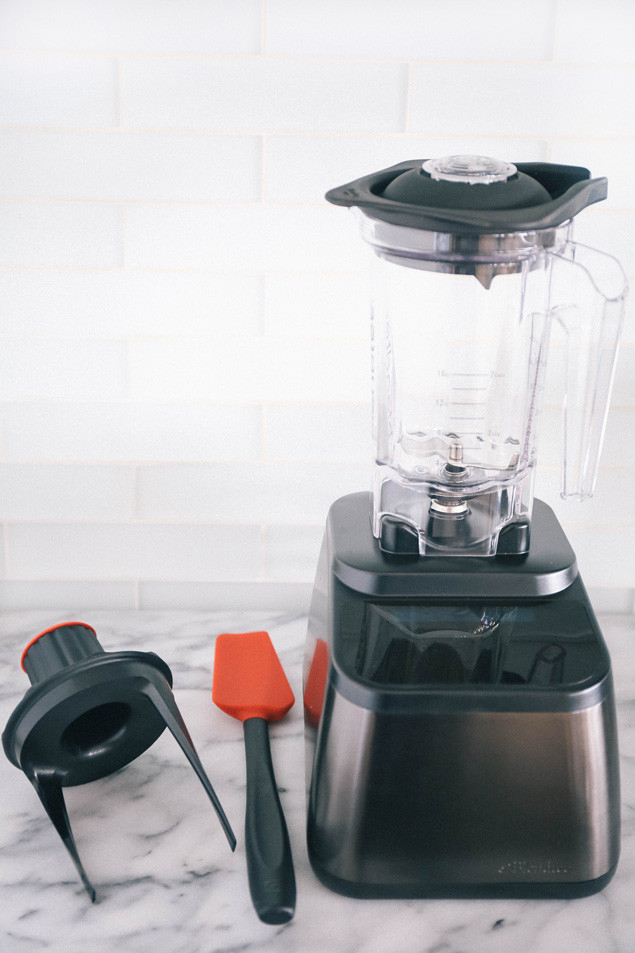 The
The 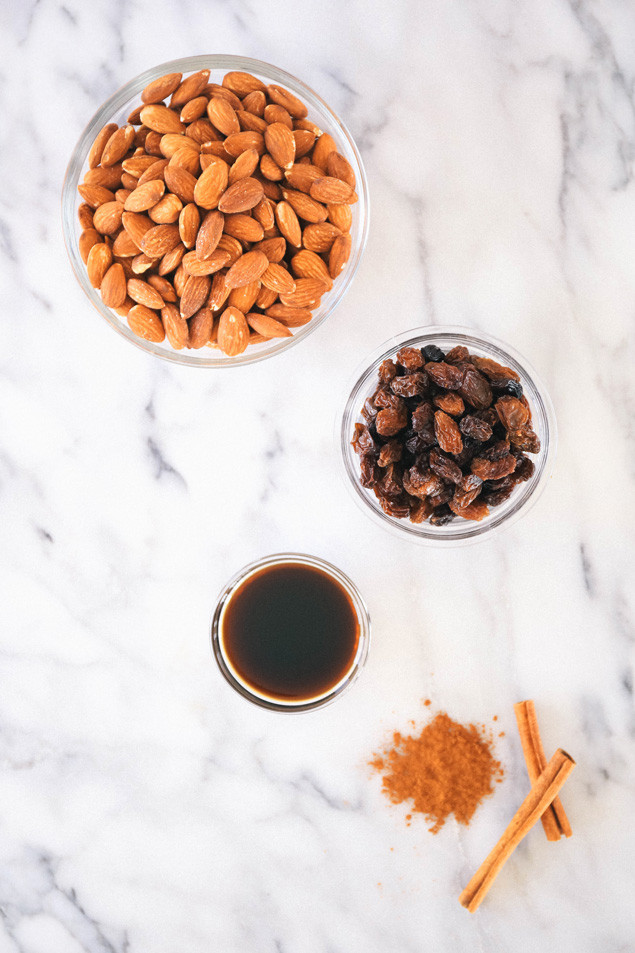
 This is not your average blender. This is a teacher. And during today’s lesson, it taught me when I needed to stir (none of my other blenders did that, they just stopped blending everything), taught me when I needed to add more liquid (say what?!), and gave me congratulatory messages when I succeeded in snack making with virtual praise and high fives on the digital interface!
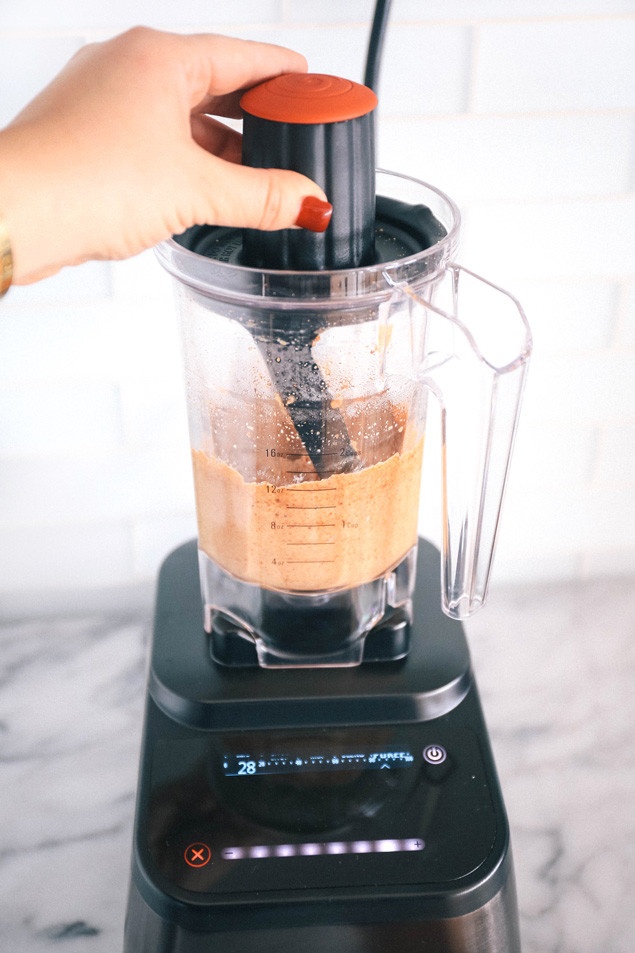 I am OBSESSED with the
 The single blade is sooooo easy to clean, and the shape of the Spectacula is just spectacular for getting every last bit of almond butter out of the jar! Another plus about the “dull” blade is that since it’s thicker, it doesn’t cut into your rubber spatulas and ruin them!
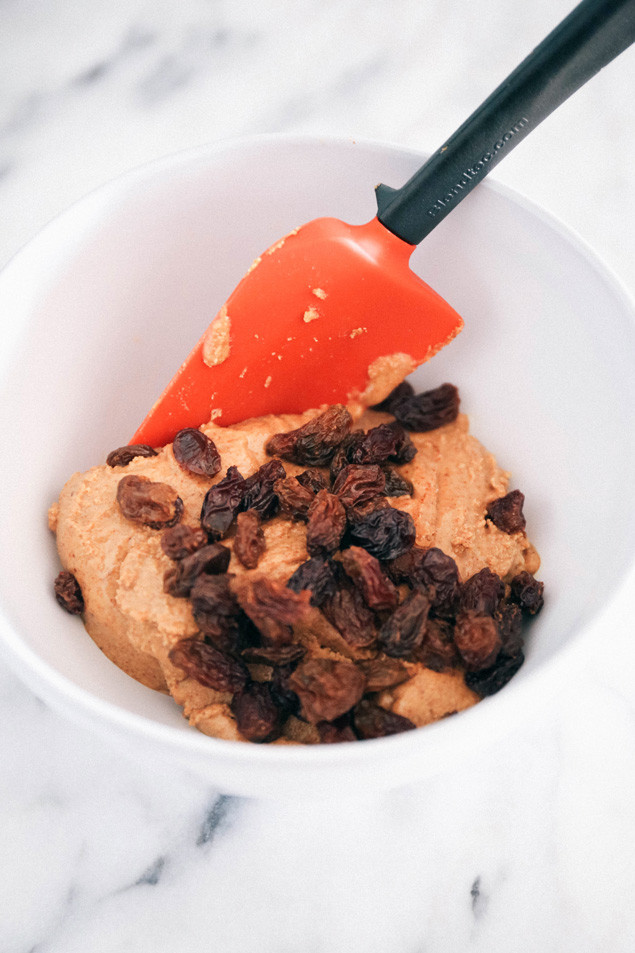

 I love the “walk away” blending features that allow you to select what you’re making, walk away and do other tasks, and then come back to a perfectly blended smoothie and blender turned off by itself. Blendtec is such a little smarty pants! Plus I love the little messages that it displays after each blend!
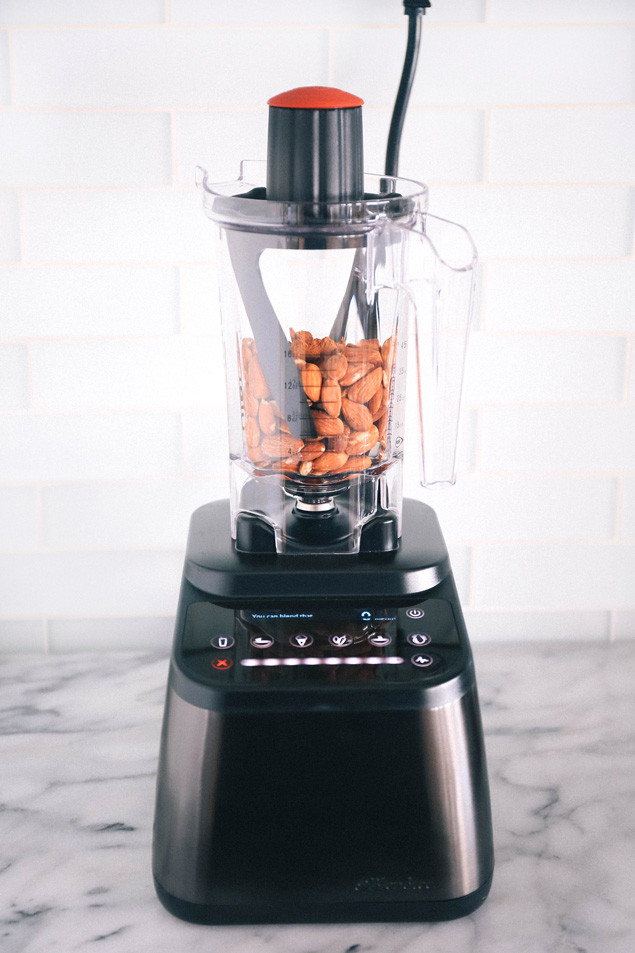
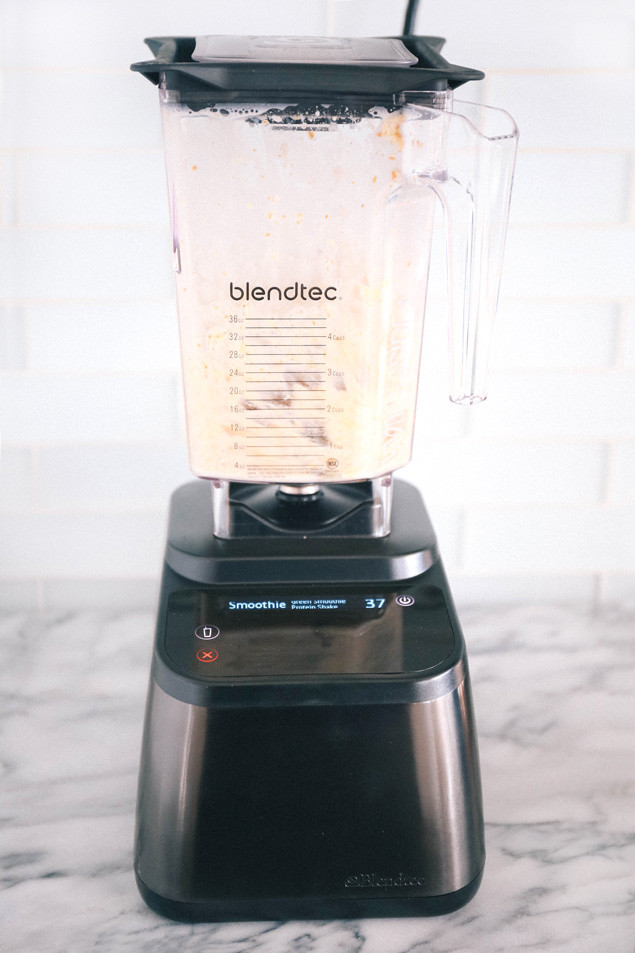 Check out that power!
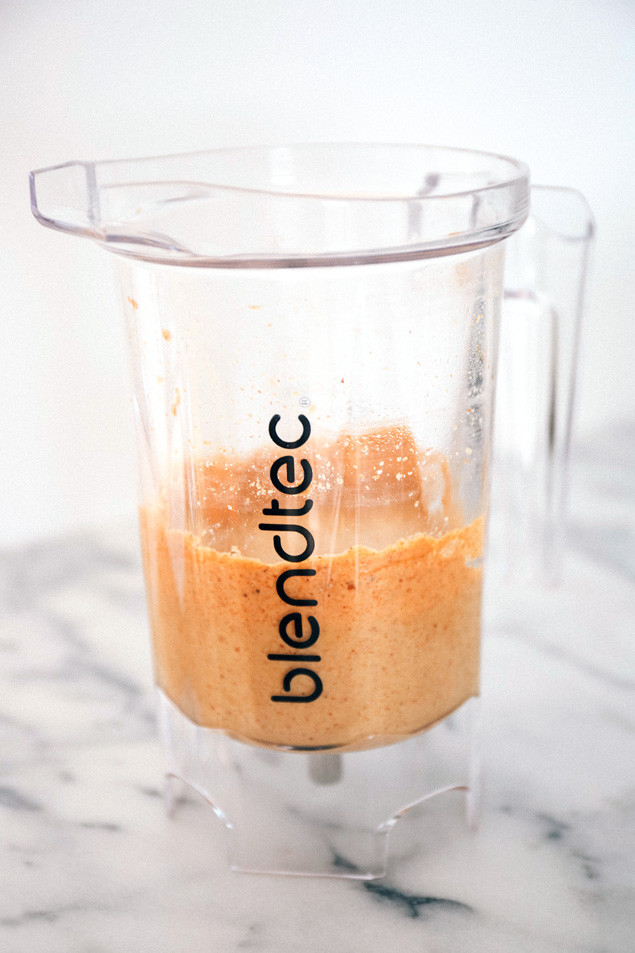
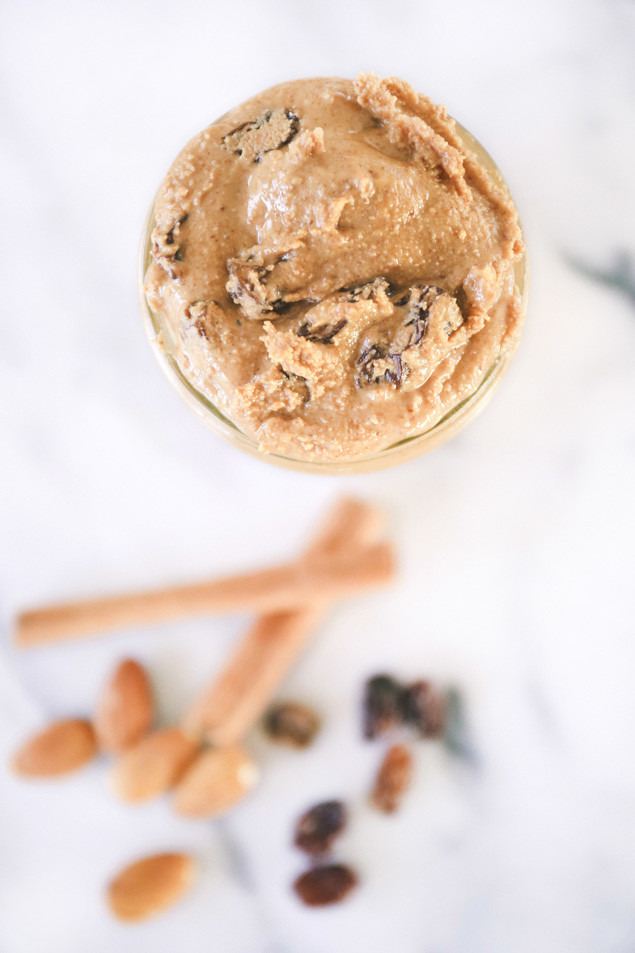
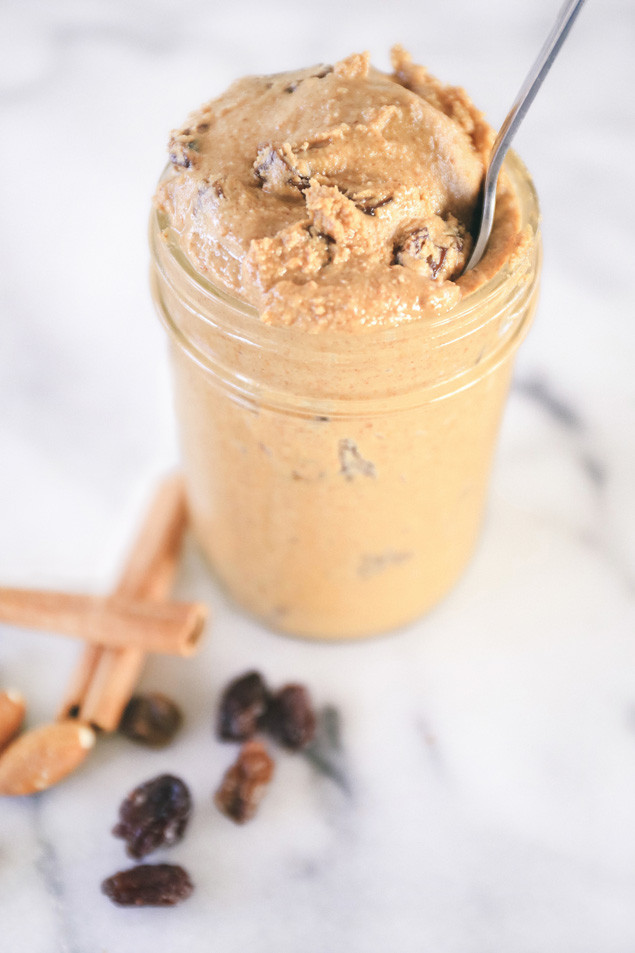
 Cinnamon Raisin Banana Bread Smoothie
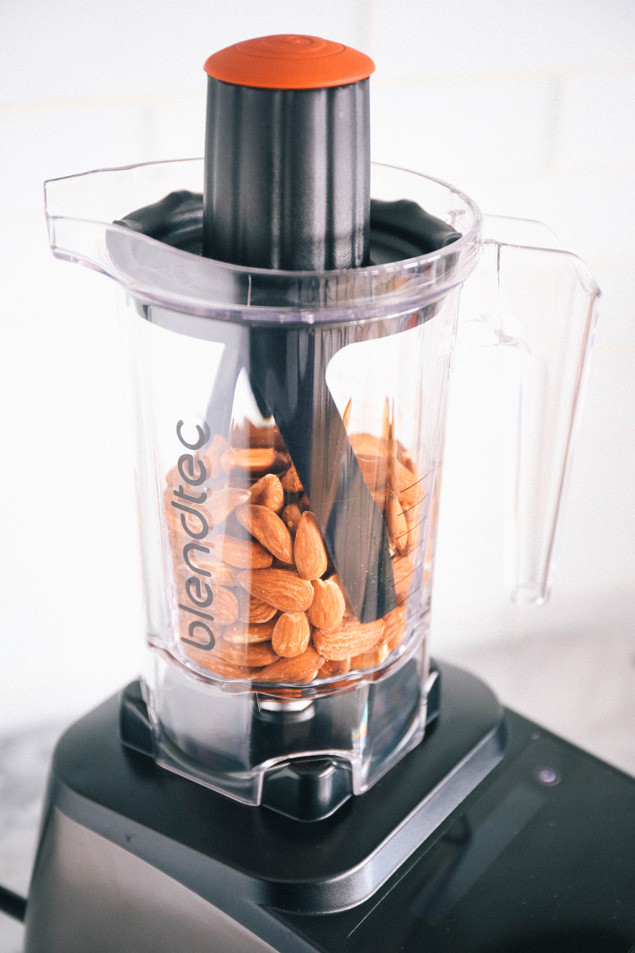
 Perception above vs reality below.
 Bunny teeth out in full force!


 There were SO many rainbows at the falls, it was gorgeous. And yes, that is in fact a
  Matt and a rainbow! So prittayyyy!
 This is the American side of the falls. So sunny! Matt and I were cracking up because we both got US cell service (AT&T) while we were in Niagara Falls because we were so close to the border! Score for us!
 These are the Canadian falls! Note how theirs are instantly icier and snow covered!
 I love how different both sides of the falls look. The Canadian side looks drastically colder!


 After we explored the falls we went to the venue for the ET NYE show where matt was tour managing.
 The show started off with fireworks that were set off from the falls at 9pm, so we all went outside of the greenroom to watch.
 Matt and fireworks!
 While Matt was working I went and bared the cold to photograph and watch some of the other artists perform. I loved watching Lights open the show, she’s adorable.
 Next up was our little nugget Shawn!
 He absolutely killed it with Nick Jonas, so proud!
 Keith Urban closed the show. Matt is so proud of this photo, the perfect hair flip. Such luscious locks haha.
 At midnight fireworks shot off from Skylon Tower!
 I LOVE this photo of Matt! He will probably hate it, but I think it’s the cutest thing ever! So much joy and happiness : )
 Matt and I at midnight!
 Confetti everywhere, the end of a perfect NYE!
 I haven’t done a “Fashion Friday” DIY for sooooo long, and since it’s a new year, it’s definitely time! This DIY was inspired by Cassey from
  Jacket: c/o
 I’m obsessed with my new
 DIY Grocery Bag
 Above is an example of the dots 1/2 inch apart along the bottom of the fabric.
 Cutting from top to bottom dot.
 Double knotting the fringe pieces.
 So cute! Grocery shop away!