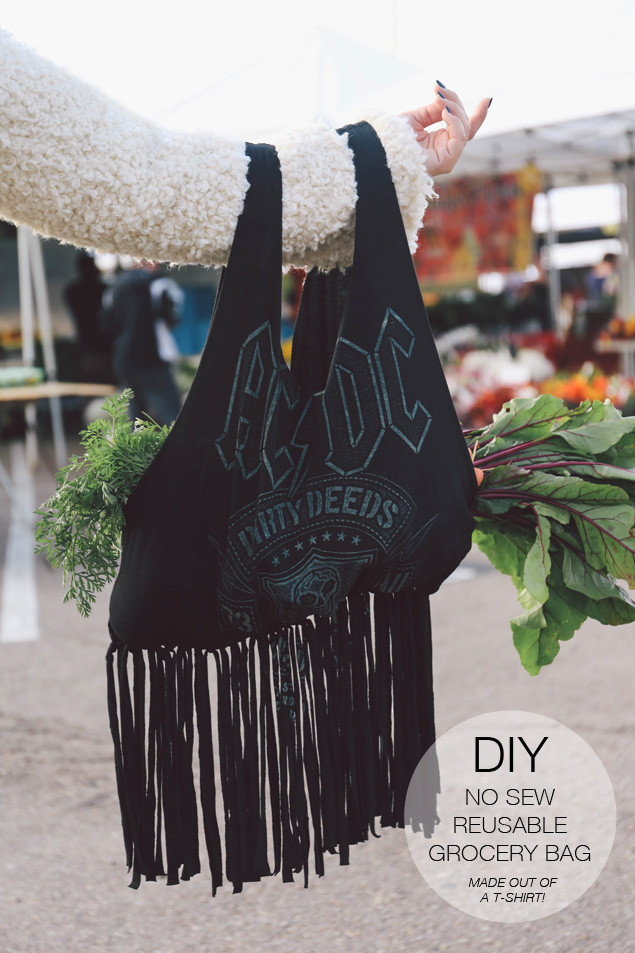
 I haven’t done a “Fashion Friday” DIY for sooooo long, and since it’s a new year, it’s definitely time! This DIY was inspired by Cassey from Blogilates! I always have my car stocked with reusable shopping bags for last minute farmer’s market and grocery shopping trips, and thought this “do it yourself” bag/tote was the cutest addition to my collection. You can use any old T shirt (the bigger the better!) but I decided to buy an ACDC shirt from Target to give my bag a chic rocker look! I’m absolutely obsessed with how it turned out and got stopped a couple of times at the North Park Farmer’s Market in San Diego to ask where it was from (major points!)!
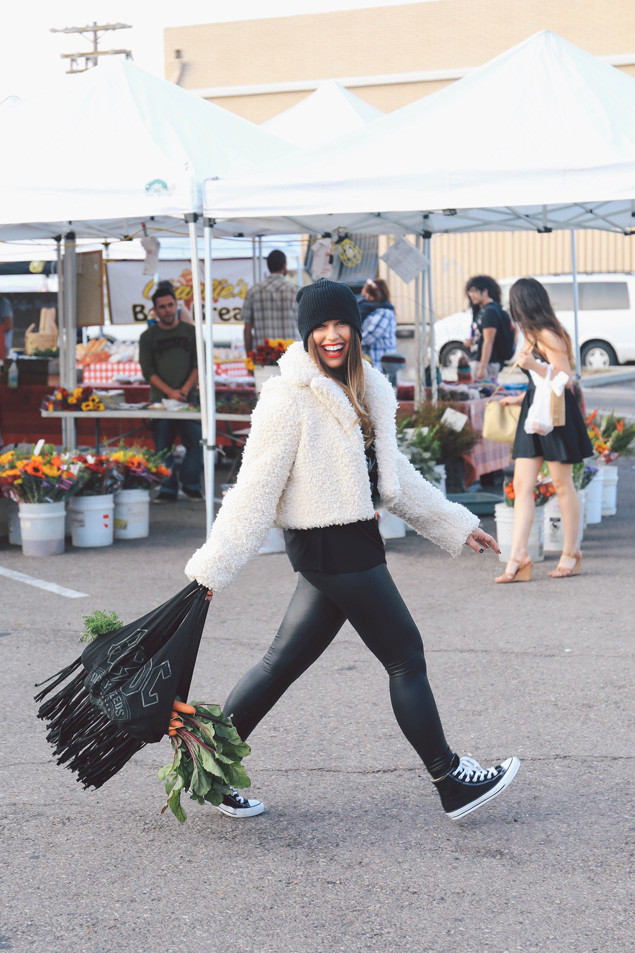 Jacket: c/o Smythe (on sale 65% off & free shipping!) | Leggings: American Apparel | Shoes: Converse | Beanie: Ebay (black) | | Lip Liner: Mac ‘Cherry’ | Lipstick: Lime Crime ‘Red Velvet’
My favorite part about this DIY is that it’s a no sew project! No needle, thread, or sewing machine required! All you really need is a pair of scissors and an old T shirt, but if you are a perfectionist like me, a white or colored pencil, ruler, and rotary cutter, will do the job just perfectly! If you are super crafty and looking for a rotary cutter, cutting mat, and ruler set, this one by Fiskars is amazing!
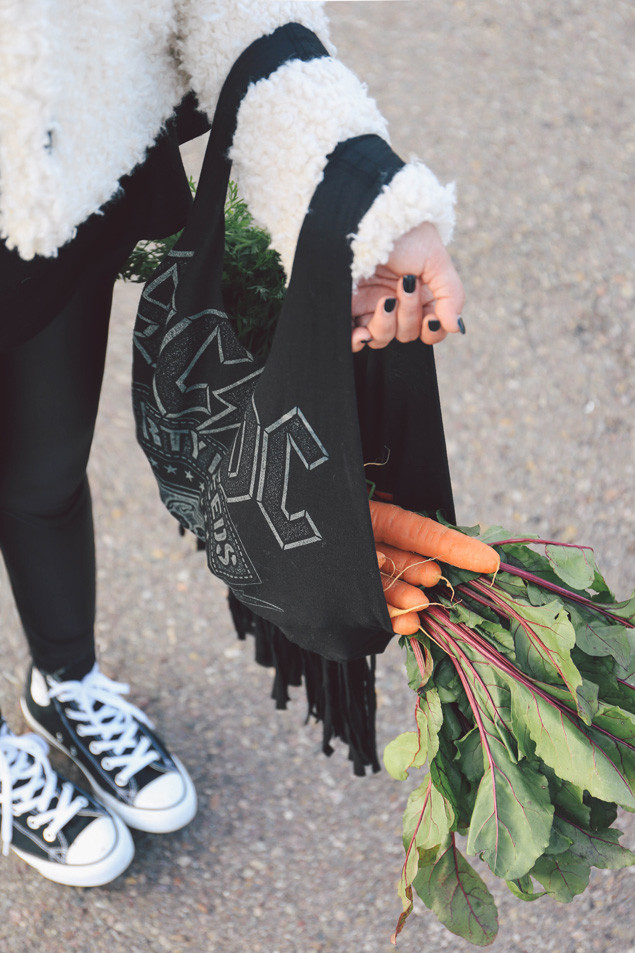
 I’m obsessed with my new Faux-Fur Cropped Jacket by Smythe! It’s faux shearling with a huge oversized collar that is seriously way too cute. I’ve been wearing it nonstop since they sent it to me! I also just found out that it’s on sale at Neiman’s for 65% off, which is INSANE! Oh and did I mention they are offering free shipping? Unreal.
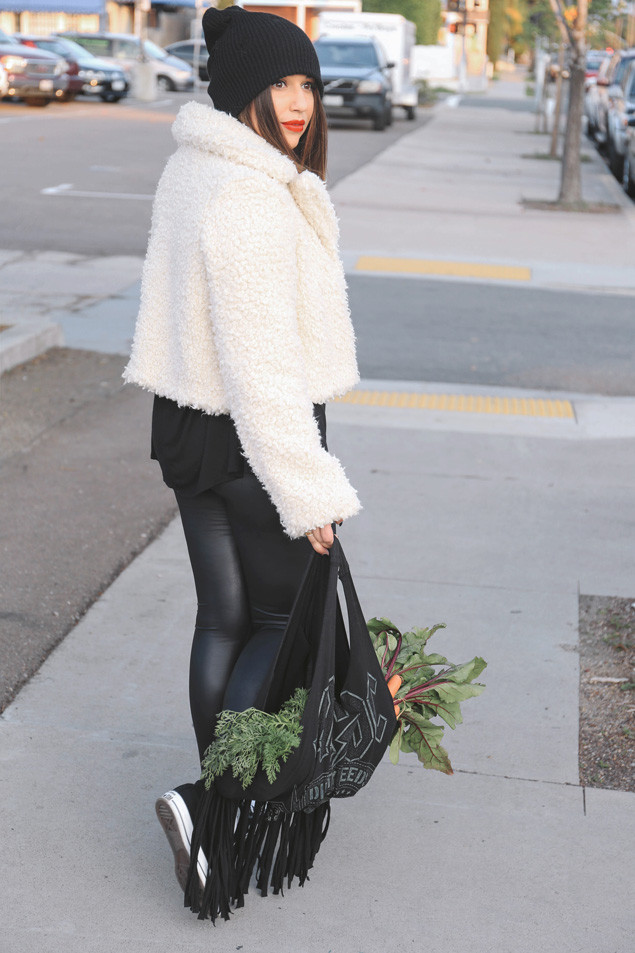
 DIY Grocery Bag
Ingredients
T-shirt (the bigger the better)
white or colored pencil
scissors or rotary cutter
ruler
cutting mat
Directions
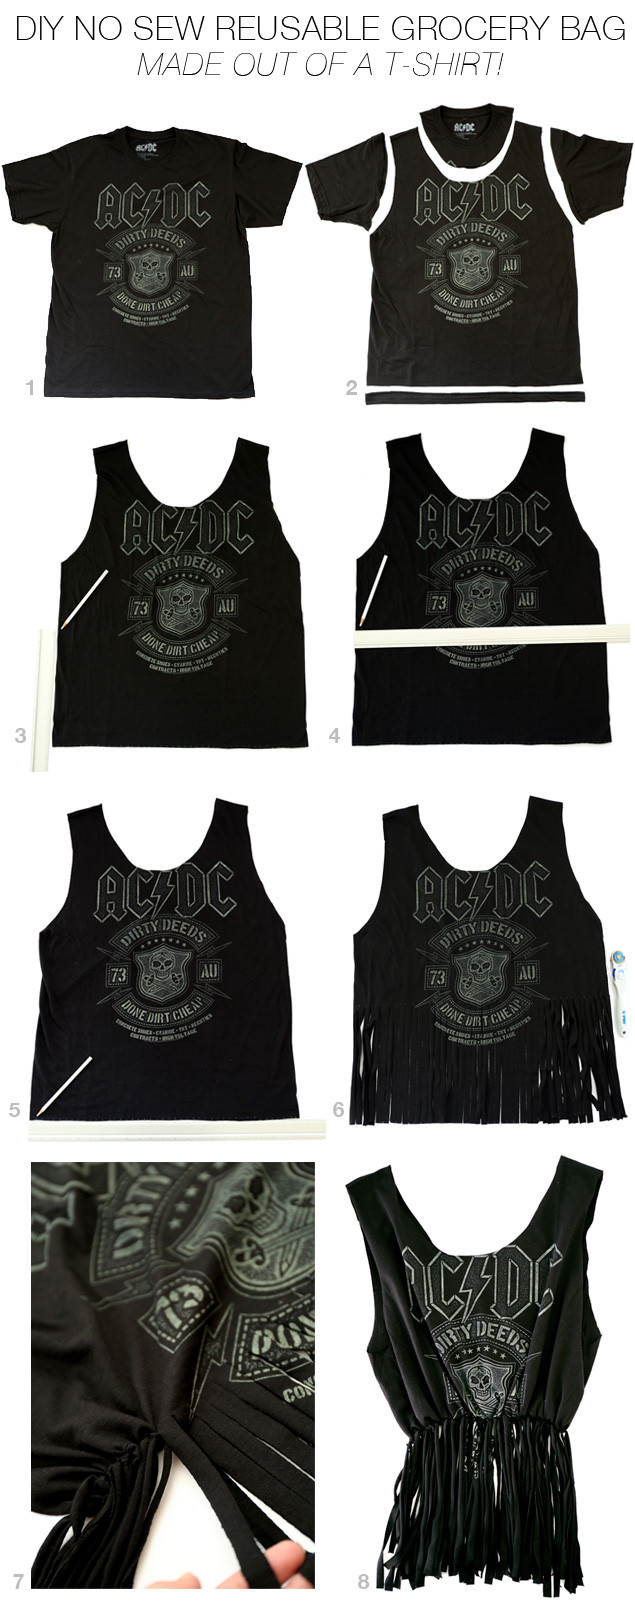
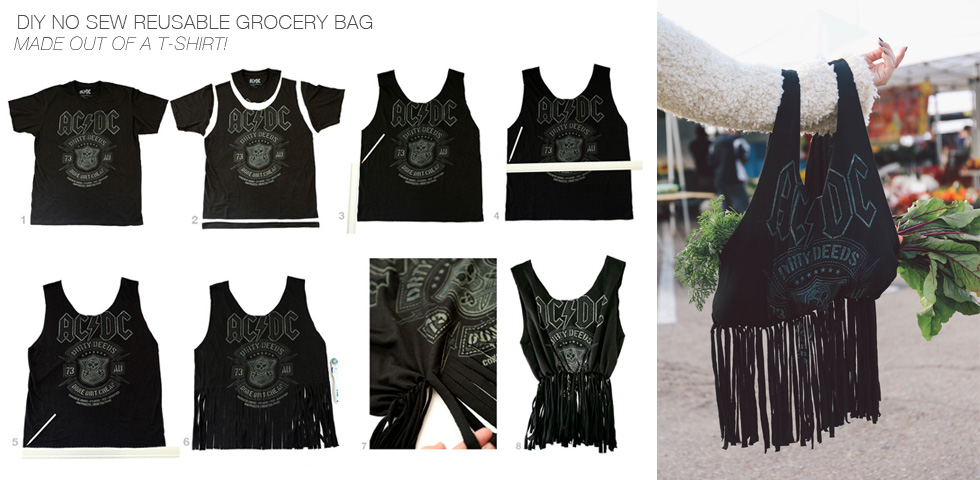
1. Get a large T shirt and lay it flat.
2. Cut off the neck (about 2-3 inches below the neck hemline), sleeves, and bottom hem.
3. From the bottom of each arm hole, measure down 6 inches and make a mark. This is where the bottom of your bag will be, and your fringe pieces will start.
4. Line your ruler up horizontal across the shirt from both marks that you just made. Start marking small dots/lines 1/2 inch apart all the way across the entire width of the shirt. This marks where each fringe will be cut.
5. Place the ruler horizontally across the bottom of the shirt and mark small dots/lines every 1/2 inch all the way across (the same way you just did in step 4). This will help you to get perfectly aligned/straight fringe pieces.
6. Using scissors or your rotary cutter and ruler, cut from the top dot, straight down to the aligning bottom dot (through both layers of fabric). Work from left to right until all of the fringe has been cut.
7. Once all of your fringe pieces have been cut, double knot both of the corresponding front and back pieces of fabric together. This will seal up the bottom of your bag.
8. Voilà, Your grocery bag is complete! For even longer fringe and more sealed up edges of your bag, stretch out your fringe and handles!
Note: If you don’t want to go through all of the marking and aligning with a ruler, you can totally freehand it and make bigger fringe pieces with scissors. I personally think it looks best when you take the time and measure out the small 1/2 inch fringe pieces, but it’s still an awesome and fun DIY no matter how you do it!
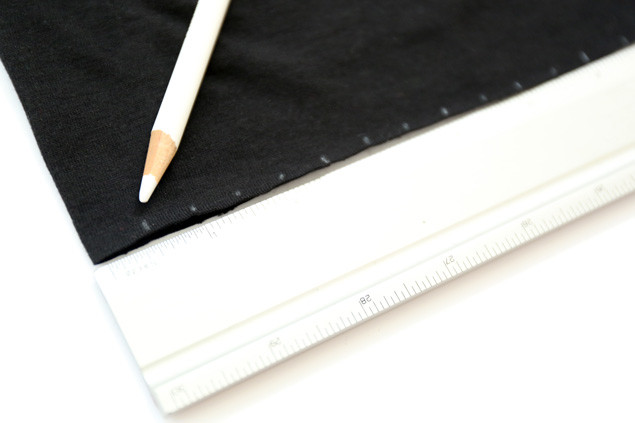 Above is an example of the dots 1/2 inch apart along the bottom of the fabric.
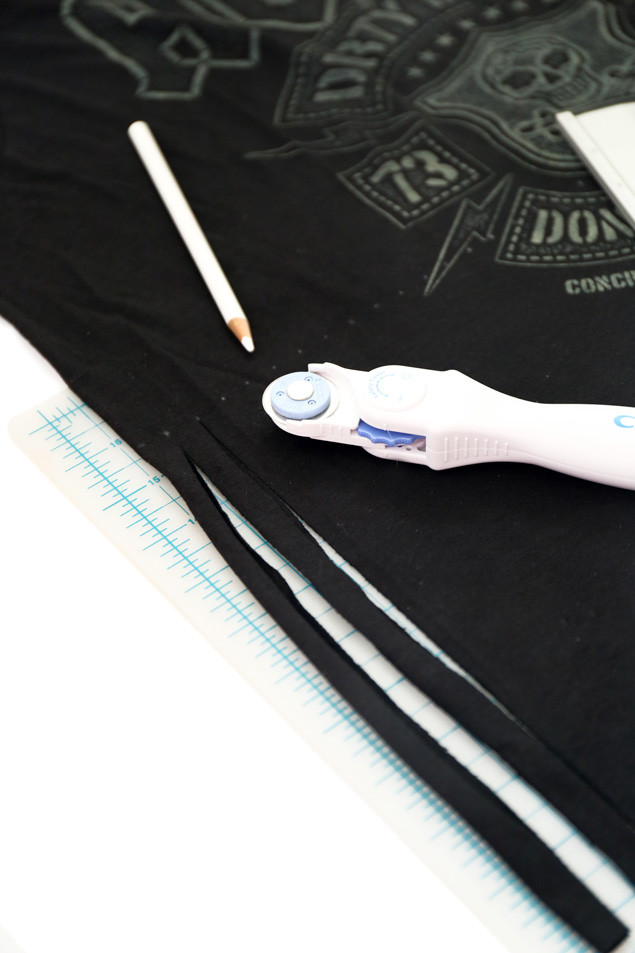 Cutting from top to bottom dot.
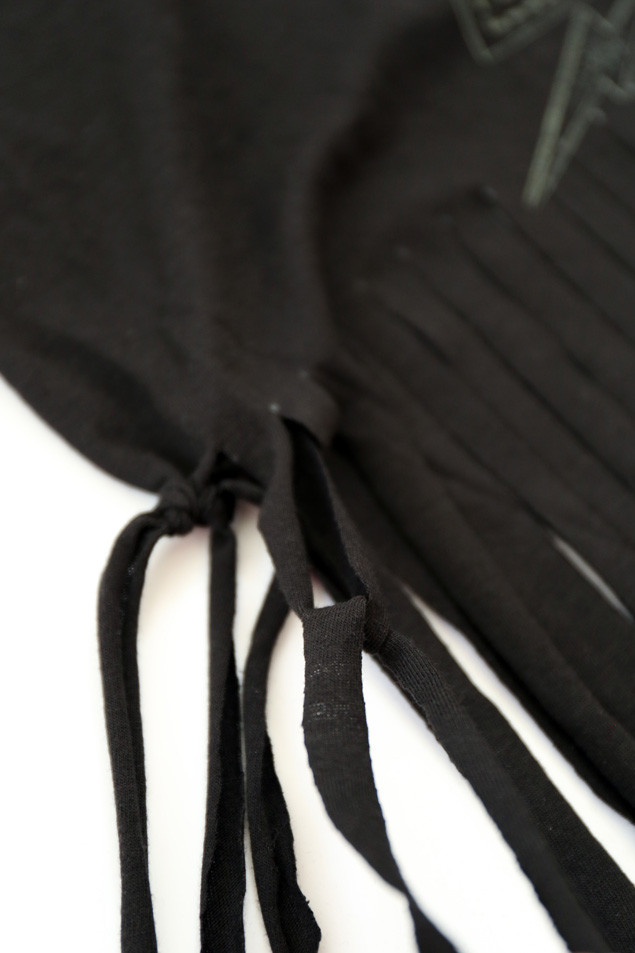 Double knotting the fringe pieces.
 So cute! Grocery shop away!
This is a really fun project to do with friends for a girls night in, and it also makes a super cute gift!
Health & Happiness
![]()



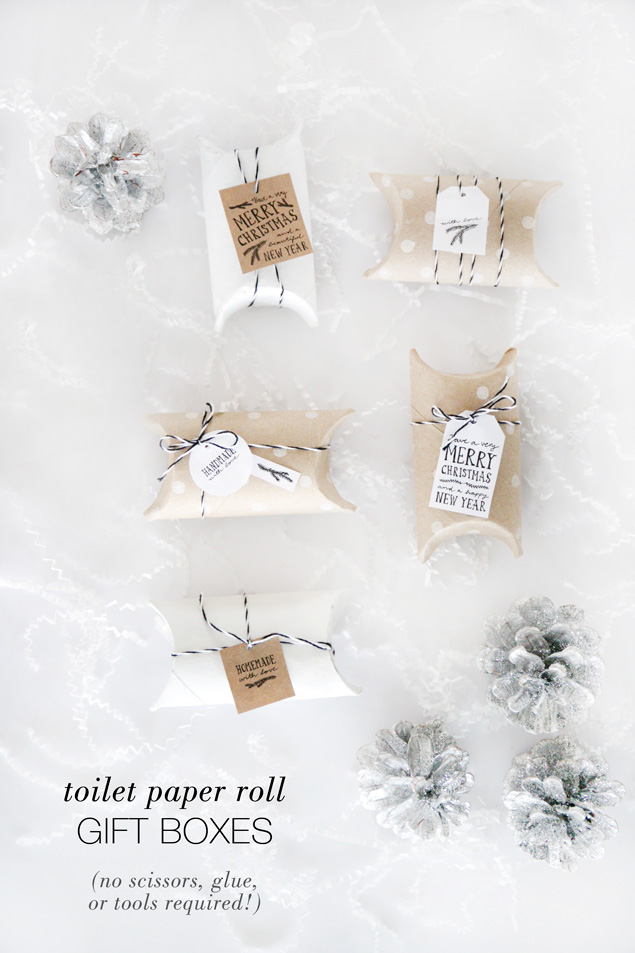 Introducing the easiest DIY gift boxes you will make. like. ever. No scissors, glue, or tools required! Just 4 folds and you are set! These DIY pillow boxes are super easy to make, and are great for small gifts like jewelry (necklaces, earrings, rings, etc.), money, lipstick, chapstick, cufflinks, or other tiny treasures! They aren’t quite long enough to fit a gift card inside, but if you use a paper towel roll, and cut it to be an inch or so longer than a toilet paper roll, it can easily make a gift box for a gift card!
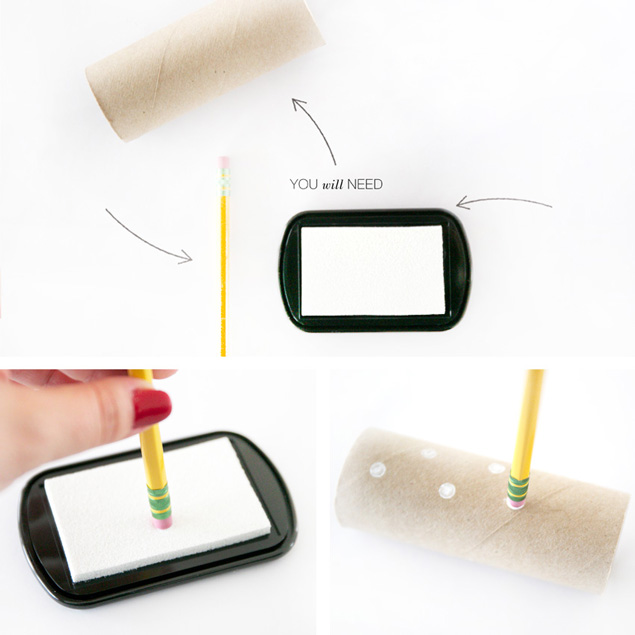
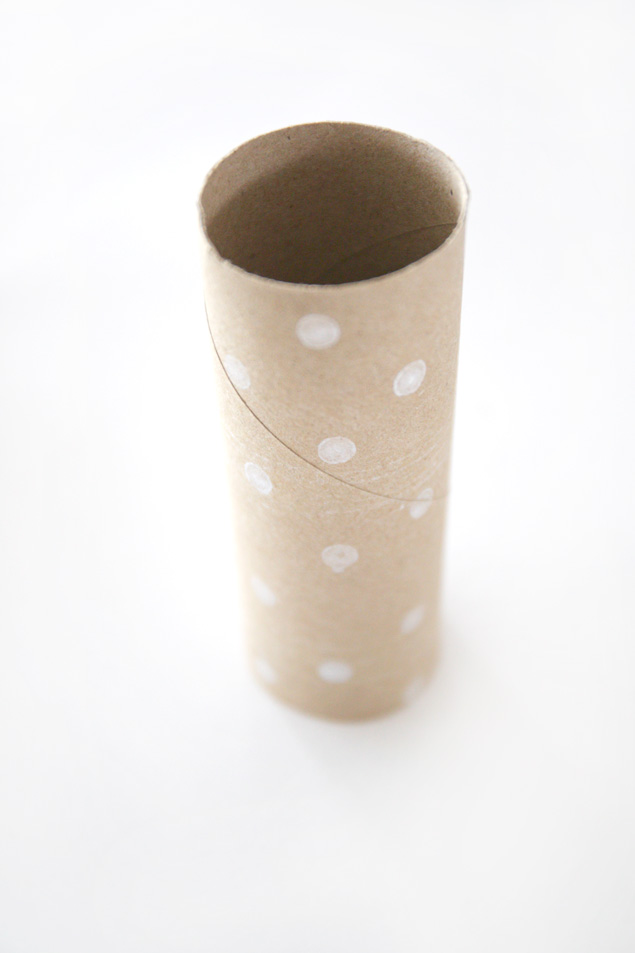 To make your pillow box, start with a leftover roll of toilet paper (stamp it first before folding).
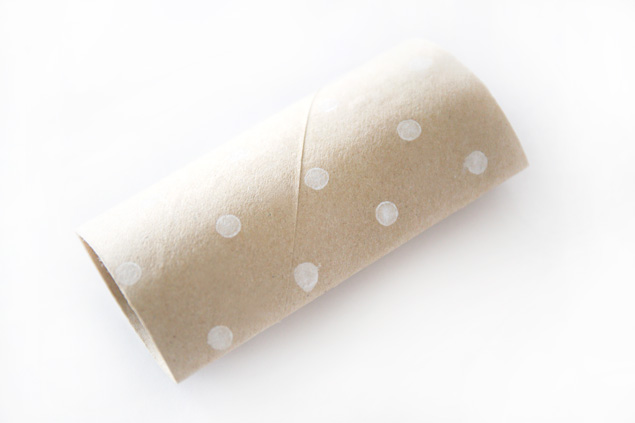 Smash the toilet paper roll in half – flat like a pancake.
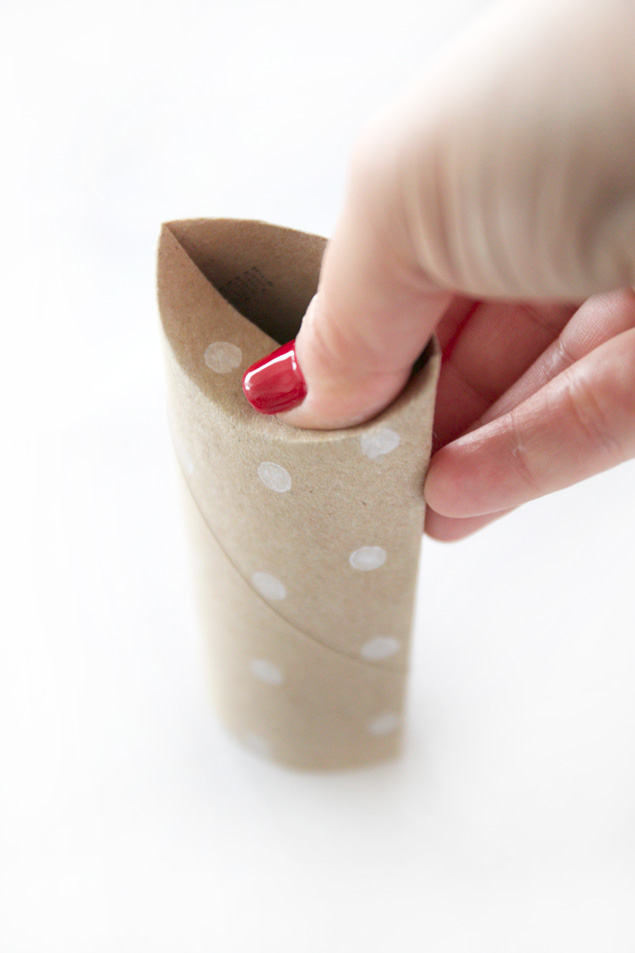 Next fold one side in towards the center (it should form a half moon shaped crease). Make the crease nice and sharp by smoothly running your nail along it.
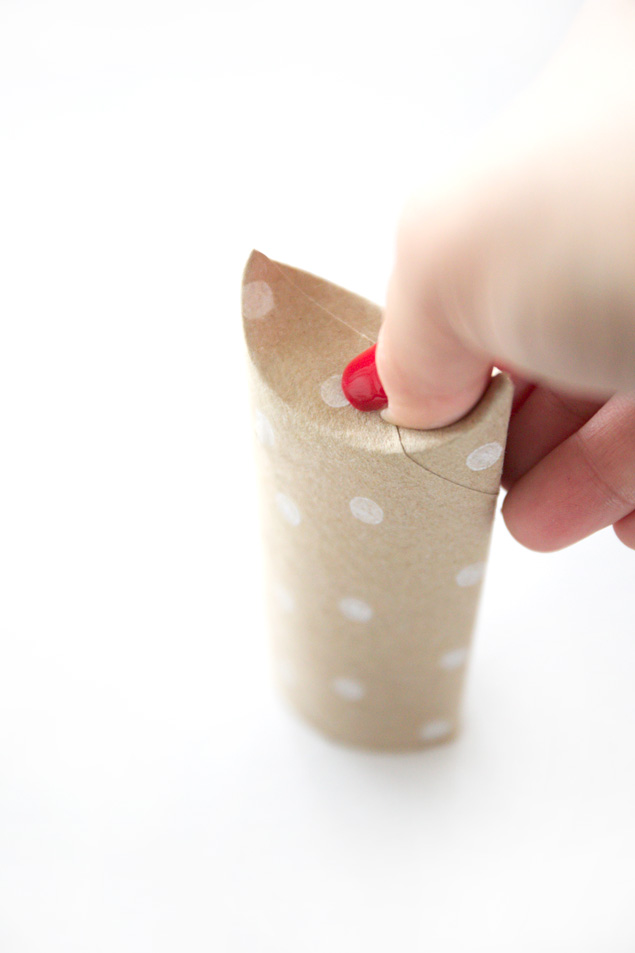 Turn the roll around, fold the other edge inwards, and smooth out the “half moon” shaped crease.
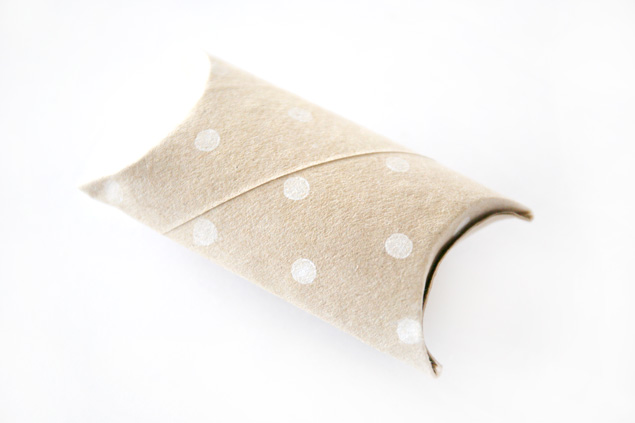 Repeat the previous steps and fold the opposite ends in until the pillow box is formed!
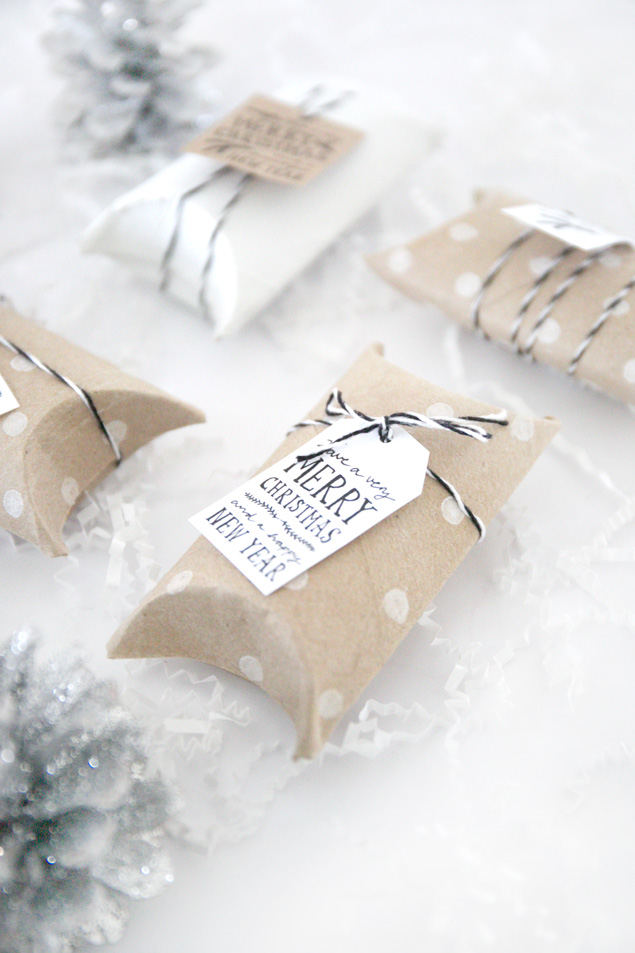 Tie with
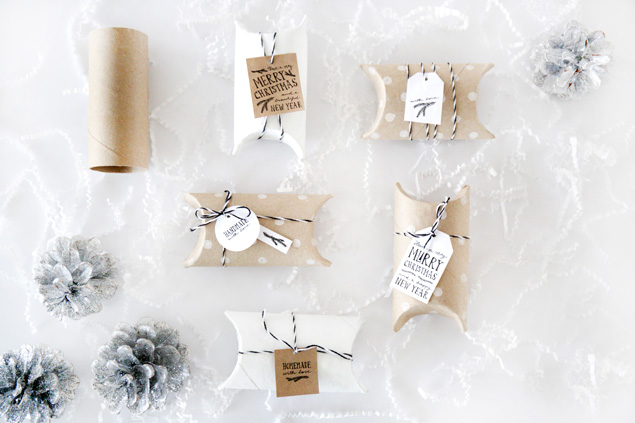
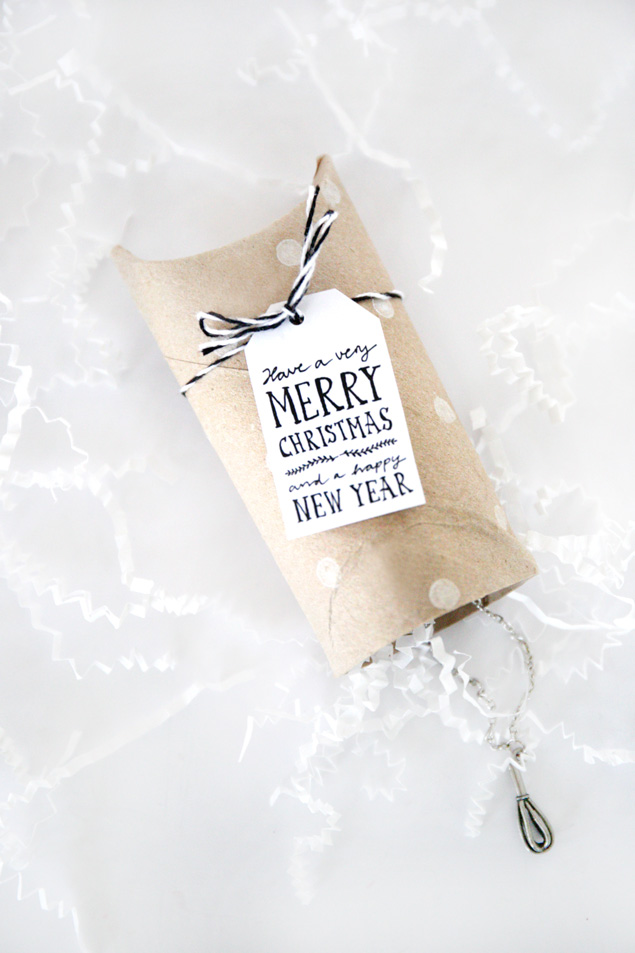 Like the holiday tags I used to wrap my gifts? Get a free printout
 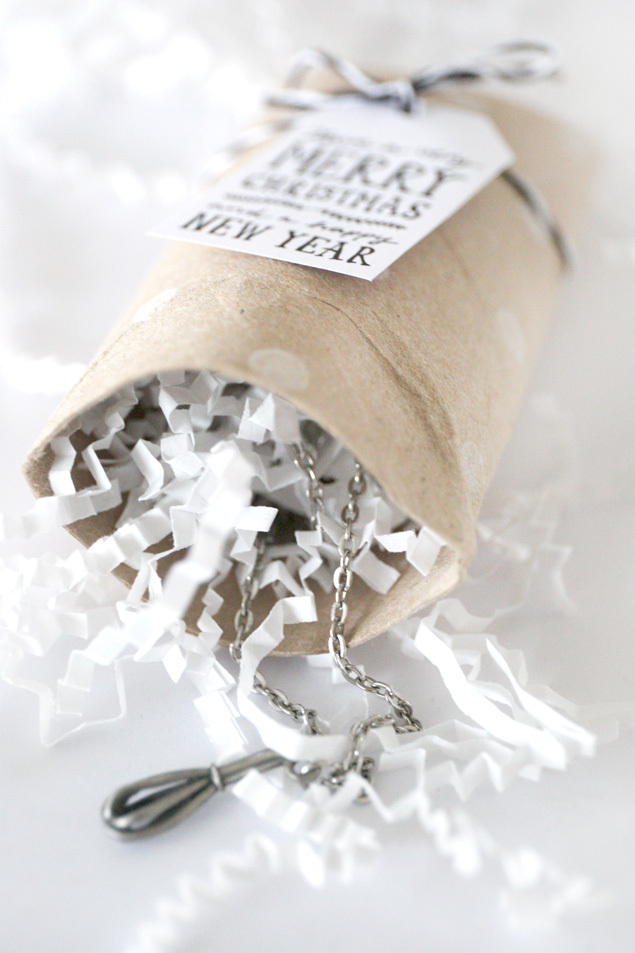 I love stuffing my pillow boxes with
 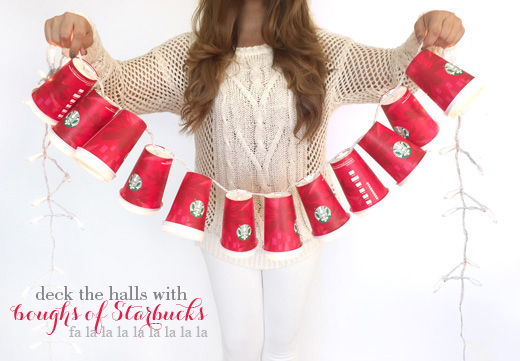 I know it’s not even thanksgiving yet and say “for every set of Christmas lights lit before Thanksgiving, an elf dies,” but I couldn’t resist making these adorable lights! For the sake of the elves, they won’t be lit until after Thanksgiving. #savetheelves

 Start saving/collecting tall holiday red cups and lids from Starbucks.
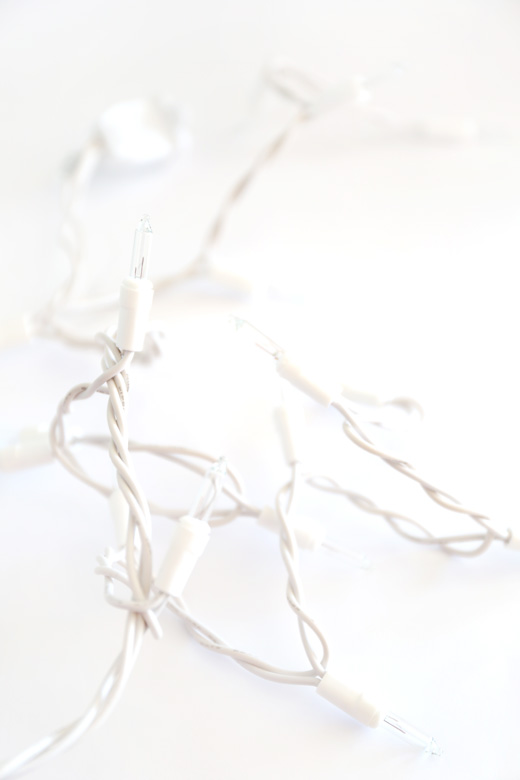 I meant to buy a strand of 50 regular christmas lights but ended up with a strand of 50 icicle lights, which actually worked out better than I though! I opted for white because they match the lids of the Starbucks cups.
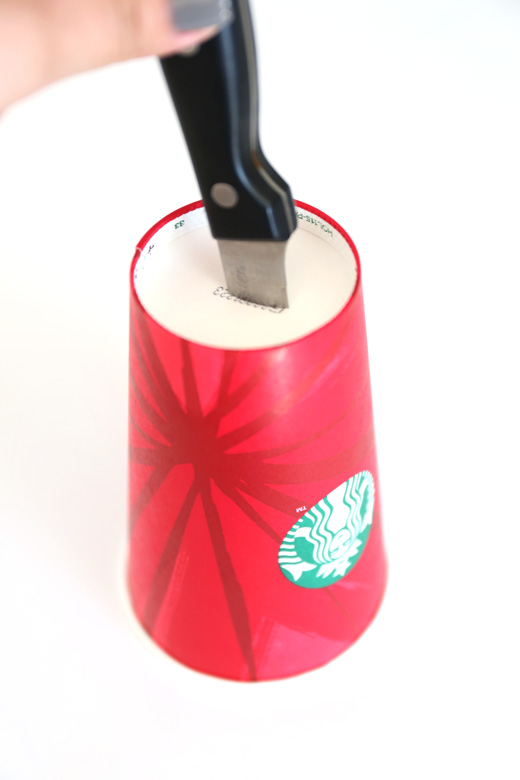 Flip your cups upside-down and carefully make a slit with a sharp knife.
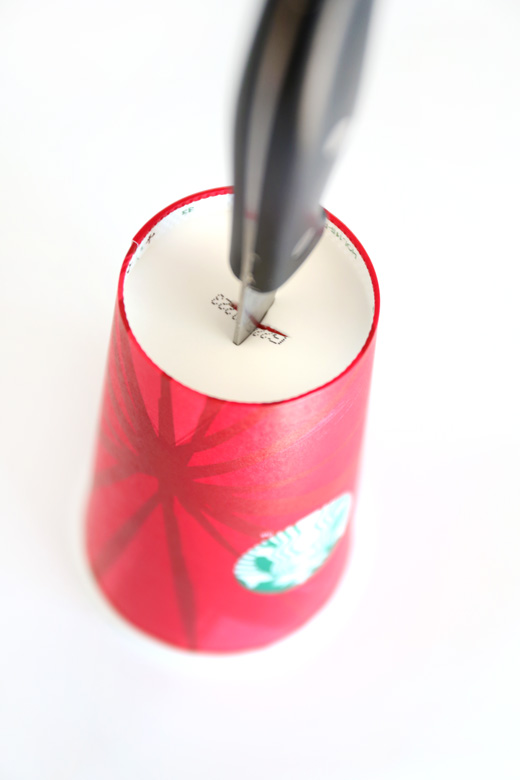 Spin the cup around and carefully make a second slit creating an “X” shape.
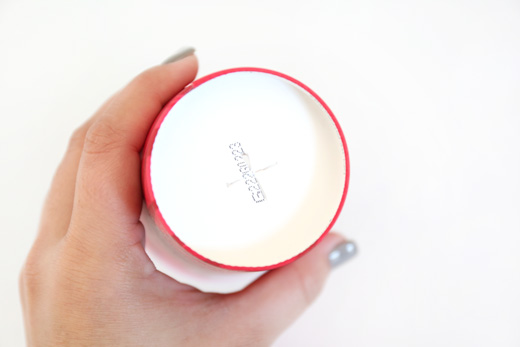
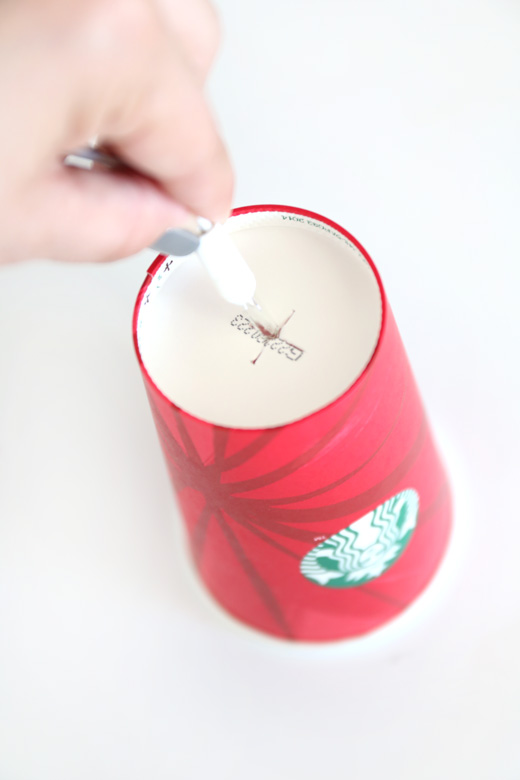 Push the Christmas lights through the bottom of the cup.
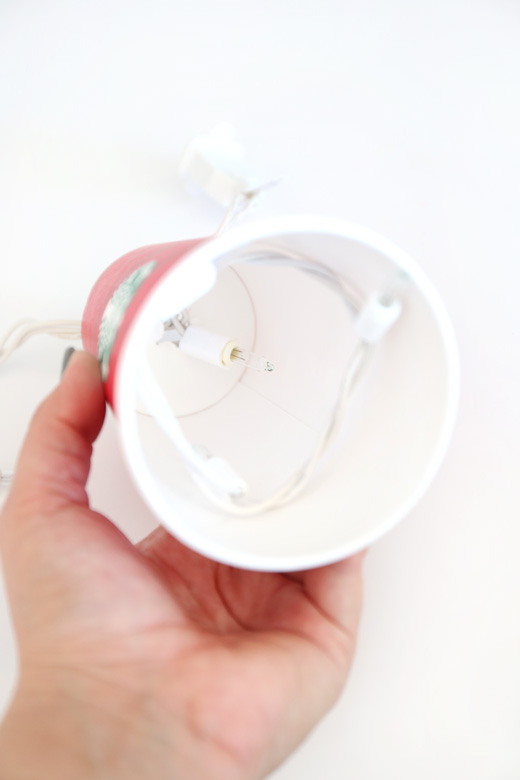 Pull the remaining lights on the icicle strange through the cup.
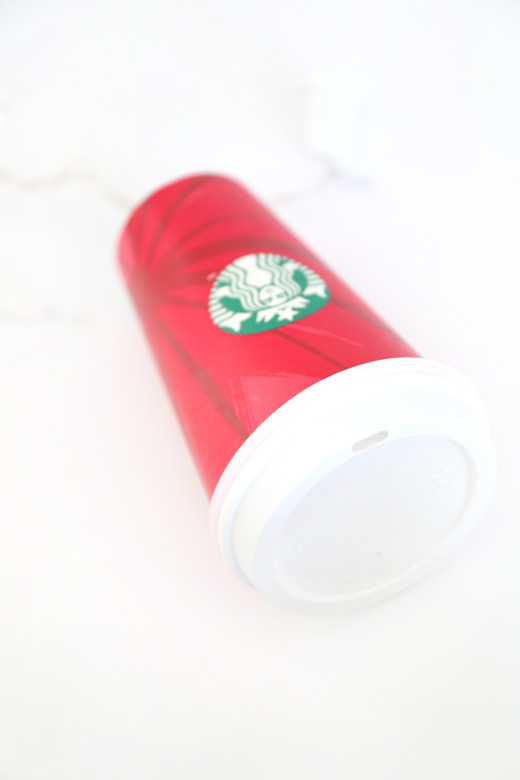 Once the lights have been pulled through and into the cup, close it with the lid.
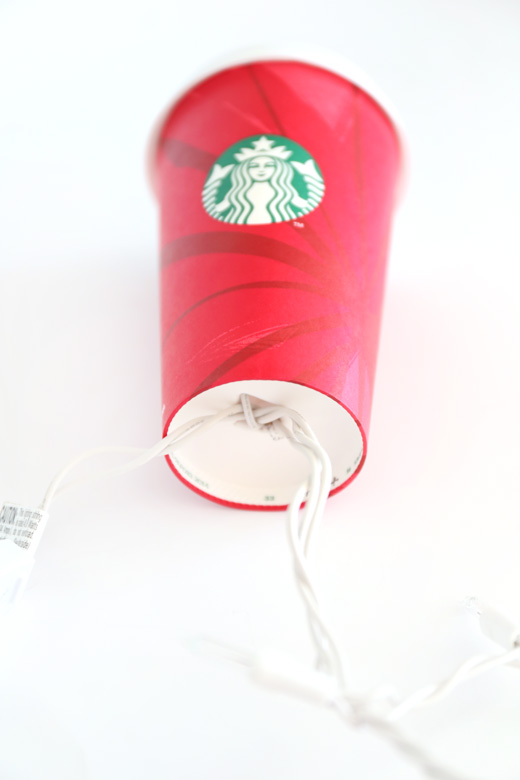 The back end should look like this, with the lights hidden inside. Repeat all of the above steps with each cup.
 And then voilà, you will have a strand of Starbucks red cup Christmas lights!
 *I have only left my red cup lights on for about 10 minutes, so please use caution and keep your eyes on your lights to make sure they are safe and don’t overheat!
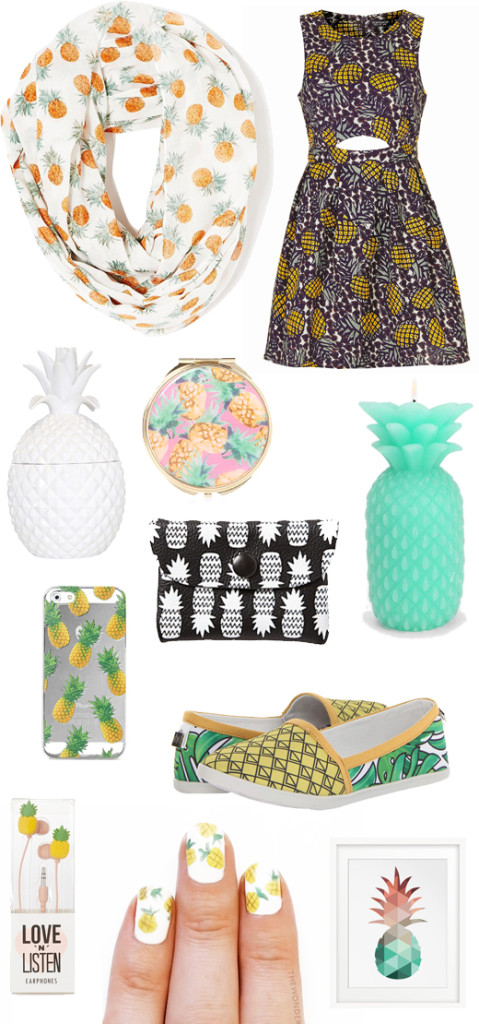

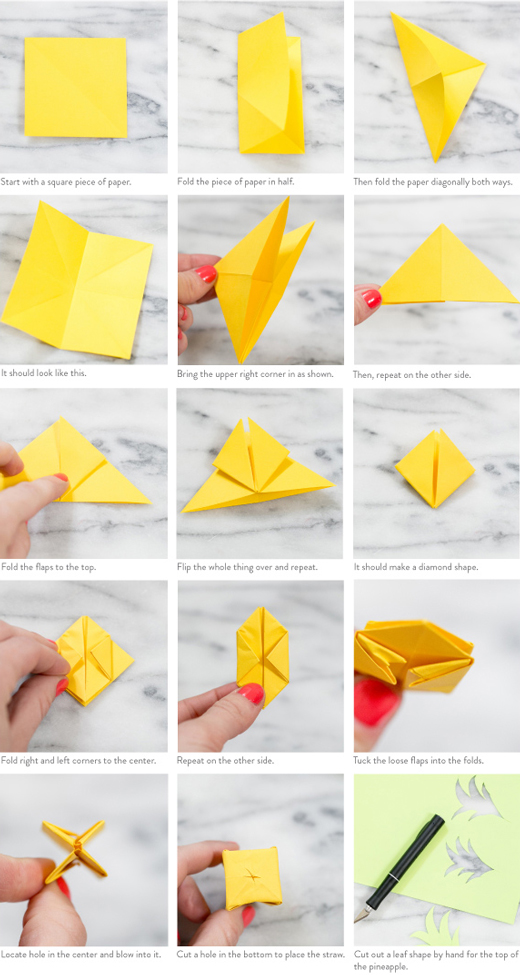 My other personal favorite are these adorable Origami Pineapple Straws! Perfect for your
 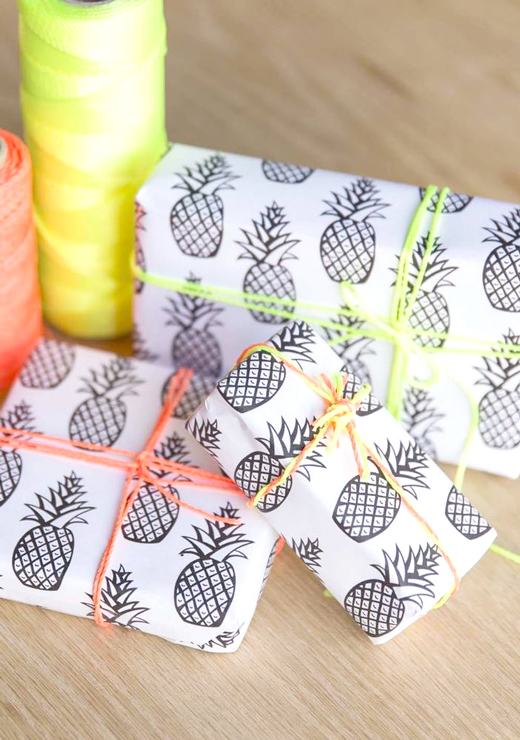 Looking for the perfect gift wrap for a summer birthday? Download and print this