Oh my gosh, bunnies!!! Your comments, tweets, snapchats, etc have been SO inspiring and motivating for me! I can’t get over how amazing you guys are and how beautifully you all write! I want to compile your comments into one giant Motivational Monday blogpost for anyone who needs some positive affirmations. Seriously, read through the comments and look how amazing my readers are. You will feel so empowered! I cannot thank you bunnies enough for all of your support. I feel so inspired, loved, and unbelievable strong! I ALWAYS need you guys in my life! I’m so lucky!
Since so many of you loved my Single Serving Muffin, I wanted to do another single serving sweet treat for you! I haven’t made a Mug Cake on the blog for a while, but they are so easy and fun to make!
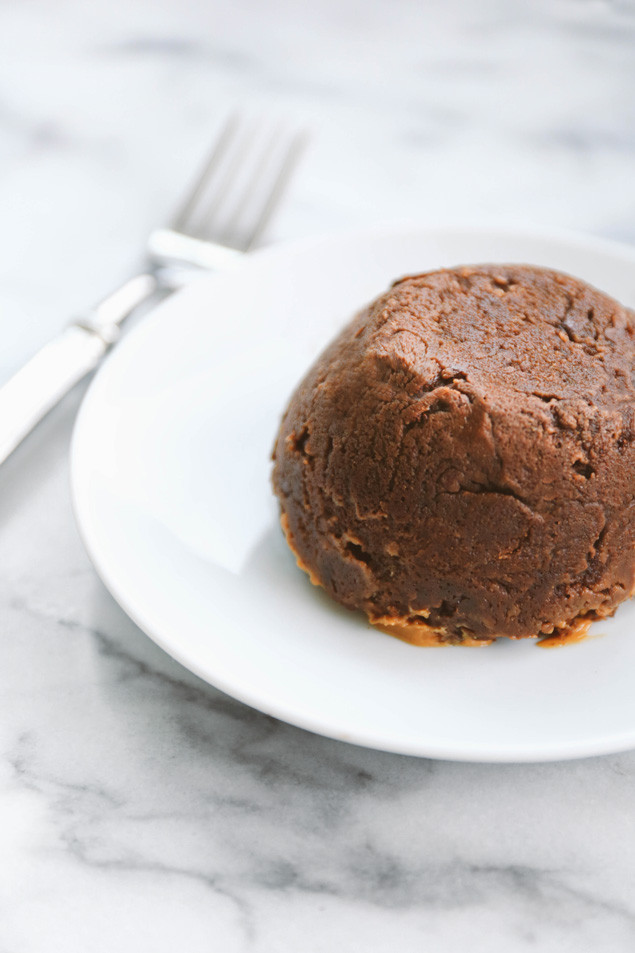
Today’s mug cake is a combination of chocolate and peanut butter with a little coconut oil in the mix, which gives it a little note of Germain Chocolate Cake!
This mug cake can easily be made gluten-free with an easy swap from whole wheat flour to oat, quinoa, or chickpea flour!
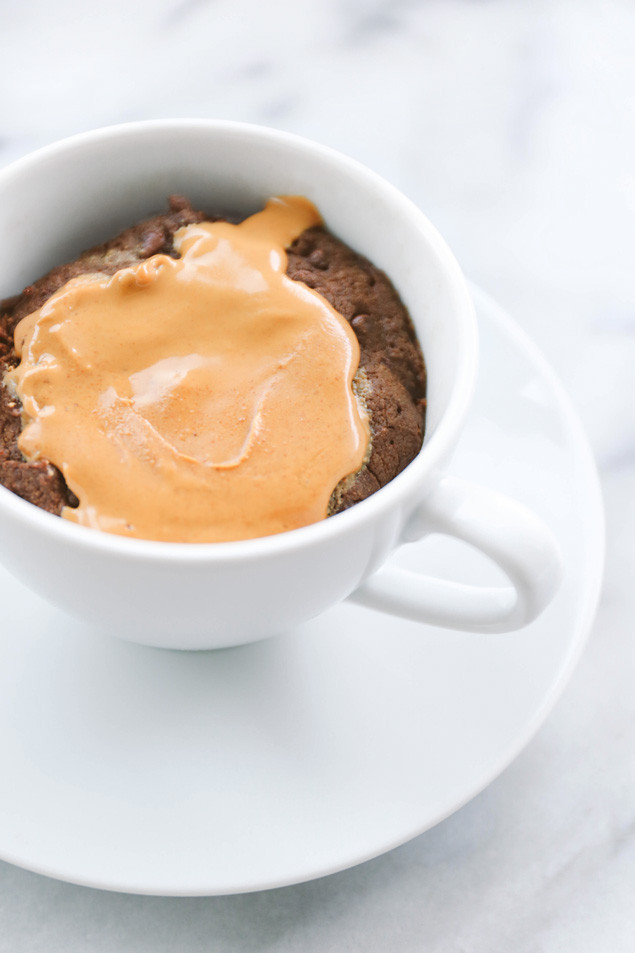
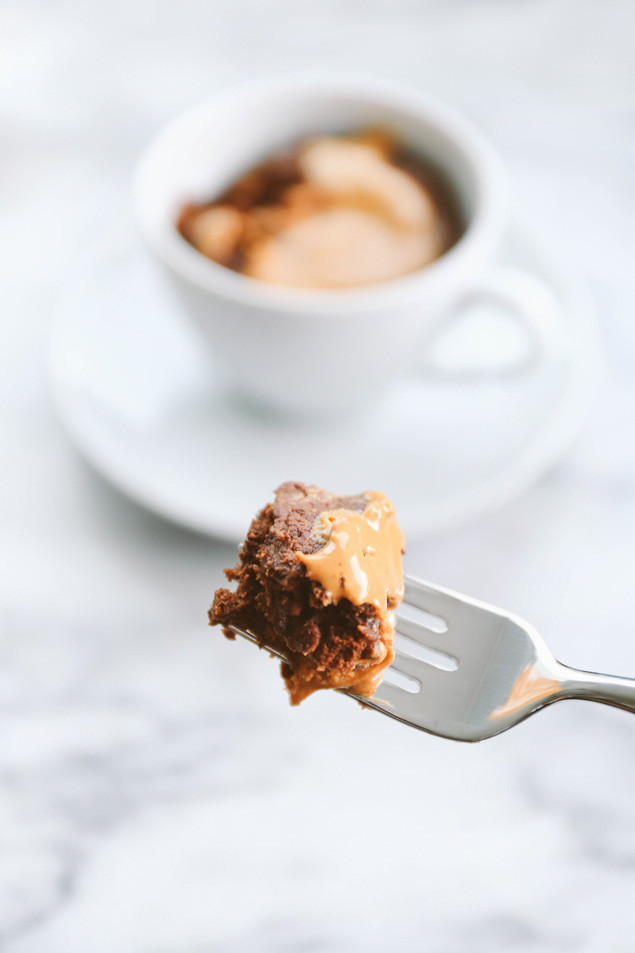

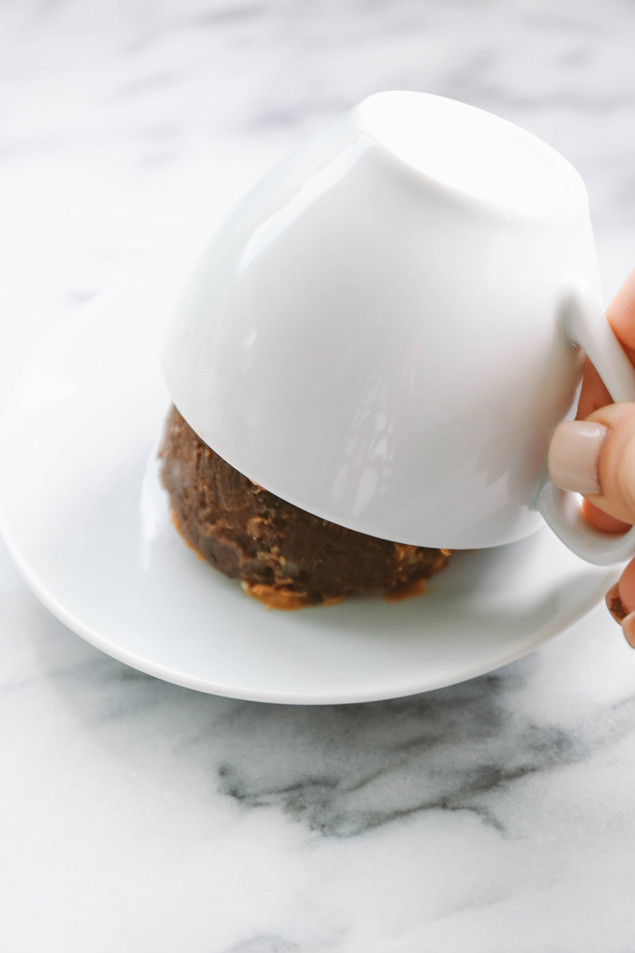
Traditional mug cakes are usually flipped over onto a plate like a mini cake! This one is kind of messy with the Peanut Butter, so I started eating it straight out of the mug but then wanted to get a photo and show you the fancy shmancy way of plating it! After a couple of bites I flipped it over onto the plate so you could see how it makes a mini cake once it’s out of the mug!
Make sure to coat your mug generously with nonstick cooking spray (I used coconut oil spray from Trader Joe’s) if you want it to come out of the mug nicely!
Chocolate Peanut Butter Mug Cake
Serves 1
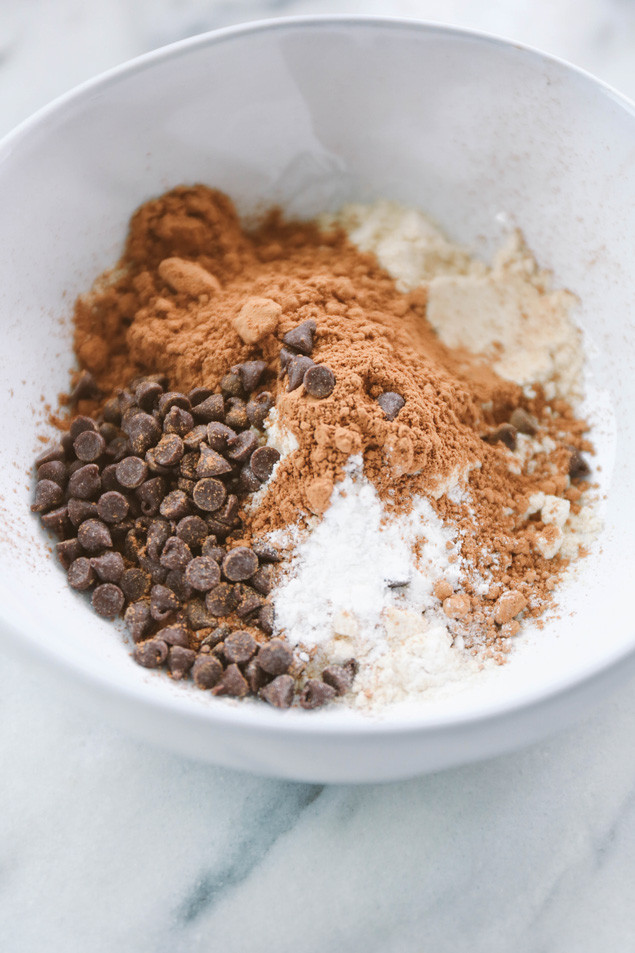
3 Tbsp whole wheat flour
1 Tbsp unsweetened cocoa powder
1/4 tsp baking powder
1 Tbsp mini chocolate chips (or vegan chocolate chips)
1 Tbsp coconut oil, melted
1 Tbsp maple syrup
2 Tbsp water
1/2 Tbsp peanut butter
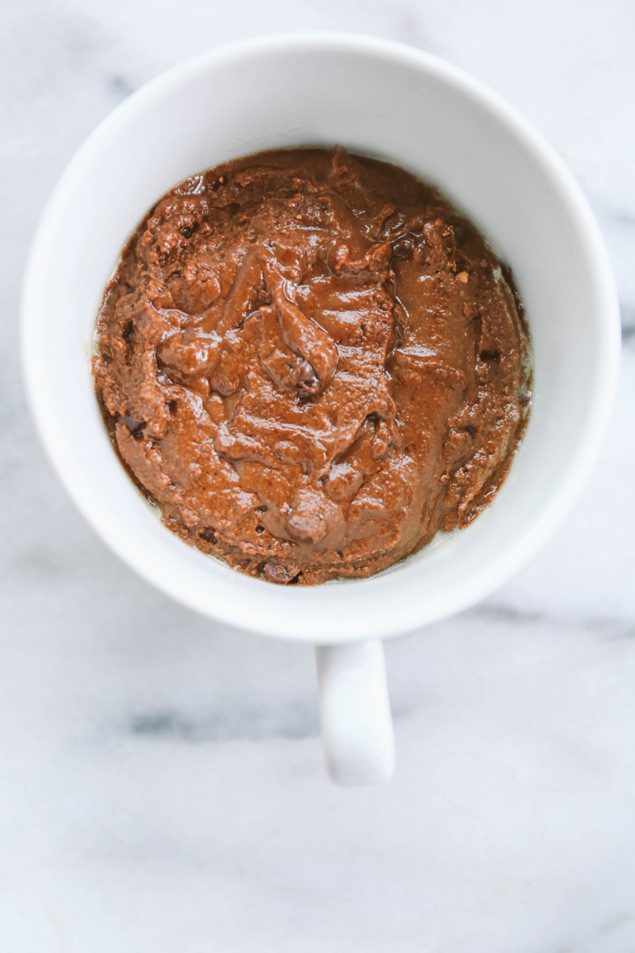
1. Mix dry ingredients – flour, cocoa powder, baking powder, and chocolate chips together in a small bowl. Mix everything together until just combined. DO NOT overmix.
2. Add wet ingredients – melted coconut oil, maple syrup, and water and stir until batter is well combined.
3. Spray a microwave safe mug generously with nonstick cooking spray and pour batter into the mug.
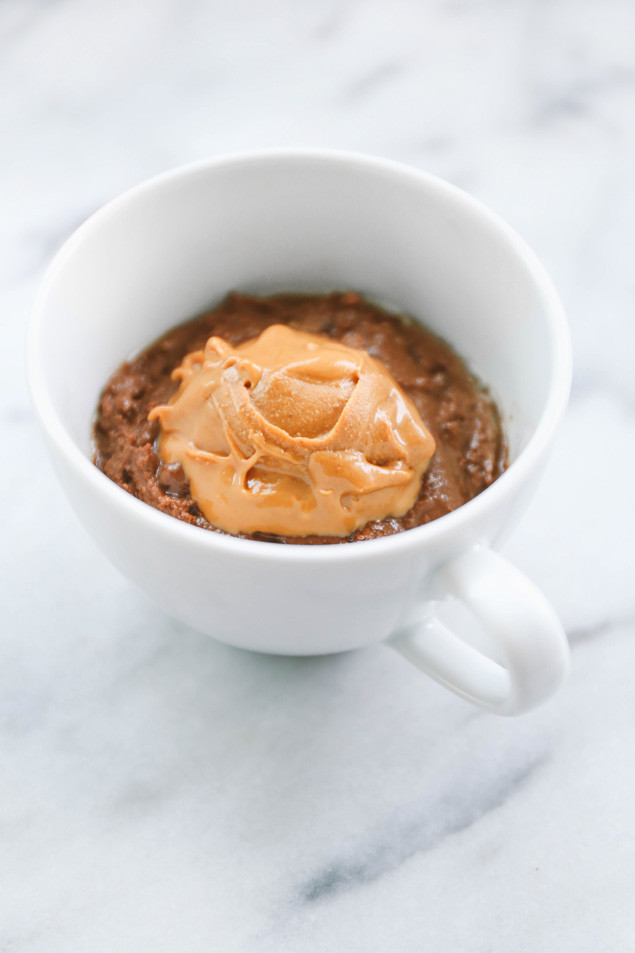
4. Add peanut butter on top of the batter.
5. Microwave mug cake for 60 seconds. Enjoy!
The Rabbit Food Pyramid Breakdown:
Produce: none
Whole Grain: whole wheat flour
Protein: none
Plant Based Fat: coconut oil, chocolate chips, and peanut butter
Rabbit Food Meal Tip: Complete this meal by topping it with 1 cup of fresh berries (sliced strawberries would be so good!) and a side of one cup of yogurt or milk of your choice (protein)!

 Photo by:
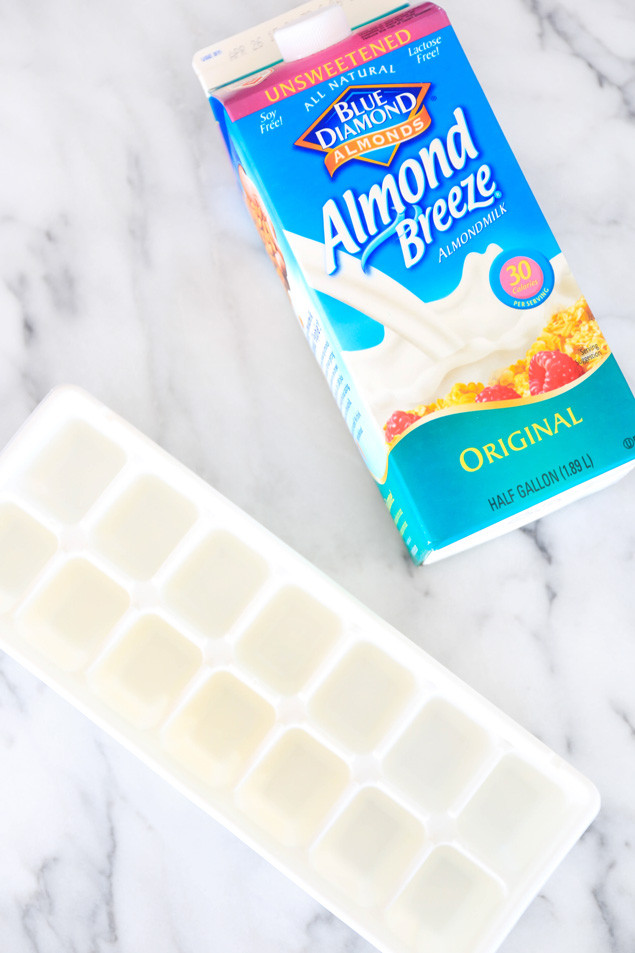


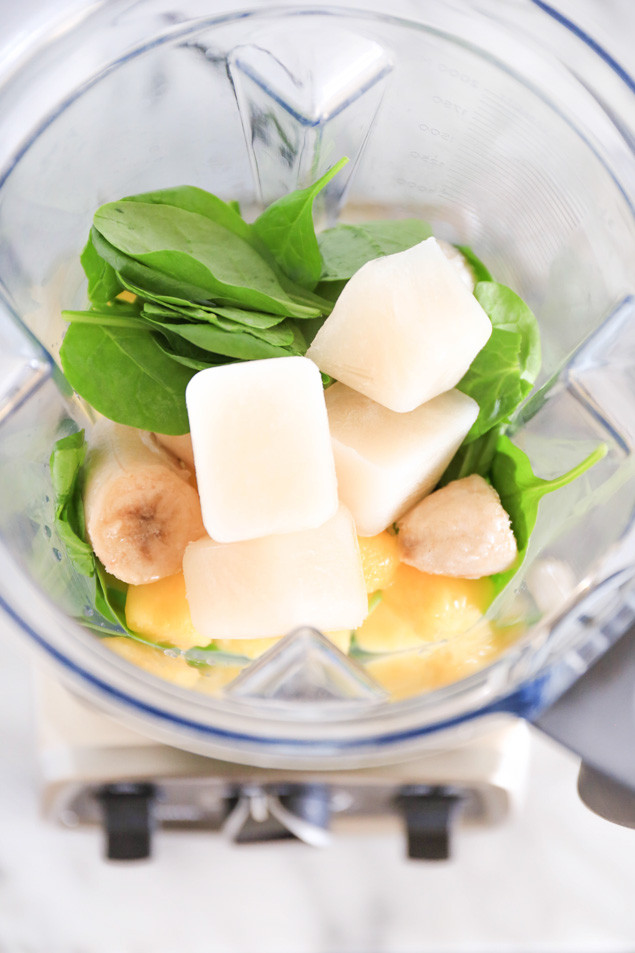
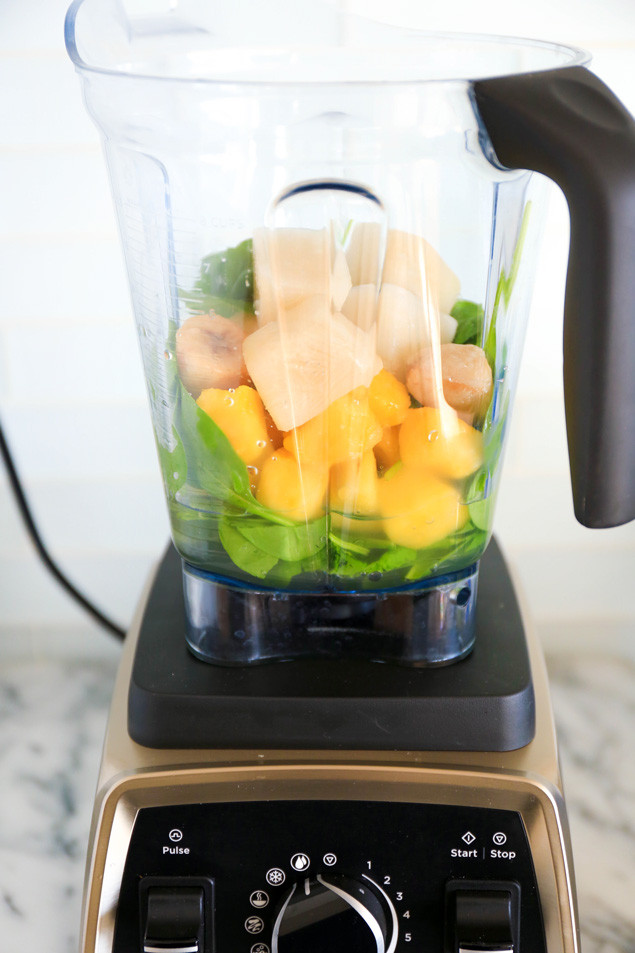
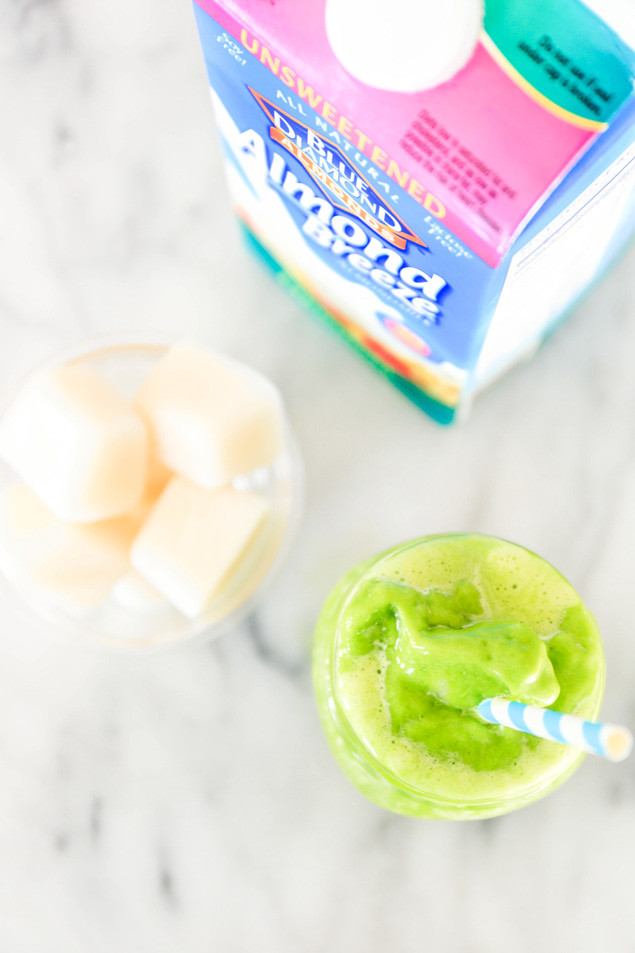
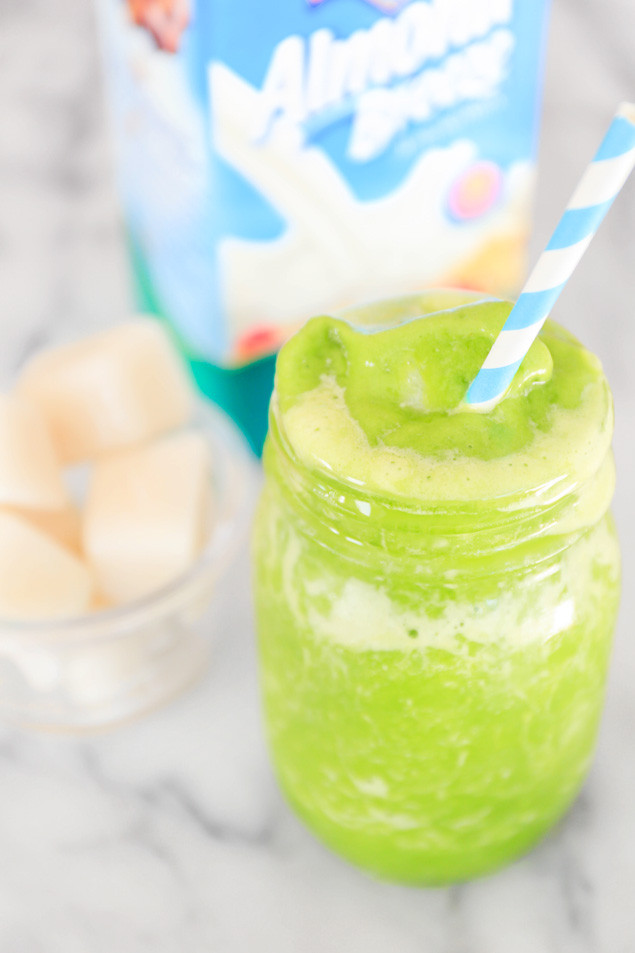
 Tropical Almond Milk Ice Cube Smoothie


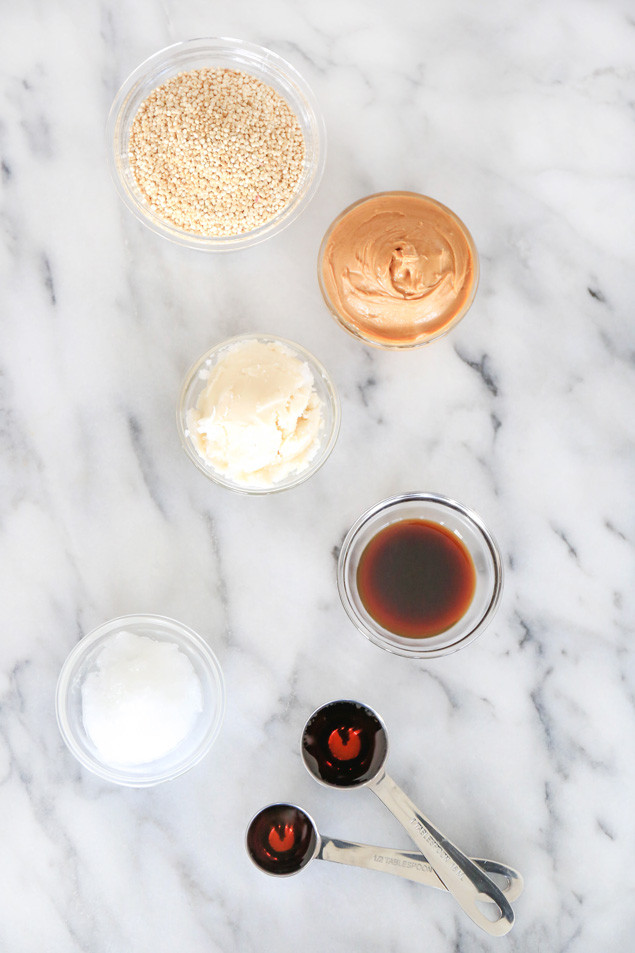
 Now before anyone asks, “do I have to go out and buy coconut butter? Isn’t it the same as coconut oil?” let me give you the 411! At one point, I thought they were the same thing. I thought that when coconut oil was at its solid form it was considered coconut butter and when it was melted and liquid it was considered coconut oil. Well I was wrong! No shame!
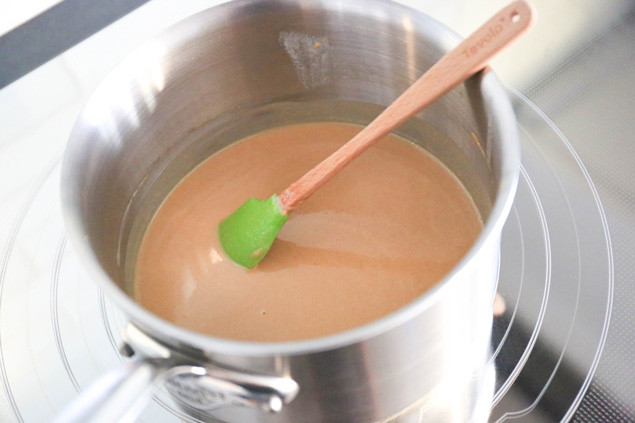
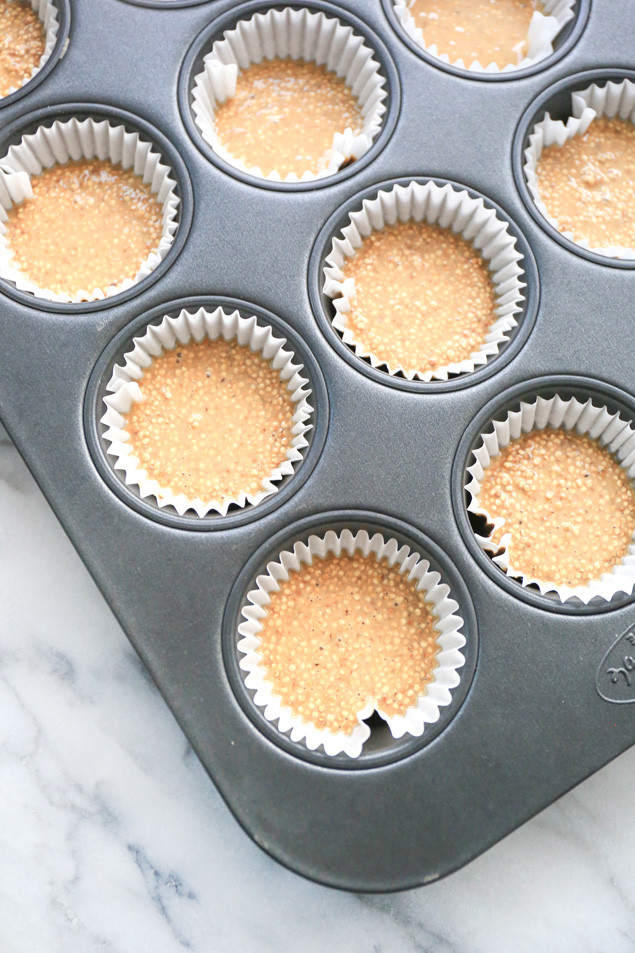
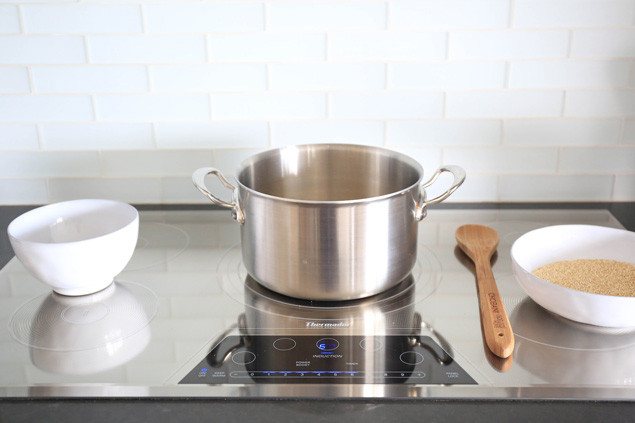 *You can purchase puffed quinoa at specialty health food stores but it’s kind of tricky to find and it may be a bit on the pricier side, so in this post I’m showing you how to make your own puffed/popped quinoa! Heat a large stock pot over medium heat (I have an induction stove, and I set my heat to level 6 out of 9). Once the pot is hot, pour a small amount (just enough to cover the bottom of the pan as seen in the photo below) of pre-rinsed and dried quinoa over the bottom of the pan. Gently swirl the quinoa around with a wooden spoon as it pops (this helps prevent burning). You’ll notice that the quinoa has a very quiet little crackle pop, and its popped state is only the tiniest bit larger than its unpopped state (nothing like popcorn!). Once your first round of quinoa has popped (a minute or two), pour it into a bowl and repeat until you have 1½ cups. I like to have a bowl of unpopped quinoa ready to pour into the pot, and then a bowl on the other side for the puffed quinoa to go into when it has finished popping.
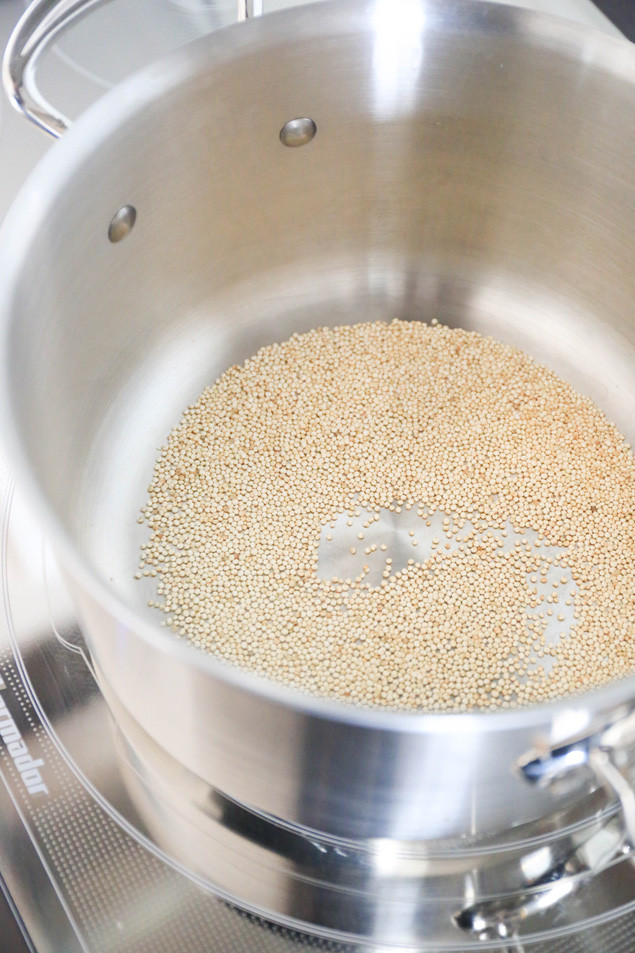
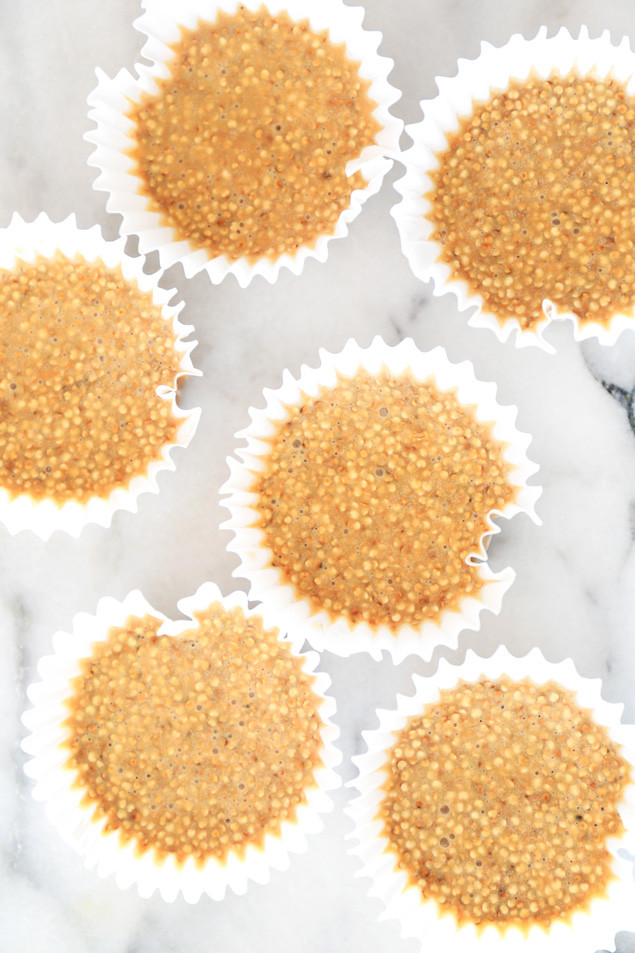
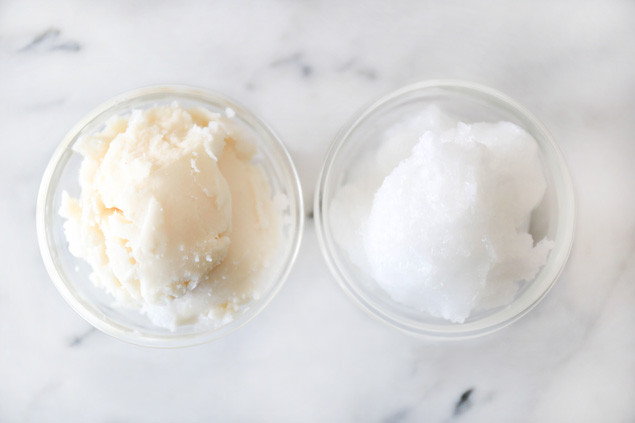
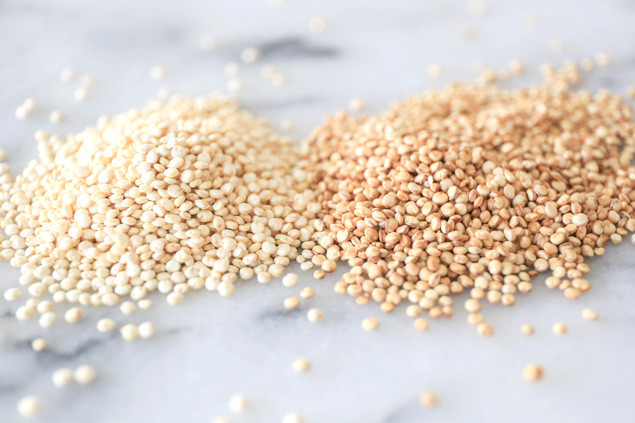 Above is a photo of unpopped quinoa to the left and popped or puffed quinoa on the right. See how there is a very slight difference in size, but the little ring inside has expanded?