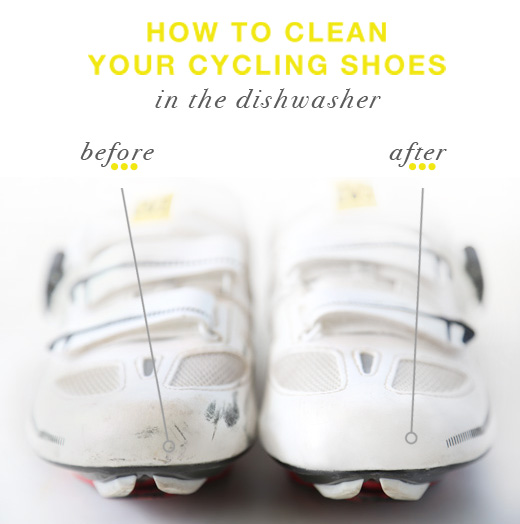
If you have any type of white athletic shoes, you know how hard they are to keep clean. Before you go out and buy new ones, save yourself some money and try washing them in the dishwasher. Yes, the dishwasher.
Back in the day (because I’m oh so old, right?) I used to throw my dirty shoes in the washing machine. You name it: Uggs, Vans, Converse, Nikes, I threw them in the washing machine. The only problem with cleaning shoes in the washing machine is that they start deteriorating pretty quickly after that. Putting your shoes in a washing machine filled with water and spinning them around at high speeds on the spin cycle isn’t exactly the best way to keep your shoes in good condition. It bangs them around and weakens the glue that hold them together.
I’m sharing my step-by-step tips for getting your shoes bright and sparkly, odor-free, and in overall tip-top shape!
Before you venture into washing your cycling shoes or other workout shoes, please know that they need about 24 hours or a day in the sun to completely dry. You will want to wash these on a day or two where you don’t need to wear them!
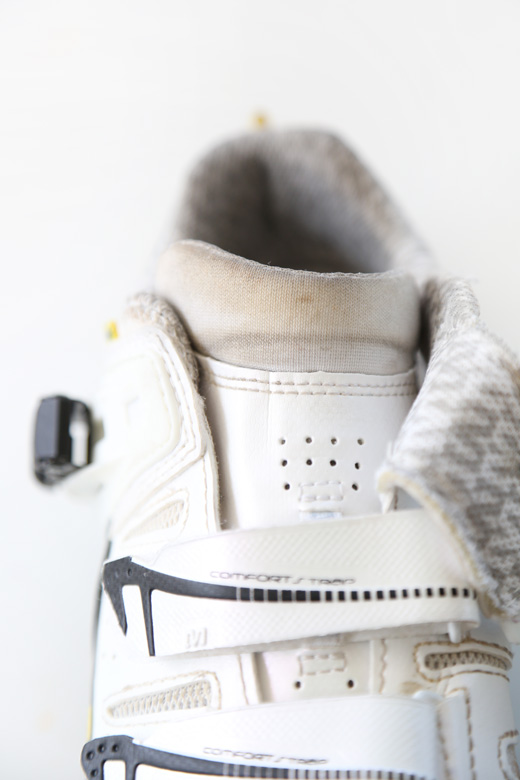
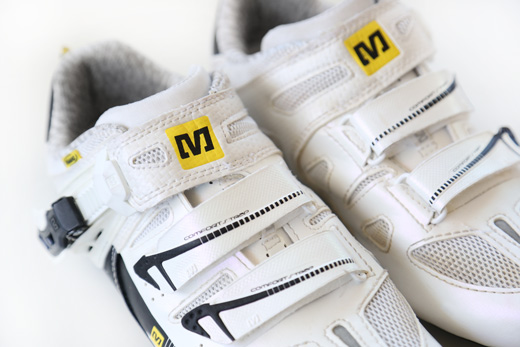
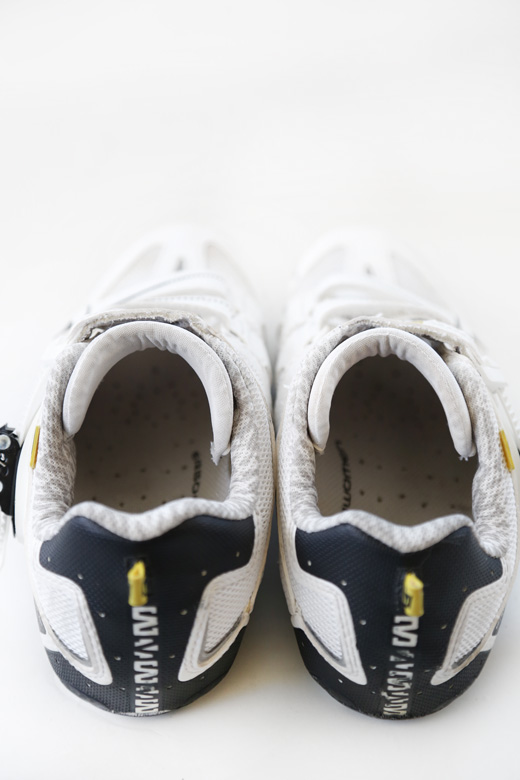
You will notice that my prized Mavic Giova Women’s Cycling Shoes are a bit brown around the ankle area and tongue. They’re survived one year of spray tans and sweat, but they’re definitely looking a little grimy and not smelling that fab.
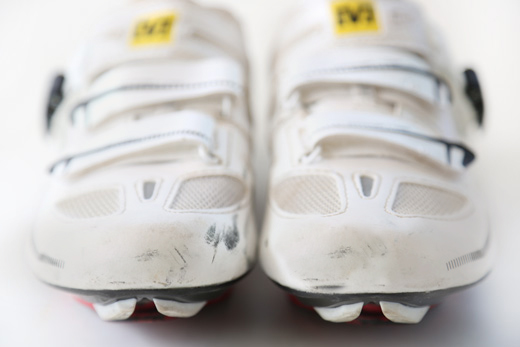
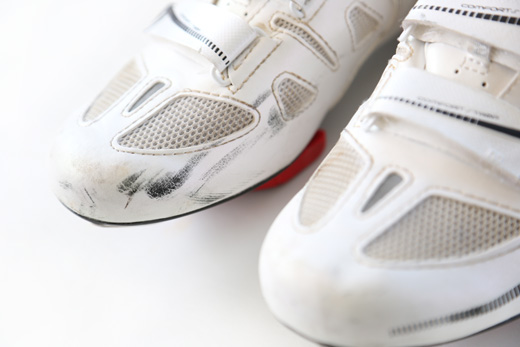
The fronts and sides are completely scuffed up from my spastic walking skills and running into stationary objects, ha ha ha.
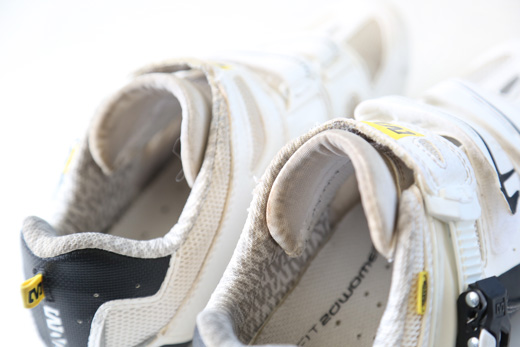
Above is another angle showing the brown fabric tongue before washing.
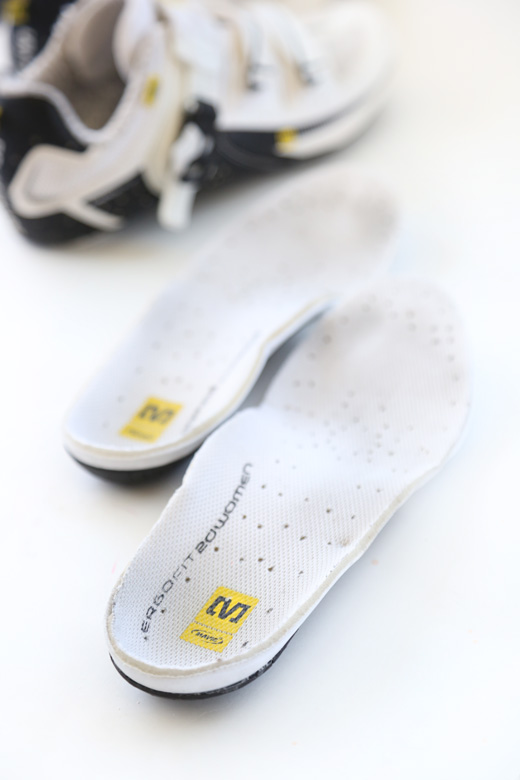
Before washing, you will want to take out any removable soles inside of your shoes.
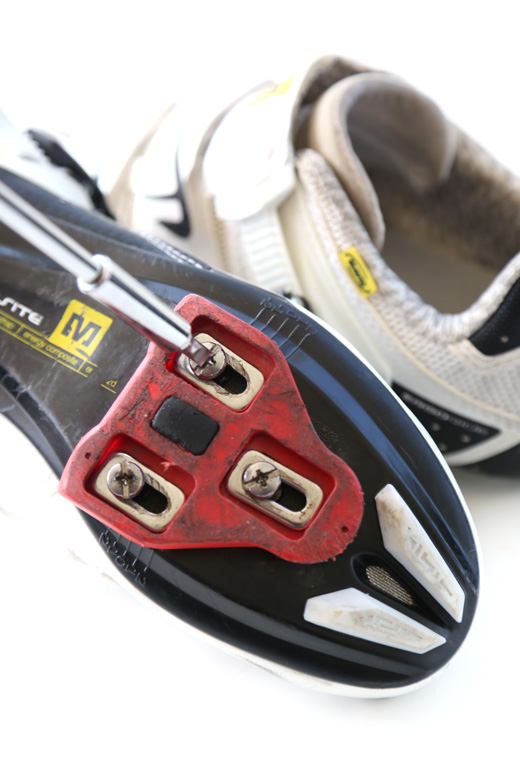
You will also need to remove your “clips” and any metal hardware from your cycling shoes (these will not be washed).
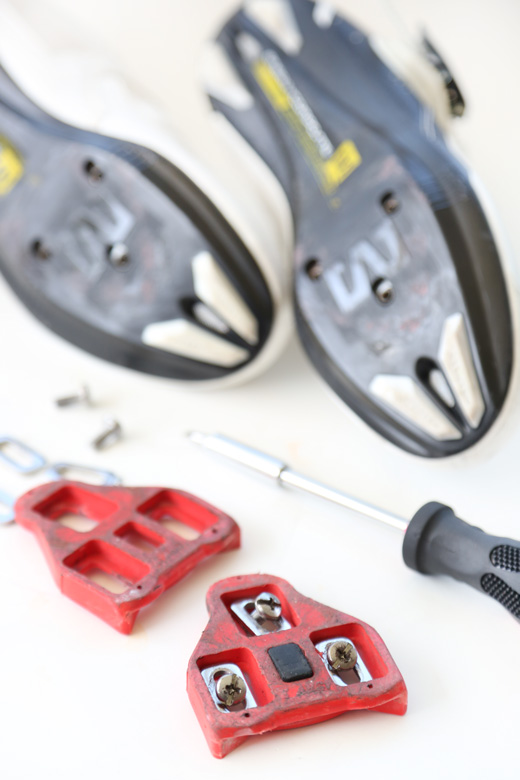
Once you have removed your clips and hardware, it’s time for some pre-scrubbing.
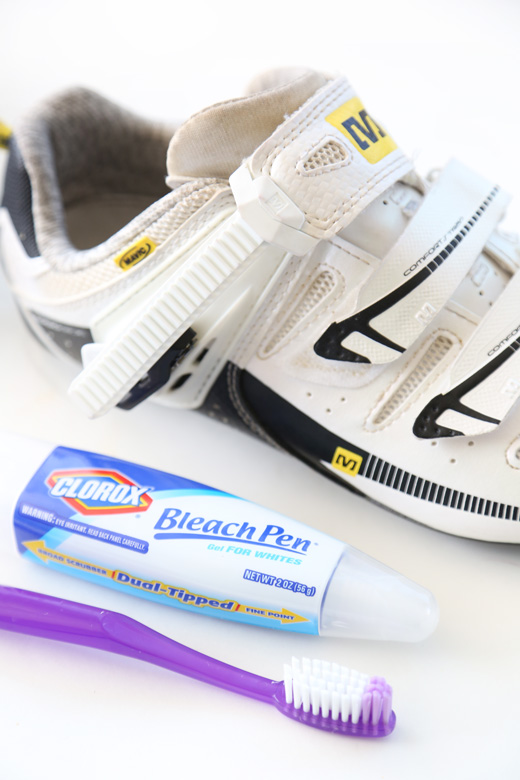
Check your shoes for any areas that need to be pre-scrubbed such as the soles or stained areas. I used a Clorox Gel Bleach Pen and an old toothbrush to get most of the deep stains and discoloration removed. Of course, if you have dark or colored shoes you won’t want to use bleach, but I would recommend using a little bit of dishwasher detergent on the toothbrush bristles to help remove stains and scrub.
Note: Do not use any type of foaming soap or detergent unless it is made for a dishwasher! Tide to Go is also a great option to remove stains from colored shoes.
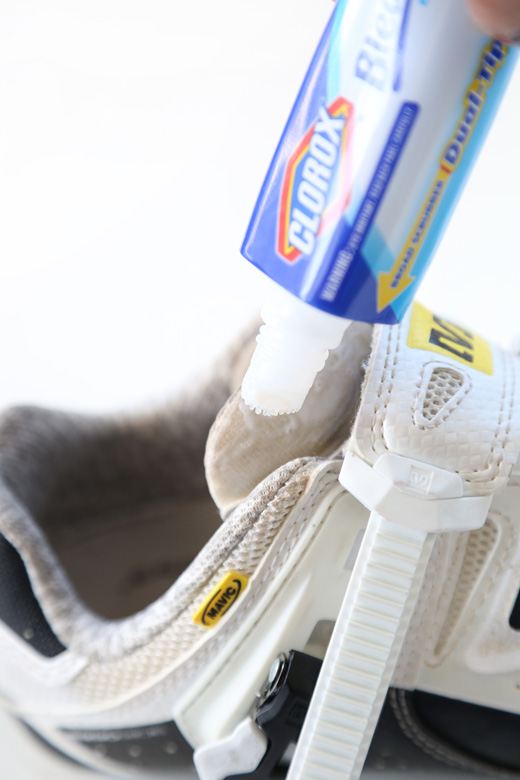
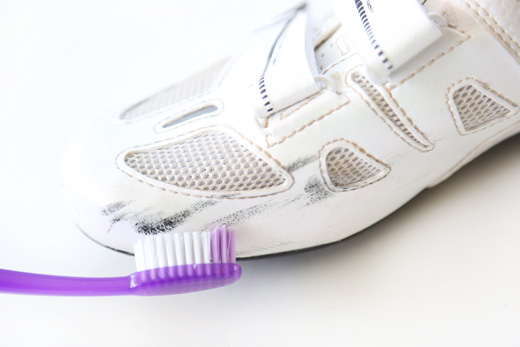
You can also use dishwasher detergent and a toothbrush to clean scuffs off of the leather areas of your shoes. My other secret weapon for removing scuff marks is the Mr. Clean Magic Eraser. They really are magical! I use Magic Erasers on everything from shoes, to walls, and laptops!

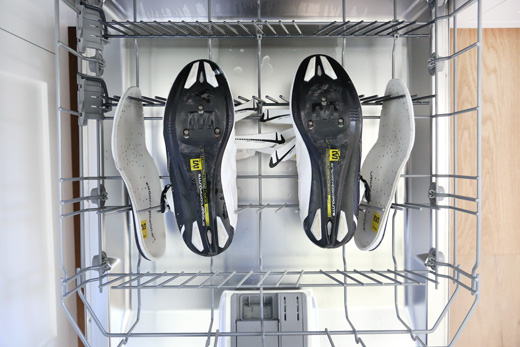
Once you have spot treated any visible stains, it’s time to put those babies in the dishwasher and watch some serious magic happen. Place your shoes on the bottom rack of the dishwasher, upside down and the removable soles in the racks next to them. Set your dishwasher to delicate and turn off heated drying cycle. Heated drying can shrink your shoes, as well as damage and weaken the faux leather or vinyl areas of your fancy shmancy kicks.
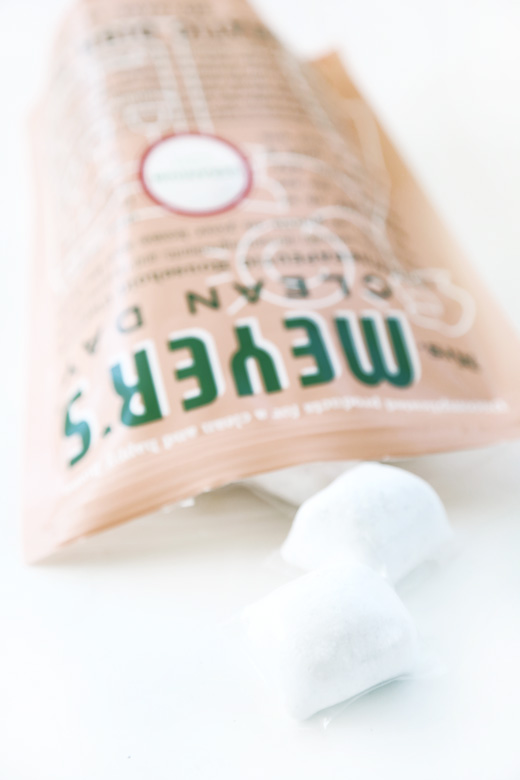
My favorite dishwasher detergent is Mrs. Meyer’s Clean Day in Geranium. I love Mrs. Meyer’s products because they use mainly naturally derived ingredients, minimal chemicals (only for efficiency of cleanliness), and smell absolutely delightful! Read more about Mrs. Meyer’s Product philosophy here! If you haven’t tried their Basil Hand Soap, you must. I get most of my Mrs. Meyer’s products at Target and Whole Foods.
Once you remove your shoes from the dishwasher, lay them out in the sun to dry for the rest of the day, or until completely dry! You will be left with sparkly clean shoes that look brand spanking new and smell flowery fresh! I mean… check out how clean and white they are now!
I hope that you found this useful for cleaning any types of workout shoes, or shoes in general! Of course, always read and inspect your shoes to make sure they are safe to put in water beforehand. Most will be just fine, but you won’t want to put your leather Top Siders in the dishwasher. Ha!
Health & Happiness
xo Catherine


 Photo by:


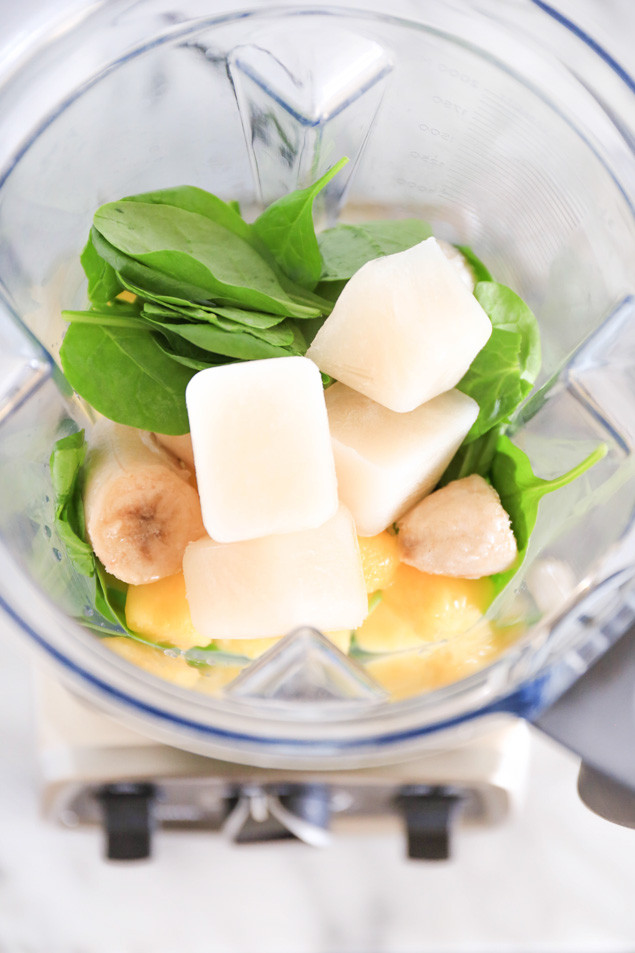
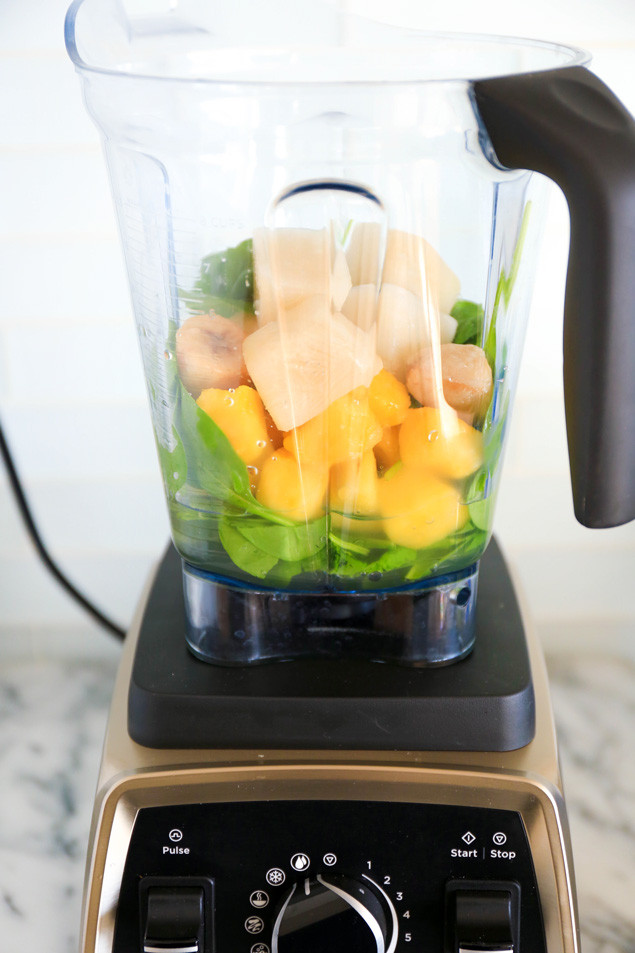
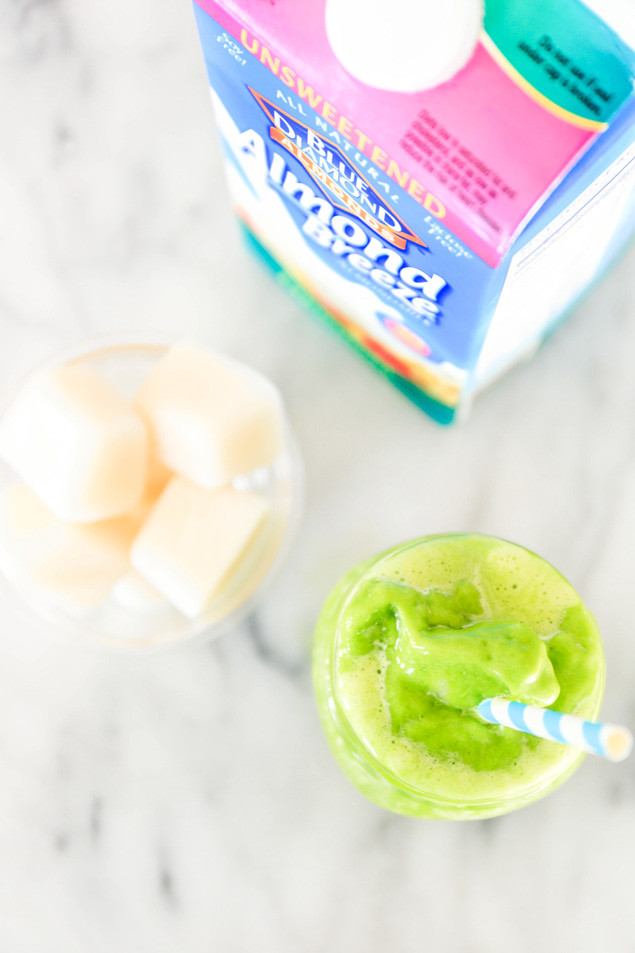
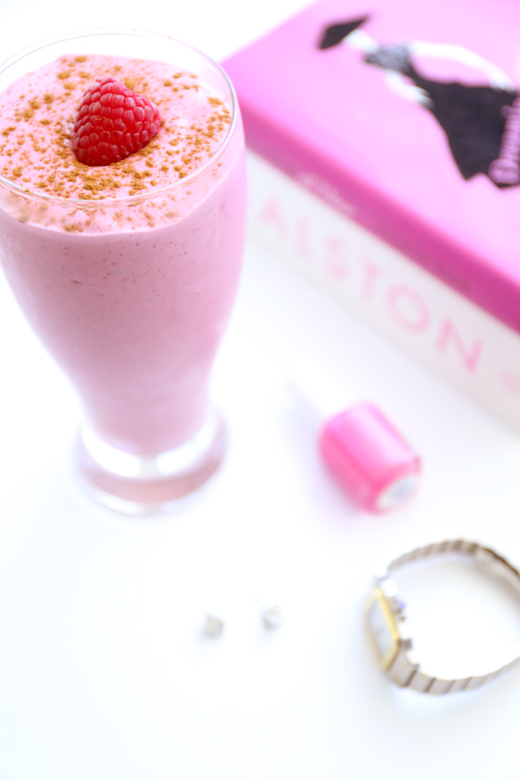
 Tropical Almond Milk Ice Cube Smoothie
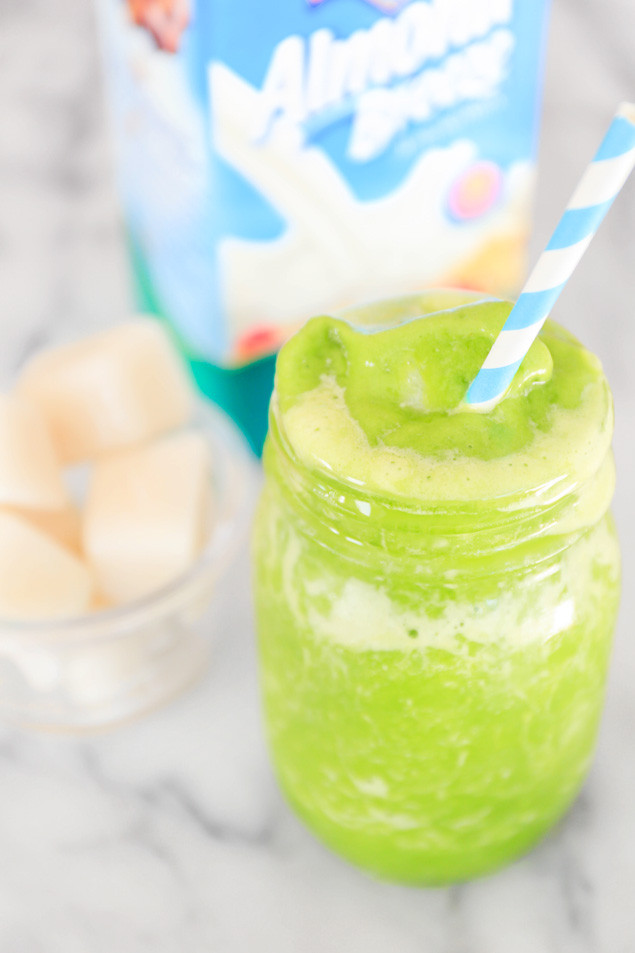