Hi Bunnies!
I know it’s been over a week since my last post, YIKES ( I haven’t done that for over a year) but I have had so much going on recently. I am back and ready to kill it this week!
I’ve been thinking a lot about the direction in which I want my blog to go. I get so many comments on social media asking for more Youtube videos, so I definitely want to start doing some recipe tutorials as well as fun hair tutorials for you guys, but honestly I’ve become so self conscious that it’s holding me back from doing videos. During recovery, I gained weight and I came so insecure about it that I never talked about it on my blog. I actually became quite guarded and quiet about my personal life on my blog and I feel like I haven’t had much of a voice. I used to speak so openly about the ups and downs of weight loss and what it’s like to struggle with losing weight, maintaining weight, and getting myself to the gym, but I honestly can’t remember the last time I’ve done a post like that.
This past weekend my friend Kathy of Healthy Happy Life stayed over for the weekend and we were Expo West buddies. As we we’re driving to the Anaheim convention center together, I was telling her that I was struggling with my voice on my blog. I told her that I felt like it lost what it used to be because I was insecure about where I am in my weight loss journey now, and that I almost wanted to give up blogging. Let me start by saying that Kathy inspires me so much. She has her vegan recipe blog Healthy Happy Life, her yummy drool-worthy site Finding Vegan, and two books 365 Vegan Smoothies, and Healthy Happy Vegan Kitchen. She is the definition of #GirlBoss. When I told Kathy I was about to throw in the towel because of my insecurity, she completely shut my idea of giving up down. She reminded me of what my blog is about. It’s not just about the “after” pictures. It’s about my story, my feelings, my accomplishments, my bad days, my recipes, my goals, and my connection with my readers who have been here since the start. I had gotten so in my head and wrapped up into the fact that the majority of my blog readers know me as my before and after photos – a weight loss success story. I’m proud and honored that my weight loss story has inspired and motivated so many people to change their lives, and in the back of my mind, I’ve had a fear that if I gained weight or fell of the wagon that my readers would judge me, but I can’t hide that I’m not that teeny tiny sickly thin person in the old after photos anymore. I am putting my silly insecurity aside and I want to be an example that recovery is possible, that happiness is possible, that life goes on, and that for the most part, these crazy thoughts of insecurity and unworthiness are all in your head. Right now, I am so inspired to do more posts about what I have been going through and thinking about because not only is it therapeutic for me (I completely forgot until just now) but if it helps just one person out there that can relate, it’s 100% worth it.
 Photo by: Ashley Osborn
Matt and I on Saturday night at the Self Help Festival
I don’t know how many of you read Andie Mitchell’s blog Can You Stay For Dinner? but this post is a must read, her TEDx Talk is a must watch, and her book “It Was Me All Along” is a YOU NEED TO BUY IT AND READ IT RIGHT NOW. I resonate with her so much. In fact, I’m pretty sure most people do. She’s amazing, and her honesty and bravery also helped me with this post!
I started a public Snapchat (@EatRabbitFood) that shows behind the scenes videos and pictures of me working on my blog, and doing boring silly things that are carefree and fun. I want to show my readers that not everything is as perfectly curated as Instagram and let my personality show. I mean at the end of the day, I am just little old Catherine who writes a blog!
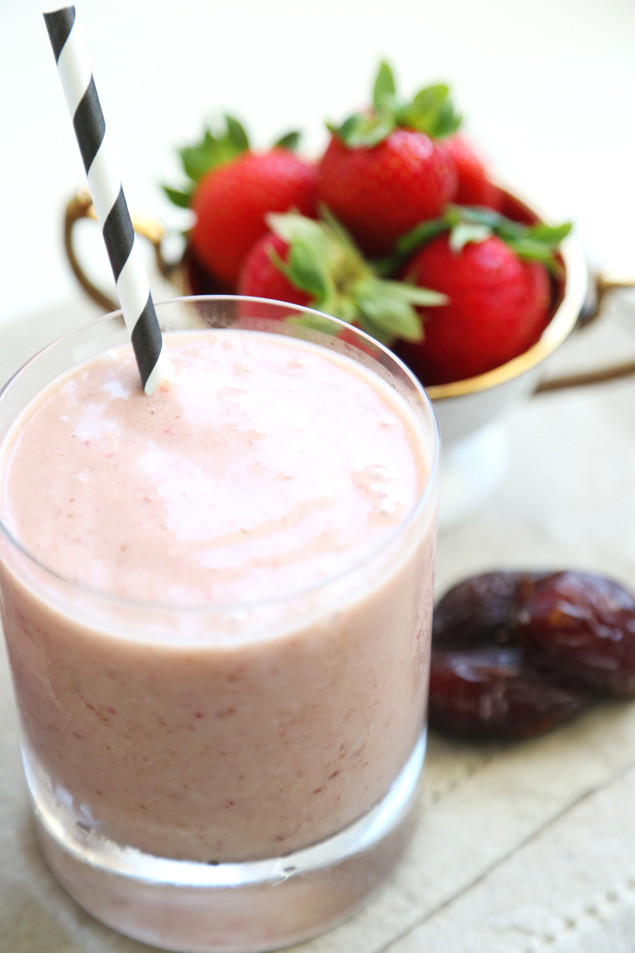
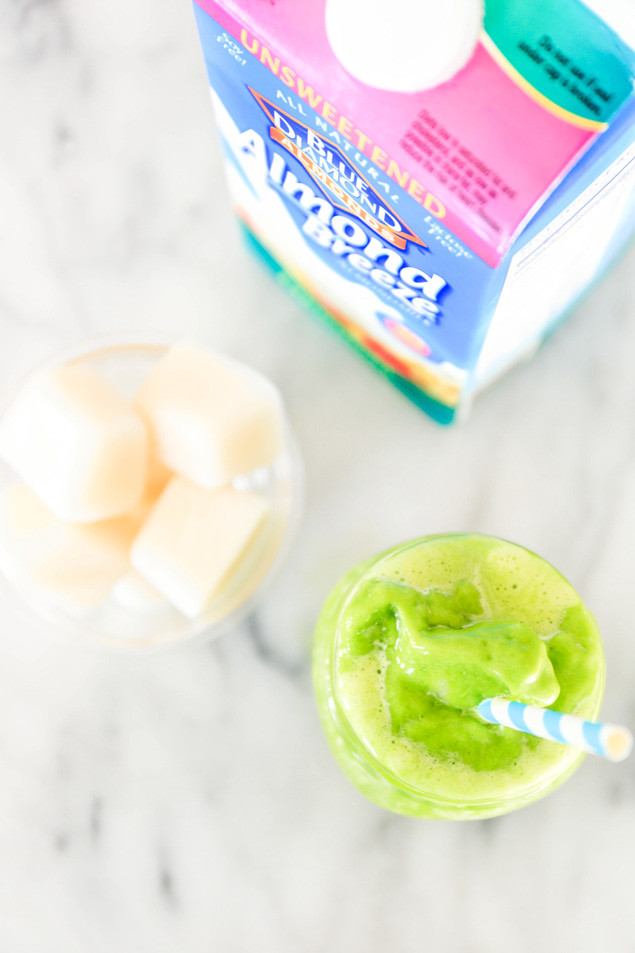
For the past month I’ve been breaking out in crazy hives all over my forearms, wrists, ankles, and knees and I cannot figure out what is causing them. Food allergies? Thyroid off again? Stress? It’s been super irritating and uncomfortable so I finally made an appointment to see a new allergist with my friend Celina tomorrow. We both have really severe food allergies (in fact that’s how we bonded when we first met), so tomorrow we have back-to-back allergist appointments together. So romantical! Kind of a bummer, but recently I’ve been wondering if I have developed an almond allergy. I use almond milk every morning in my coffee and in tons of my smoothies and recipes (like today’s!) and I would be pretty heart broken if I found out I was allergic, but I’m quite nervous that I could be. Wahhhh. An hour or so after this smoothie I broke out in hives, which was concerning. I also made an iced coffee with the remaining almond milk ice cubes the next day and ended up with hives later in the day. Ugh, since then I’ve tried to avoid almonds and almond milk but I’m still getting hives. So… onto the allergist I go.

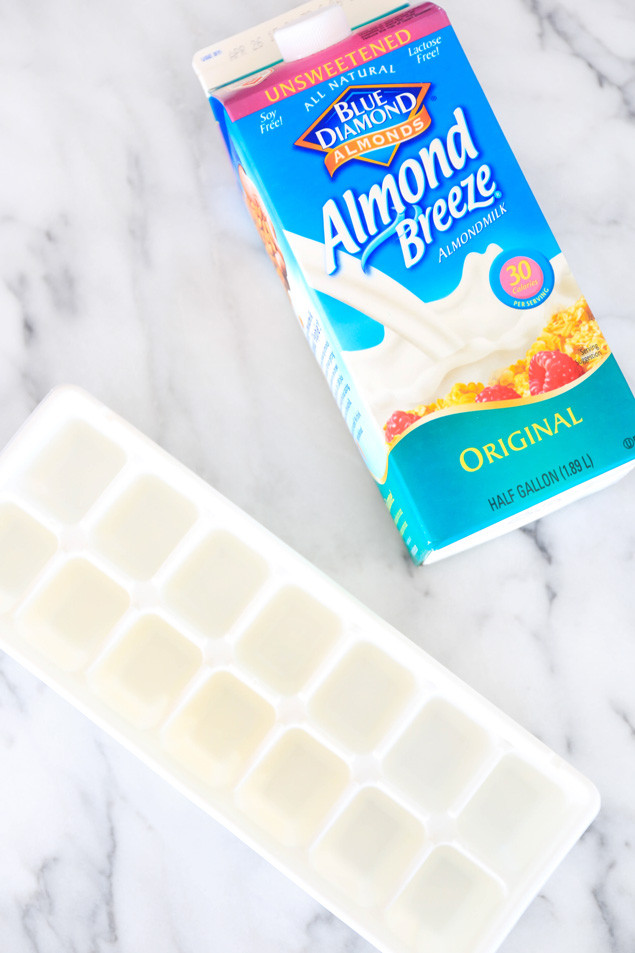
The idea behind almond milk ice cubes is to replace regular ice cubes so that the smoothie doesn’t get watered down. Almond milk ice cubes will add creaminess to any smoothie that normally uses regular ice cubes! Simply put almond milk in an ice tray, and freeze overnight! They can also be used to make iced coffee. Brew coffee an pour over a cup of almond milk ice cubes for a creamy cool caffeinated treat!
I like using Almond Breeze Original because it doesn’t have added sugars!

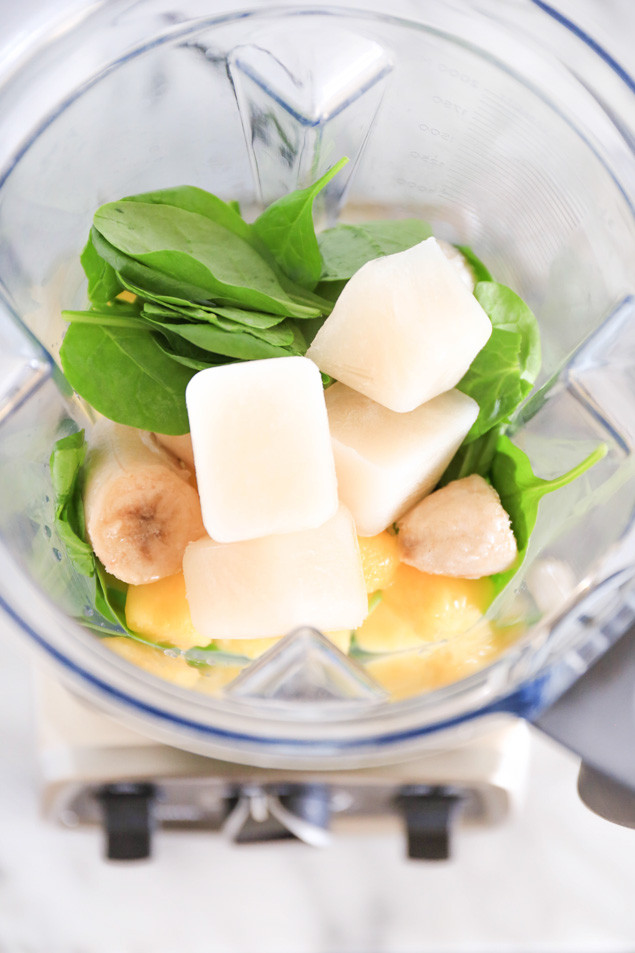
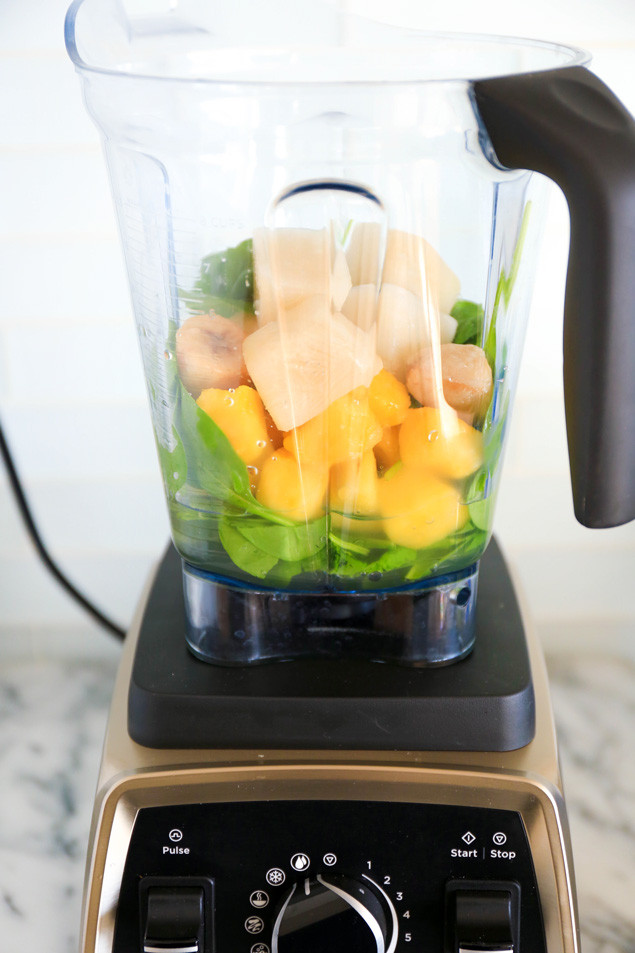
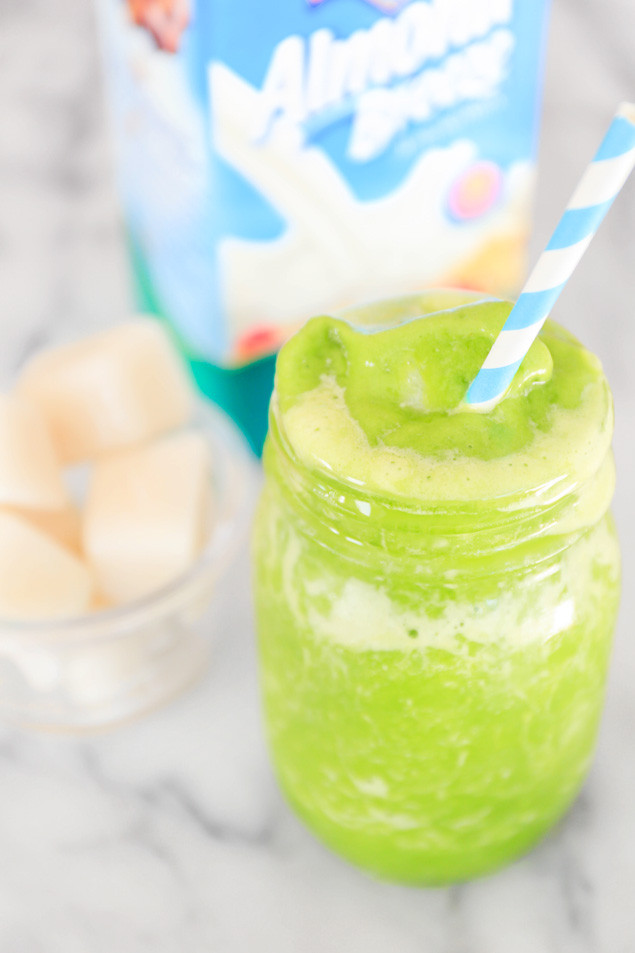
 Tropical Almond Milk Ice Cube Smoothie
Serves 1
5 almond milk ice cubes
1 handful of spinach
1/2 cup coconut water
1 cup frozen pineapple
1 frozen banana
Pour almond milk in an ice tray and freeze overnight. Add all ingredients to blender and blend until creamy and smooth.
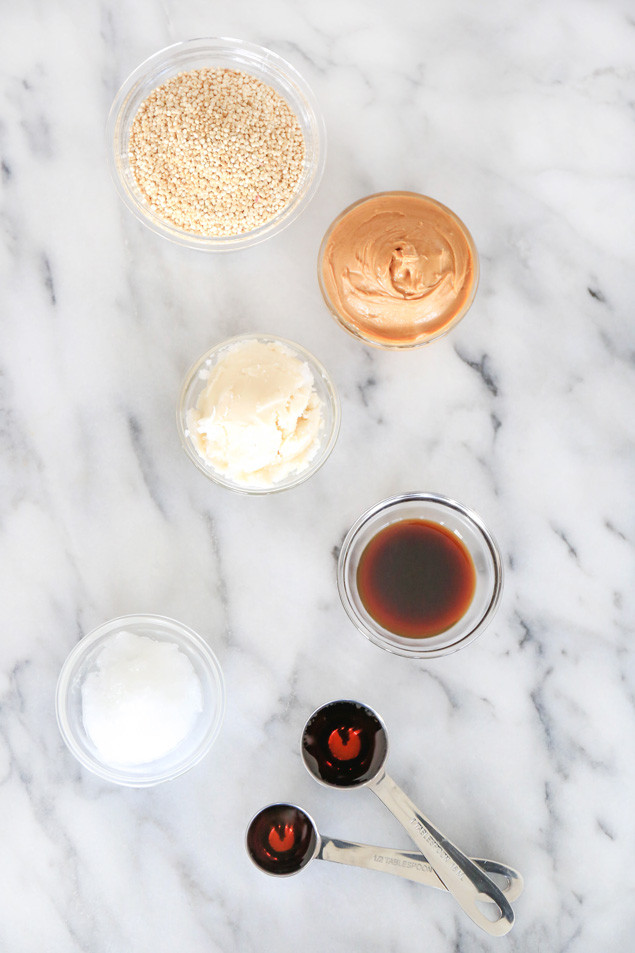
 Now before anyone asks, “do I have to go out and buy coconut butter? Isn’t it the same as coconut oil?” let me give you the 411! At one point, I thought they were the same thing. I thought that when coconut oil was at its solid form it was considered coconut butter and when it was melted and liquid it was considered coconut oil. Well I was wrong! No shame!
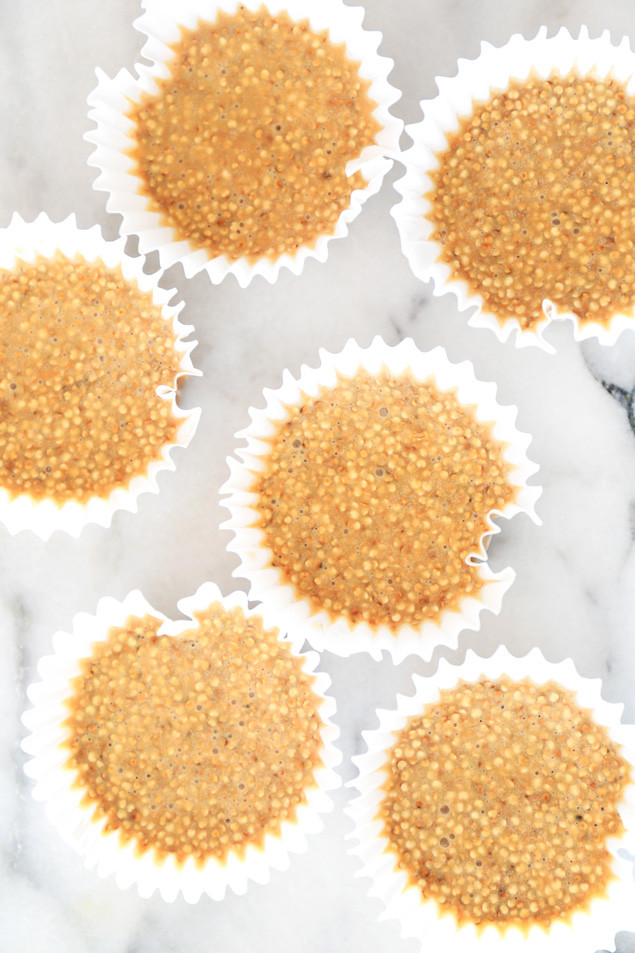
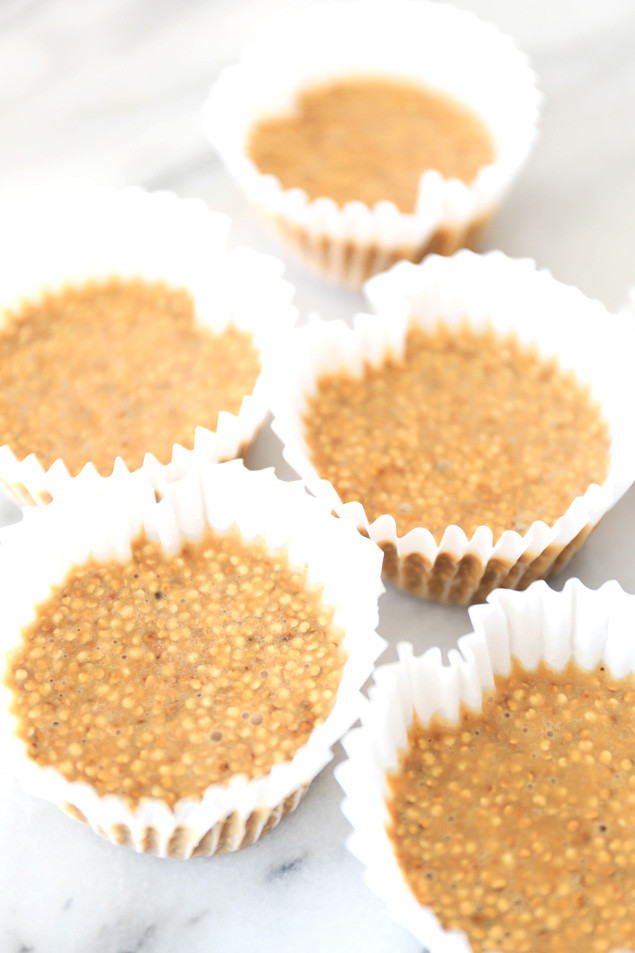
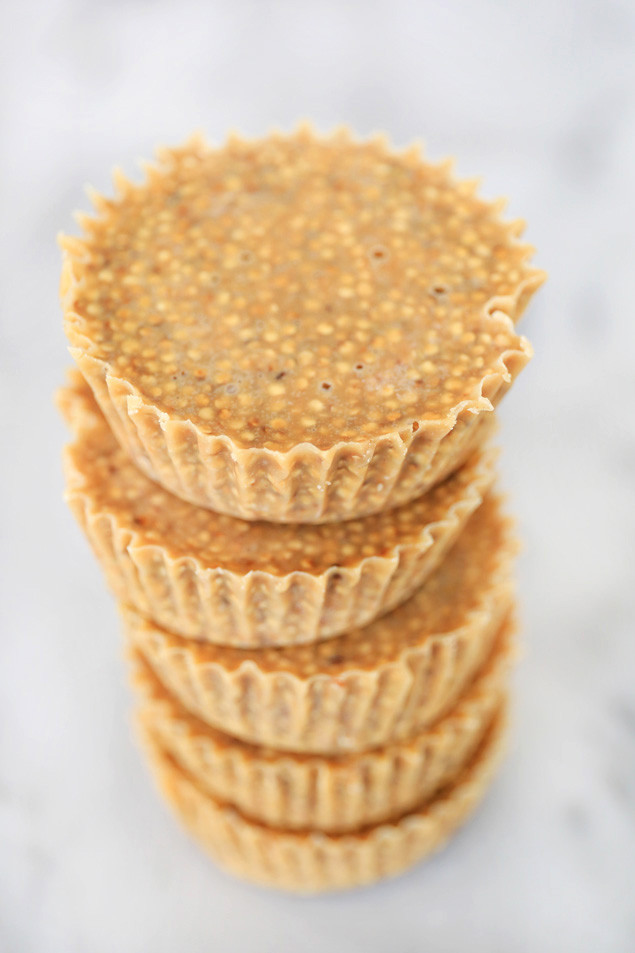
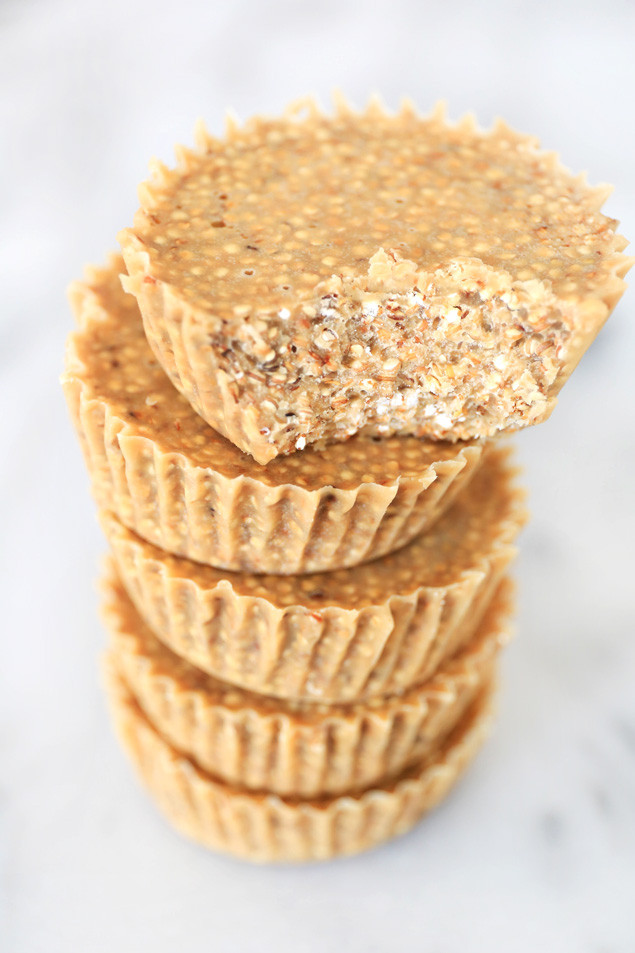
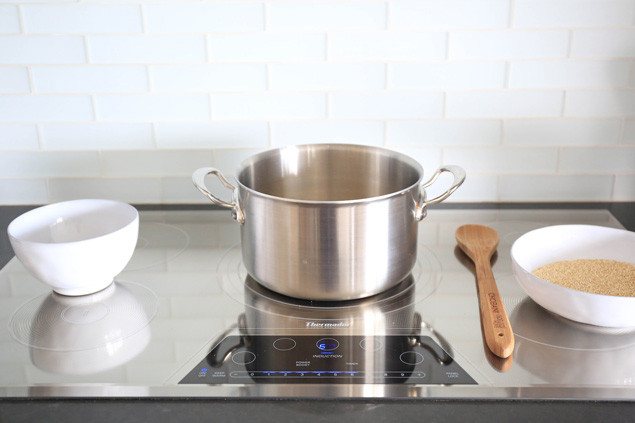 *You can purchase puffed quinoa at specialty health food stores but it’s kind of tricky to find and it may be a bit on the pricier side, so in this post I’m showing you how to make your own puffed/popped quinoa! Heat a large stock pot over medium heat (I have an induction stove, and I set my heat to level 6 out of 9). Once the pot is hot, pour a small amount (just enough to cover the bottom of the pan as seen in the photo below) of pre-rinsed and dried quinoa over the bottom of the pan. Gently swirl the quinoa around with a wooden spoon as it pops (this helps prevent burning). You’ll notice that the quinoa has a very quiet little crackle pop, and its popped state is only the tiniest bit larger than its unpopped state (nothing like popcorn!). Once your first round of quinoa has popped (a minute or two), pour it into a bowl and repeat until you have 1½ cups. I like to have a bowl of unpopped quinoa ready to pour into the pot, and then a bowl on the other side for the puffed quinoa to go into when it has finished popping.
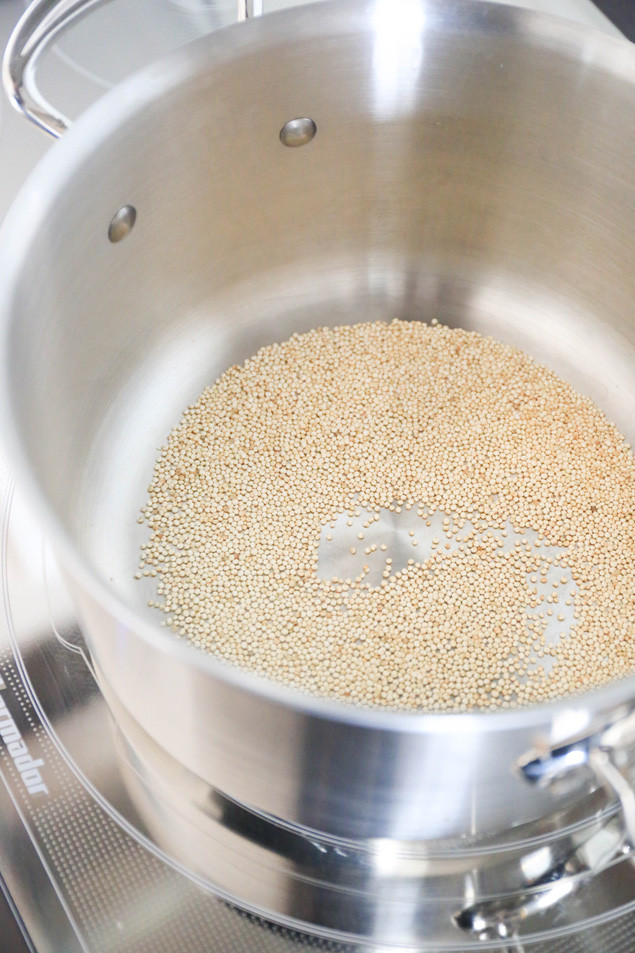
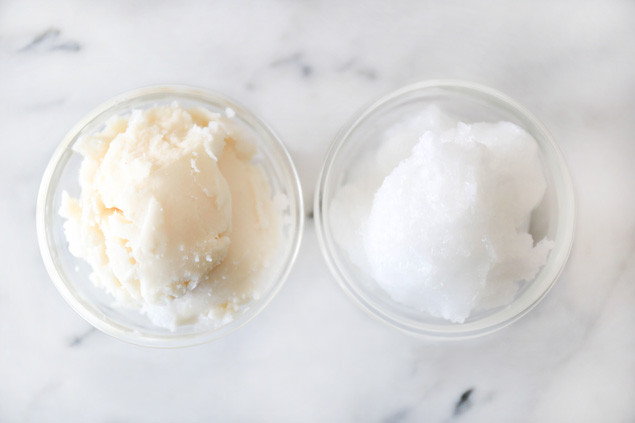
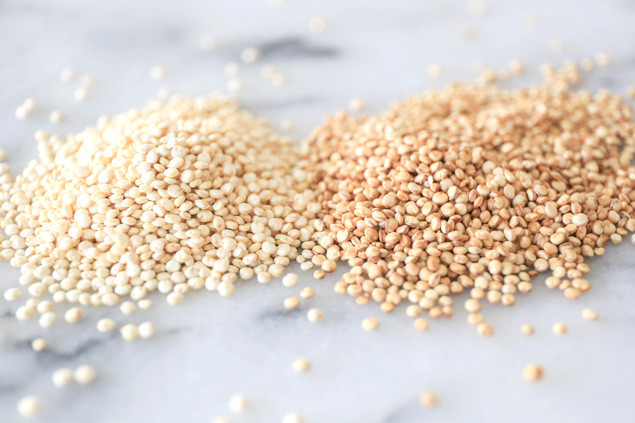 Above is a photo of unpopped quinoa to the left and popped or puffed quinoa on the right. See how there is a very slight difference in size, but the little ring inside has expanded?


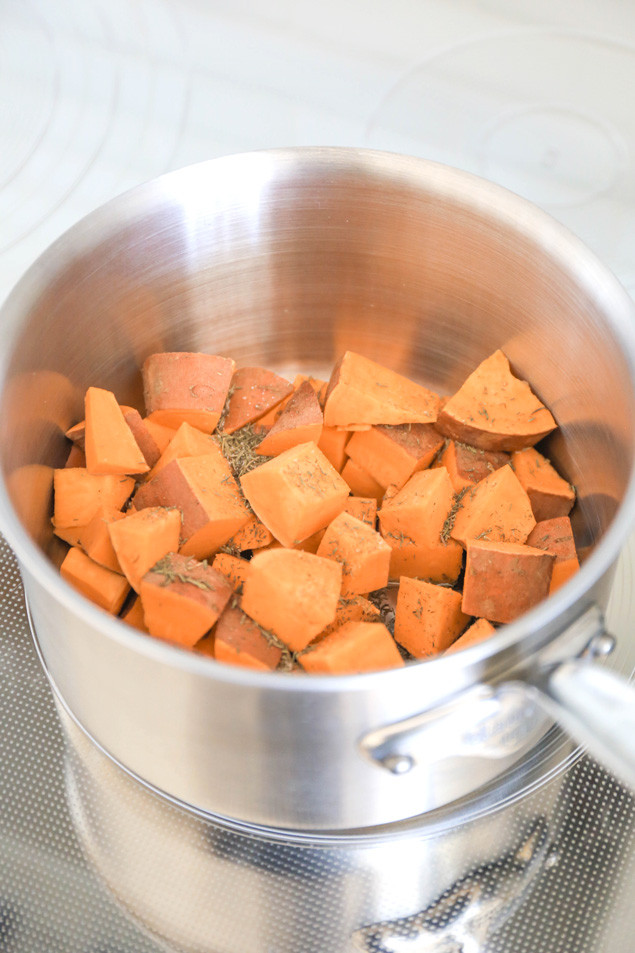
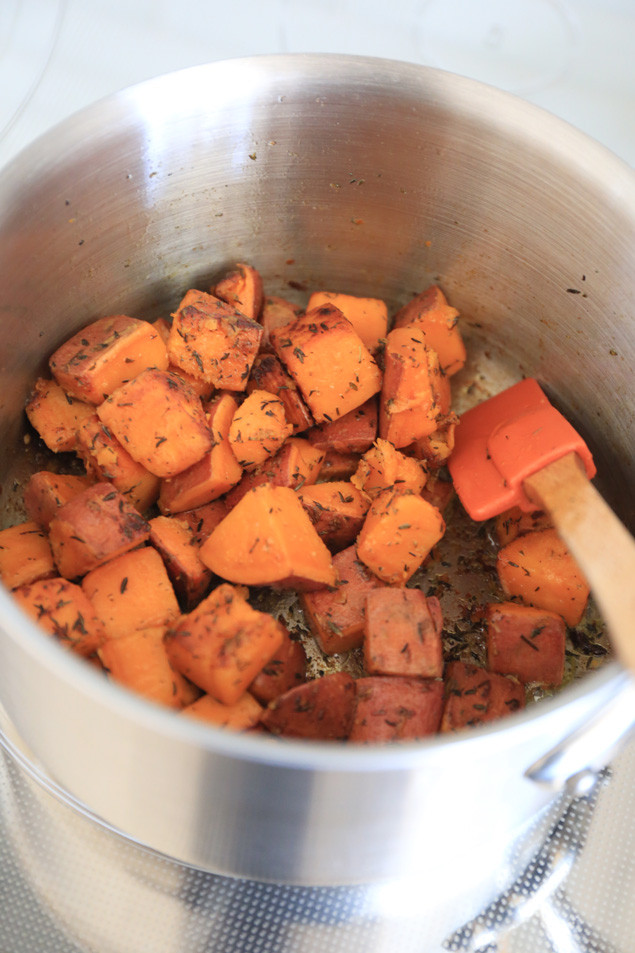
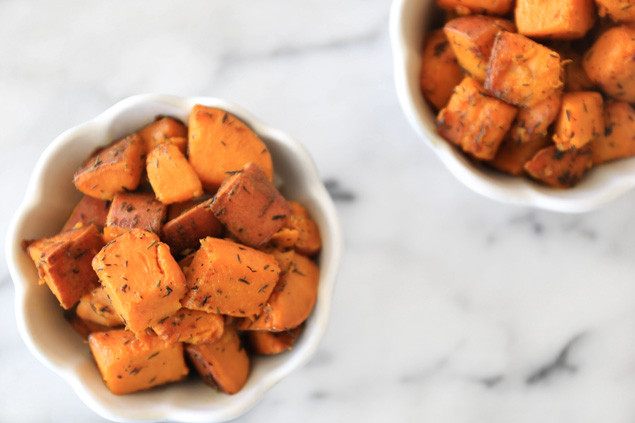
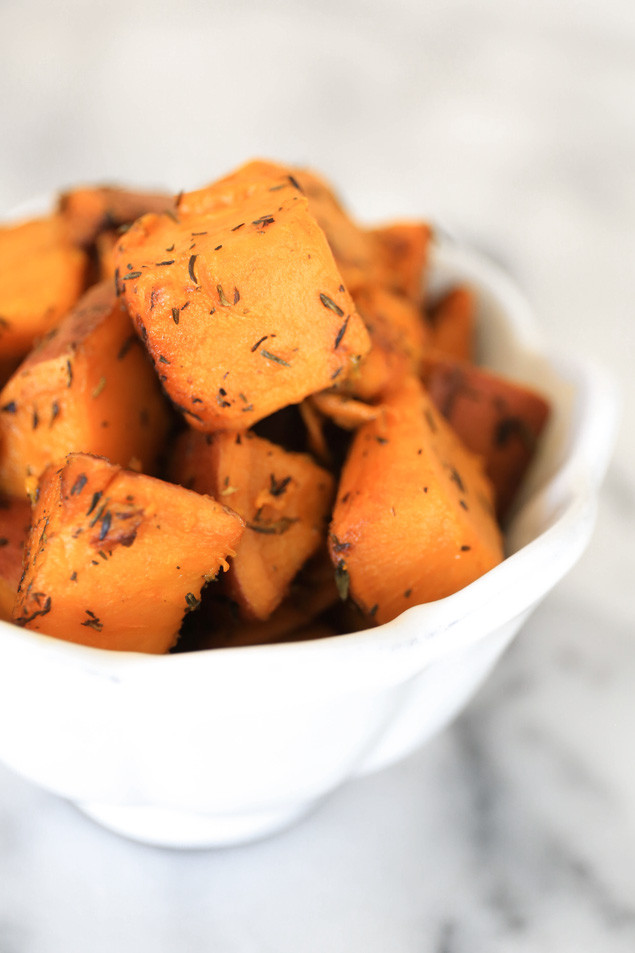
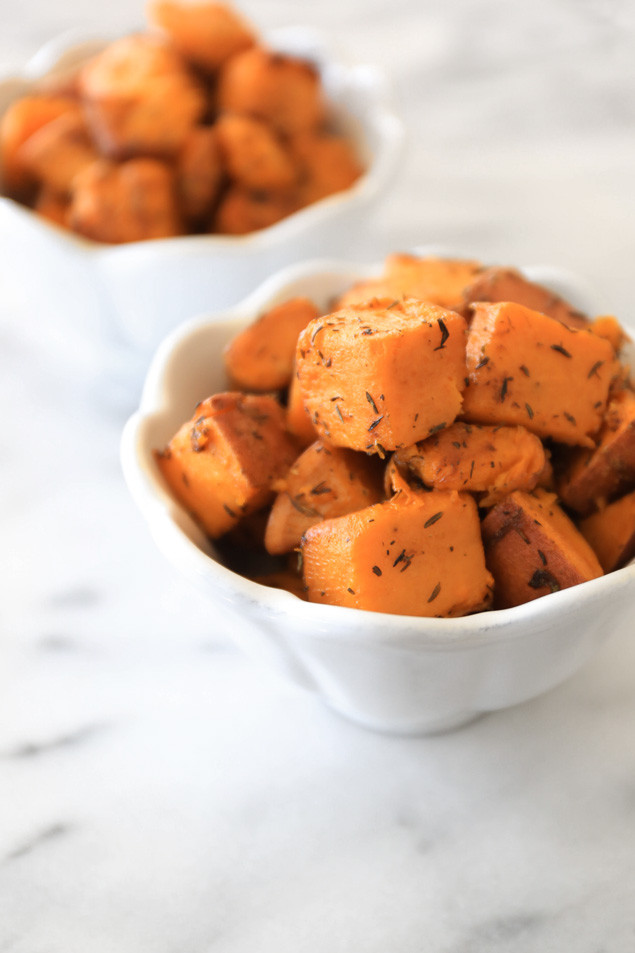
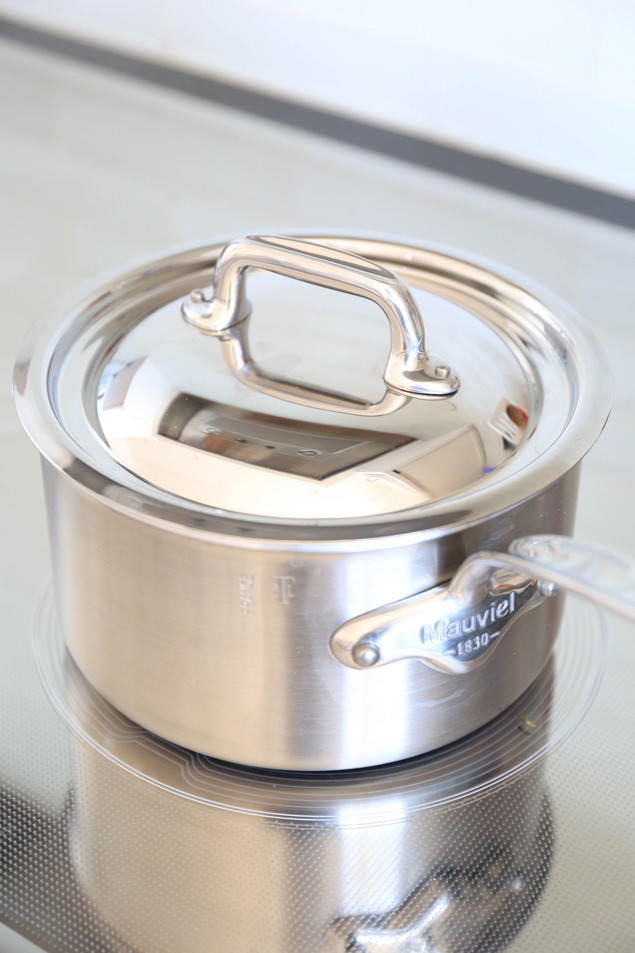 I have an induction stove that ranges from heat level 1-9 and I left it on level 5 for the duration of my cooking time. My potatoes cooked perfectly in 13 minutes! Of course the cooking time varies depending on the size of your potato and pan. If you potato is larger, you can add 1 tsp more of coconut oil.