Chocolate Peanut Butter Mug Cake

Oh my gosh, bunnies!!! Your comments, tweets, snapchats, etc have been SO inspiring and motivating for me! I can’t get over how amazing you guys are and how beautifully you all write! I want to compile your comments into one giant Motivational Monday blogpost for anyone who needs some positive affirmations. Seriously, read through the comments and look how amazing my readers are. You will feel so empowered! I cannot thank you bunnies enough for all of your support. I feel so inspired, loved, and unbelievable strong! I ALWAYS need you guys in my life! I’m so lucky!

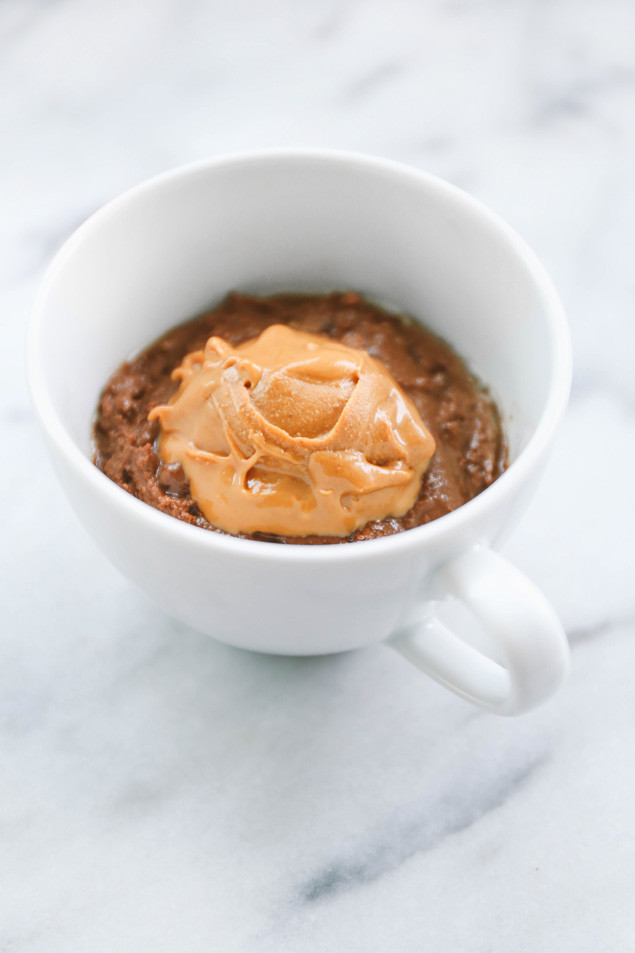
Since so many of you loved my Single Serving Muffin, I wanted to do another single serving sweet treat for you! I haven’t made a Mug Cake on the blog for a while, but they are so easy and fun to make!

Today’s mug cake is a combination of chocolate and peanut butter  with a little coconut oil in the mix, which gives it a little note of Germain Chocolate Cake!

This mug cake can easily be made gluten-free with an easy swap from whole wheat flour to oat, quinoa, or chickpea flour!
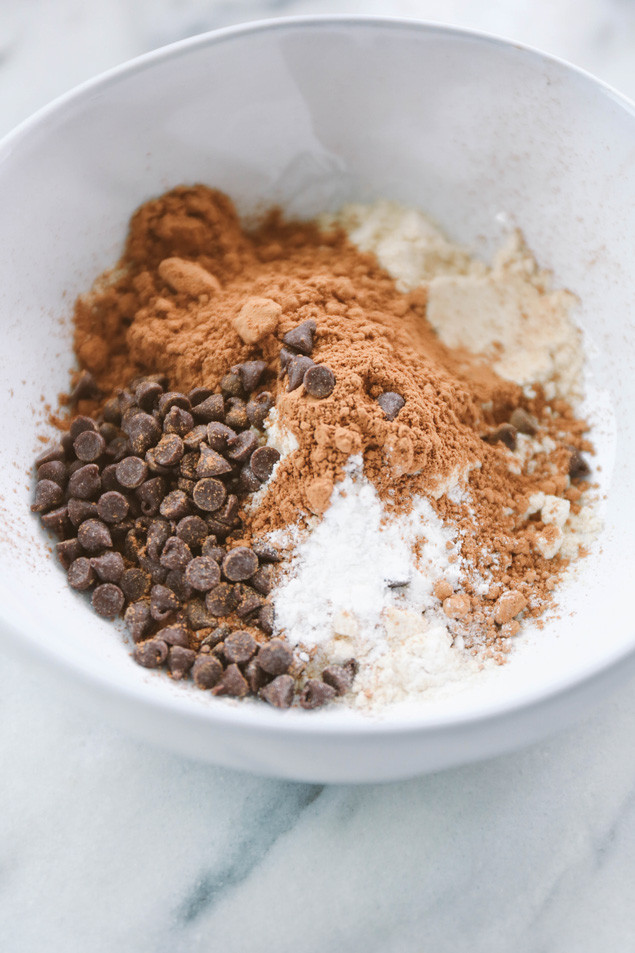
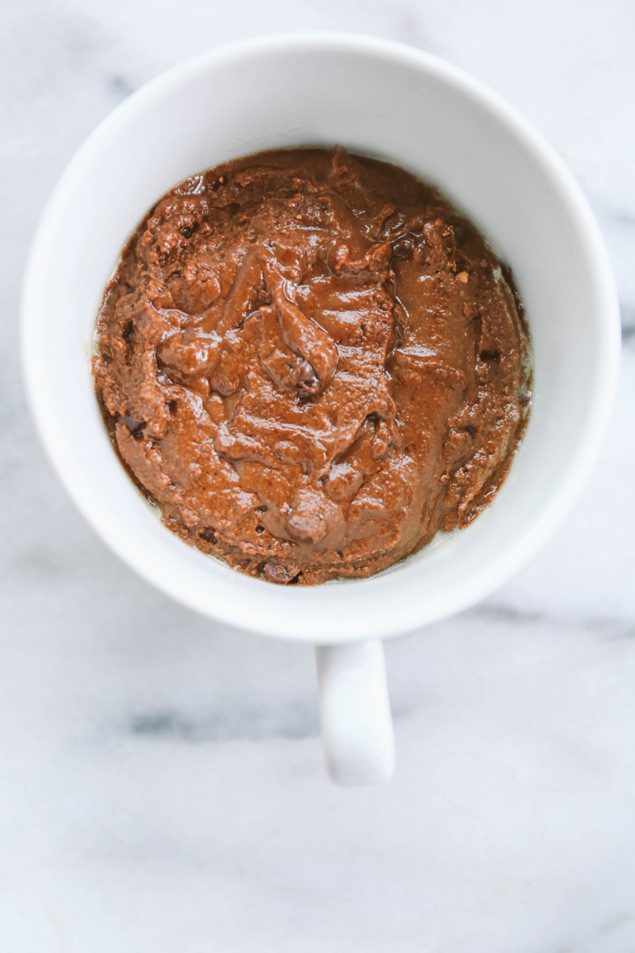
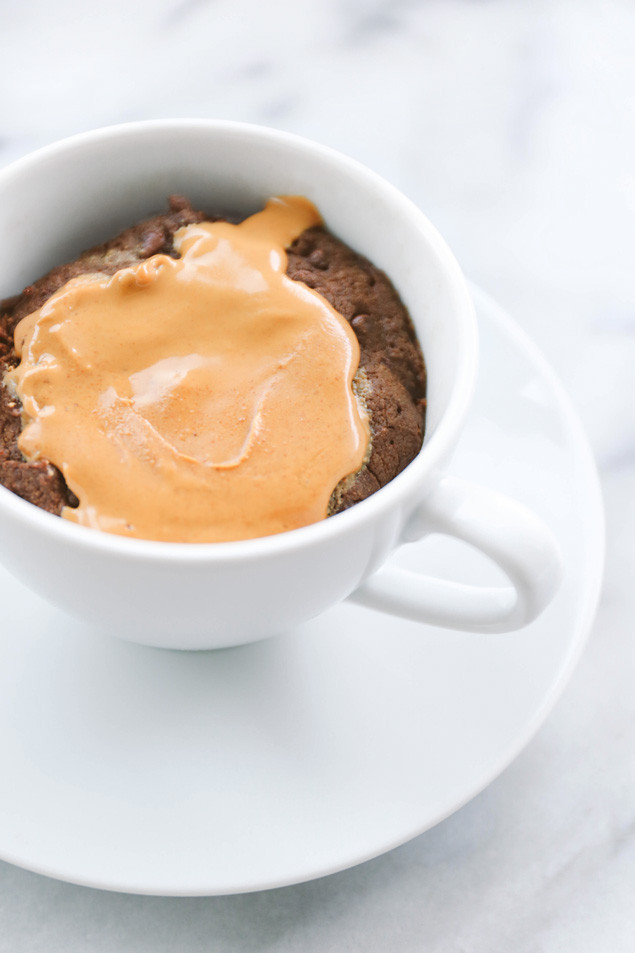
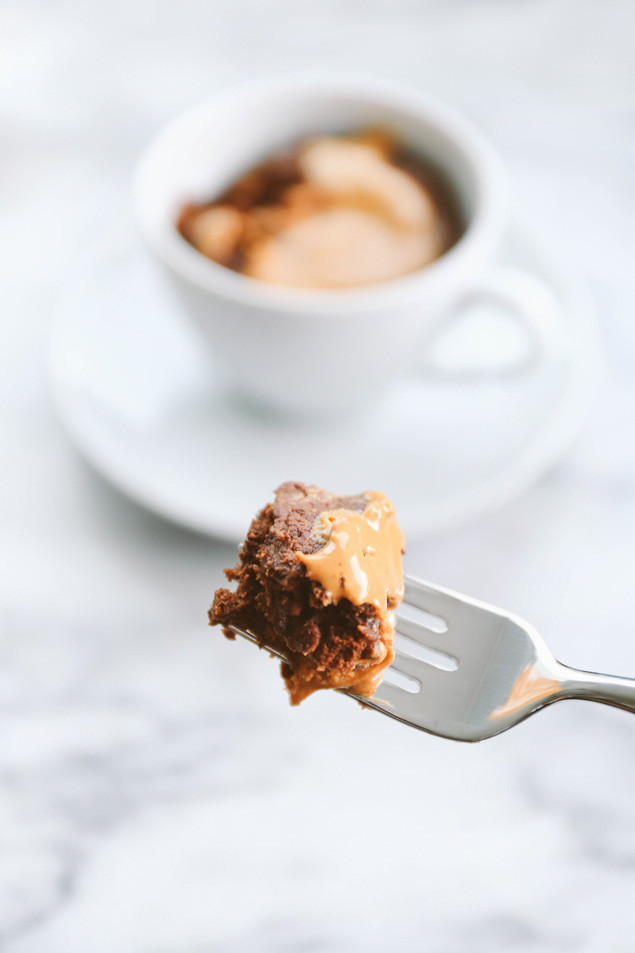
Chocolate-Peanut-Butter-Mug-Cake-1 Chocolate-Peanut-Butter-Mug-Cake-2 Chocolate-Peanut-Butter-Mug-Cake-3 Chocolate-Peanut-Butter-Mug-Cake-8Chocolate-Peanut-Butter-Mug-Cake-7Chocolate-Peanut-Butter-Mug-Cake-4
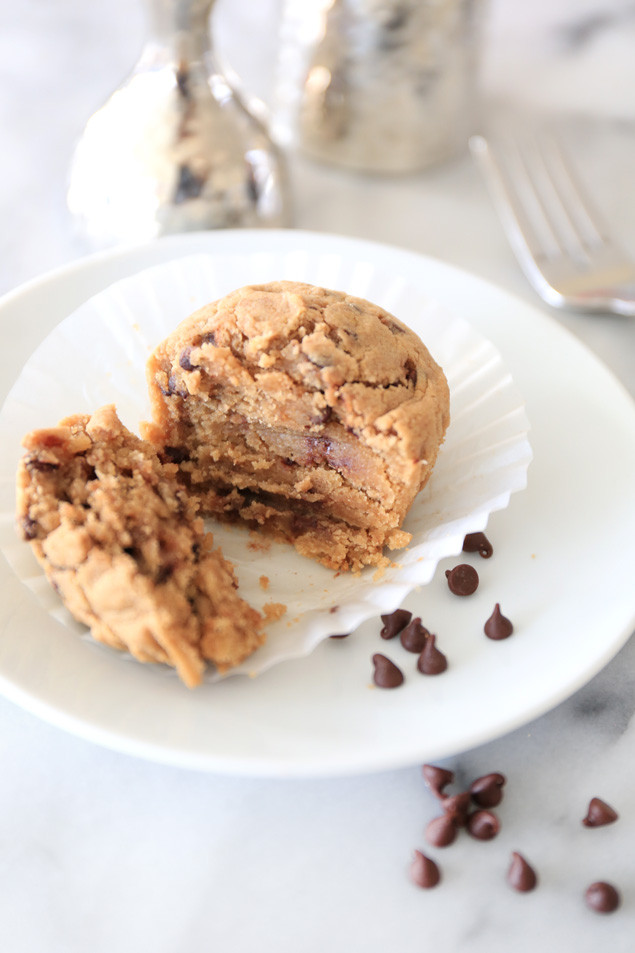
Traditional mug cakes are usually flipped over onto a plate like a mini cake! This one is kind of messy with the Peanut Butter, so I started eating it straight out of the mug but then wanted to get a photo and show you the fancy shmancy way of plating it! After a couple of bites I flipped it over onto the plate so you could see how it makes a mini cake once it’s out of the mug!

Make sure to coat your mug generously with nonstick cooking spray (I used coconut oil spray from Trader Joe’s) if you want it to come out of the mug nicely!
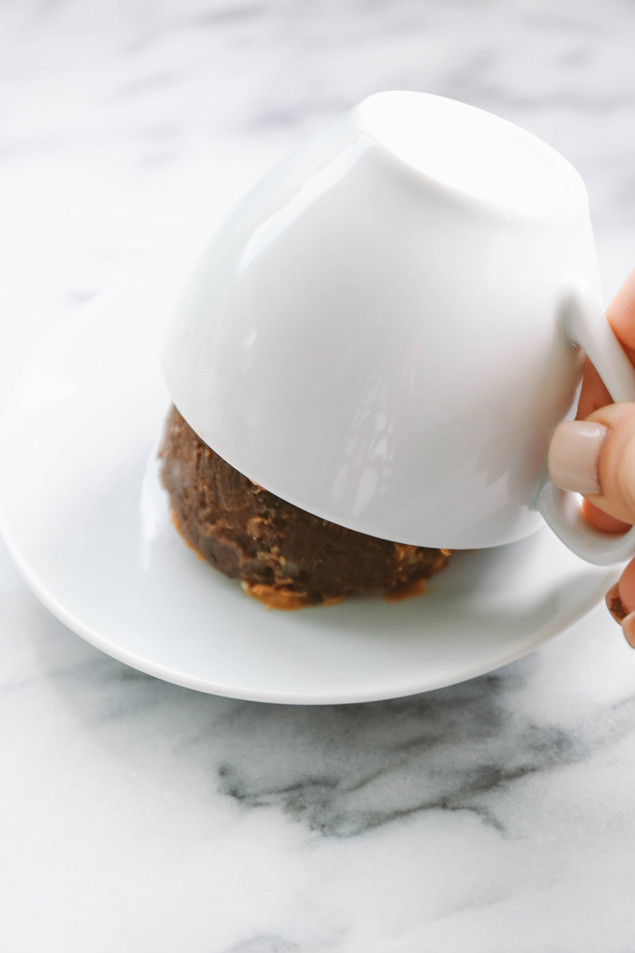
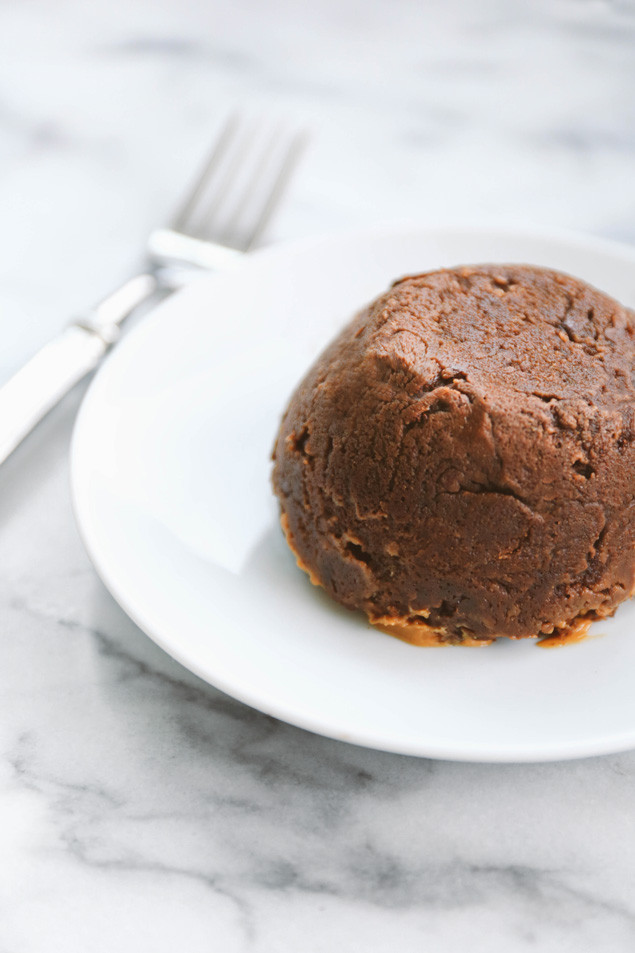
Chocolate-Peanut-Butter-Mug-Cake-5 Chocolate-Peanut-Butter-Mug-Cake-6
Chocolate Peanut Butter Mug Cake
Serves 1

3 Tbsp whole wheat flour
1 Tbsp unsweetened cocoa powder
1/4 tsp baking powder
1 Tbsp mini chocolate chips (or vegan chocolate chips)
1 Tbsp coconut oil, melted
1 Tbsp maple syrup
2 Tbsp water
1/2 Tbsp peanut butter

1. Mix dry ingredients – flour, cocoa powder, baking powder, and chocolate chips together in a small bowl. Mix everything together until just combined. DO NOT overmix.
2. Add wet ingredients – melted coconut oil, maple syrup, and water and stir until batter is well combined.
3. Spray a microwave safe mug generously with nonstick cooking spray and pour batter into the mug.
4. Add peanut butter on top of the batter.
5. Microwave mug cake for 60 seconds. Enjoy!

The Rabbit Food Pyramid Breakdown:
Produce: none
Whole Grain: whole wheat flour
Protein: none
Plant Based Fat: coconut oil, chocolate chips, and peanut butter

Rabbit Food Meal Tip: Complete this meal by topping it with 1 cup of fresh berries (sliced strawberries would be so good!) and a side of one cup of yogurt or milk of your choice (protein)!

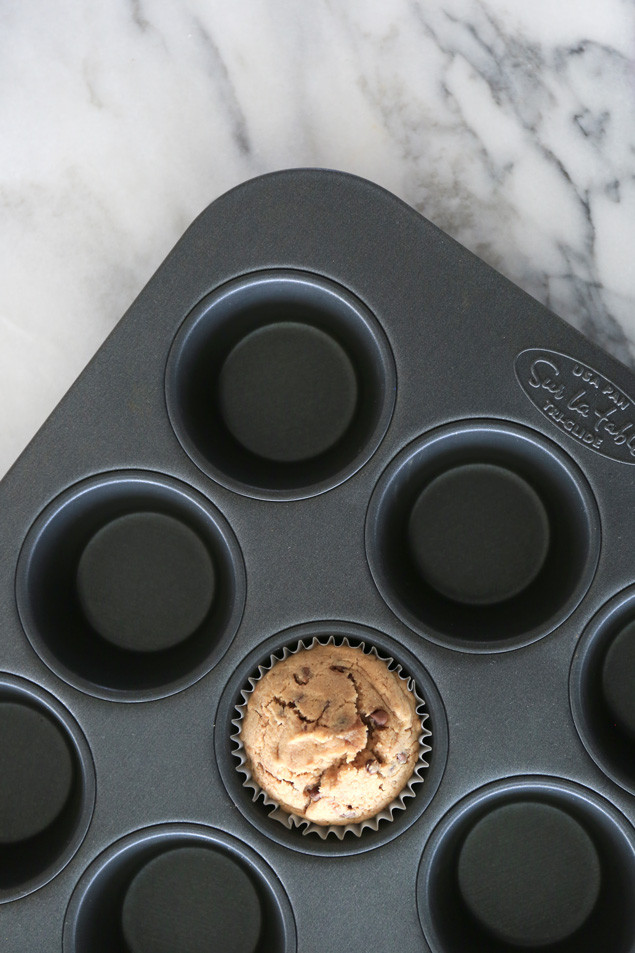
Single Serving Chocolate Chip Muffin

Thank you so so so much for your amazing comments on yesterday’s post. I read each and every one of them and I am so thankful for all of my supportive readers. Sometimes it’s hard to put things out there on the internet and admit, “yes I am having a tough time and I’m not exactly where I want to be,” but you guys have proved to me that so many of my fears and so much of my anxiety is just in my head. I love that complete strangers can completely make my day and also bring me to happy tears by their words. Seriously, some of my readers are the most beautiful writers. You guys are tugging at my heart strings! I love you al! It’s really cool to hear that some of you don’t even read my blog for the weight loss aspect but you actually read it because of my DIY projects and other posts! I mean, I had no idea! Like I said, I get so into my own head of what I assume people read and follow my blog for, and I’m so happy that you are all here with me to continue my journey of making rabbit food, attempting to workout, making pretty DIY things, and being a normal human being who sometimes hates working out!

I got totally sidetracked last night with the Bachelor finale (ugh I don’t want to give away spoilers but I was bummed with the outcome!), so tonight I will finally be replying to all if your blog comments from yesterday’s post!

Single-Serving-Chocolate-Chip-Muffin-1
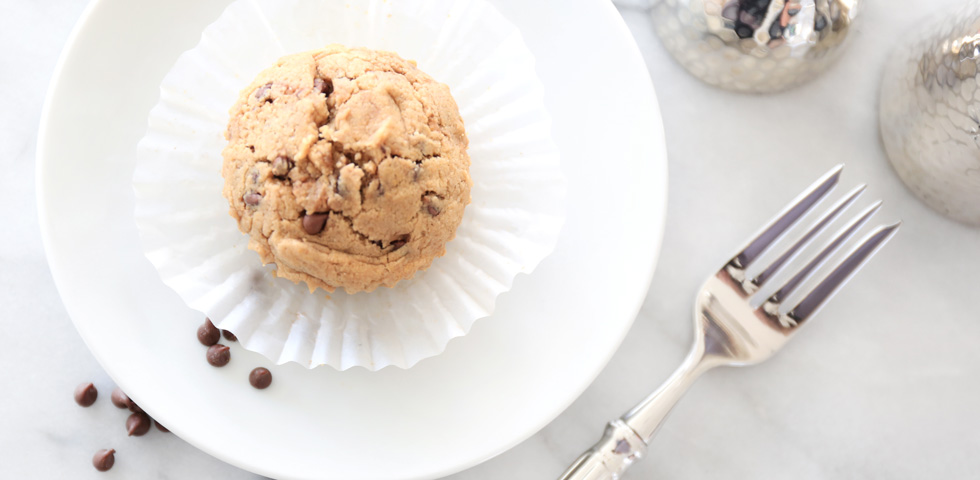
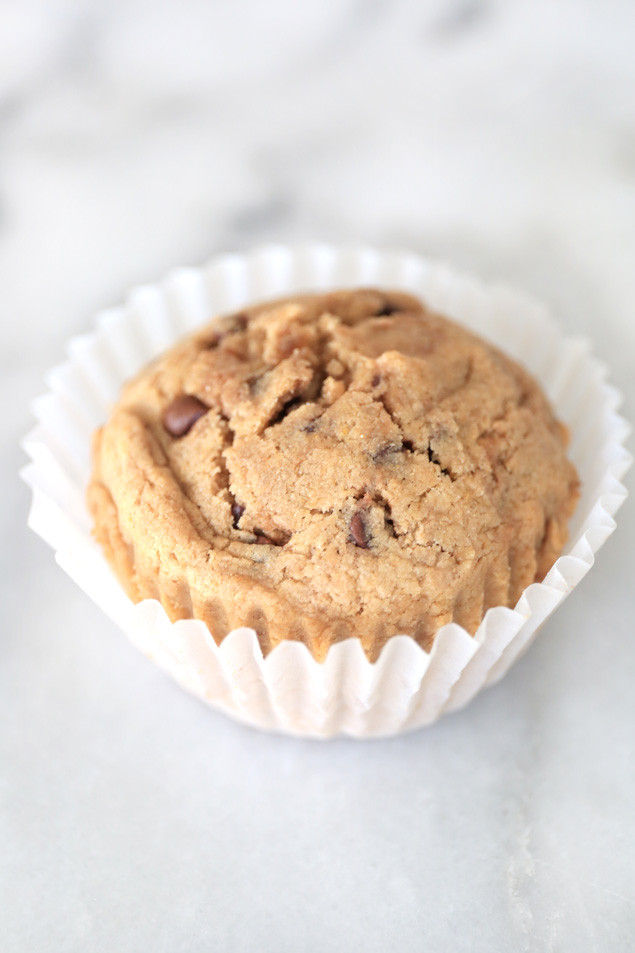
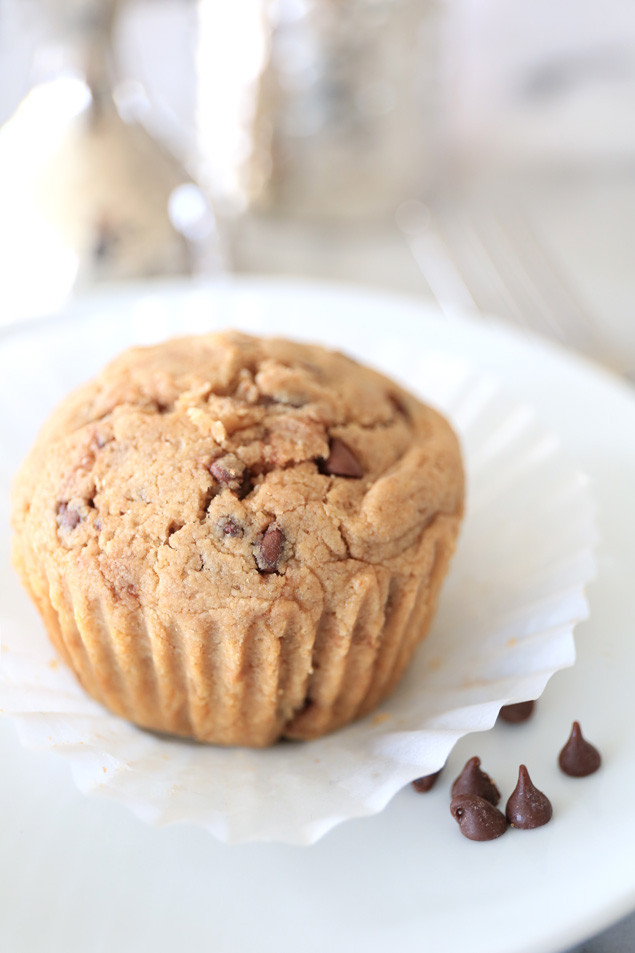
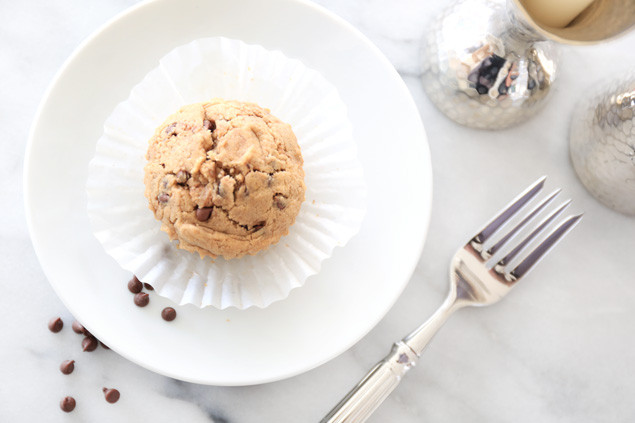
Today’s recipe is a super cute “Lightened-Up” Chocolate Chip Muffin for One! This is a traditional bakery sized muffin (no mini muffin here!), filled with flavor but light on the ingredients! No crazy additives, no refined sugar (except for those itty bitty chocolate chips), no butter, and no refines white flour! May I say… NAILED IT!

If you aren’t a fan of chocolate chips, I think this would be so om nom nom with 1 ½ Tablespoons of blueberries instead! I would’ve made that in a heart beat but I’m deathly allergic to blueberries which would mean that Matt or my sister would get to be the taste tester for this recipe… and honestly I just wasn’t willing to forfeit my job as Chief Tasting Officer for this particular recipe, so chocolate chips it was!

This recipe can be made completely vegan by using Enjoy Life Vegan Chocolate Chips or blueberries!

Single-Serving-Chocolate-Chip-Muffin-3 Single-Serving-Chocolate-Chip-Muffin-4
The texture of this solo muffin is dense like most vegan baked goods, which makes it the perfect pairing for a glass of milk, coffee or tea!

Single-Serving-Chocolate-Chip-Muffin-5Single-Serving-Chocolate-Chip-Muffin-6Single-Serving-Chocolate-Chip-Muffin-7 Single-Serving-Chocolate-Chip-Muffin-8

Single Serving Chocolate Chip Muffin
Makes 1 muffin

3 Tbsp whole wheat flour
1/4 tsp baking powder
dash of salt
1 tsp (dry) stevia (I used 1 packet of Truvia)
1 Tbsp mini chocolate chips (or vegan chocolate chips)
1 Tbsp coconut oil, melted
1 Tbsp almond milk
1/2 tsp vanilla extract

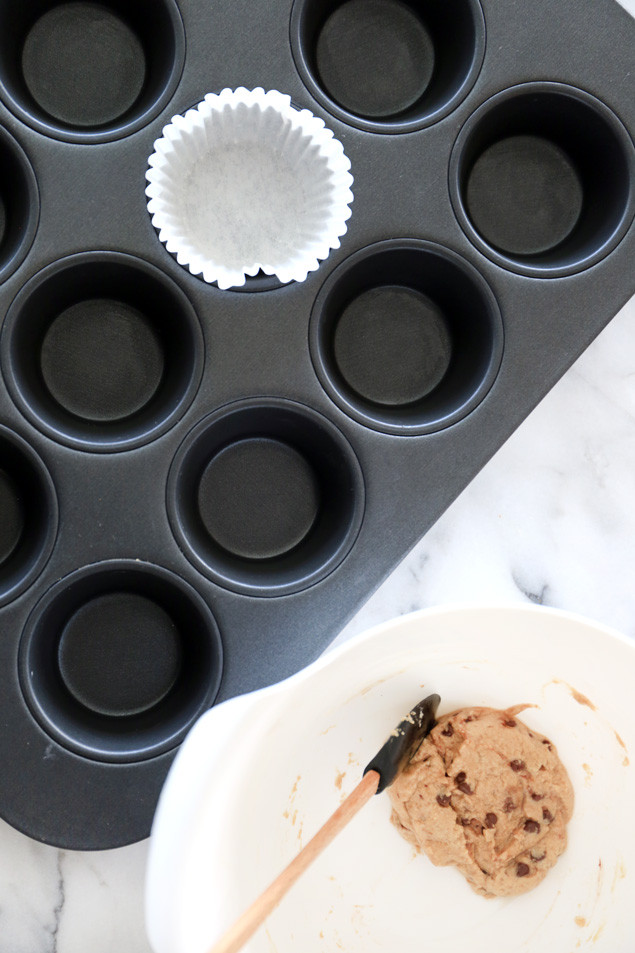
1. Preheat oven to 350 degrees. Line muffin tray with 1 liner. Set aside.
2. Mix dry ingredients – flour, baking powder, salt, dry stevia, and chocolate chips together in a small bowl. Mix everything together until just combined. DO NOT overmix.
3. In a separate bowl, mix together wet ingredients – melted coconut oil, almond milk, and vanilla.
4. Mix dry and wet ingredients together.
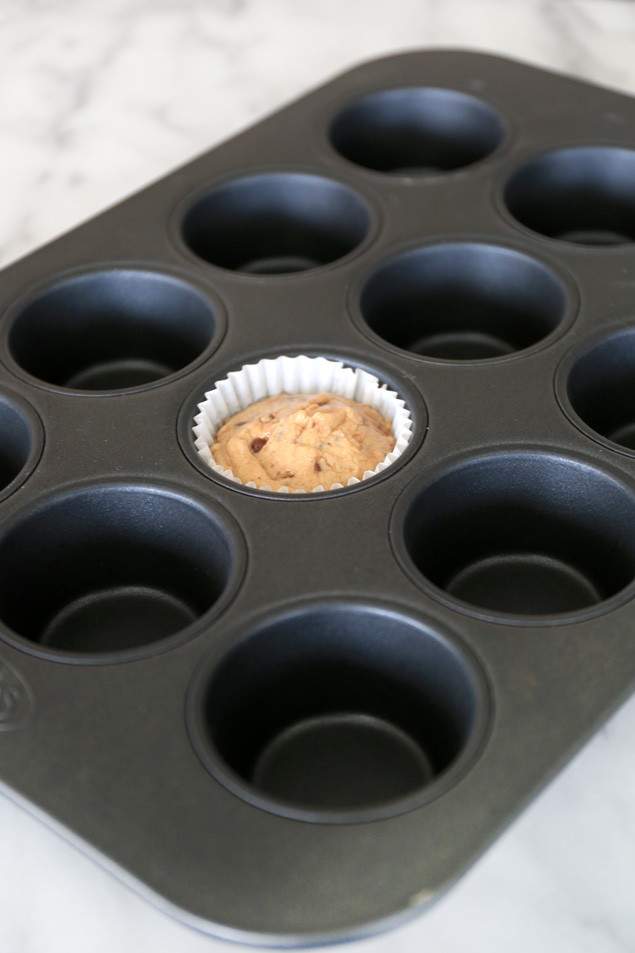
5. Pour batter into prepared muffin liner.
6. Bake for 17 minutes or until a toothpick inserted in the center comes out clean. Enjoy!

Since I had a blogging breakthrough this week, I also decided that I am going to change up how I do the “directions” of my recipes! From now on, you will see RFFMBT recipes listed in numbered steps as shown above! Much easier to follow : )

The Rabbit Food Pyramid Breakdown:
Produce: none
Whole Grain: whole wheat flour
Protein: none
Plant Based Fat: coconut oil and chocolate chips

Rabbit Food Meal Tip: Complete this meal with one cup of milk of your choice of yogurt (protein) and a side of 1 cup of fresh fruit (produce)!

Almond Milk Ice Cubes

Hi Bunnies!
I know it’s been over a week since my last post, YIKES ( I haven’t done that for over a year) but I have had so much going on recently. I am back and ready to kill it this week!

I’ve been thinking a lot about the direction in which I want my blog to go. I get so many comments on social media asking for more Youtube videos, so I definitely want to start doing some recipe tutorials as well as fun hair tutorials for you guys, but honestly I’ve become so self conscious that it’s holding me back from doing videos. During recovery, I gained weight and I came so insecure about it that I never talked about it on my blog. I actually became quite guarded and quiet about my personal life on my blog and I feel like I haven’t had much of a voice. I used to speak so openly about the ups and downs of weight loss and what it’s like to struggle with losing weight, maintaining weight, and getting myself to the gym, but I honestly can’t remember the last time I’ve done a post like that.

This past weekend my friend Kathy of Healthy Happy Life stayed over for the weekend and we were Expo West buddies. As we we’re driving to the Anaheim convention center together, I was telling her that I was struggling with my voice on my blog. I told her that I felt like it lost what it used to be because I was insecure about where I am in my weight loss journey now, and that I almost wanted to give up blogging. Let me start by saying that Kathy inspires me so much. She has her vegan recipe blog Healthy Happy Life, her yummy drool-worthy site Finding Vegan, and two books 365 Vegan Smoothies, and Healthy Happy Vegan Kitchen. She is the definition of #GirlBoss. When I told Kathy I was about to throw in the towel because of my insecurity, she completely shut my idea of giving up down. She reminded me of what my blog is about. It’s not just about the “after” pictures. It’s about my story, my feelings, my accomplishments, my bad days, my recipes, my goals, and my connection with my readers who have been here since the start. I had gotten so in my head and wrapped up into the fact that the majority of my blog readers know me as my before and after photos – a weight loss success story. I’m proud and honored that my weight loss story has inspired and motivated so many people to change their lives, and in the back of my mind, I’ve had a fear that if I gained weight or fell of the wagon that my readers would judge me, but I can’t hide that I’m not that teeny tiny sickly thin person in the old after photos anymore. I am putting my silly insecurity aside and I want to be an example that recovery is possible, that happiness is possible, that life goes on, and that for the most part, these crazy thoughts of insecurity and unworthiness are all in your head. Right now, I am so inspired to do more posts about what I have been going through and thinking about because not only is it therapeutic for me (I completely forgot until just now) but if it helps just one person out there that can relate, it’s 100% worth it.

Cat-and-Matt-Self-Help-FestivalPhoto by: Ashley Osborn
Matt and I on Saturday night at the Self Help Festival

I don’t know how many of you read Andie Mitchell’s blog Can You Stay For Dinner? but this post is a must read, her TEDx Talk is a must watch, and her book “It Was Me All Along” is a YOU NEED TO BUY IT AND READ IT RIGHT NOW. I resonate with her so much. In fact, I’m pretty sure most people do. She’s amazing, and her honesty and bravery also helped me with this post!

I started a public Snapchat (@EatRabbitFood) that shows behind the scenes videos and pictures of me working on my blog, and doing boring silly things that are carefree and fun. I want to show my readers that not everything is as perfectly curated as Instagram and let my personality show. I mean at the end of the day, I am just little old Catherine who writes a blog!

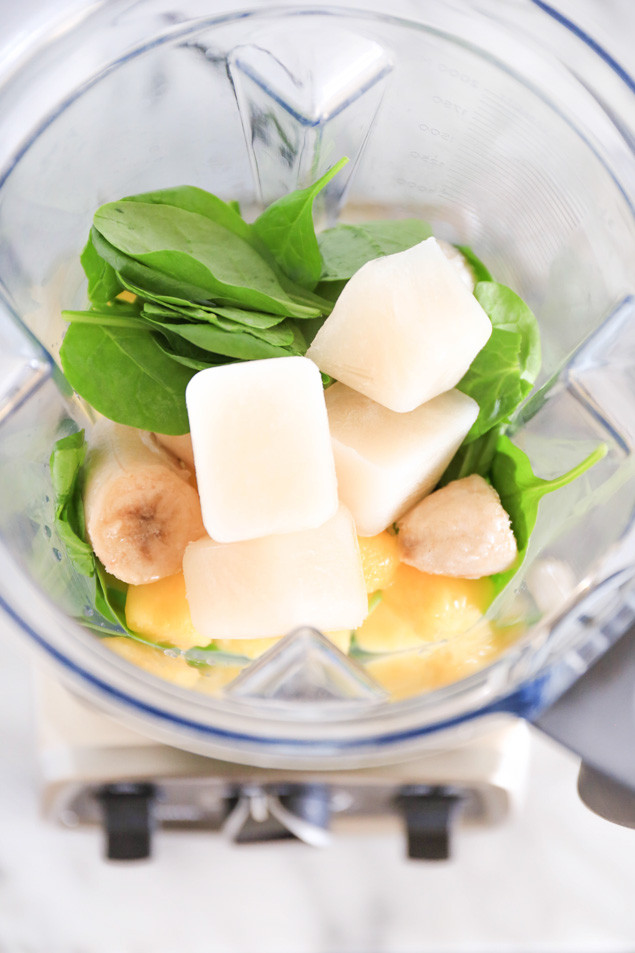
Almond-Milk-Ice-Cubes-for-Thick-Smoothie-1
For the past month I’ve been breaking out in crazy hives all over my forearms, wrists, ankles, and knees and I cannot figure out what is causing them. Food allergies? Thyroid off again? Stress? It’s been super irritating and uncomfortable so I finally made an appointment to see a new allergist with my friend Celina tomorrow. We both have really severe food allergies (in fact that’s how we bonded when we first met), so tomorrow we have back-to-back allergist appointments together. So romantical! Kind of a bummer, but recently I’ve been wondering if I have developed an almond allergy. I use almond milk every morning in my coffee and in tons of my smoothies and recipes (like today’s!) and I would be pretty heart broken if I found out I was allergic, but I’m quite nervous that I could be. Wahhhh. An hour or so after this smoothie I broke out in hives, which was concerning. I also made an iced coffee with the remaining almond milk ice cubes the next day and ended up with hives later in the day. Ugh, since then I’ve tried to avoid almonds and almond milk but I’m still getting hives. So… onto the allergist I go.

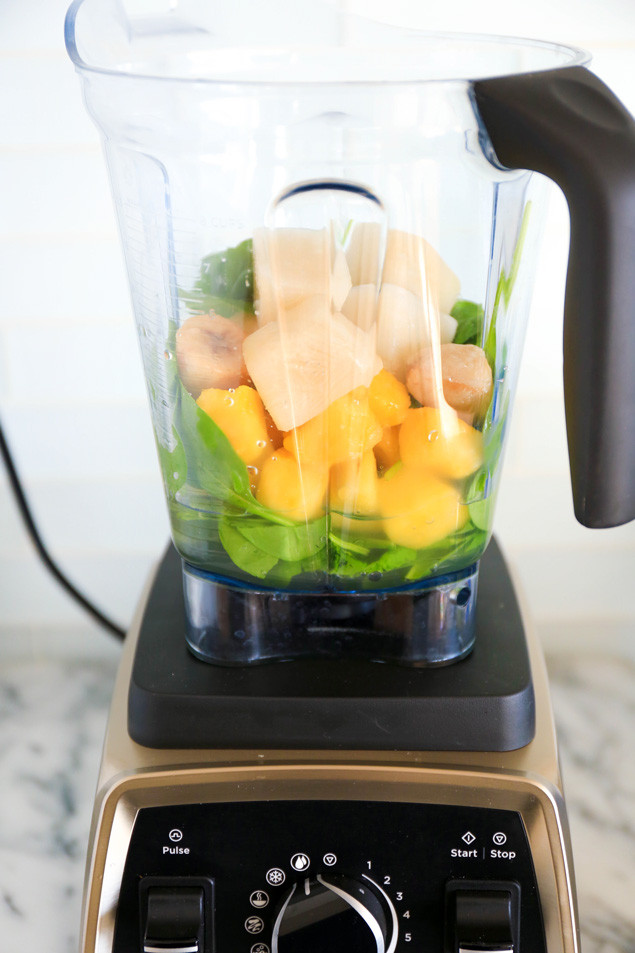
Almond-Milk-Ice-Cubes-for-Thick-Smoothie-2
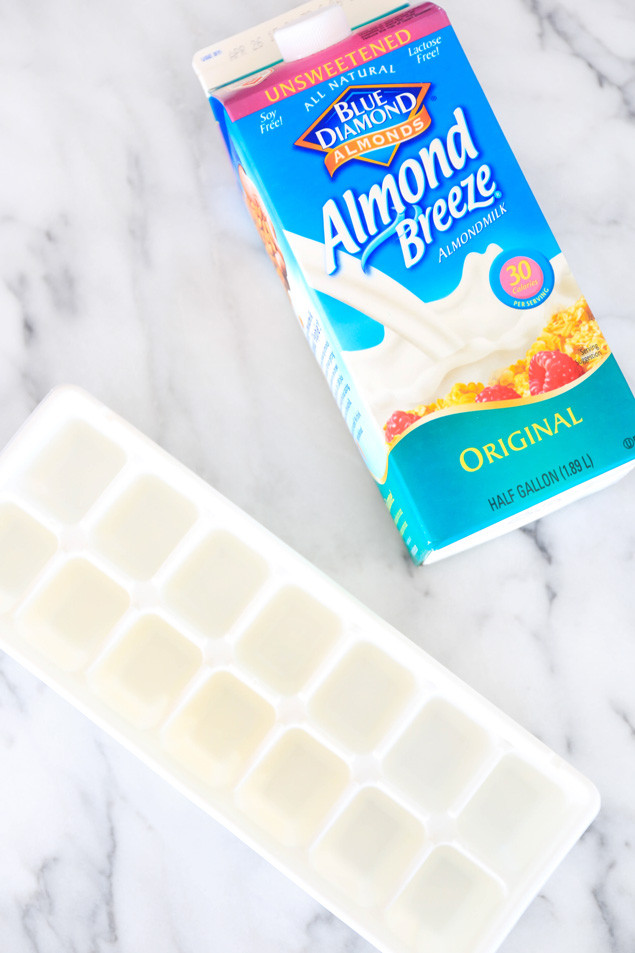
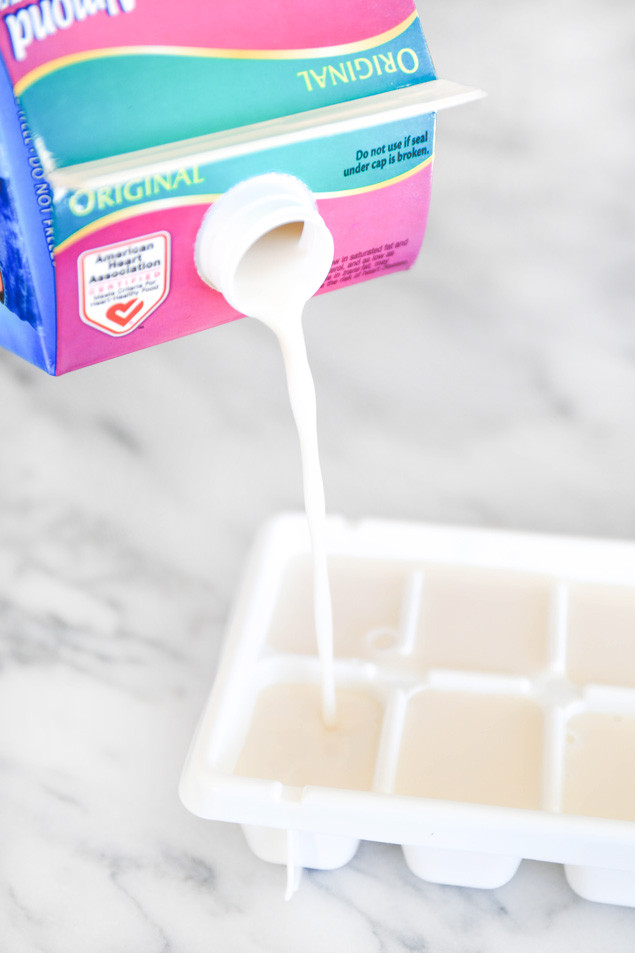
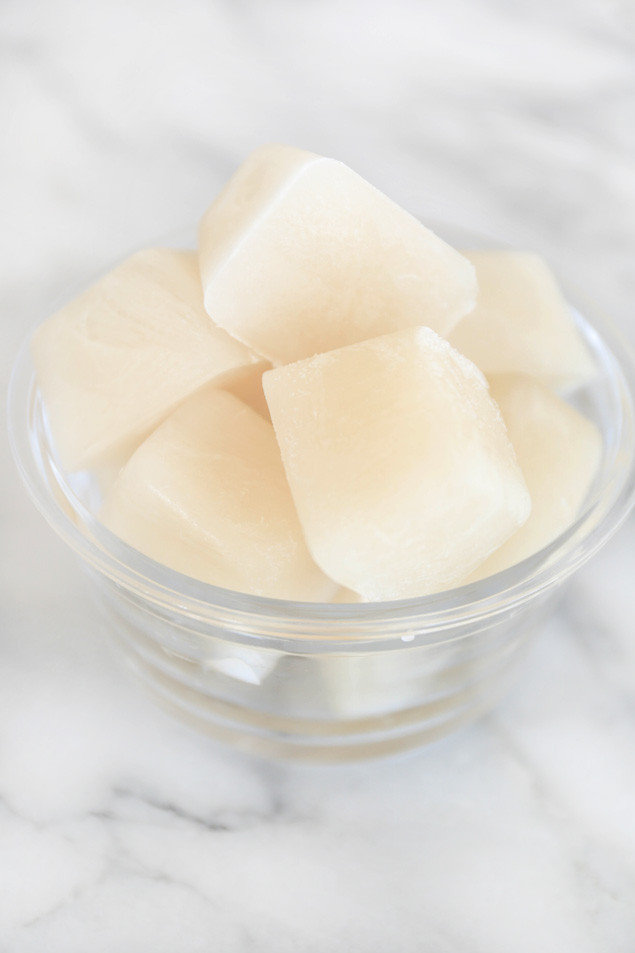
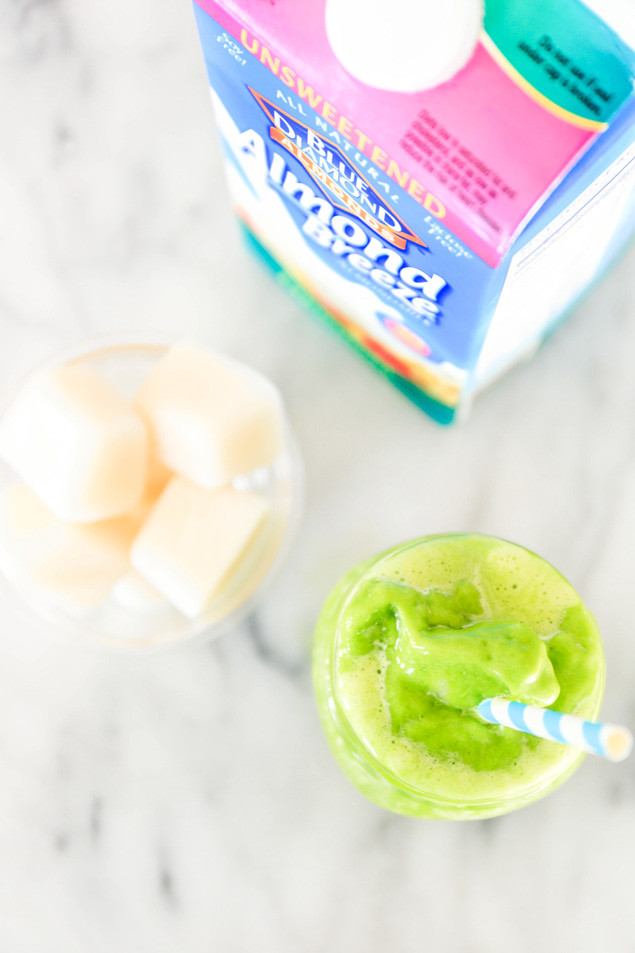
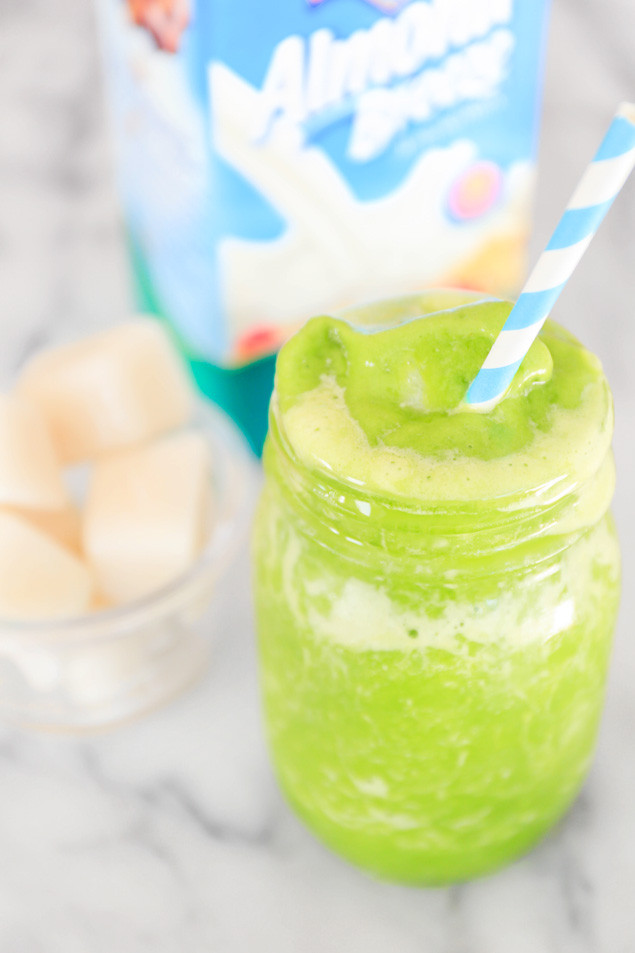
The idea behind almond milk ice cubes is to replace regular ice cubes so that the smoothie doesn’t get watered down. Almond milk ice cubes will add creaminess to any smoothie that normally uses regular ice cubes! Simply put almond milk in an ice tray, and freeze overnight! They can also be used to make iced coffee. Brew coffee an pour over a cup of almond milk ice cubes for a creamy cool caffeinated treat!

I like using Almond Breeze Original because it doesn’t have added sugars!

Almond-Milk-Ice-Cubes-for-Thick-Smoothie-3 Almond-Milk-Ice-Cubes-for-Thick-Smoothie-4 Almond-Milk-Ice-Cubes-for-Thick-Smoothie-5 Almond-Milk-Ice-Cubes-for-Thick-Smoothie-6 Almond-Milk-Ice-Cubes-for-Thick-Smoothie-7 Almond-Milk-Ice-Cubes-for-Thick-Smoothie-8Tropical Almond Milk Ice Cube Smoothie
Serves 1

5 almond milk ice cubes
1 handful of spinach
1/2 cup coconut water
1 cup frozen pineapple
1 frozen banana

Pour almond milk in an ice tray and freeze overnight. Add all ingredients to blender and blend until creamy and smooth.

The Scoopie + Giveaway

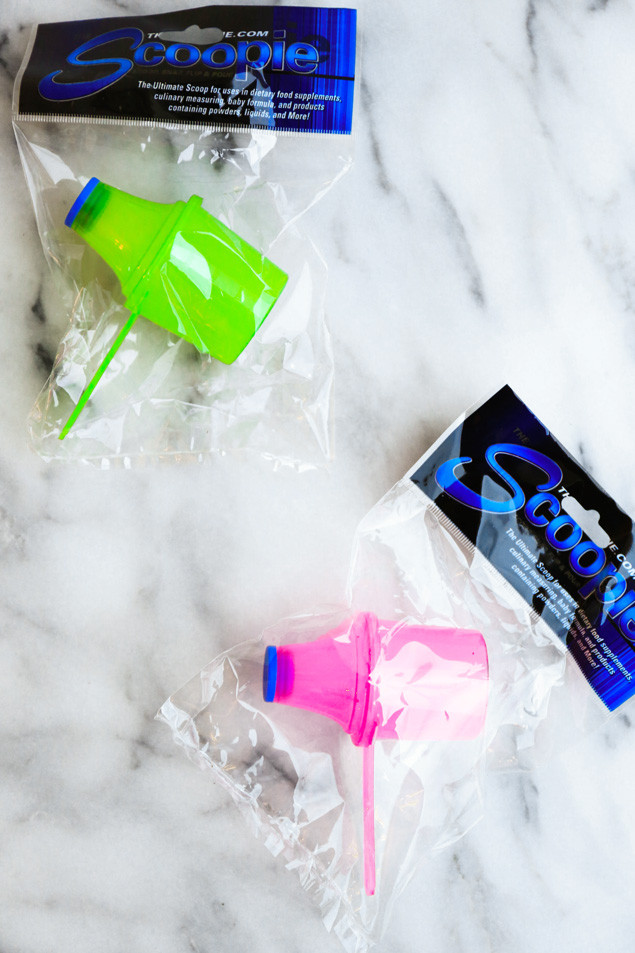
I am sooooo excited about this post and giveaway! I’ve said this before, but I love when I get to work with brands from the start and watch then grow! This one in particular is another one of my little babies that I feel very close to. Last year at Natural Products Expo West, I met the CEO and co-founder of The Scoopie, Jarred Allen! When I walked up to his booth at Expo, I was obsessed with this product. In fact, I named it one of my “Top Picks from Expo West 2014” out of over 2,000 exhibitors!

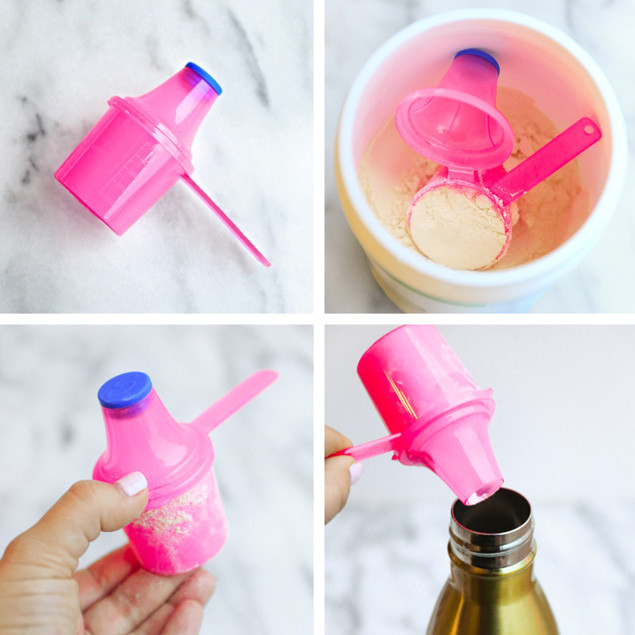
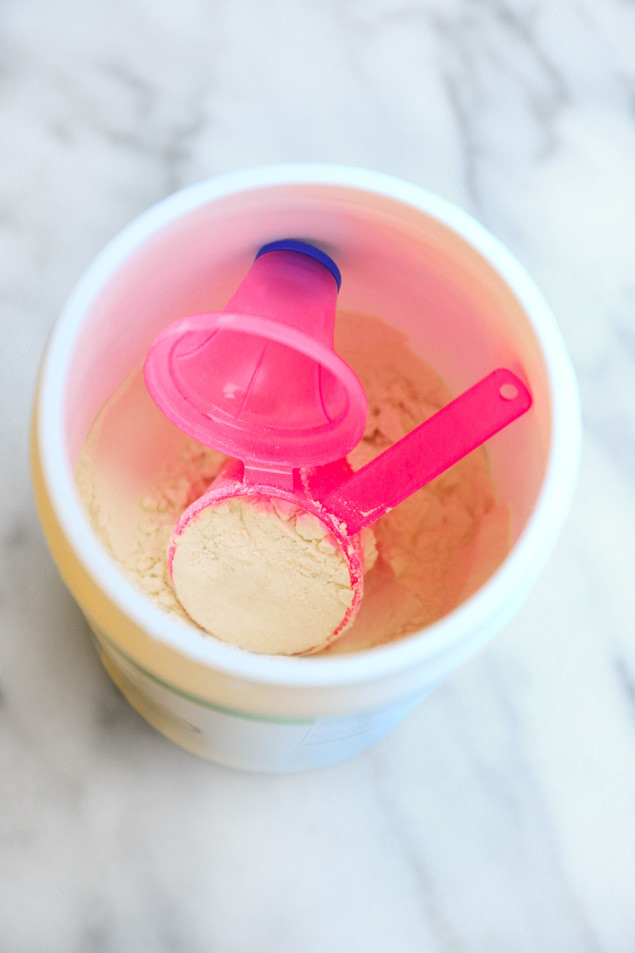
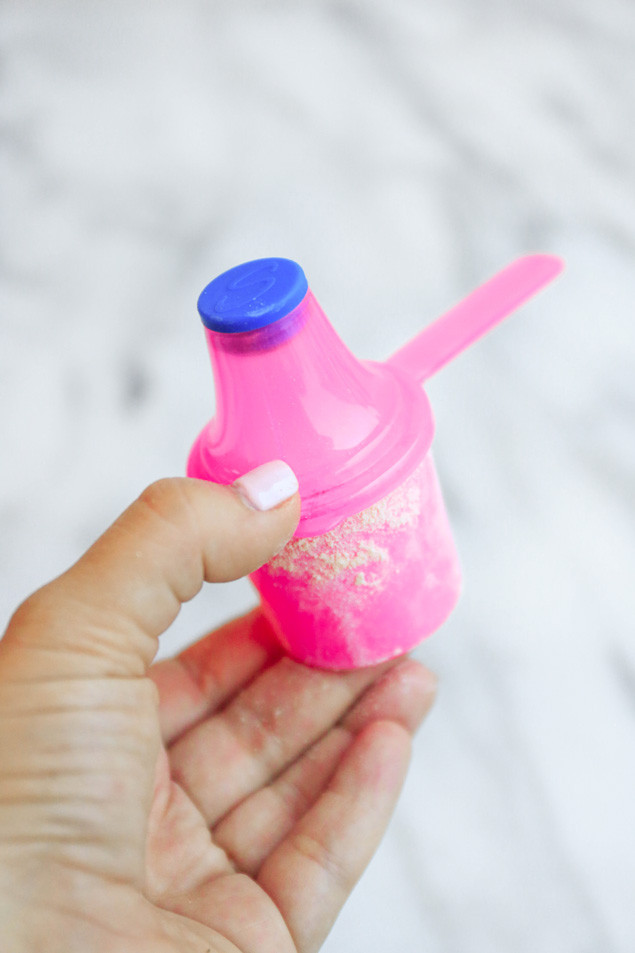
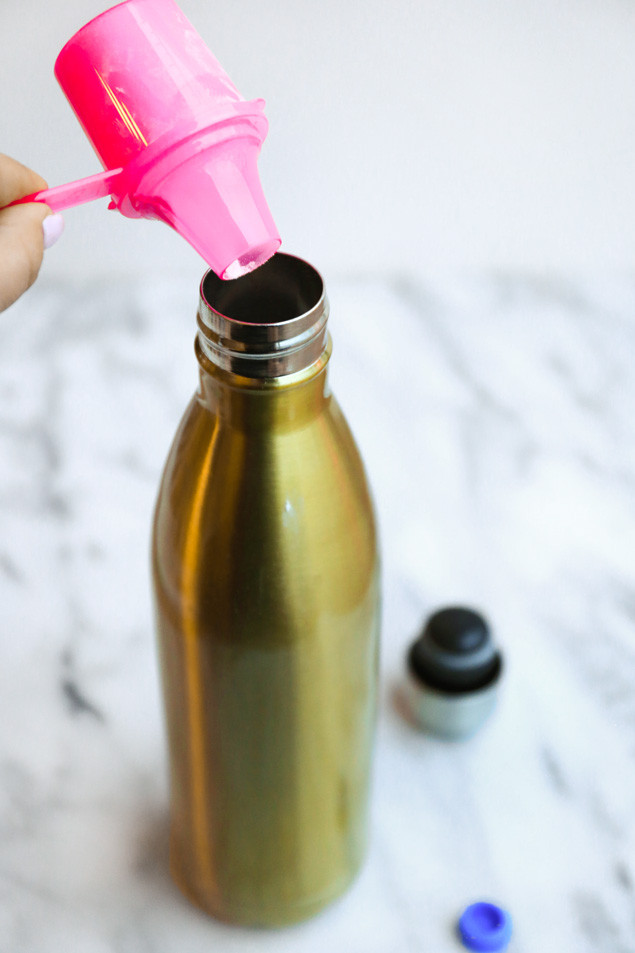
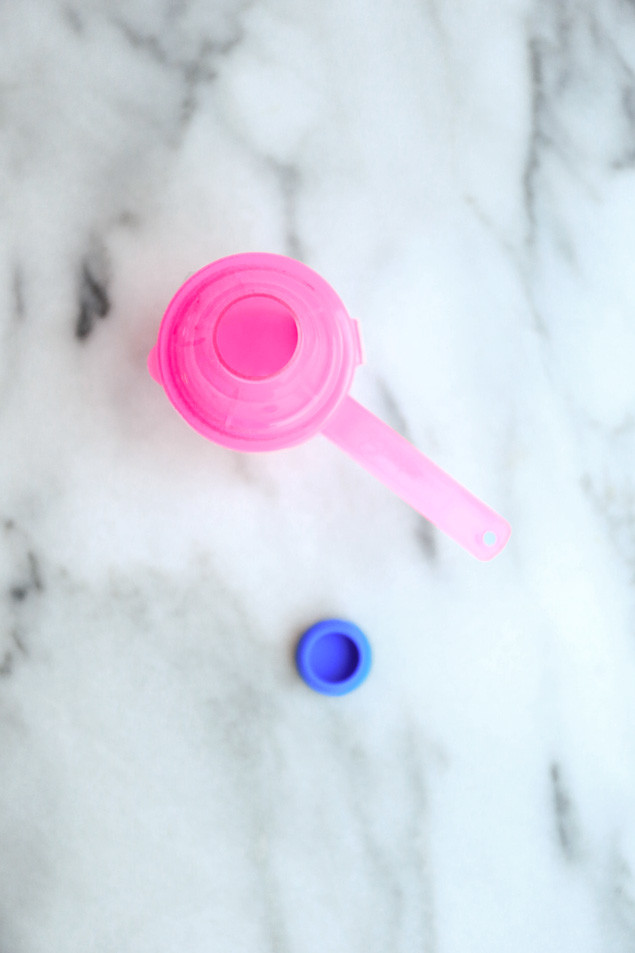
Have you ever tried to transfer protein powder or pre-workout to a water bottle using the plastic scoop that comes with the jar? Yaaaaa, I have – and I cannot tell you how many paper funnels I’ve made as well because the scoop is always wayyyyy too big to pour into the tiny opening of a water bottle! Well, ladies and gentlemen, this genius scoop + funnel invention just solved all of your problems! The Scoopie helps to get powder or liquid into a water bottle or container accurately without mess, hassle or spillage. No more paper funnels! The Scoopie can be used with protein powders, dietary supplements, baby formula, or anything pertaining to the dispensing of liquids or powders.

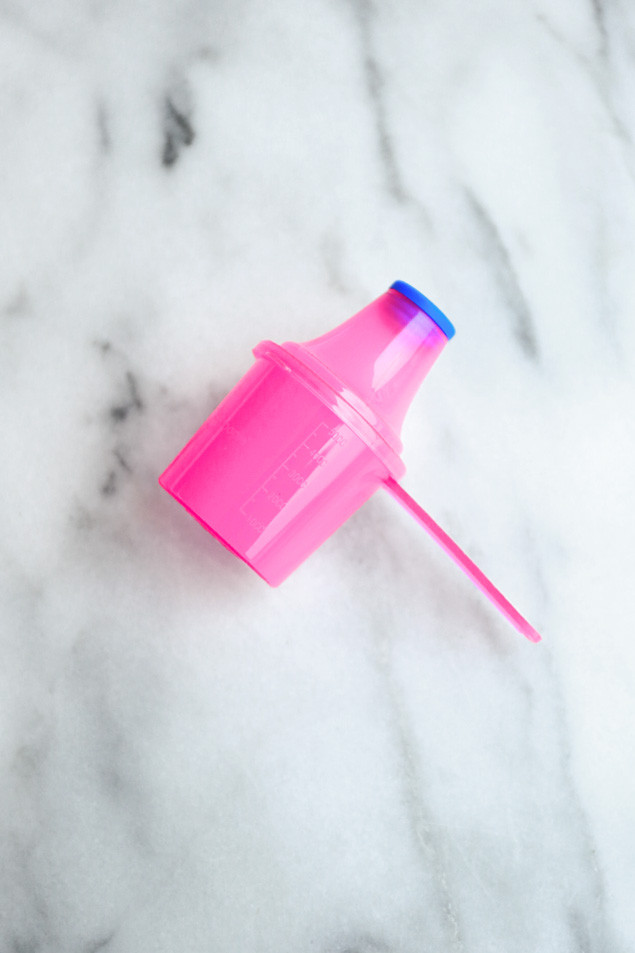
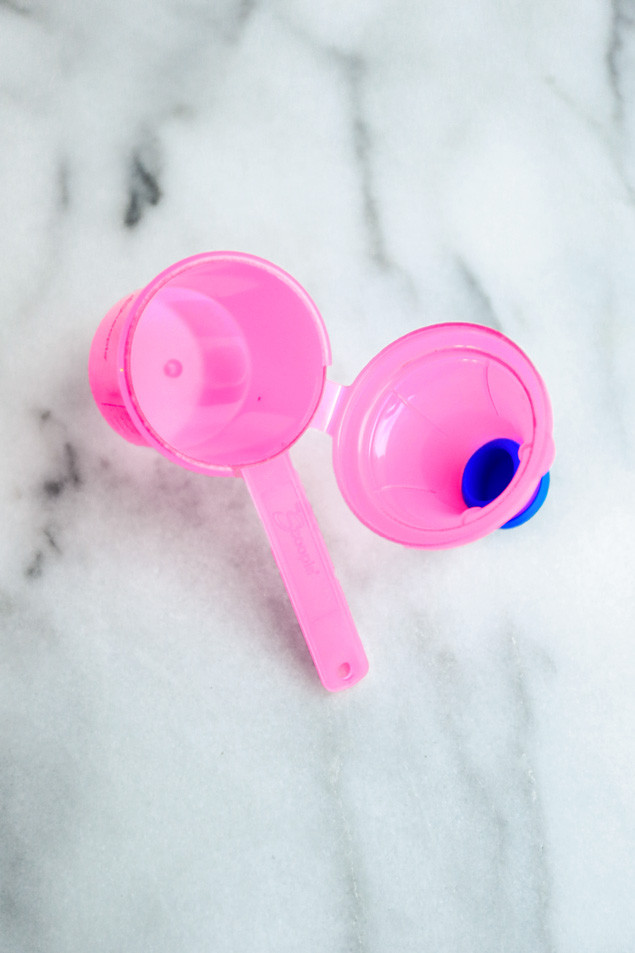
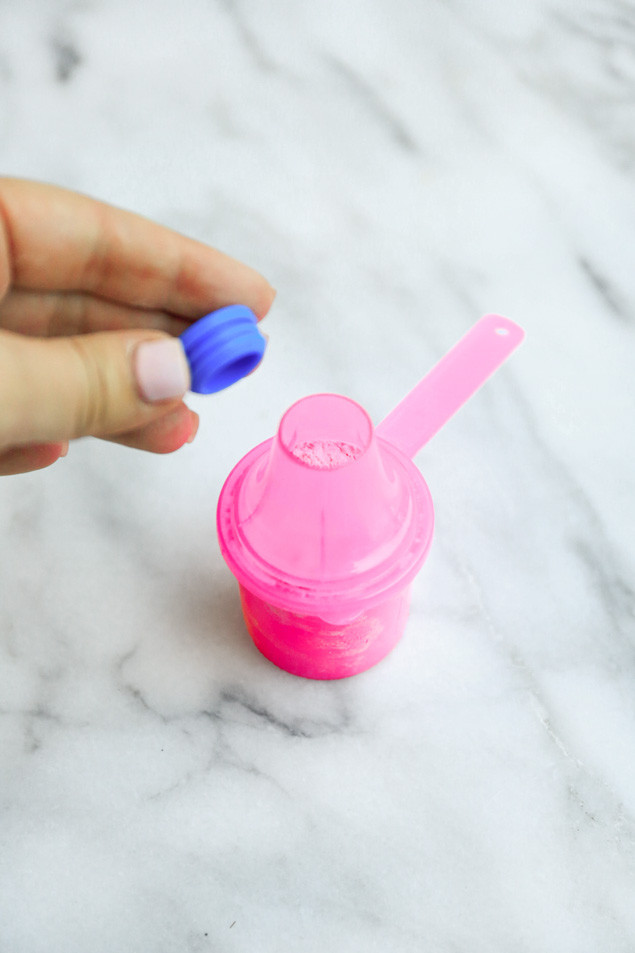
The Scoopie has a universal sized scoop with an added funnel attachment that was perfectly designed to have a spout smaller than the circumference of a water bottles opening. When using this product, you simply scoop a powdered supplement (pre-workout, baby formula, sweetener, etc..), snap on the attached funnel, flip the scoop over, and pour into a water bottle or small spouted container without the mess of the powder spilling on you. So simple! Just scoop, snap, flip & pour… voila – The Scoopie®!

The-Scoopie-9

Since last year, I’ve used my Scoopie more than most kitchen utensils (it lives in my jar of BCAA for muscle repair and recovery from lots of spin classes), and I’ve kept in touch with my Expo West friend Jarred! When I had first met Jarred, The Scoopie only came in one size, which was 12CC supplement size, and I bugged and bugged him asking when The Scoopie would be made in protein powder size! Well, a few weeks ago, Jarred emailed me and said “I remember promising you the protein/larger sizes so here you go” with a bunch of photos. It’s a dream come true,  60CC and 90CC protein powder sized Scoopies!!! I’m so excited for Jarred and his company, It’s been so fun to watch The Scoopie gain more and more popularity and now come in different sizes! I keep telling Jarred, “you have to get on Shark Tank!” I think Mark Cuban would make a deal on this one! I mean, he does own an NBA team who would definitely use Scoopies!

The-Scoopie-2The-Scoopie-3The-Scoopie-4The-Scoopie-5The-Scoopie-6The-Scoopie-7The-Scoopie-8

  • Take your supplements on-the-go without the mess!
  • The new and improved Scoopie comes in a 60CC and 90CC size, perfect for baby formula’s and protein products.
  • Fits on your keychain
  • Simplify your meal prep and everyday routine
  • Pour your pre-workout and proteins while in the car without any spills
  • Scoop, snap, flip & pour – save time eliminate waste
  • Comes with a cap to take The Scoopie on the go
  • Comes with CC/ML and Tbsp measurements to measure your exact product

The-Scoopie-1
Now it’s your chance to win some Scoopies!
Two lucky readers will each win a set of protein sized Scoopies 60CC & 90CC!

a Rafflecopter giveaway

*Must use a valid email address to enter. Must be a US resident to enter. Giveaway ends on Sunday, March 1st at 11:59 PM (PST). 2 winners will be randomly selected and announced on Monday, March 2nd. Colors may vary.

This post has been sponsored by The Scoopie. All opinions are my own.

Quinoa Peanut Butter Crunch Cups

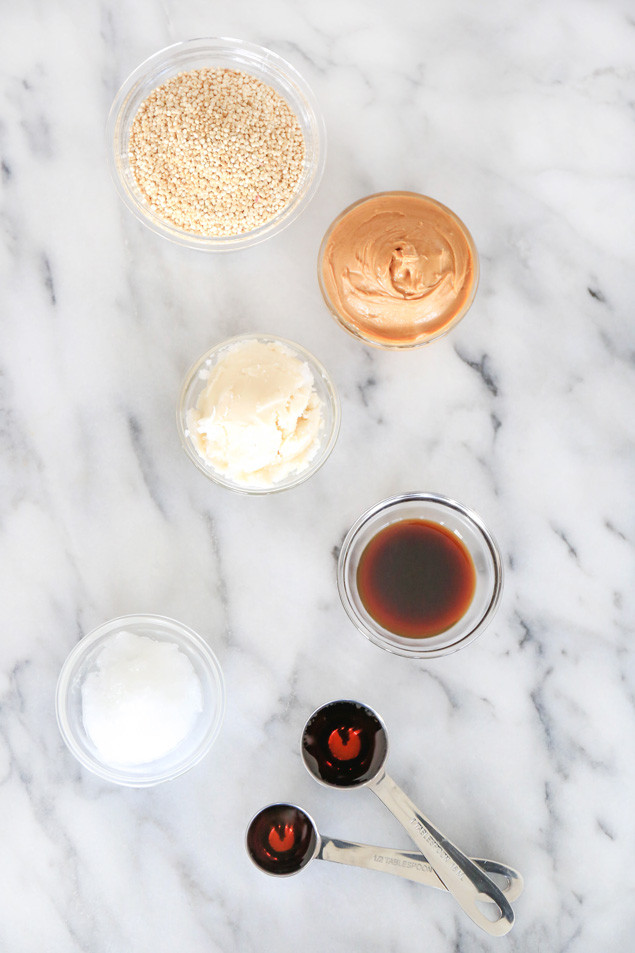
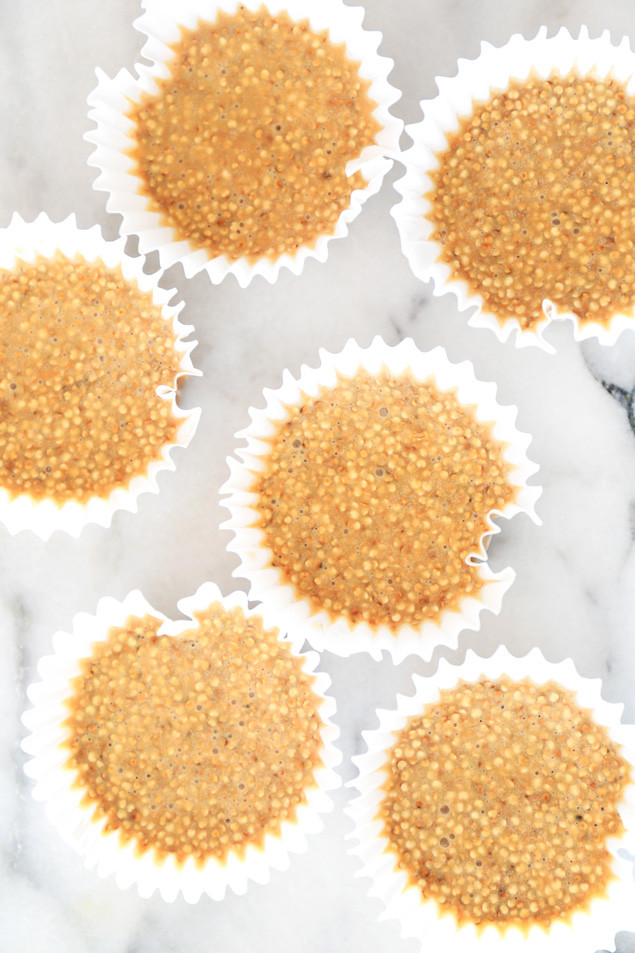
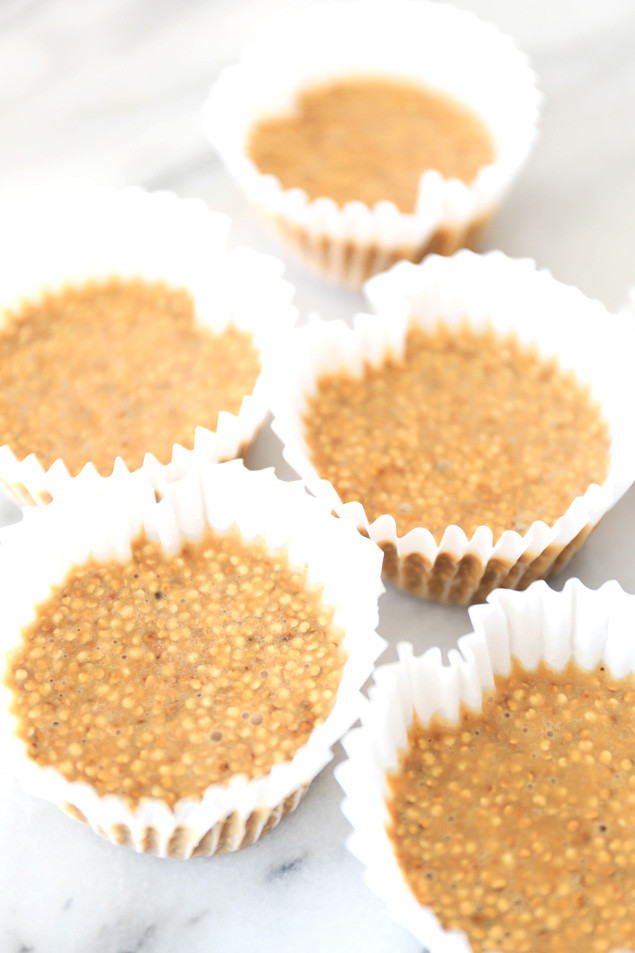
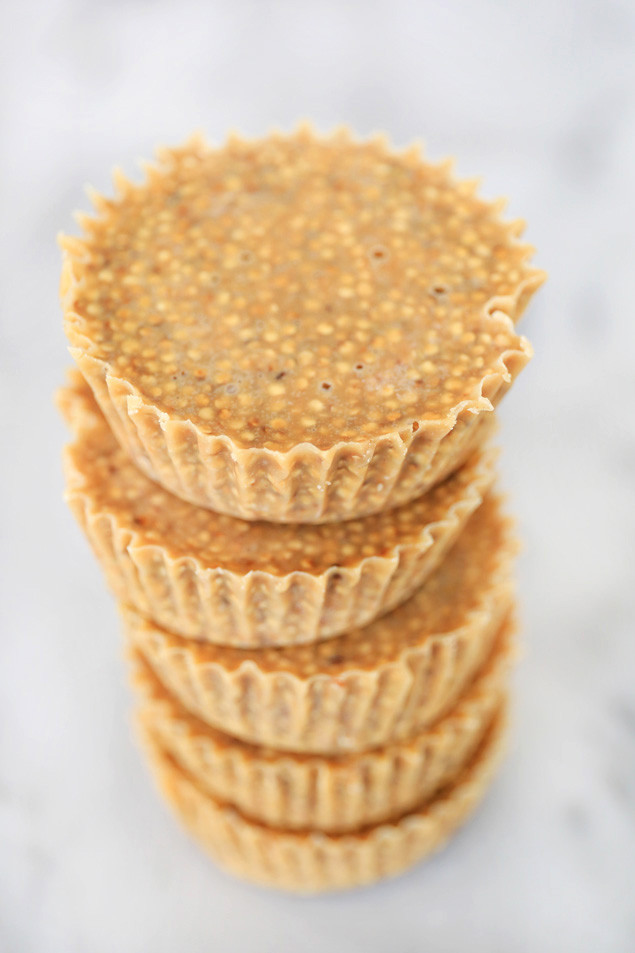
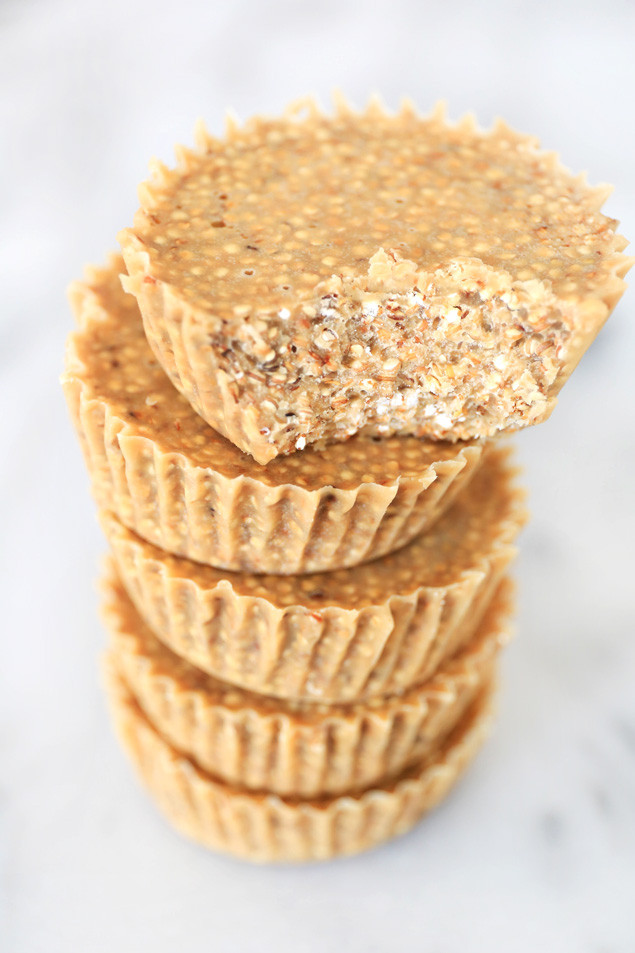
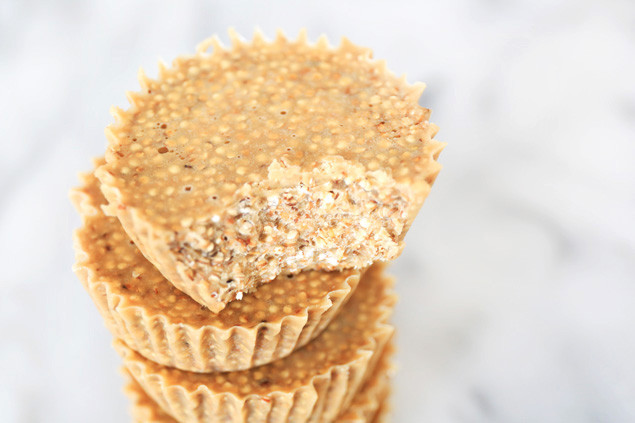
In the recipe, puffed quinoa is coated in a rich mixture of peanut butter, coconut butter, coconut oil, maple syrup, and vanilla extract. That nutty mixture is then spooned into muffin liners and popped into the freezer to set. After an hour or so, you’ll have crunchy, peanut-buttery, and addictive little cups of goodness. These crave-worthy peanut butter cups are sweet enough for dessert, yet totally pre and post workout snack-approved.

All of my bunnies know that I love making recipes as simple as possible, and simple to me means as few ingredients as possible. This recipe only contains 6 ingredients and I bet you have more than half of them at your house right now!

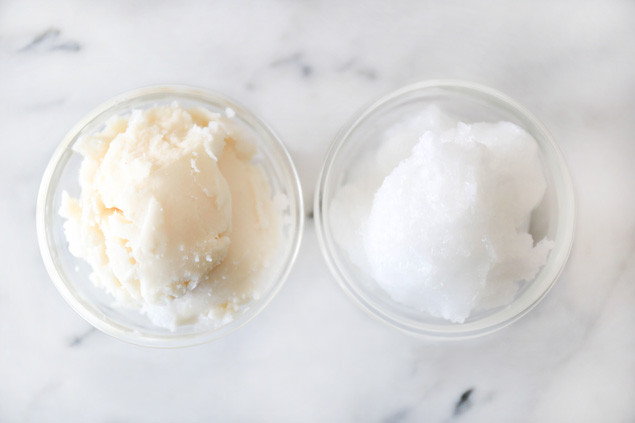
Quinoa-Peanut-Butter-Crunch-Cups-1 Quinoa-Peanut-Butter-Crunch-Cups-2Now before anyone asks, “do I have to go out and buy coconut butter? Isn’t it the same as coconut oil?” let me give you the 411! At one point, I thought they were the same thing. I thought that when coconut oil was at its solid form it was considered coconut butter and when it was melted and liquid it was considered coconut oil. Well I was wrong! No shame!
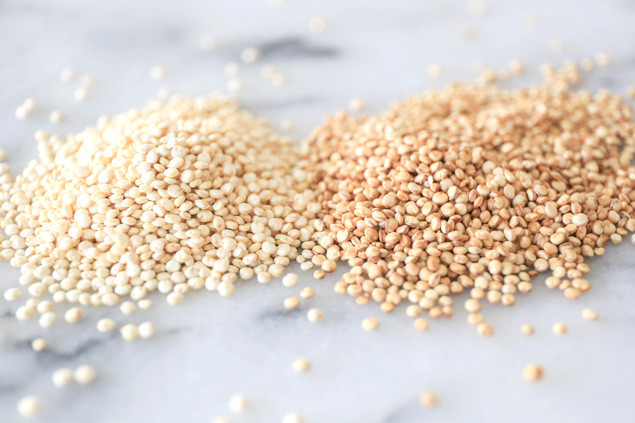
Coconut oil is JUST the oil that is extracted from the meat of a coconut. Coconut butter is the whole meat of the coconut pureed into a creamy butter. If you’re curious, coconut meat (by nature) is approximately 65% oil! So there it is folks, coconut butter has the flesh of the coconut in it! Look at the difference in the photo above (coconut butter on the left, and coconut oil on the right).

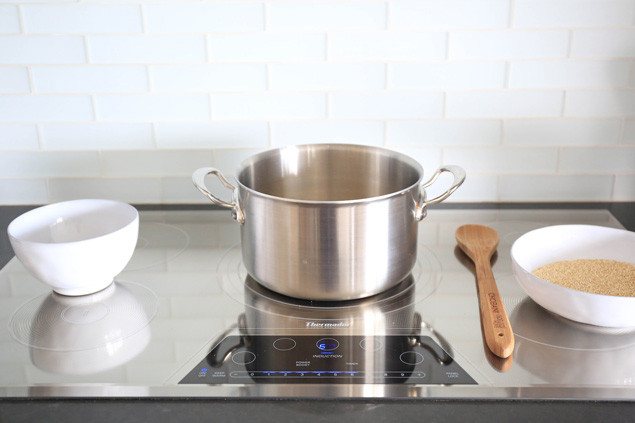
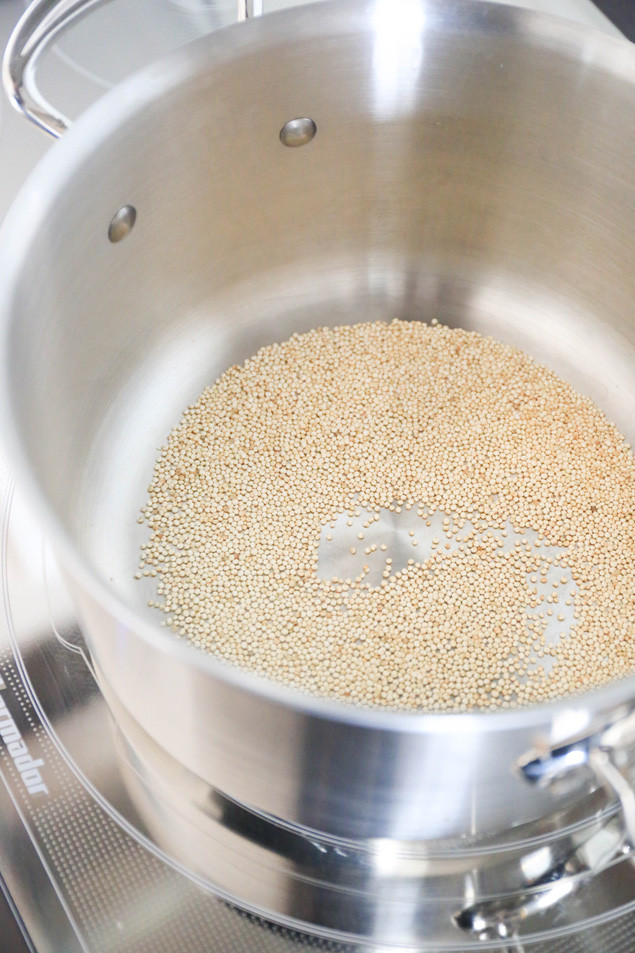
Quinoa-Peanut-Butter-Crunch-Cups-3*You can purchase puffed quinoa at specialty health food stores but it’s kind of tricky to find and it may be a bit on the pricier side, so in this post I’m showing you how to make your own puffed/popped quinoa! Heat a large stock pot over medium heat (I have an induction stove, and I set my heat to level 6 out of 9). Once the pot is hot, pour a small amount (just enough to cover the bottom of the pan as seen in the photo below) of pre-rinsed and dried quinoa over the bottom of the pan. Gently swirl the quinoa around with a wooden spoon as it pops (this helps prevent burning). You’ll notice that the quinoa has a very quiet little crackle pop, and its popped state is only the tiniest bit larger than its unpopped state (nothing like popcorn!). Once your first round of quinoa has popped (a minute or two), pour it into a bowl and repeat until you have 1½ cups. I like to have a bowl of unpopped quinoa ready to pour into the pot, and then a bowl on the other side for the puffed quinoa to go into when it has finished popping.
1½ cups of unpinned quinoa is pretty darn close to 1½ cups of puffed quinoa in the end since there is barely any difference in size once it has puffed!

Quinoa-Peanut-Butter-Crunch-Cups-4 Quinoa-Peanut-Butter-Crunch-Cups-5 Above is a photo of unpopped quinoa to the left and popped or puffed quinoa on the right. See how there is a very slight difference in size, but the little ring inside has expanded?
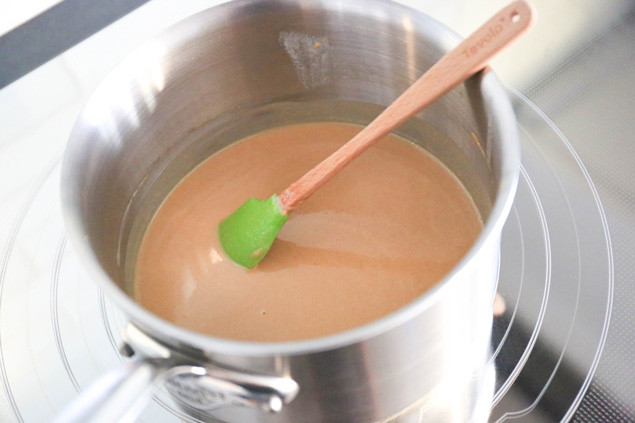
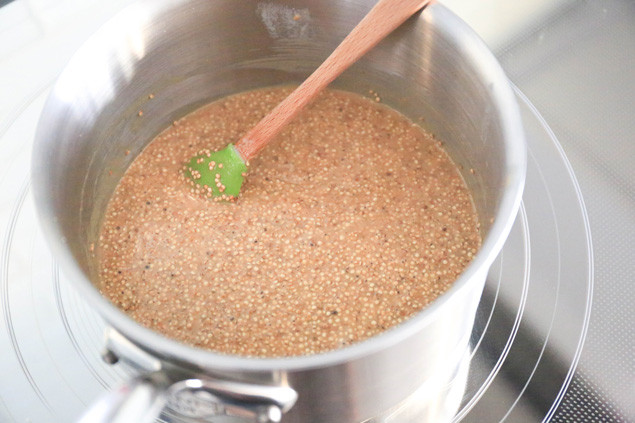
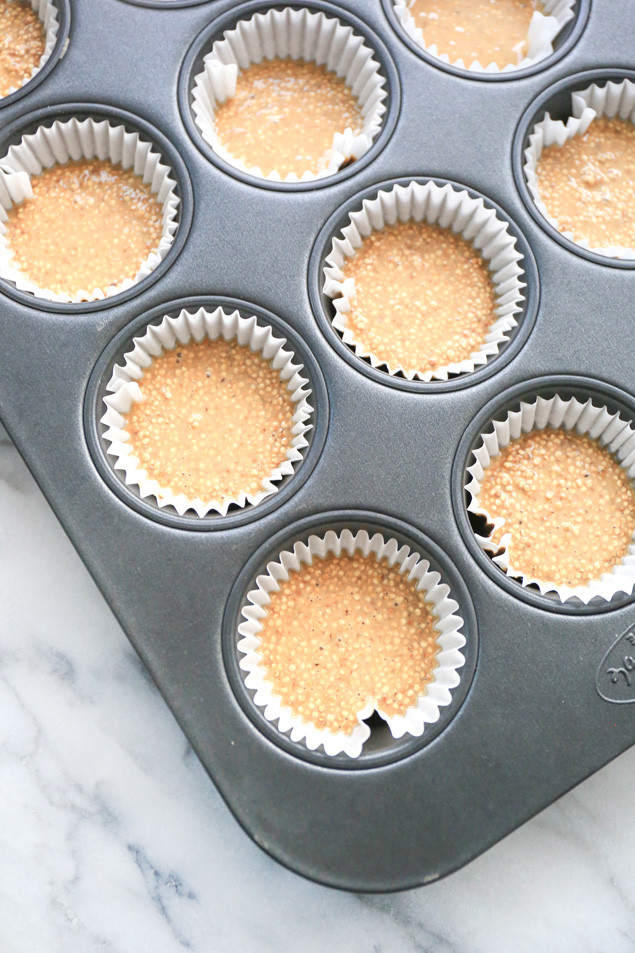
Quinoa-Peanut-Butter-Crunch-Cups-6 Quinoa-Peanut-Butter-Crunch-Cups-7 Quinoa-Peanut-Butter-Crunch-Cups-8 Quinoa-Peanut-Butter-Crunch-Cups-12Quinoa-Peanut-Butter-Crunch-Cups-13Quinoa-Peanut-Butter-Crunch-Cups-9 Quinoa-Peanut-Butter-Crunch-Cups-11Quinoa-Peanut-Butter-Crunch-Cups-10

Quinoa Peanut Butter Crunch Cups
By Blissful Basil
Makes 12 crunch cups

1½ cups puffed quinoa*
¼ cup + 2 Tbsp peanut butter
¼ cup + 2 Tbsp coconut butter
2 Tbsp coconut oil
1½ Tbsp pure maple syrup
1 tsp vanilla extract

Puff quinoa over a stove as described underneath photos above and set aside.* In a saucepan over low heat, combine the peanut butter, coconut butter, coconut oil, maple syrup, and vanilla extract. Stir for 3-4 minutes or until the mixture is completely melted and smooth. Next, turn off the stove and pour the puffed quinoa into the melted peanut butter mixture. Line a muffin tin with 12 muffin liners. Scoop 2 tablespoons of the quinoa mixture into each muffin liner and smooth the tops with a spoon if needed. Place the muffin tin in the freezer for 1 hour to set. Once the cups have set, they can be transferred to the refrigerator to store. Do not leave at room temperature or they will melt!

The Rabbit Food Pyramid Breakdown:
Produce: none
Whole Grain: quinoa
Protein: none
Plant Based Fat: peanut butter, coconut butter, and coconut oil

Rabbit Food Meal Tip: 1 Quinoa Peanut Butter Crunch Cup is 2 tablespoons of plant based fat and a small serving of whole grain. Enjoy this with an apple and glass of soy milk to make it a Rabbit Food Approved meal! Or blend some fruit and soy milk together with some ice as a smoothie.

Health & Happiness
xo-Catherine

P.S. I joined Snapchat!!! Open up Snapchat on your phone and take a photo of the image below to instantly add me to your Snapchat friends! Or add me the old fashioned way 🙂
I’ll be sharing behind the scenes photos and videos of me cooking, working on my blog, working out, and probably lots of super cute pictures of my corgi, Teddy!
Snapchat: @EatRabbitFood

Quinoa-Peanut-Butter-Crunch-Cups-14

1 3 4 5 6 7 72