seasoning

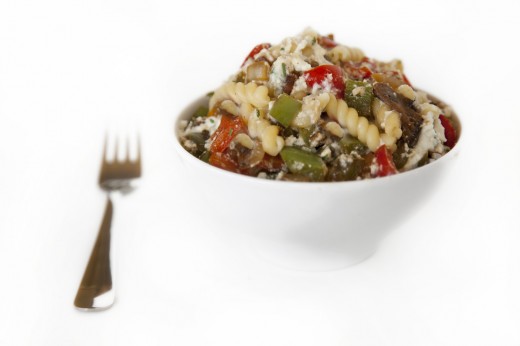
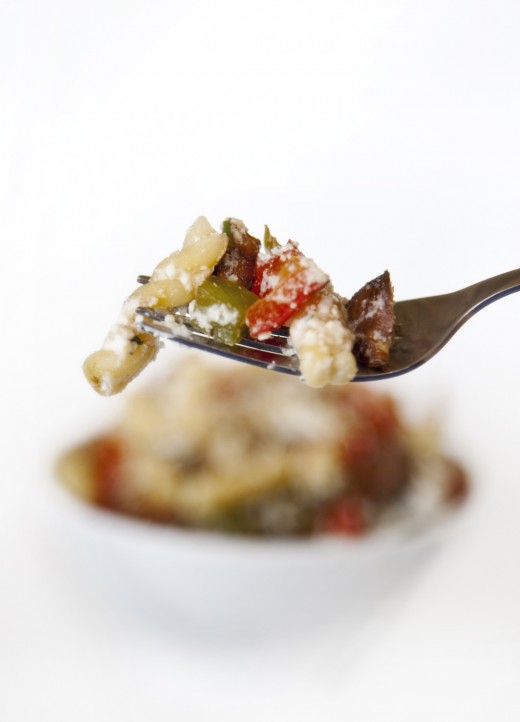
Pasta Primavera

Pasta pasta pasta where do I even begin?
Pasta can get a pretty bad rap due to it’s often fattening cream sauces, high carbohydrate count, and low nutritional value, but I’m here to tell you that not all pasta is bad! You can still eat pasta and lose weight, or maintain your toned figure. The keys to eating pasta are knowing what kind, and how much.

“Pasta doesn’t make you fat. How much pasta you eat makes you fat.”
– Giada De Laurentiis (Health Magazine, May 2012)

I couldn’t have said it better myself. Weather you are trying to maintain or lose weight, you could virtually eat anything that you want, as long as you know the correct amount and portions!

Today’s recipe is a healthy Pasta Primavera made with whole wheat pasta. Whole wheat pasta is made from flour that uses the entire grain and contains slightly more protein, and two to three times more fiber than refined pastas allowing you to stay fuller longer while stabilizing blood sugar levels.

Pasta Primavera
Serves 1

1/2 cup cooked whole wheat pasta
1 cup bell pepper (I used 1/2 cup red and 1/2 cup green)
1/2 cup mushrooms
1/2 cup yellow onion
1/4 cup nonfat ricotta cheese
1/4 cup low sodium vegetable broth (I use Pacific)
2 Tbsp pine nuts
1 tsp  salt-free Italian seasoning (I use Frontier)
1/2 tsp minced garlic

Cook the pasta to package instructions. Chop the bell pepper, onion, and mushroom and cook in vegetable broth in a pan over high heat.  While the pasta and vegetables are cooking, combine the ricotta, Italian seasoning, garlic, and pine nuts in a separate bowl and mix evenly. Once the pasta has finished cooking, strain and combine with the ricotta mixture. After vegetables have finished cooking, gently fold into the pasta and ricotta. Serve hot.
Note: If you are allergic to nuts, you can omit the nuts and cook your veggies in 1 Tbsp of olive oil (instead of vegetable broth) for your plant based fat serving.


The Rabbit Food Pyramid Breakdown
Produce: bell pepper, mushroom, onion
Whole Grain: whole wheat pasta
Protein: nonfat ricotta cheese
Plant Based Fat: pine nuts

Kale Chips

Hi Everyone! I hope that you guys had an awesome 4th of July holiday yesterday!
It was so gloomy here yesterday, but the beach was still packed with people!

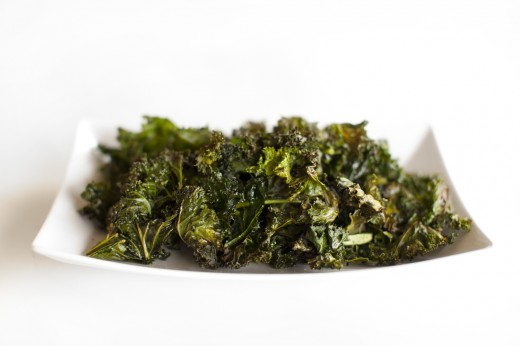
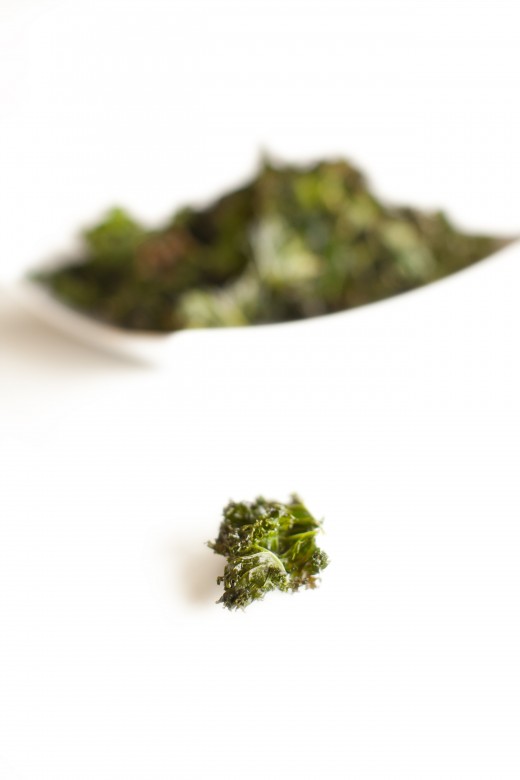
Today’s recipe is something that I am obsessed with: Kale Chips! I eat them all the time and they are always a staple in my pantry, but for some reason, I completely neglected to post a recipe on my blog! I make them so often, that I’m surprised this wasn’t my very first post haha If you don’t like the bitter taste of raw kale, you should give Kale Chips a chance, because they taste totally different when baked!


Kale Chips are really easy to make and are so affordable! I’ll start you guys off with a very basic Kale Chip recipe so you can experiment with your favorite spices and perfect the baking process before I get into some more advanced “cheesy vegan” options in future posts. If you are someone who craves crunchy cracks, these will be your new best friend. This is the perfect guiltless snack made from only 3 ingredients that are so healthy you could eat the entire batch!

It’s time to get to know this leafy green, so all hail the KALE!

  • One cup of kale has only 36 calories and zero grams of fat.
  • One cup contains nearly 20% of the RDA of dietary fiber, which promotes regular digestion.
  • Kale is contains carotenoids and flavonoids, two powerful antioxidants that protect our cells from free radicals.
  • Contains anti-inflammatory properties
  • Provides a high dose of vitamin K (providing 1327% of the RDA in one cup), which strengthens the composition of our bones.
  • Contains over 192% of the RDA of vitamin A in one cup, which is an effective antioxidant, that helps boost immunity, and helps maintains healthy bones and teeth.
  • Contains Vitamin C, a powerful antioxidant that helps to lower blood pressure, and ensures a healthy immune system.

Baking kale chips or any vegetables for that matter reduces some of the nutritional properties of the whole food,  so it is suggested that you use a dehydrator to preserves the nutrients and enzymes that help with energy and digestion. If you have a dehydrator, you could use this recipe and dehydrate at 115° for 8-12 hours. Don’t be afraid of losing some of the nutritional value during baking if you only have access to an oven… Kale Chips are obviously a much healthier option than greasy potato chips!

Kale Chips
Serves 3-4

1 bunch curly kale
1 Tbsp olive oil
1/2 tsp ground sea salt or seasoning salt to taste (one of my favorites is Lawry’s)

Preheat oven to 350 degrees. Rinse and dry kale leaves. Remove kale leaves from stems. Place the leaves in a mixing bowl and drizzle with olive oil. Massage the kale until the olive oil is evenly coated onto the kale. Place kale directly onto a baking sheet and sprinkle with sea salt or seasoning. Don’t worry about perfectly spacing out the Kale chips on the baking sheet, they can slightly overlap because they will shrink dramatically in size. Place the baking sheet in the oven and bake for 10-15 minutes or until crisp, moving the chips around and flipping them half way to ensure that they are evenly baked.
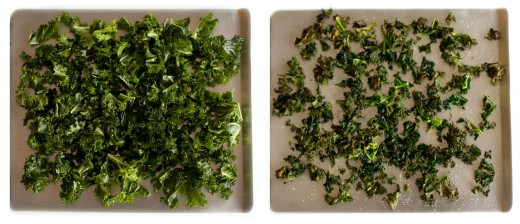
Note: Kale chips shrink after they are baked, so let the leaves be bigger than you would like them to be before baking. Below is a photograph of the kale chips before and after the baking process.


If you want a full nutrient rich dose of kale, try it raw in a green smoothie!

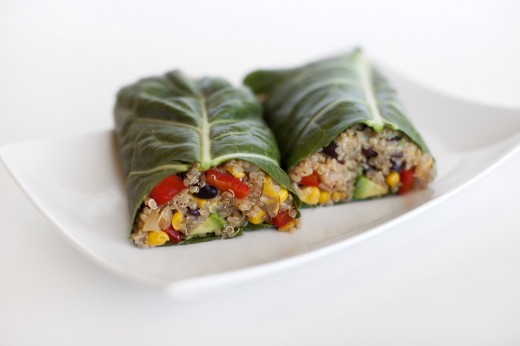
Southwest Quinoa Collard Wraps

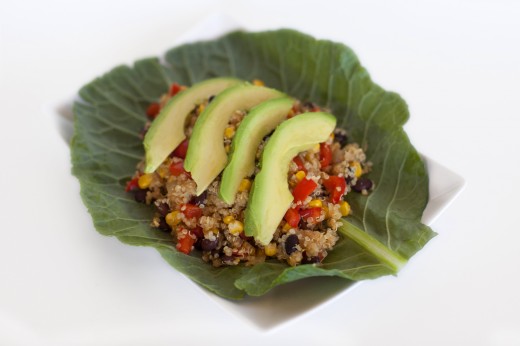
The last time I was in Houston visiting Sam, we invented an awesome dinner dish! Since we were cooking together, this didn’t end up as a single serving sized recipe, but trust me, you will want to have this everyday for as long as your leftovers last! I got Sam totally addicted to quinoa (keen-wa) with my Apple Pie Parfait  and it has turned into one of his favorite whole-grains. If your meat loving boyfriend, hubby, dad, or brother is scared of vegetarian or vegan meals, this one is boyfriend approved and a great option for “Meatless Mondays” if you’re trying to go veggie! If you are a big time RFFMBT fan, you may remember a sneak peek photo of this recipe that I posted on my Facebook page! At last, the detailed recipe is finally here!

This is a great healthy dish if you are having guests over for lunch or dinner. You could even set up a little wrap station where your guests can make their own collard wraps!


Southwestern Quinoa Collard Wraps
Serves 4-5

1 bunch collard greens
1 cup dry quinoa + 2 cups water
1/4 cup low sodium vegetable broth
1 15oz can unsweetened corn
1 15oz can low sodium black beans
1 large red bell pepper
1/2 yellow onion
1 ripe avocado
1 Tbsp lemon juice
1 Tbsp Southwest/Fajita seasoning (I used Mccormick Salt-Free Southwest)

Bring quinoa and water to a boil, then reduce to low heat and cover for 10-15 minutes until water is absorbed. Dice the onion and bell pepper and sauté in a pan with low sodium vegetable broth over medium/high heat. While the quinoa is cooking and peppers and onions are sautéing, rinse and strain the beans and corn. Once quinoa has finished cooking stir the beans and corn into the same pot. After the peppers and onions have become tender and cooked, stir them into the quinoa mixture as well. Add fajita seasoning and lemon juice to taste and gently mix into the quinoa until well combined. Cover the quinoa mixture and set aside. Rinse and dry collard greens and remove stems. Remove the avocado “meat” from its skin, and cut into thin slices. Place a collard green leaf on a plate and fill with 1 cup of the quinoa mixture, 1/4 avocado slices, and roll up into a wrap. Cut in half and serve!
Note: This recipe pairs really well with mango! Cut one mango into slices and add into the wrap along with the avocado for some sweetness.

The Rabbit Food Pyramid Breakdown
Produce: collard greens, bell pepper, onion
Whole Grain: quinoa and corn
Protein: beans
Plant Based Fat: avocado