Snacks

Snacks

Ch ch ch ch ch ch Cherry Bombs!

Thank you SOOOOOOO much for your love and support on my comeback post, bunnies! I am so overwhelmed and humbled by your positive responses. Believe it or not, I have read every single comment, all 381.

Over years of having this blog, I started to slowly become known as a weight loss success story throughout the internet. Most of you even wrote in your comments that you found my blog on Pinterest because of my before and after photo. Being a health food blogger/weight loss success story, your body becomes a huge source of inspiration for others. And when it starts turning back into that before picture, you start feeling like your credibility and career are on the line. This is exactly what was happening in my head those months while I was away from my blog. I sat at home ashamed for letting myself get back to where I had started, for not maintaining my after image that you all know. I put all of my worth into that silly old after photo. I started turning down speaking engagements and blogger summits because I was embarrassed of what I looked like. I thought that if people met me and I wasn’t “skinny” like my after photo anymore, they would… I don’t know, I don’t even know what I really thought. That they would turn me away? Think less of me? I guess deep down I thought people would think I was a fraud. It took me until now and your incredibly kind words and comments to realize that I’m just human, and like SO MANY OF YOU I struggle with my weight.

When I first started my lifestyle change I thought I had this whole healthy eating thing down and that I would never ever go back to the “old me” —  my after photo, but my friend Kathy (Healthy Happy Life) recently reminded me that “there’s never an after photo.” I got out my phone and had to write this down in my notes because it hit me like a ton of bricks at that moment. We are never an after photo, we are constantly changing. If anything, my after photo is just a snapshot of that moment, a bit of progress, but ultimately a part of my journey, not a final after photo. I placed so much of my worth on that after photo and feel like I missed out on so many HUGE opportunities because I was embarrassed and ashamed of gaining weight back. Now that… that is the only thing I should be ashamed of. I’m proud of myself for writing that last blog post. It feels like a weight was lifted off of my chest and I can finally breathe. So long story short, thank you for being a part of this crazy journey. Thank you for still coming back to my blog even when I didn’t believe in myself. Thank you for laughing and crying with me. Thank you for your inspiring comments. Thank you to everyone who used Taylor Swift lyrics in your previous comments (huge fan!). And thank you for your honesty and for sharing your stories with me and my other readers. YOU inspire me! I’m so excited for 2016 with my bunnies!

In the new year I want to slightly rebrand, take some new “promo” photos, and add in some more lifestyle posts. But first, I want to start the year off by getting back on track with you guys. I am serious about what I said in my last post about getting back on the wagon and I want to lose weight again and do it with you guys —  anyone who wants to join.  I am currently in Jackson Hole, Wyoming for New Years with Matt and my friends Brett and Michael, but when I get home, it’s time to shed our fur coats, bunnies! My thoughts are to start with the Skinny Bunny Cleanse (Skinny Bunny Cleanse Revisited). It’s a 5 day whole food cleanse. No juices, starving, calorie counting, or any of that nonsense. You get to eat actual food! It’s hard to start any lifestyle change or diet, but that’s why we are all going to do this together! Support support support! Each day, or at the end of each week I want to post all of my meals and keep a diary of how I felt throughout the day and how my hunger/energy levels were. We’ve got this!

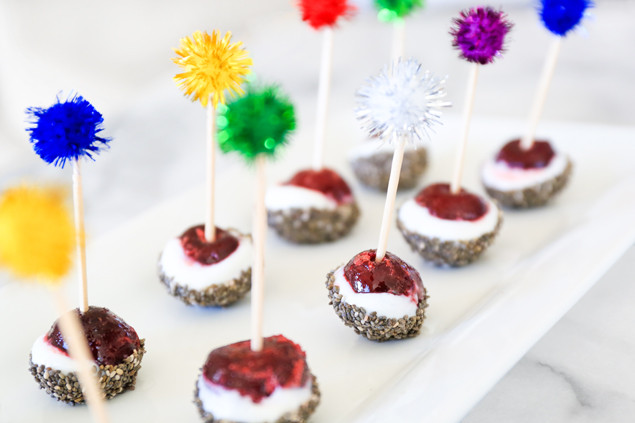
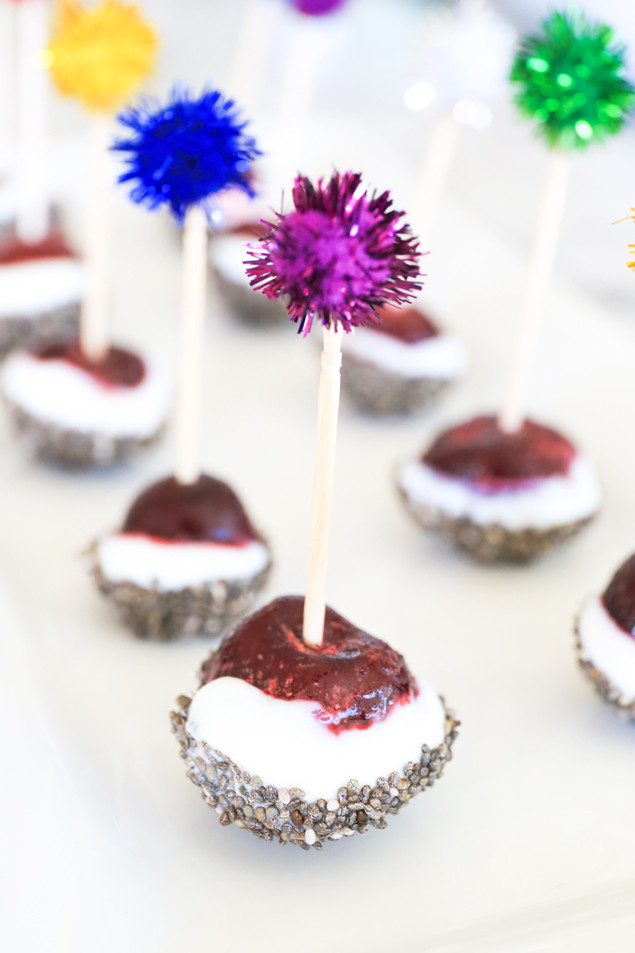
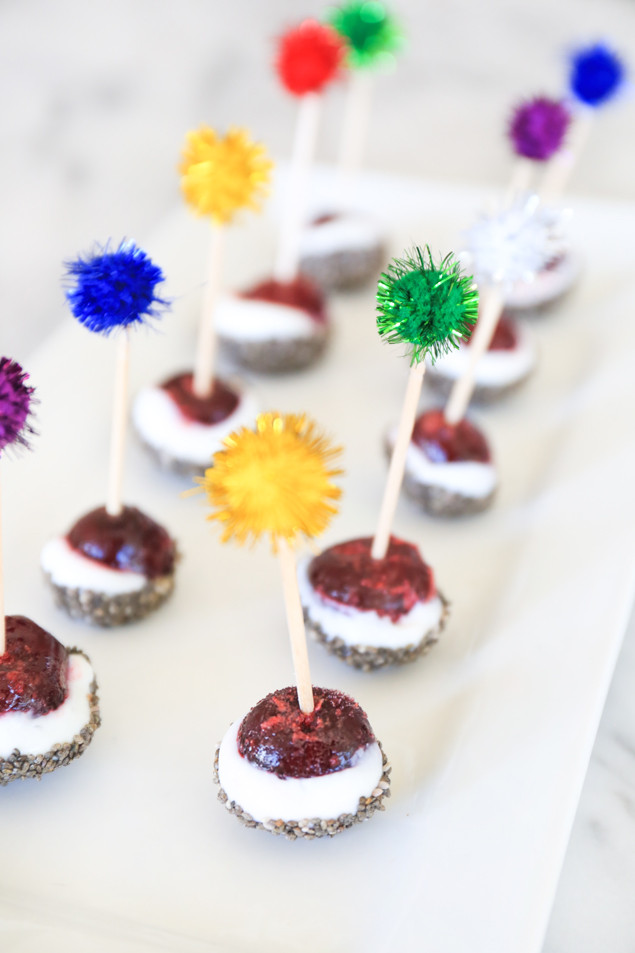
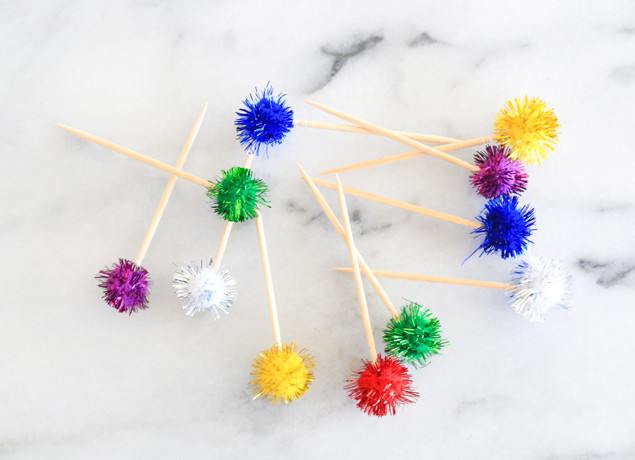
Today I have a cute NYE snack recipe. It’s inspired by one of my fav blog’s Fashion Lush’s Grape & Chia Poppers. I named these little cuties Ch ch ch ch ch ch Cherry Bombs, and now I can’t stop singing “Cherry Bomb” by The Runaways. Oh, and I’ve also included a little DIY for these adorable sparkly pom pom toothpicks.
Yogurt-Chia-Cherry-Bombs-9
Yogurt-Chia-Cherry-Bombs-6
Yogurt-Chia-Cherry-Bombs-7 Yogurt-Chia-Cherry-Bombs-8 Yogurt-Chia-Cherry-Bombs-11 Yogurt-Chia-Cherry-Bombs-12Ch ch ch ch ch ch Cherry Bombs!

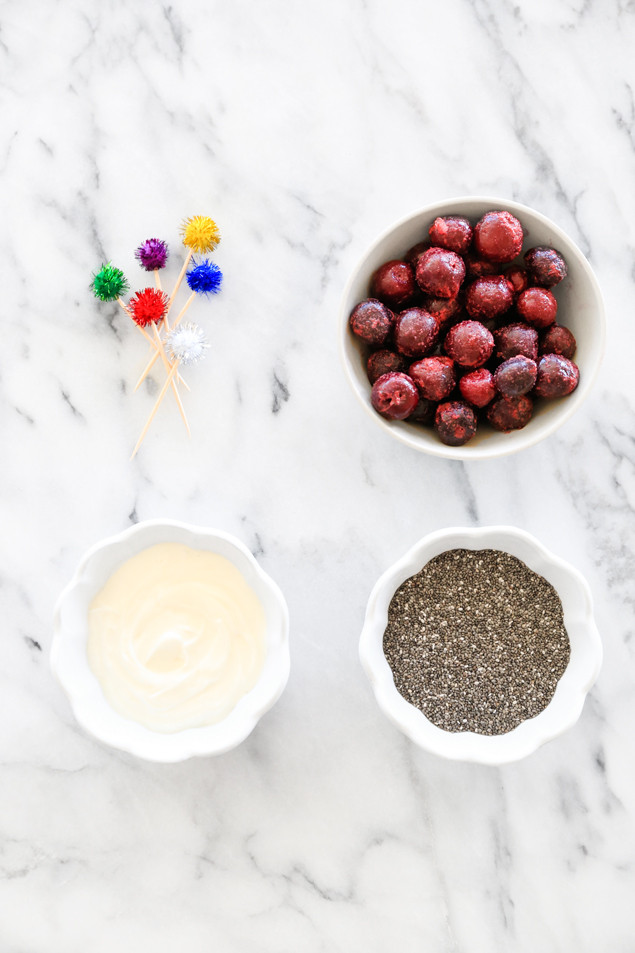
Frozen pitted dark sweet cherries
Greek yogurt (I used Vanilla)
Chia seeds
Toothpicks

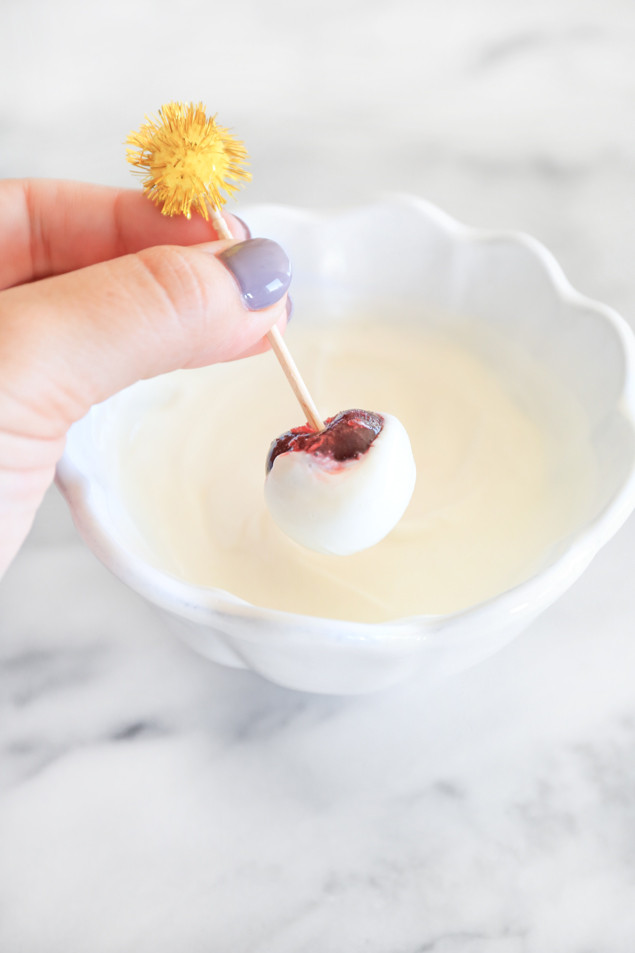
1. Place a toothpick in each frozen cherry.
2. Dip each cherry in Greek yogurt.
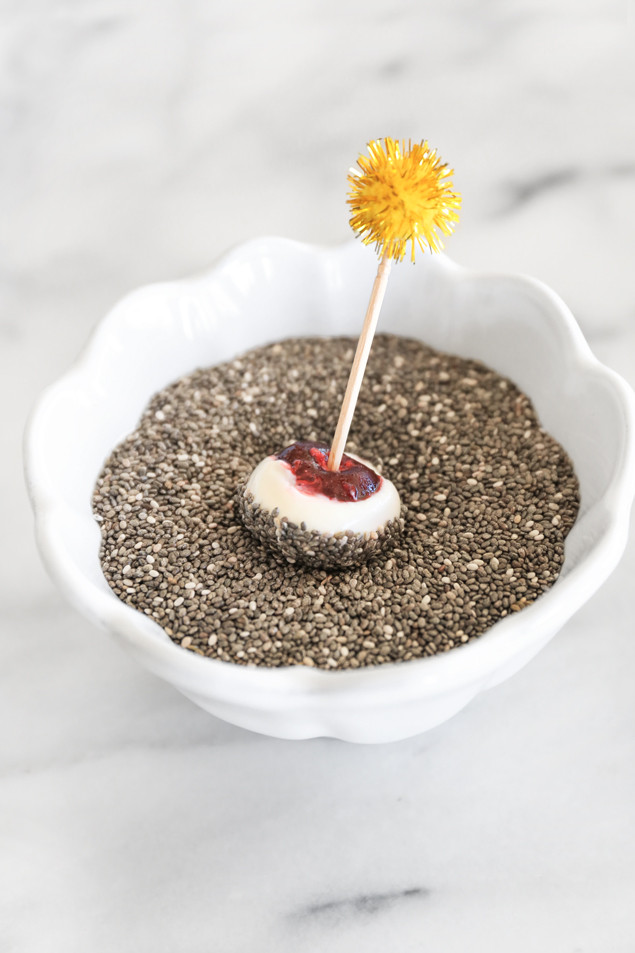
3. Dip the Greek yogurt covered cherries in chia seeds.
4. Freeze for a few hours or overnight in a freezer safe container and enjoy as a snack.
Yogurt-Chia-Cherry-Bombs-4Yogurt-Chia-Cherry-Bombs-1 Yogurt-Chia-Cherry-Bombs-2 Yogurt-Chia-Cherry-Bombs-3
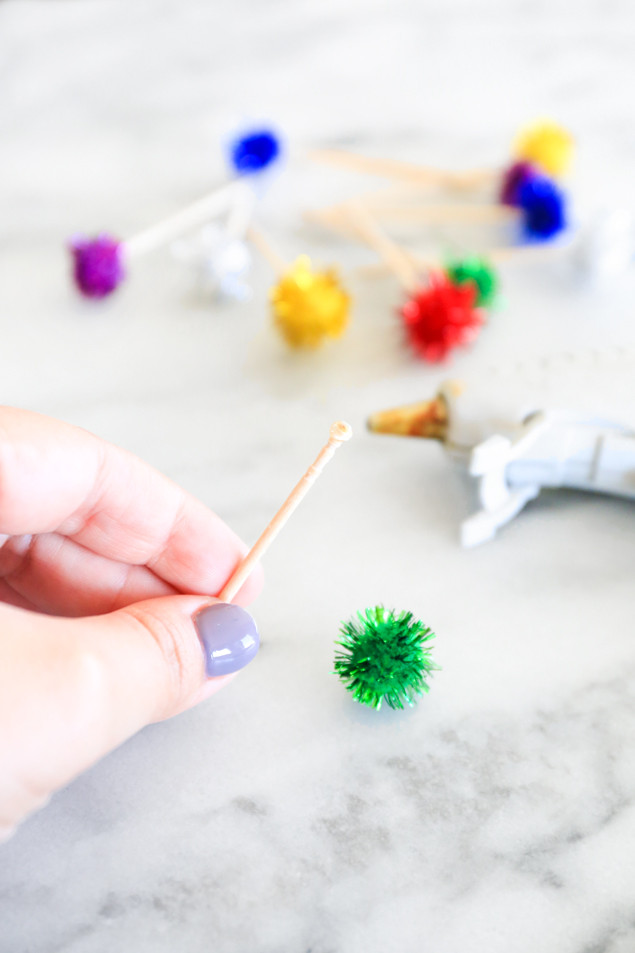
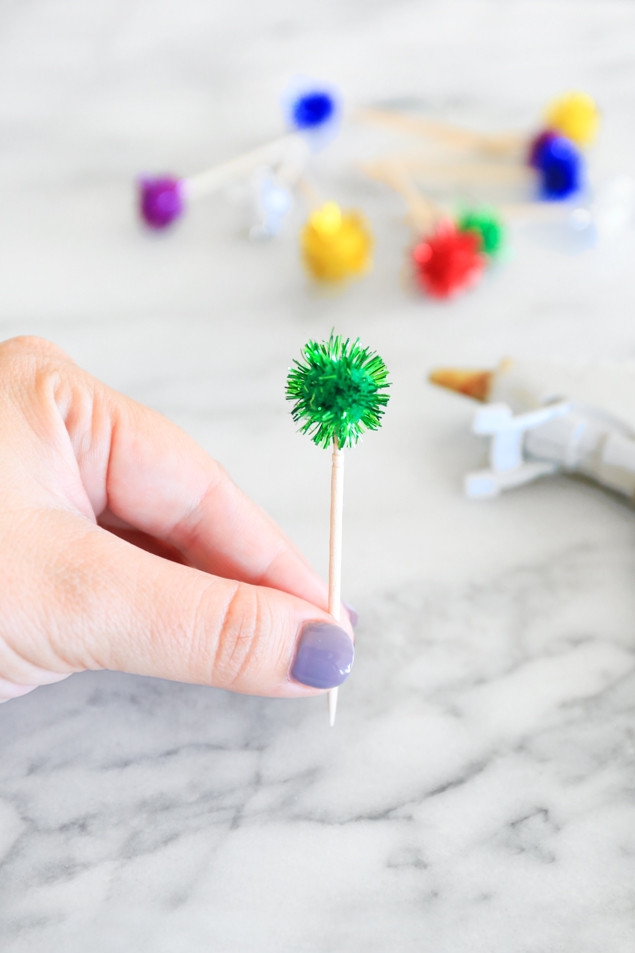
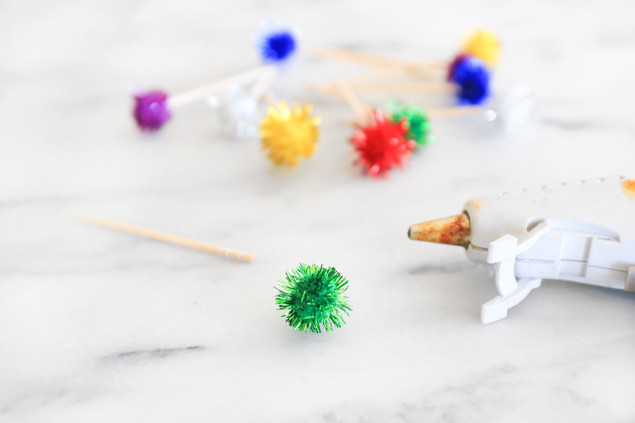
Sparkly Pom Pom Toothpick DIY

Sparkly pom poms
Toothpicks
Glue gun

Place a dot of glue on the top of a toothpick and place the pom pom at the top. Done!

Dole Banana Power Pops

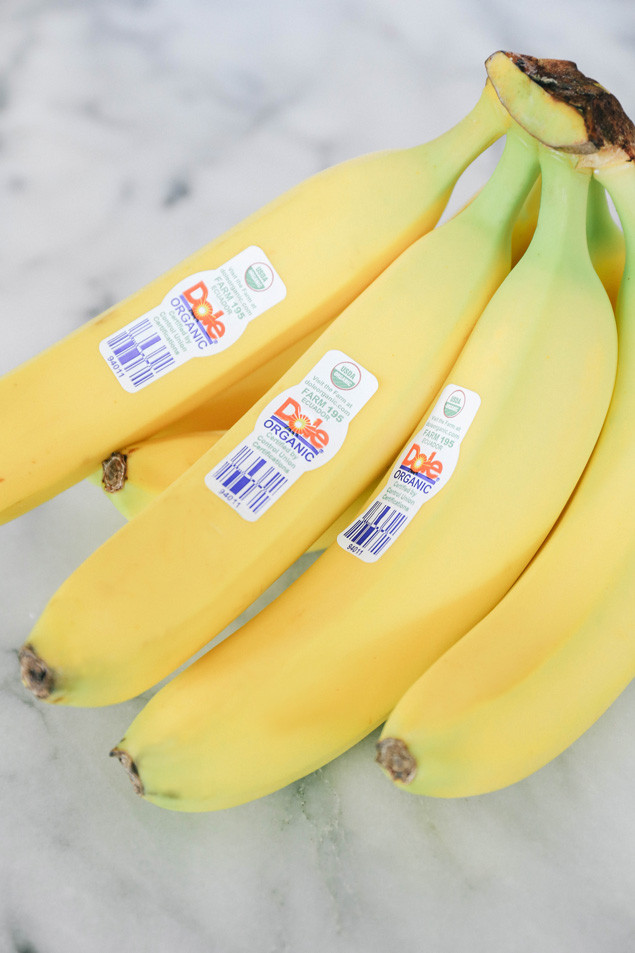
I have been working with Dole for over three years now, and I am so honored to be an official Dole ambassador for 2015! I’m also really excited to announce the launch of Dole’s “Get Up and Grow!” campaign and tour! All of my bunnies know that I am a huge advocate for “eating more rabbit food” and getting as many fruits and vegetables into your diet as possible. You’ve seen me hide spinach in everything from smoothies to brownies and it’s no secret that I love introducing my readers to healthier options. That’s why I’m so excited for Dole’s “Get Up and Grow!” campaign and initiative to directly challenge the public to adopt a healthier daily routine including eating more fresh fruits and vegetables!

The Dole “Get Up and Grow” tour caravans are making roughly 480 stops at supermarkets and special events throughout the U.S. and Canada this summer that you won’t want to miss!

“Multiple colorful Get Up and Grow! Tour caravans with rolling kitchens will deliver innovative new recipes, product samples, a do-it-yourself smoothie bar, free giveaways for the whole family and other activities specifically created to showcase the fun, flavor and preparation possibilities of fresh fruit and vegetables and a plant-based diet. Visitors can also present a grocery receipt showing a qualifying level of DOLE® fresh purchase to receive a limited-edition, commemorative Get Up and Grow! item.

The new recipes available for sampling range from the Banana and Blue, Breakfast Smoothie, Power Punch Smoothie and Spinach-Avocado Hummus to the Grilled Banana Parfait, Southwestern Gazpacho, Caesar’s Bounty Salad and Charred Summer Salad, which Dole has proclaimed 2015’s “Official Salad of Summer.”

Dole-Get-Up-and-Grow-Tour-2015Take the Pledge Today & View Tour Dates and Info!

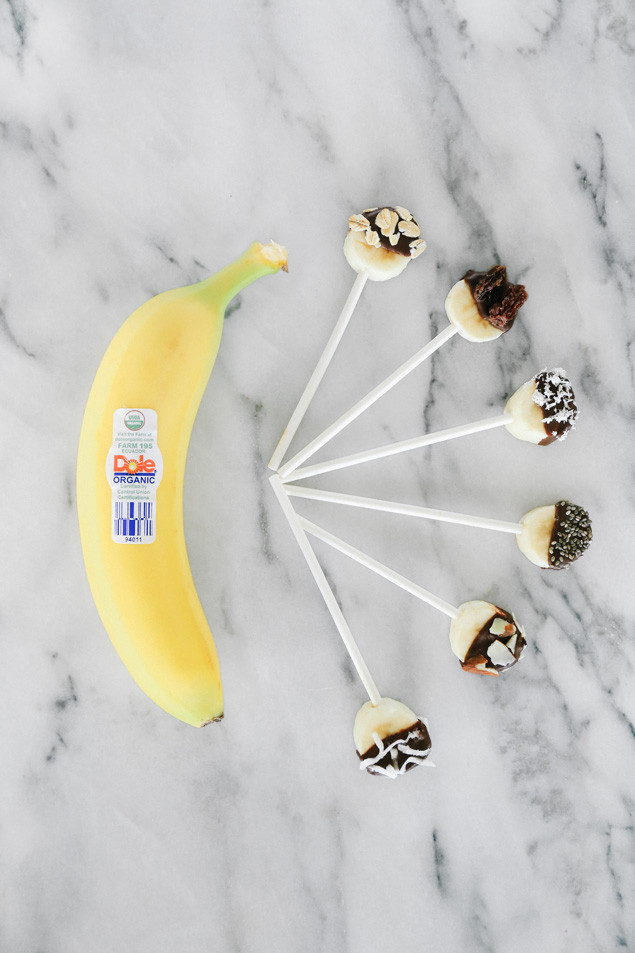
I’m really into snacks, they literally make the world go round. My absolute worst snack attacks usually hit at about 3pm and midnight (I know, it’s so bad) and although I try to avoid the midnight snacking by sipping on herbal tea, the midday hunger is unavoidable. 3pm is that awkward time in-between lunch and dinner when you don’t want to eat something heavy and spoil your dinner, but you need something to give you energy and nourish your brain and body to get you through the next few hours. This is when Banana Power Pops are the perfect little energizing snack. Natural sugars and potassium from bananas, antioxidants and caffeine from dark chocolate, and nourishing plant based fats from the nut and seed toppings make a winning combo to power you up and give you a dose energy! They also make a great cool treat during the hot summer when kept in the freezer!

Power snack or dessert? You decide!

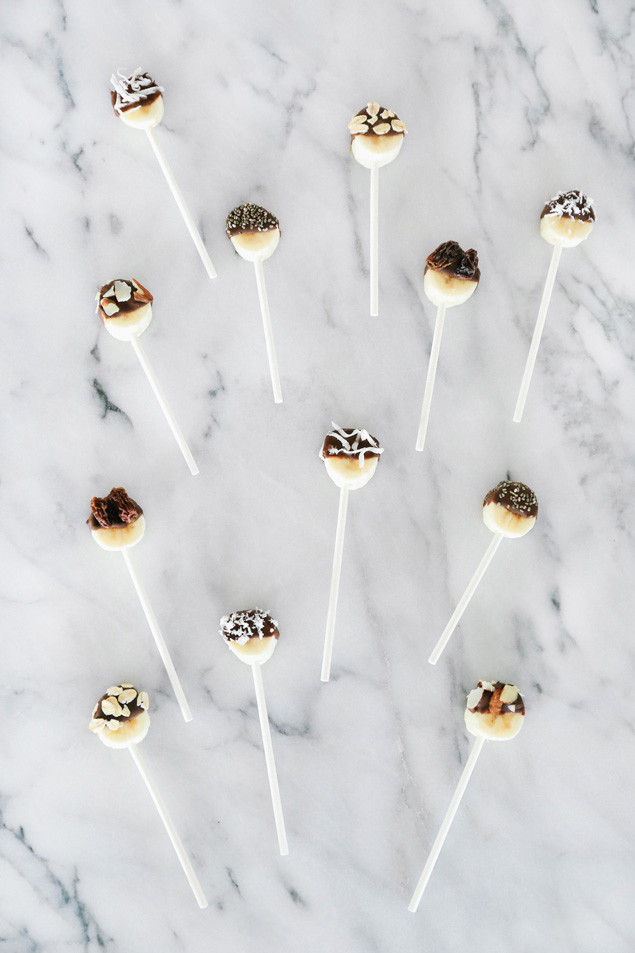
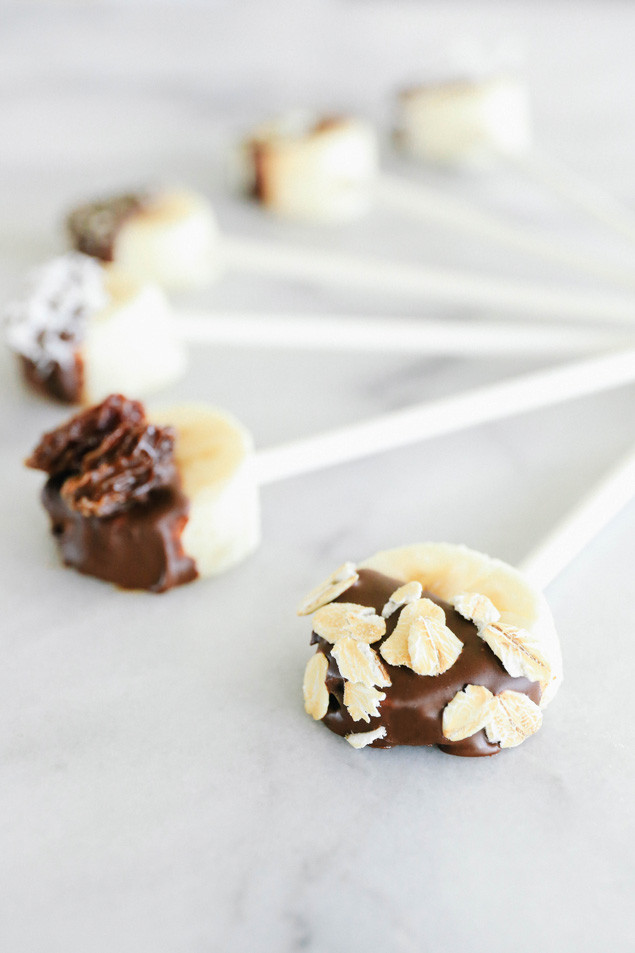
Dole-Banana-Power-Pops-1 Dole-Banana-Power-Pops-2 Dole-Banana-Power-Pops-3 Dole-Banana-Power-Pops-4 Dole-Banana-Power-Pops-5 Dole-Banana-Power-Pops-6 Dole-Banana-Power-Pops-7
Dole Banana Power Pops

1 Dole Banana
1/4 cup dark chocolate chips or vegan chocolate chips
Toppings: shredded coconut, sliced almonds, chia seeds, raisins, oats.
Lollipop Sticks

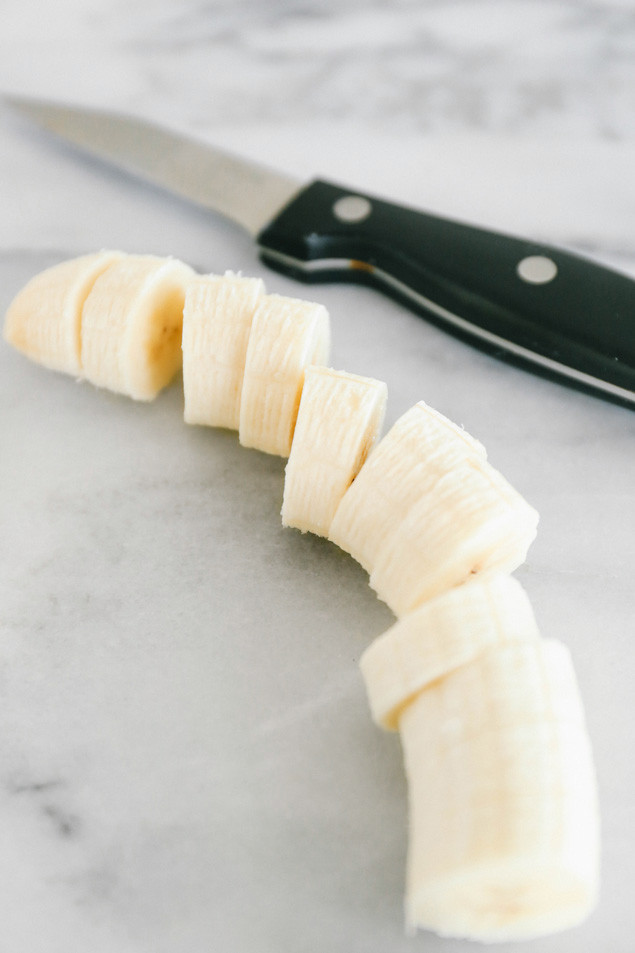
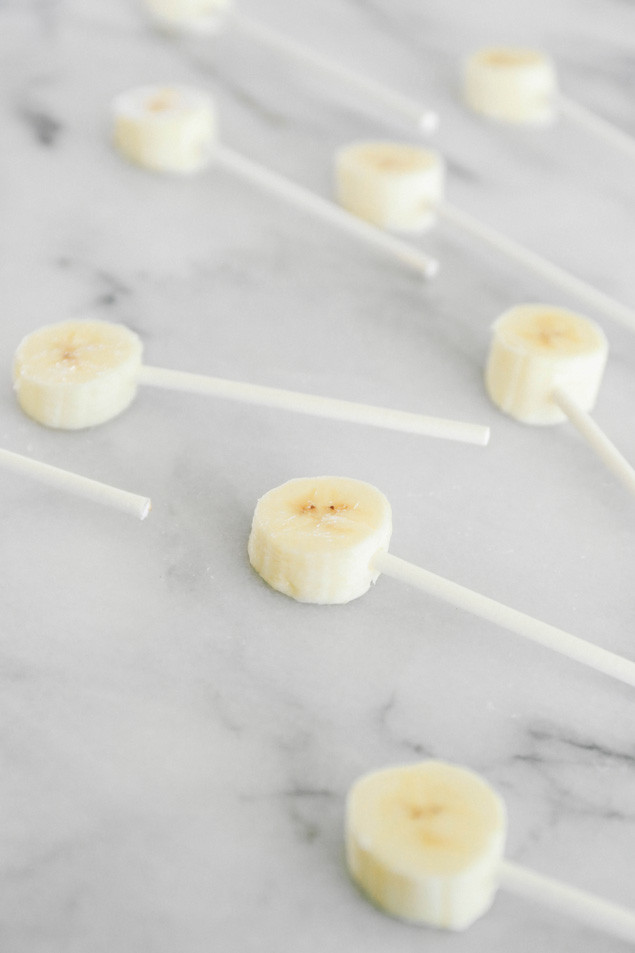
1. Peel and slice banana into half inch thick slices.
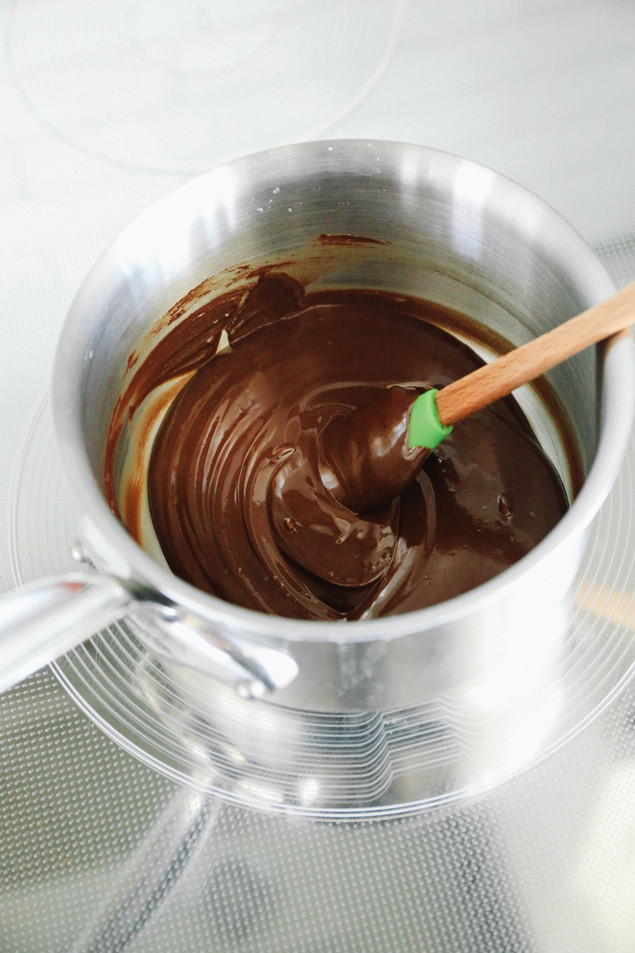
2. Melt chocolate in a saucepan over medium heat.
3. Place a lollipop stick in each banana slice.
4. Dip each banana slice one by one into dark chocolate and sprinkle with desired topping.
5. Place dipped banana slices on wax paper and place in the freezer until hardened. Enjoy cold.

Dole-Get-Up-and-Grow-Ambassador-Facebook-ChatI am hosting a Facebook chat this Thursday, June 11 at 5pm PDT (8pm EST!) on the Dole Facebook page! Make sure to stop by, chat, and ask me questions!
Health & Happiness
xo-Catherine

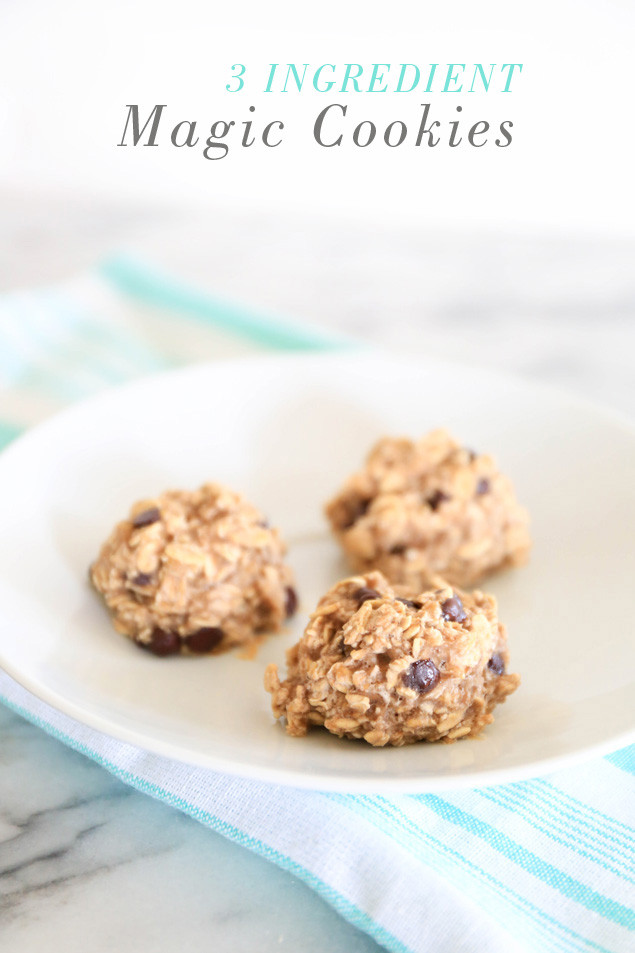
3 Ingredient Magic Cookies

I remember seeing a banana oat cookie recipe floating around Pinterest a couple of years ago and I thought it was too good to be true. Welllll I pintested it and it was a total flop. My cookies were rubbery and looked like one of those typical “NAILED IT!” photos. It was bad. Like most of the omgsupercool intriguing Pinterest recipes that I’ve tried, I got super frustrated, annoyed, and never tried it again.

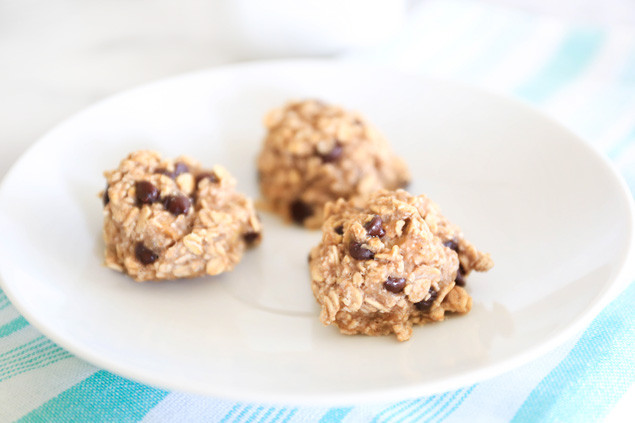
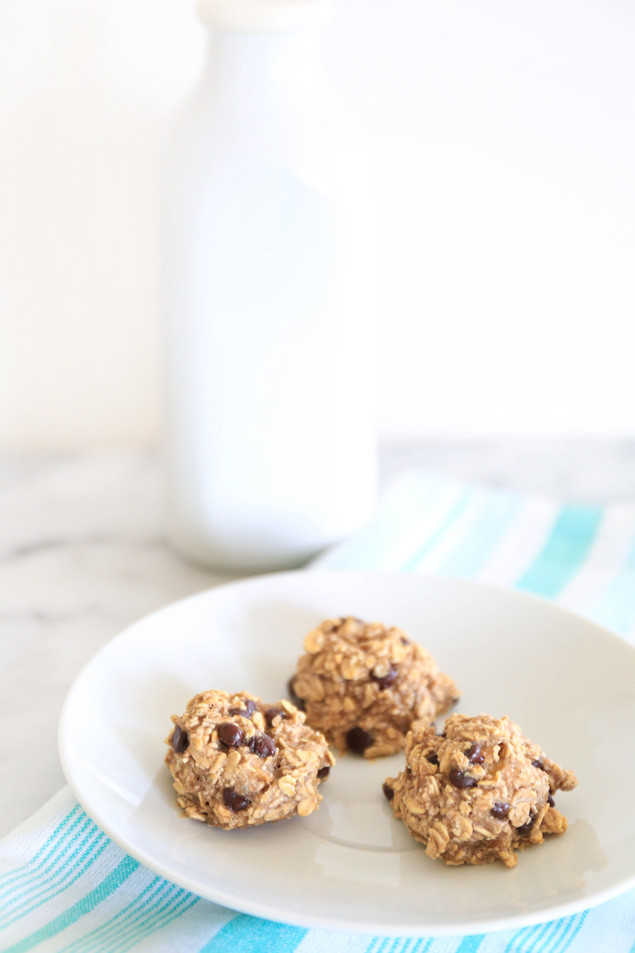
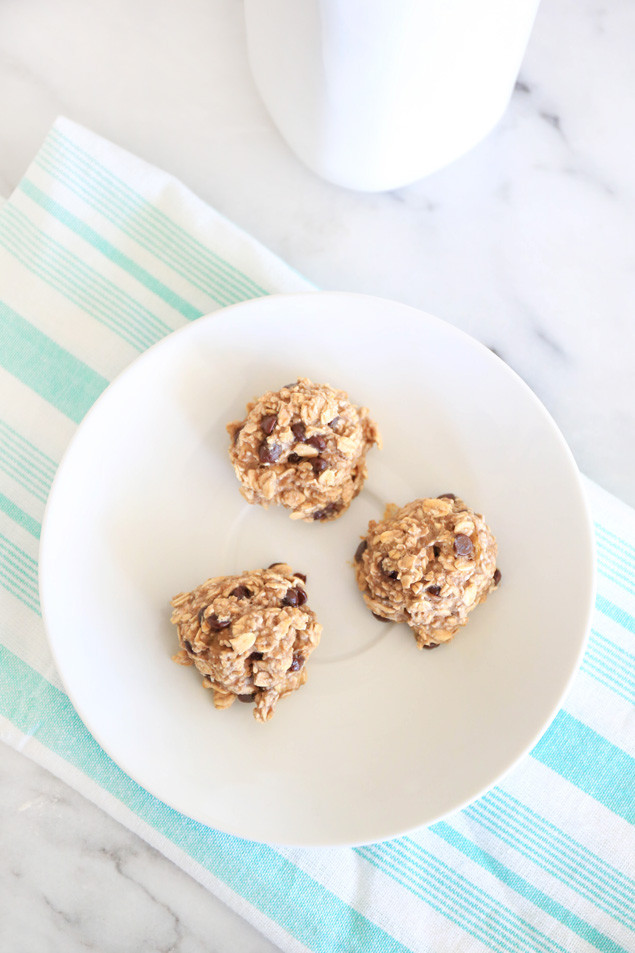
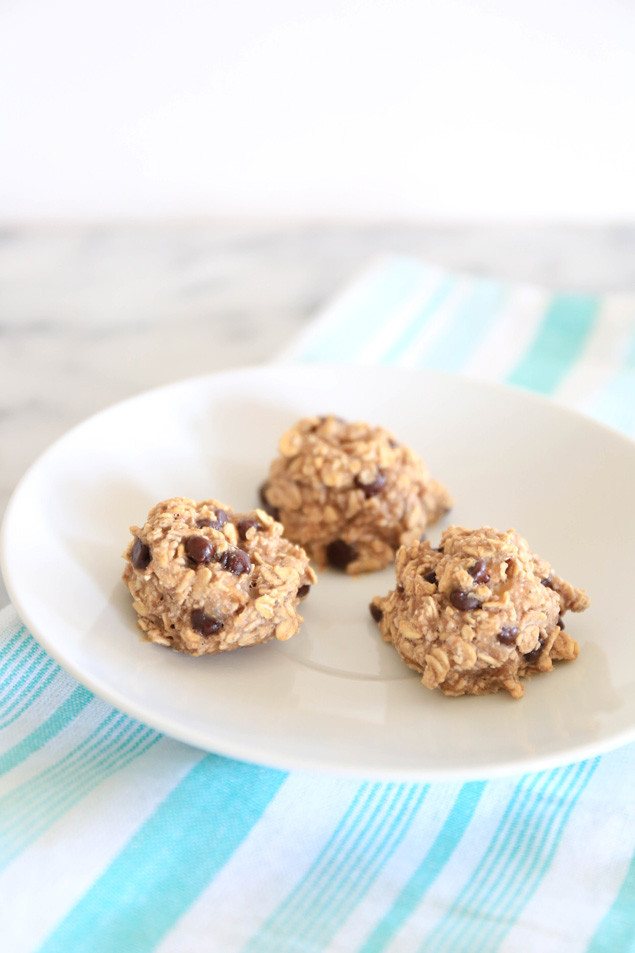
Well, here I am years later conquering the banana oat cookie, and not to toot my own horn but, TOOT FREAKING TOOT I actually nailed it! In the correct kind of nailed it way. And these cookies are seriously magical! The original recipe called for cinnamon, vanilla, and raisins, but I am giving a big N-O to those ingredients for my magical cookies. I’ve also mastered the ratio of ingredients so your cookies don’t look like a pile of unicorn poop when they come out of the oven. You’re welcome.

I am happy to tell you that these cookies are gluten-free (make sure to buy uncontaminated oats), vegan, nut-free, seed-free, dairy-free, soy-free, wheat-free, refined sugar-free, and absolutely magical. Plus, you might just happen to have two super ripe bananas on your counter just waiting to be used… for cookies!

3-Ingredient-Banana-Oatmeal-Chocolate-Chip-Magic-Cookies3-Ingredient-Banana-Oatmeal-Chocolate-Chip-Magic-Cookies-1 3-Ingredient-Banana-Oatmeal-Chocolate-Chip-Magic-Cookies-2 3-Ingredient-Banana-Oatmeal-Chocolate-Chip-Magic-Cookies-3 3-Ingredient-Banana-Oatmeal-Chocolate-Chip-Magic-Cookies-4 3-Ingredient-Banana-Oatmeal-Chocolate-Chip-Magic-Cookies-5 3-Ingredient-Banana-Oatmeal-Chocolate-Chip-Magic-Cookies-6 3-Ingredient-Banana-Oatmeal-Chocolate-Chip-Magic-Cookies-7 3-Ingredient-Banana-Oatmeal-Chocolate-Chip-Magic-Cookies-8 3-Ingredient-Banana-Oatmeal-Chocolate-Chip-Magic-Cookies-9 3-Ingredient-Banana-Oatmeal-Chocolate-Chip-Magic-Cookies-123-Ingredient-Banana-Oatmeal-Chocolate-Chip-Magic-Cookies-11
3-Ingredient-Banana-Oatmeal-Chocolate-Chip-Magic-Cookies-13 3-Ingredient-Banana-Oatmeal-Chocolate-Chip-Magic-Cookies-14
3 Ingredient Magic Cookies

Yields 20 cookies

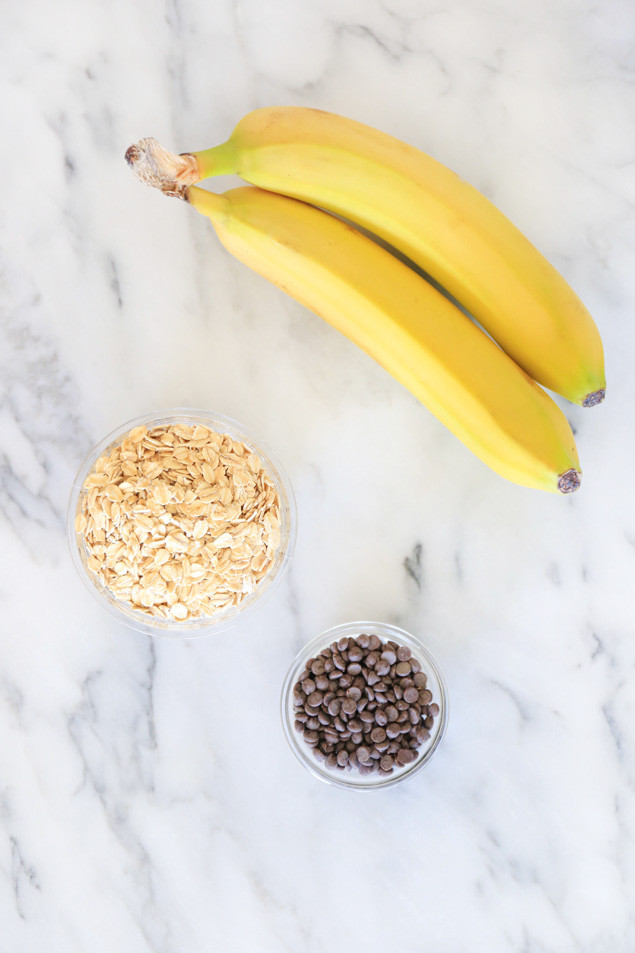
2 large ripe bananas
1 cup whole rolled oats
¼ cup vegan chocolate chips (I love Enjoy Life brand)

additional ¼ – ½ cup rolled oats as needed to thicken batter

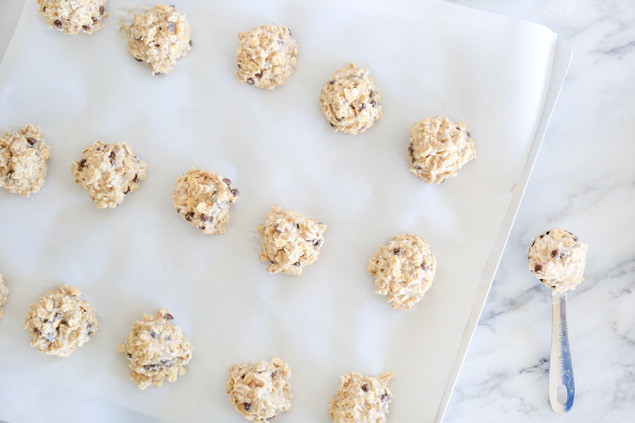
1. Preheat oven to 350. Line a baking sheet with parchment paper.
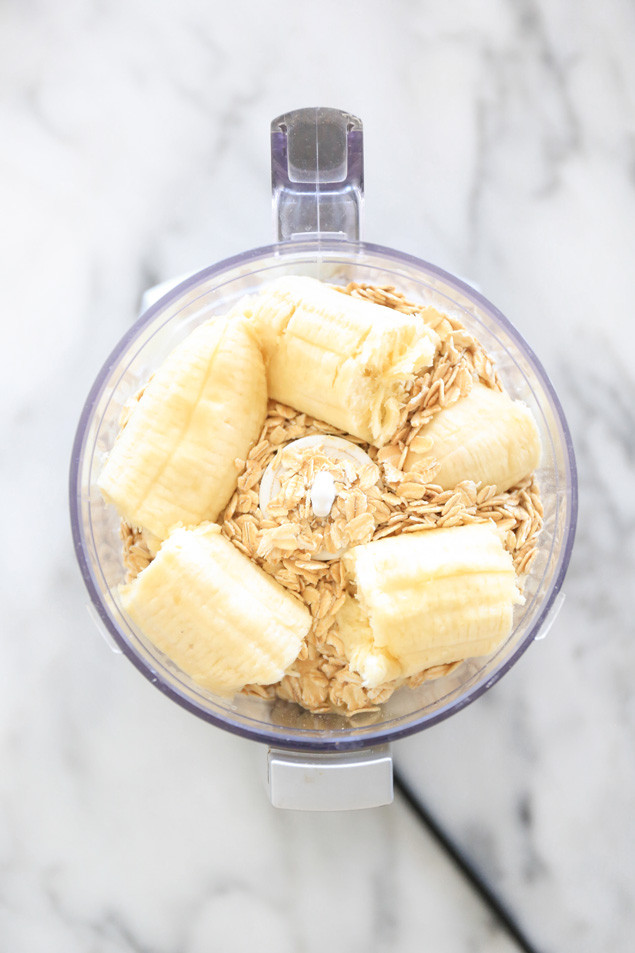
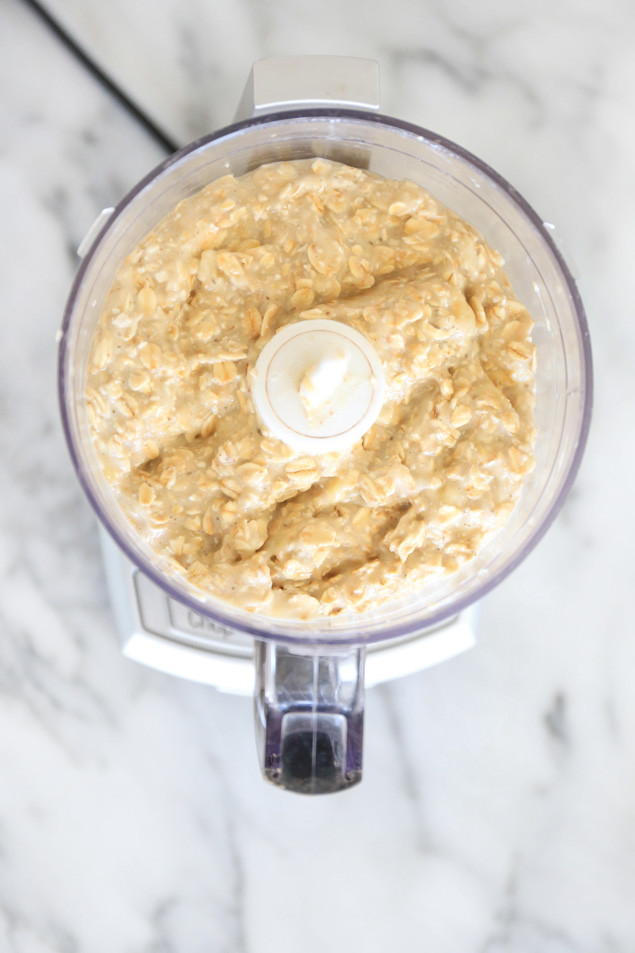
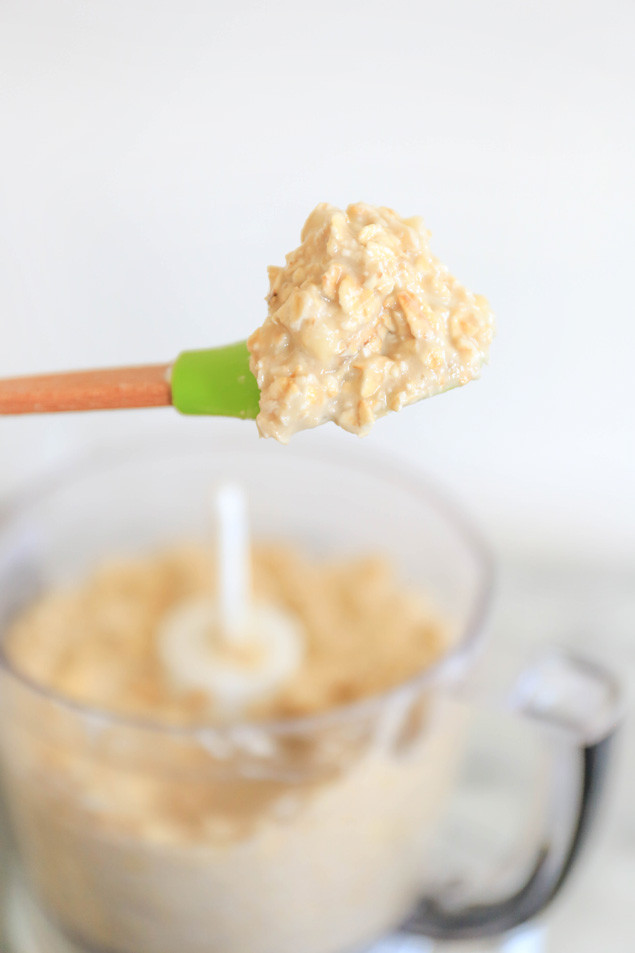
2. Place bananas and 1 cup of oats in a food processor and blend until the bananas are smooth but you can still see bits of oats.
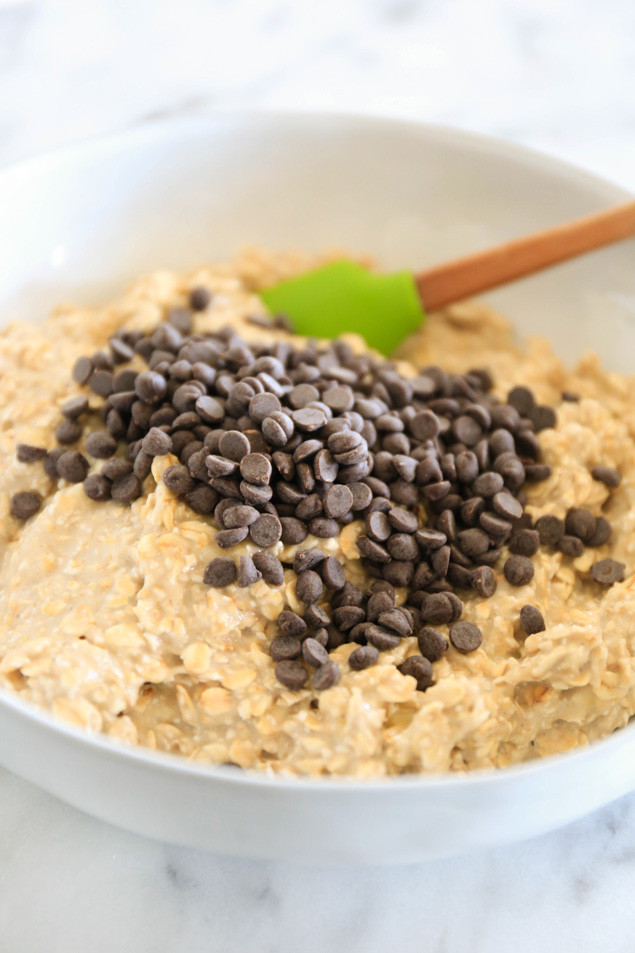
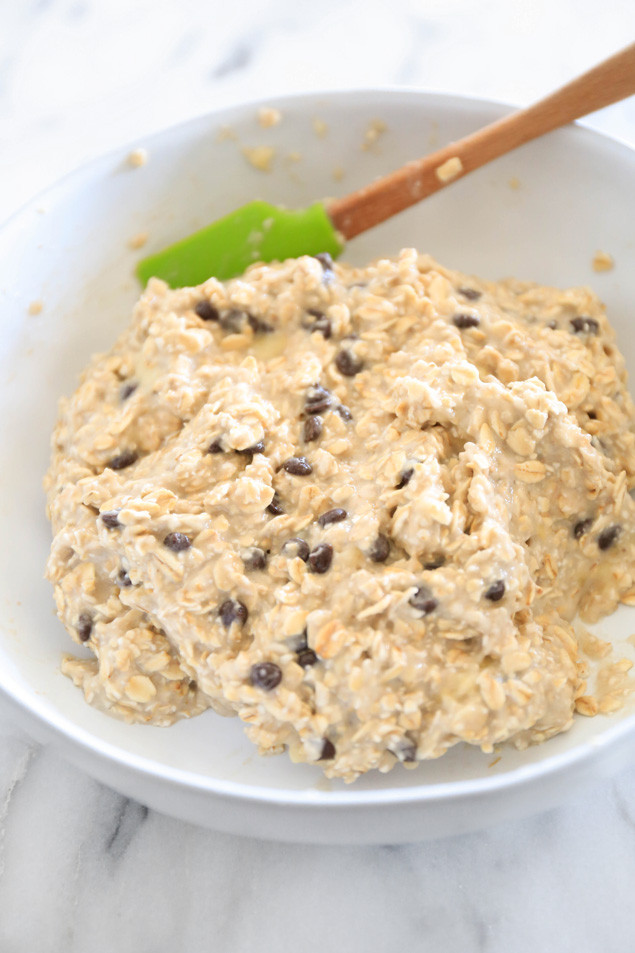
3. The consistency will depend on the size of your bananas, so if your mixture is too runny, transfer to a bowl and fold in ¼ cup of whole rolled oats to make it thicker. If the dough still isn’t stiff enough, add another ¼ cup of oats. Add chocolate chips and mix in with a spoon.
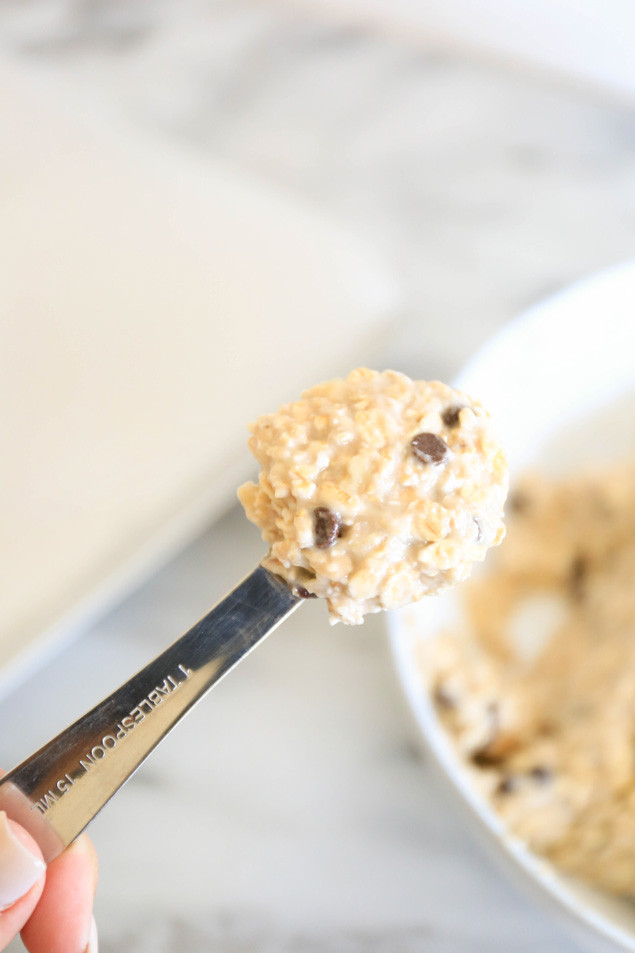
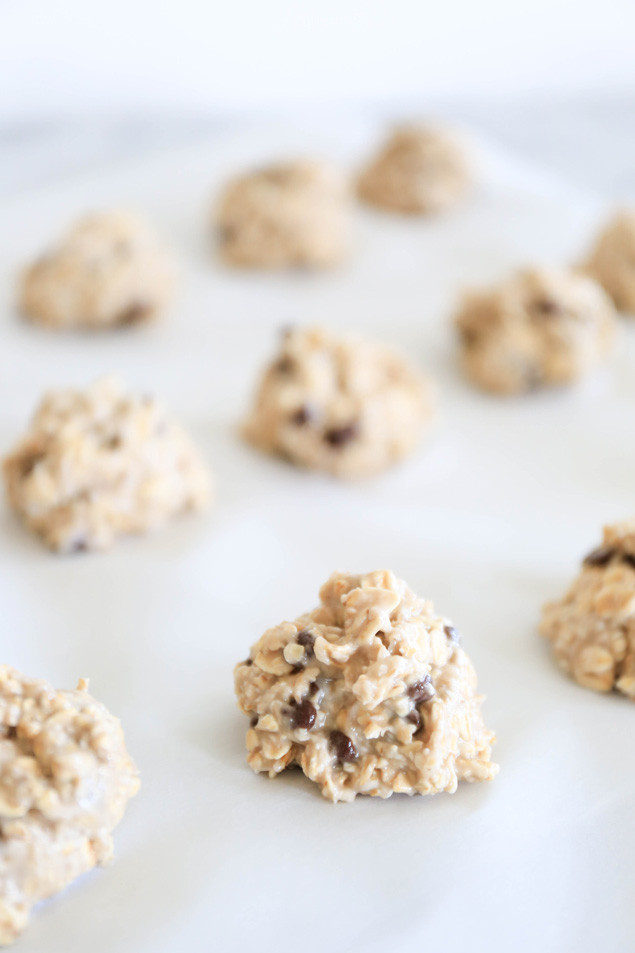
4. Using a 1 Tbsp sized measuring spoon scoop heaping spoonfuls of dough and place onto parchment paper.
5. Bake for 12 to 15 minutes until tops are golden.

If you follow me on Snapchat, you probably saw me making these cookies yesterday!
Snapchat Username: @EatRabbitFood

I’m off to Disneyland today with Matt and his family for his sister Olivia’s birthday!
Be on the lookout on my Instagram if you’re at Disneyland today, I have a little surprise planned!

Health & Happiness
xo-Catherine

Coconut Chia Pudding

Hi buns!

Thank you SOOO much for the sweet comments on my last post. I cannot tell you how much you lift me up. Sometimes it’s challenging to write about how down I am and the fact that I’m not where I really want to be, but it’s part of life. It means a lot to me that some of you mentioned how much you appreciate my honesty when I post these kinds of things. I appreciate your supporting more than you even know. You guys are 100% the reason why I love this blog so much!

I’ve been enjoying spending some time with Matt since he got home (Sunday) after a month on tour in Europe, so I’m finally going to respond to all of your comments tonight : ) I wasn’t sure if I would be able to pick him up at the airpot last Sunday night but I surprised him and popped out of the back seat of his parents car! He was totally shocked, I got him good!

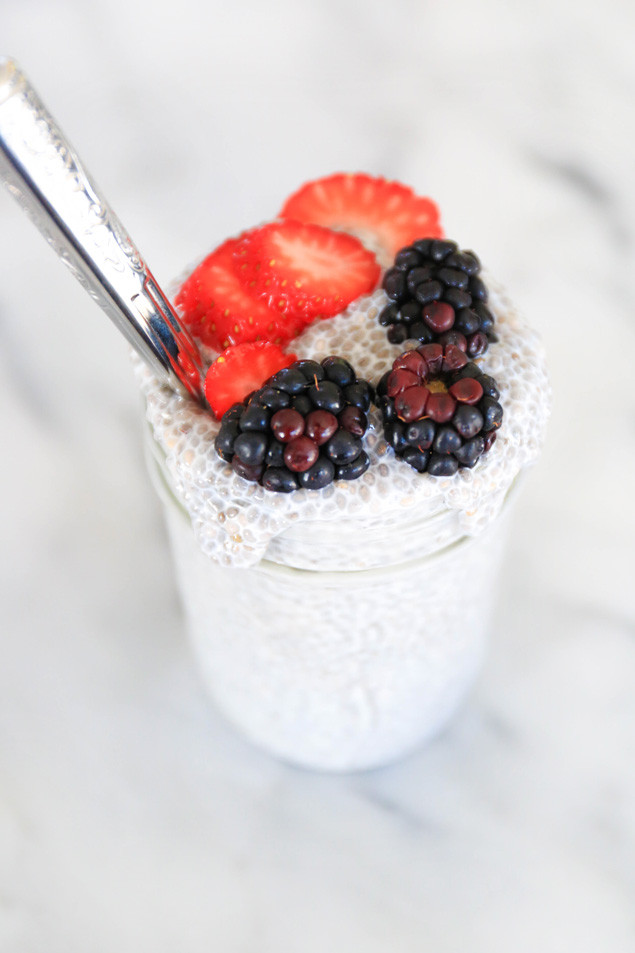
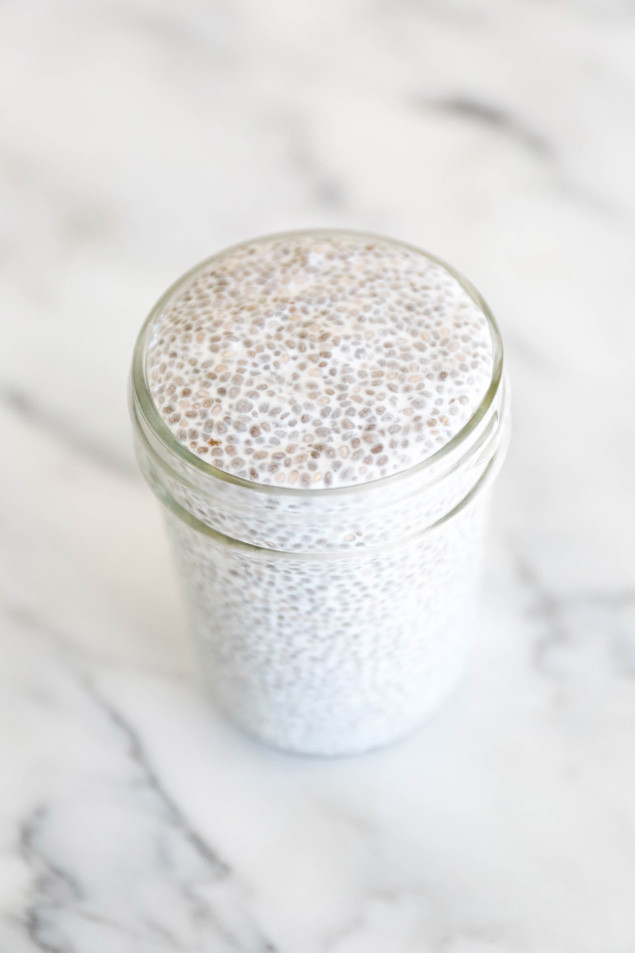
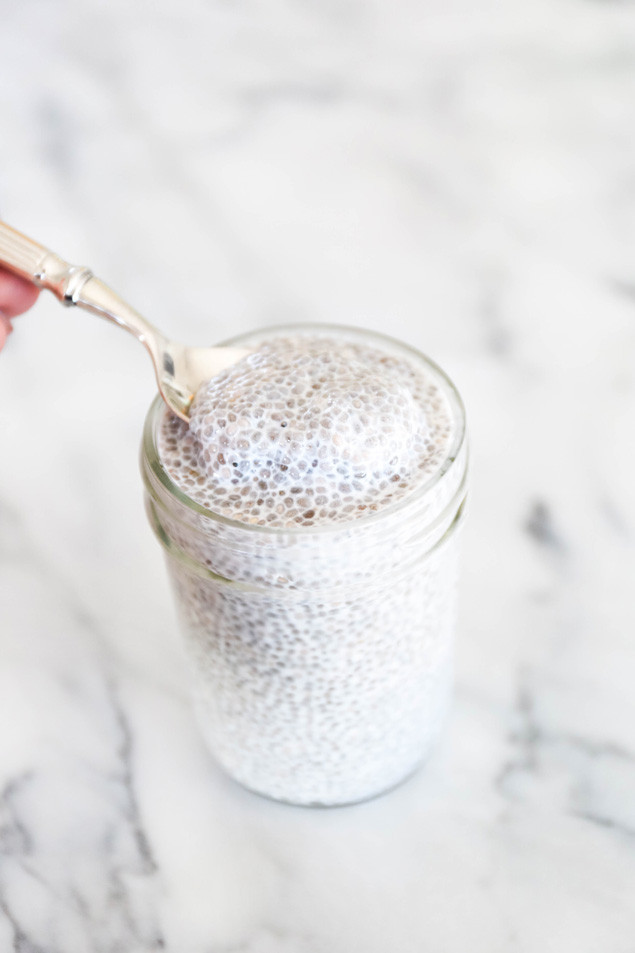
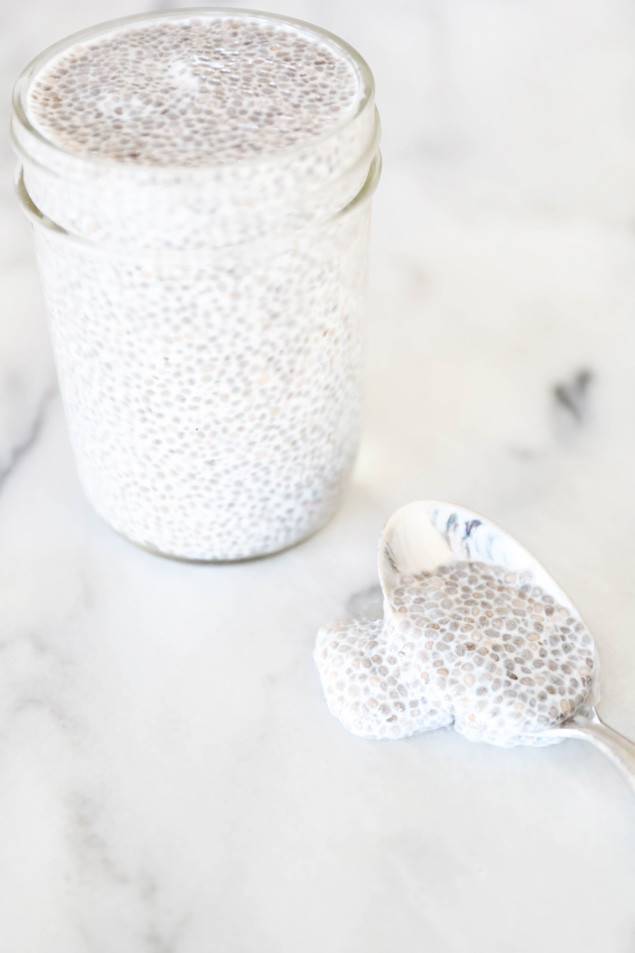
Coconut-Chia-Seed-Pudding-6
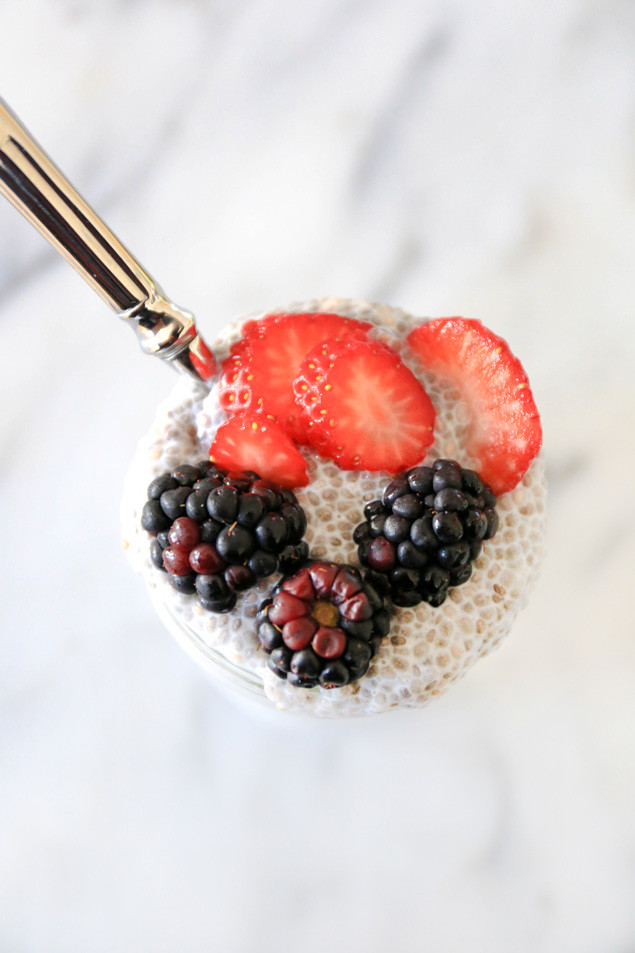
Chia seed pudding is one of the easiest healthy snacks to make. You literally throw all of the ingredients in a glass jar, refrigerate it overnight, and it’s ready for you the next day! Easy peasy! And you guys know I love easy no fuss recipes!

Some of you may still be new to chia seeds and pretty intrigued by them, or possibly scared of them! Don’t worry, I’ve got you covered!

Soooo, what exactly is a Chia seed?
The Chia plant (Salvia hispanica) is a member of the mint family that’s native to Mexico and Guatemala. Chia seeds are often eaten raw, but can also be soaked in liquid to form a gelatinous mixture. Chia seeds can also be ground into a powder for baking!

What do they taste like?
Chia seeds don’t really taste like anything. Their flavor is practically non-existent, but he magic is in the texture. When combined with water or liquid, they absorb 9 times their weight in water, forming a gel-like consistency. They are great in smoothies and oatmeal because they add texture and a thicker consistency. The proof is in the pudding… ha ha ha

Why Chia?
Chia seeds are an amazing source of plant-based fat, and are especially high in Omega 3 fatty acids which reduce inflammation and may help lower risk of heart disease, cancer, and arthritis. They also contain a large amount of fiber, which aids with weight loss by keeping your stomach feeling full. Last but not least, these tiny little seeds are filled with magnesium, potassium, and powerful antioxidants to help rid our bodies of free radicals. Talk about big things in small packages!

Depending on the brand, 1 Tablespoon of dry Chia seeds tallies up to about 55 calories, 5g of Fat, 5g of Carbohydrate, 6g of Fiber, 3g of Protein.

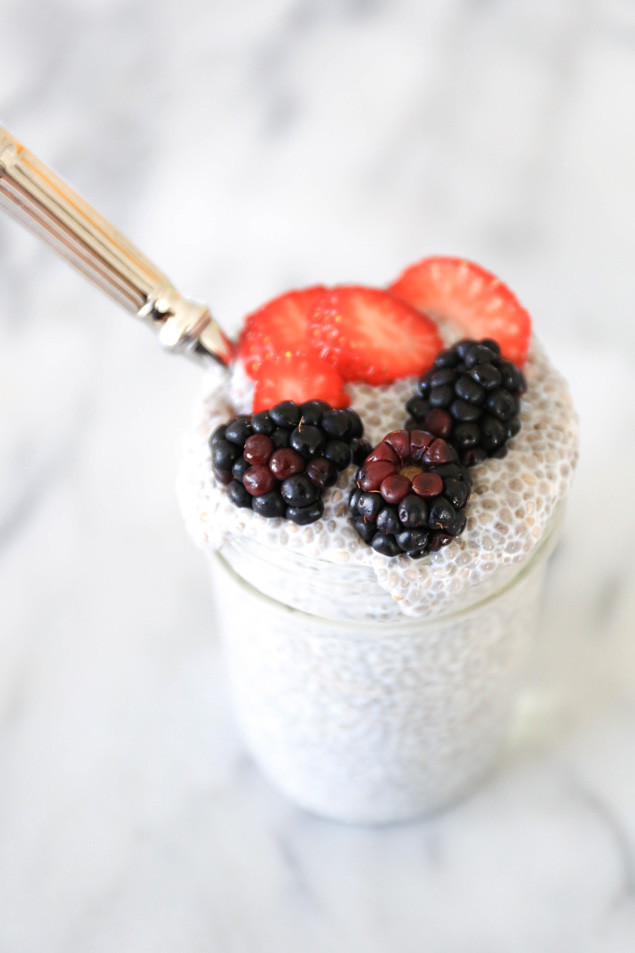
Coconut-Chia-Seed-Pudding-1 Coconut-Chia-Seed-Pudding-2 Coconut-Chia-Seed-Pudding-3 Coconut-Chia-Seed-Pudding-4Coconut-Chia-Seed-Pudding-5Coconut Chia Pudding
Serves 2

1 cup unsweetened coconut milk (I like So Delicious)
1/4 cup chia seeds
1 Tbsp maple syrup

1. Whisk together coconut milk and maple syrup in a glass jar
2. Stir in chia seeds.
3. Cover jar with lid and refrigerate overnight.
4. Top with fresh berries or enjoy plain.

Note: If you use sweetened coconut milk, you can omit the maple syrup.
Tip: The longer you leave your chia seed pudding in the fridge, the thicker it will get!

Coconut Cottontails

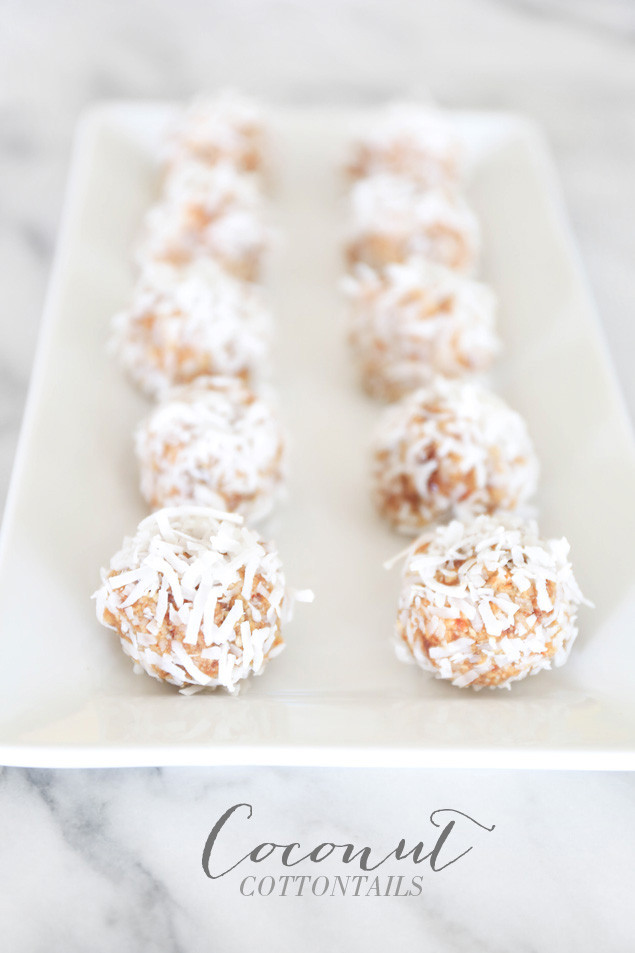
Coconut-Cottontails-16 I cannot believe Easter is this weekend! This year is going to go by so fast. Sorry for the lack of posts, bunnies! I am the maid of honor in my best friend’s wedding on May 2nd and I threw her a bridal shower last Sunday (a DIY from the shower coming this week)! On top of throwing the shower, I also had two house guests here from out of state so everything was a little hectic! I have seriously been dying to make more YouTube videos! I already have an absurd list of things I want to film for you guys and I cannot wait! For now, enjoy this super cute healthy Easter recipe!
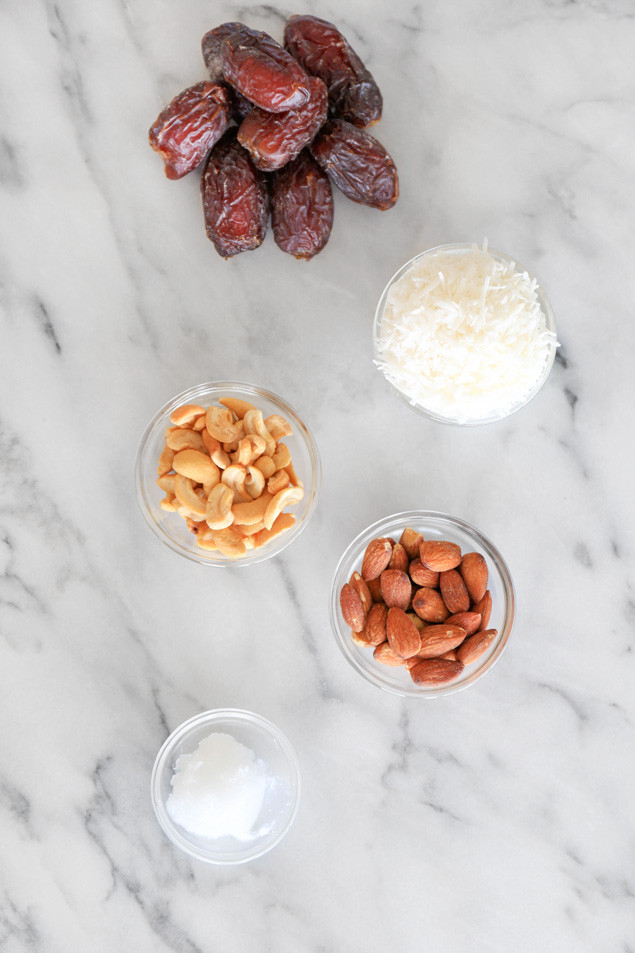
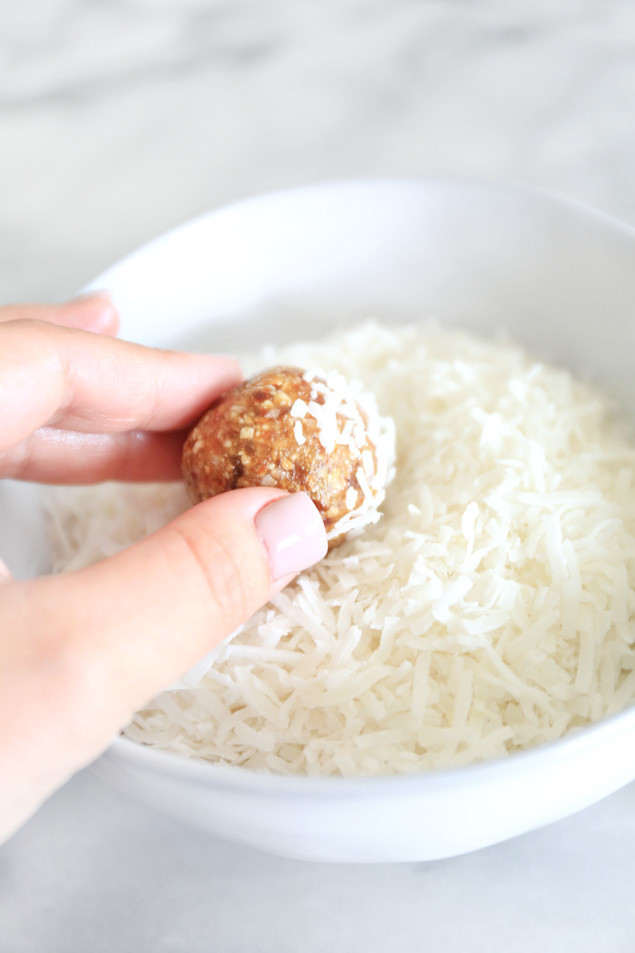
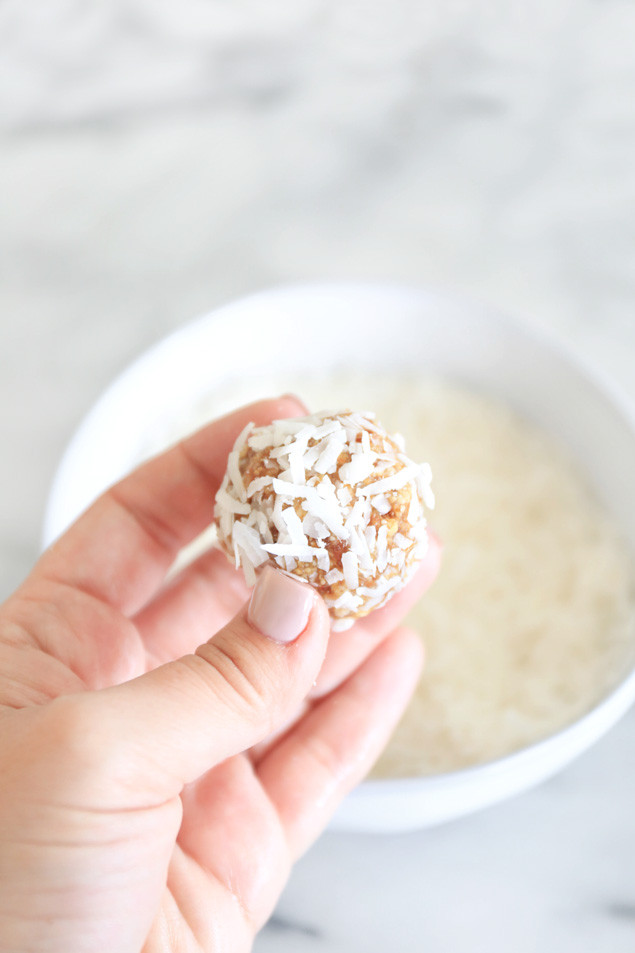
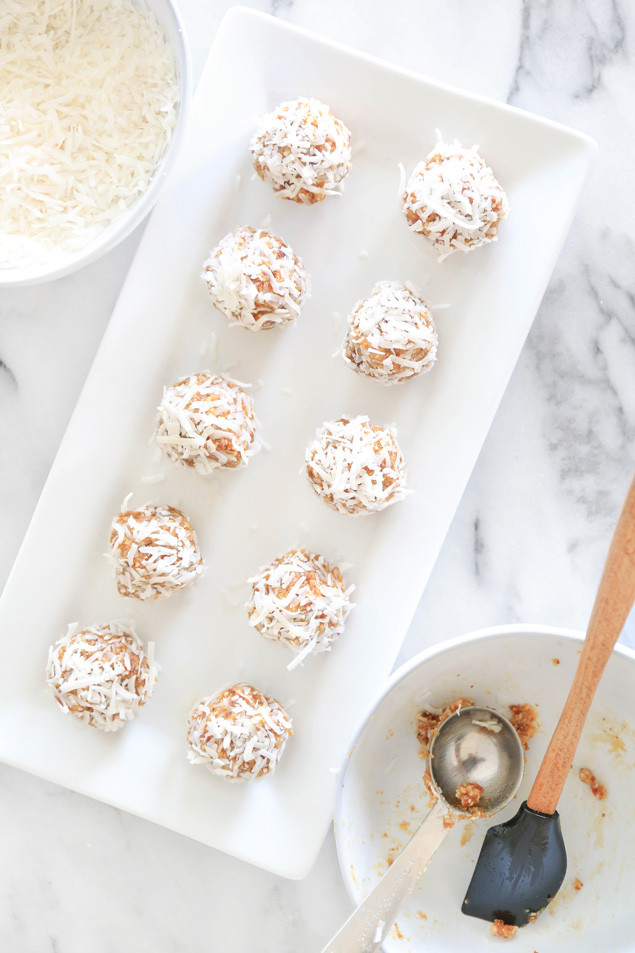
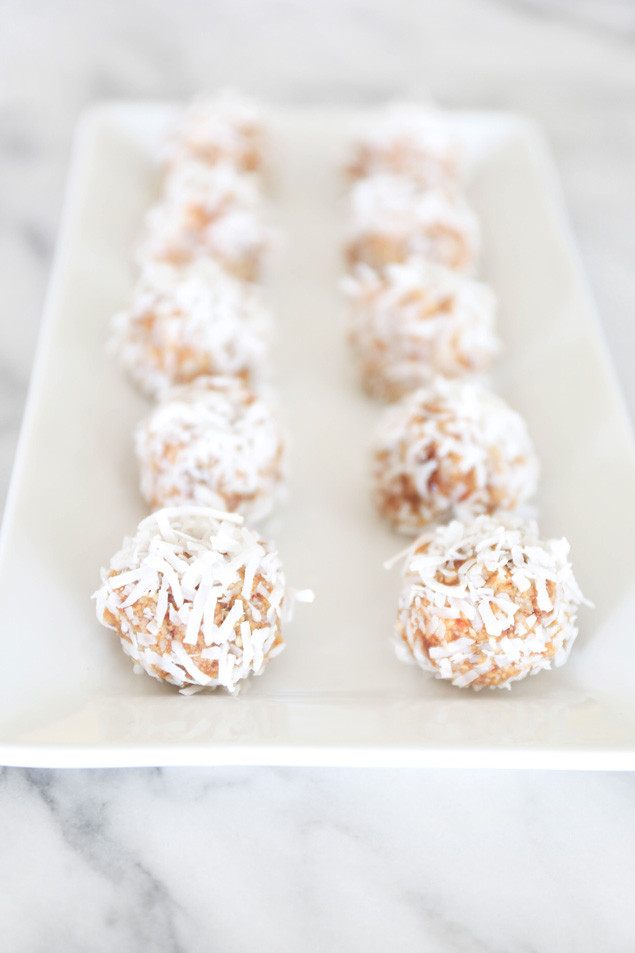
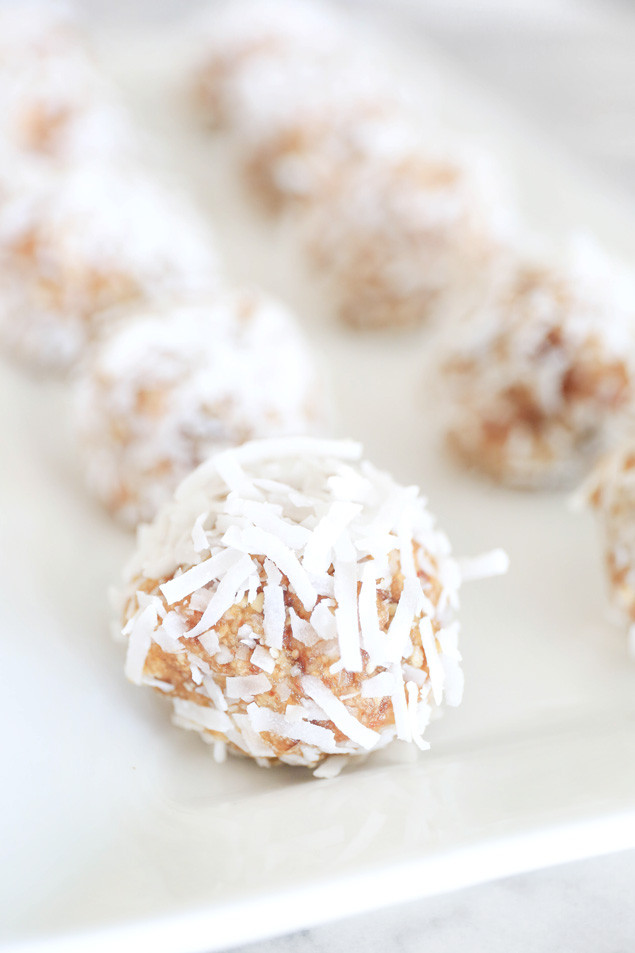
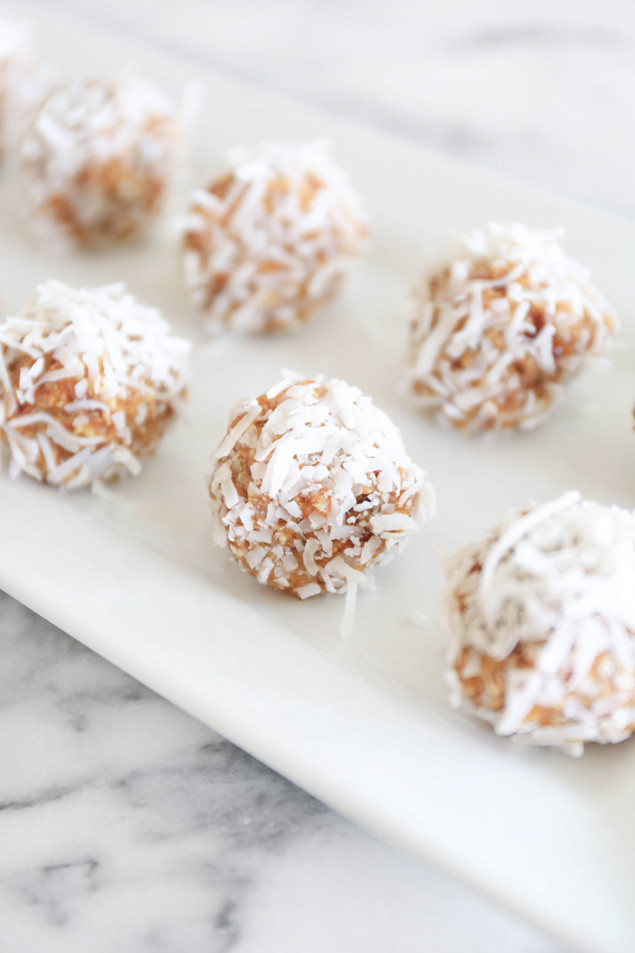
These adorable little Coconut Cottontails (meant to look like fluffy bunny tails), mimic the flavor of a Coconut Cream Pie Larabar! If you are somebunny who likes Larabars, no bake snacks, or coconut, these are def for you! You may not carrot all (ha ha ha), but I just have to tell you that this recipe is gluten free, dairy free, soy free, vegan, and made from only 6 ingredients (one of which is water)!

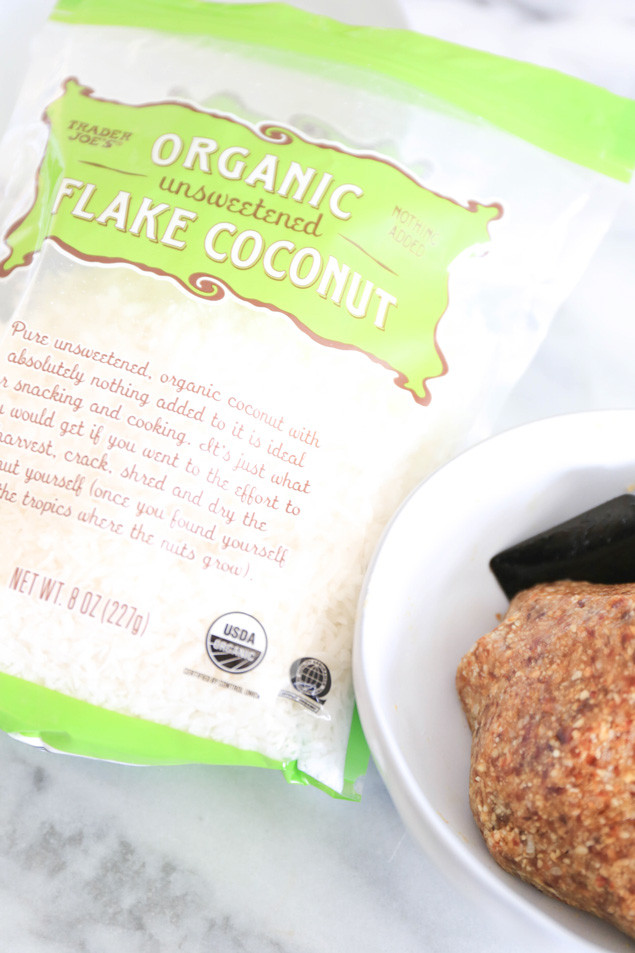
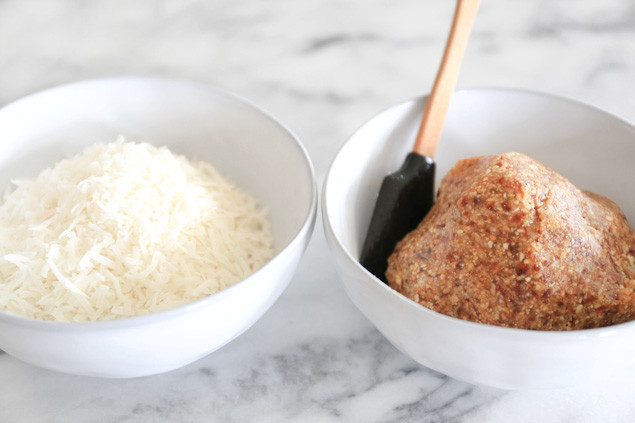
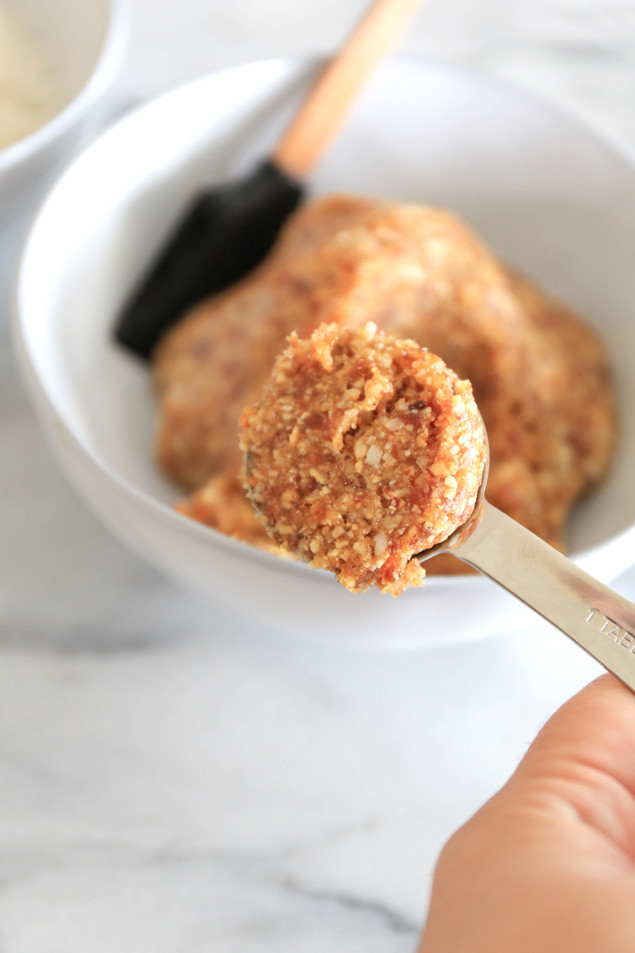
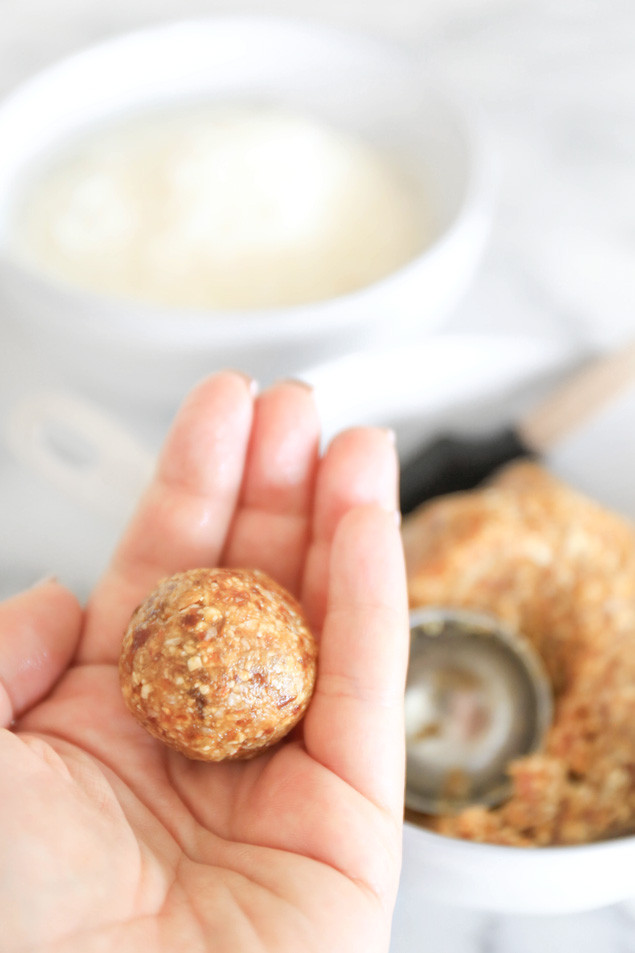
Coconut-Cottontails-1Coconut-Cottontails-2 Coconut-Cottontails-3 Coconut-Cottontails-4 Coconut-Cottontails-5 Coconut-Cottontails-6 Coconut-Cottontails-7 Coconut-Cottontails-8 Coconut-Cottontails-9 Coconut-Cottontails-10 Coconut-Cottontails-11 Coconut-Cottontails-15Coconut-Cottontails-12 Coconut-Cottontails-13 Coconut-Cottontails-14

Coconut Cottontails
Makes 10-11

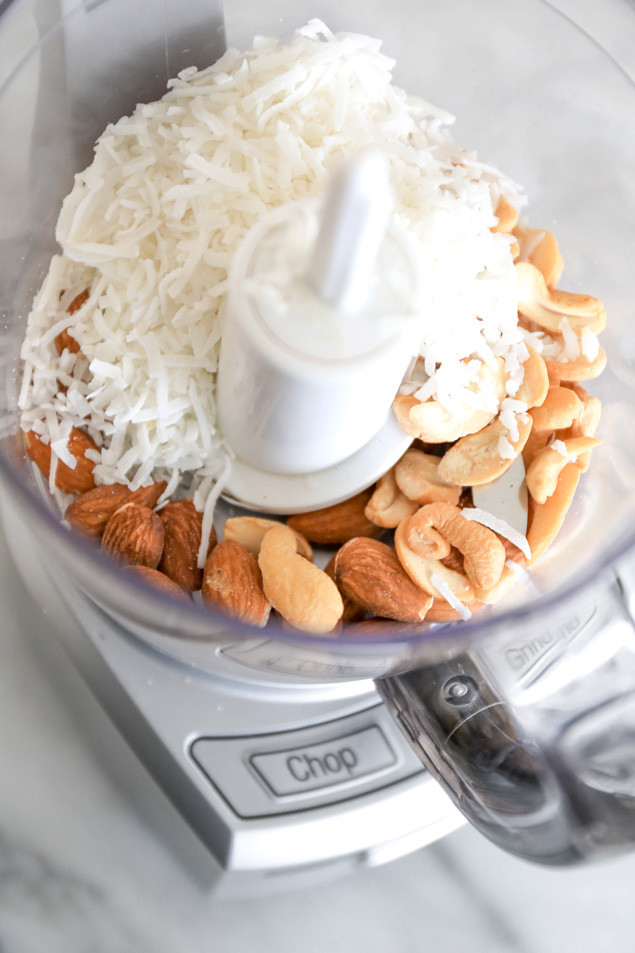
1/4 cup almonds
1/4 cup cashews
1/4 cup + 1 Tbsp unsweetened shredded coconut
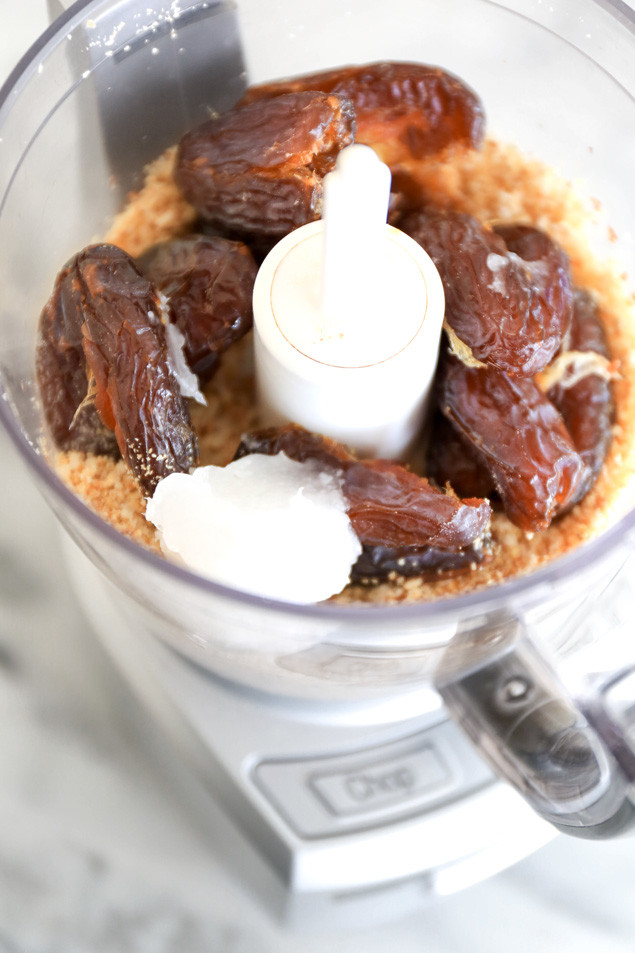
8 Medjool dates (I love Natural Delights)
1 Tbsp coconut oil
1 Tbsp water

Coconut Topping
1/2 – 1 cup unsweetened shredded coconut

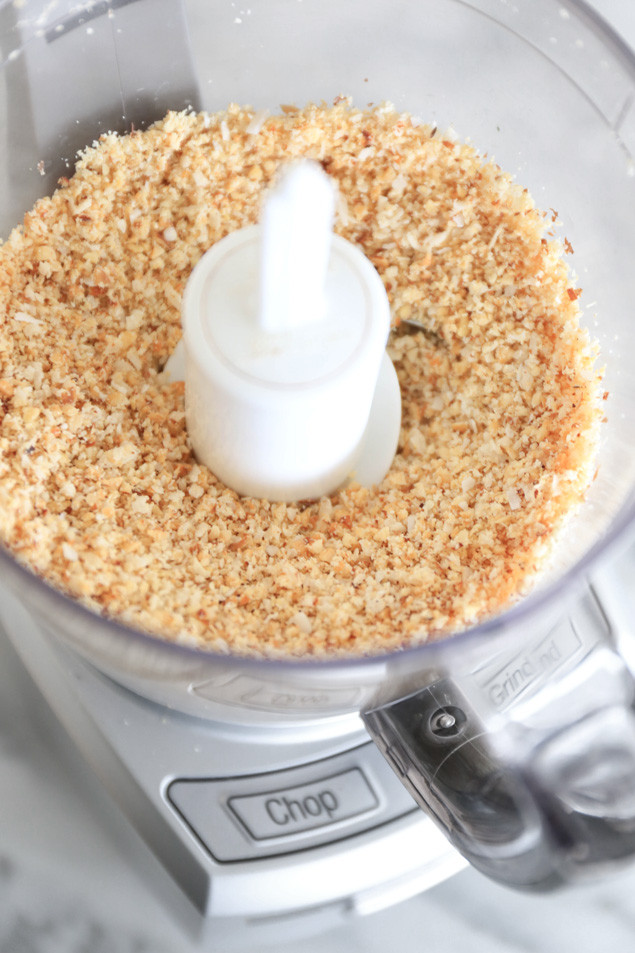
1. Mix the almonds, coconut and cashews in a food processor until finely ground.
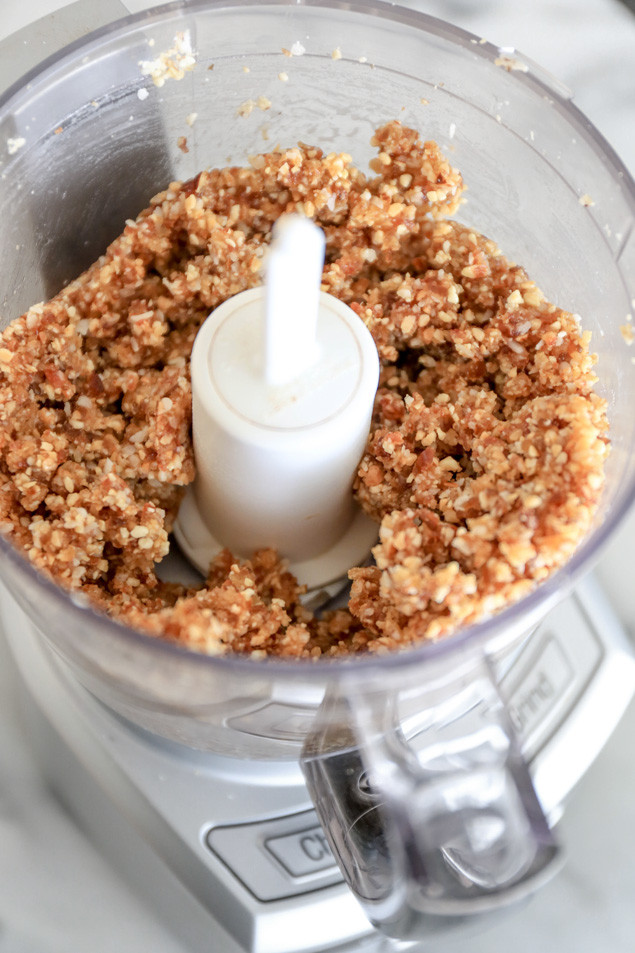
2. Add the dates, coconut oil, and water and pulse until dough forms.
3. Transfer dough to a separate bowl. Pour shredded coconut into separate bowl and set aside.
4. Using a measuring spoon, scoop the dough into 1 tablespoon sized balls. Roll balls in the shredded coconut until well coated.
5. Store in a covered container in the refrigerator for one week or the freezer for one month.

1 2 3 20