

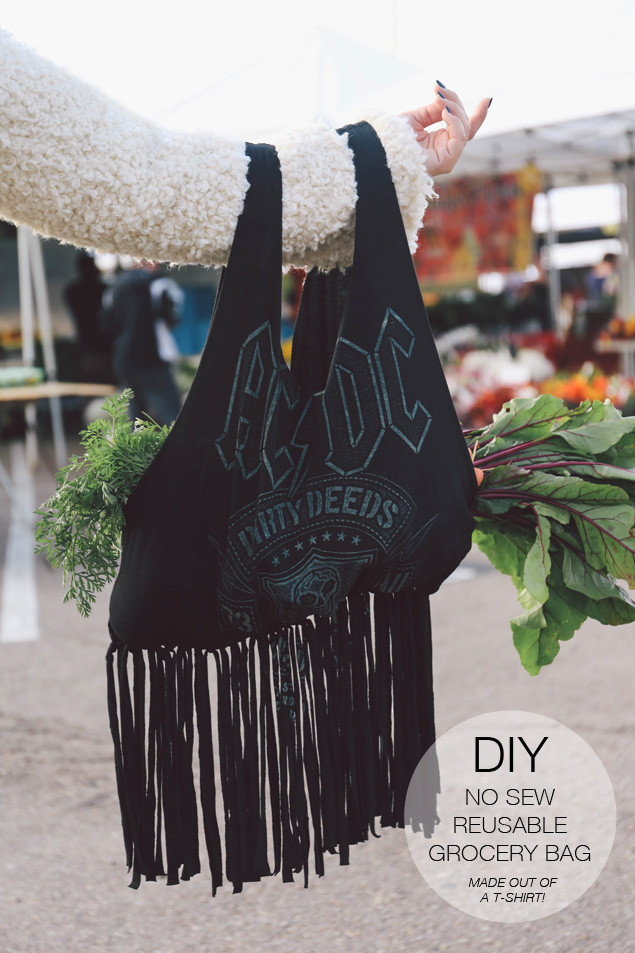
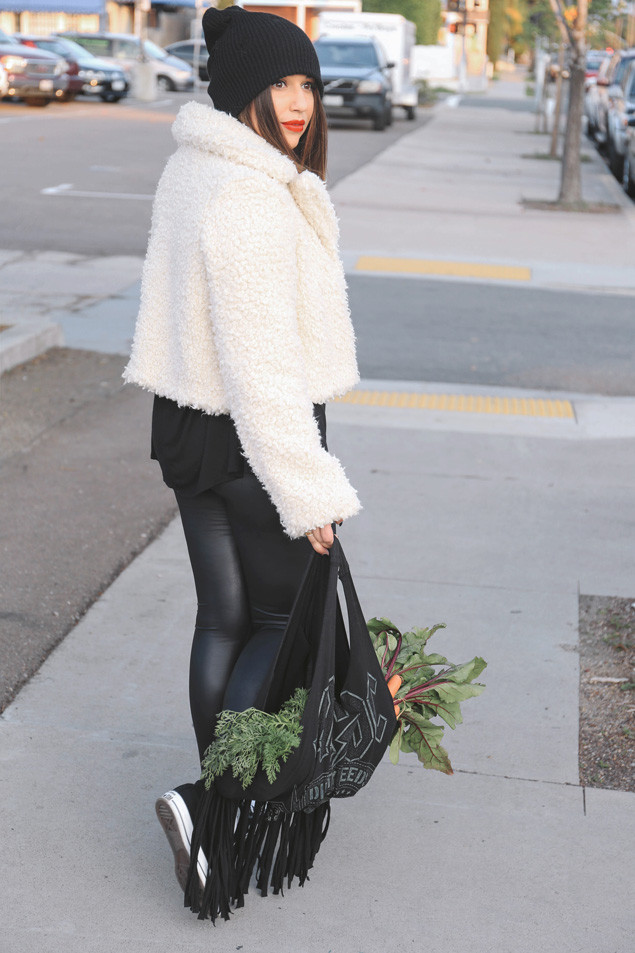
 I haven’t done a “Fashion Friday” DIY for sooooo long, and since it’s a new year, it’s definitely time! This DIY was inspired by Cassey from Blogilates! I always have my car stocked with reusable shopping bags for last minute farmer’s market and grocery shopping trips, and thought this “do it yourself” bag/tote was the cutest addition to my collection. You can use any old T shirt (the bigger the better!) but I decided to buy an ACDC shirt from Target to give my bag a chic rocker look! I’m absolutely obsessed with how it turned out and got stopped a couple of times at the North Park Farmer’s Market in San Diego to ask where it was from (major points!)!
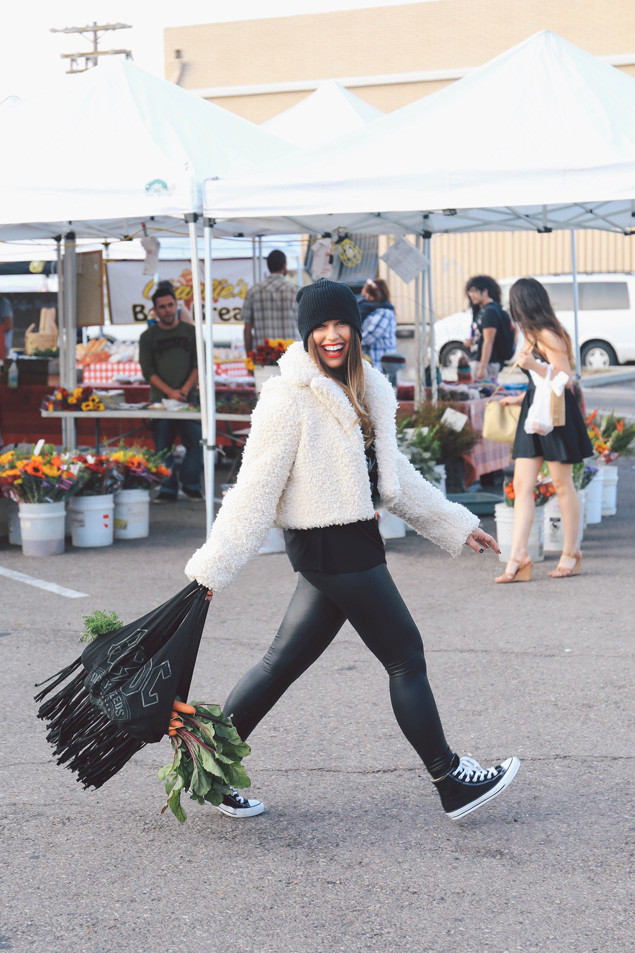 Jacket: c/o Smythe (on sale 65% off & free shipping!) | Leggings: American Apparel | Shoes: Converse | Beanie: Ebay (black) | | Lip Liner: Mac ‘Cherry’ | Lipstick: Lime Crime ‘Red Velvet’
My favorite part about this DIY is that it’s a no sew project! No needle, thread, or sewing machine required! All you really need is a pair of scissors and an old T shirt, but if you are a perfectionist like me, a white or colored pencil, ruler, and rotary cutter, will do the job just perfectly! If you are super crafty and looking for a rotary cutter, cutting mat, and ruler set, this one by Fiskars is amazing!
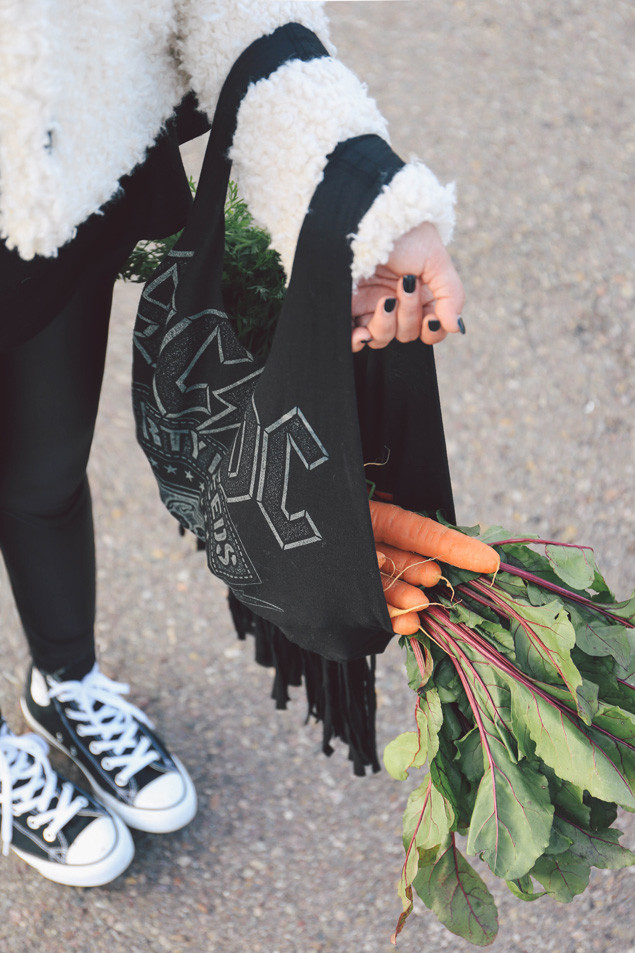
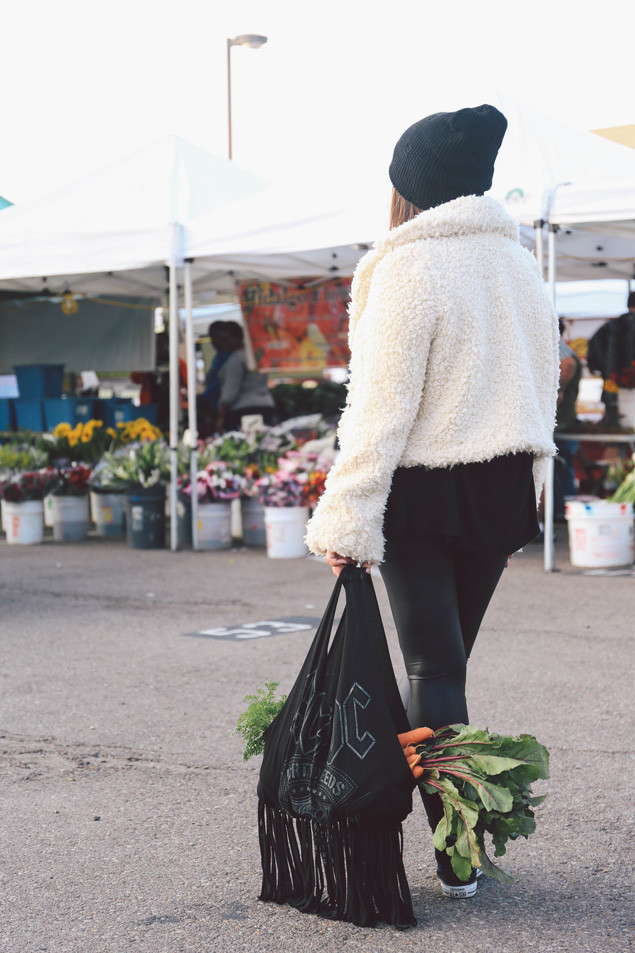 I’m obsessed with my new Faux-Fur Cropped Jacket by Smythe! It’s faux shearling with a huge oversized collar that is seriously way too cute. I’ve been wearing it nonstop since they sent it to me! I also just found out that it’s on sale at Neiman’s for 65% off, which is INSANE! Oh and did I mention they are offering free shipping? Unreal.
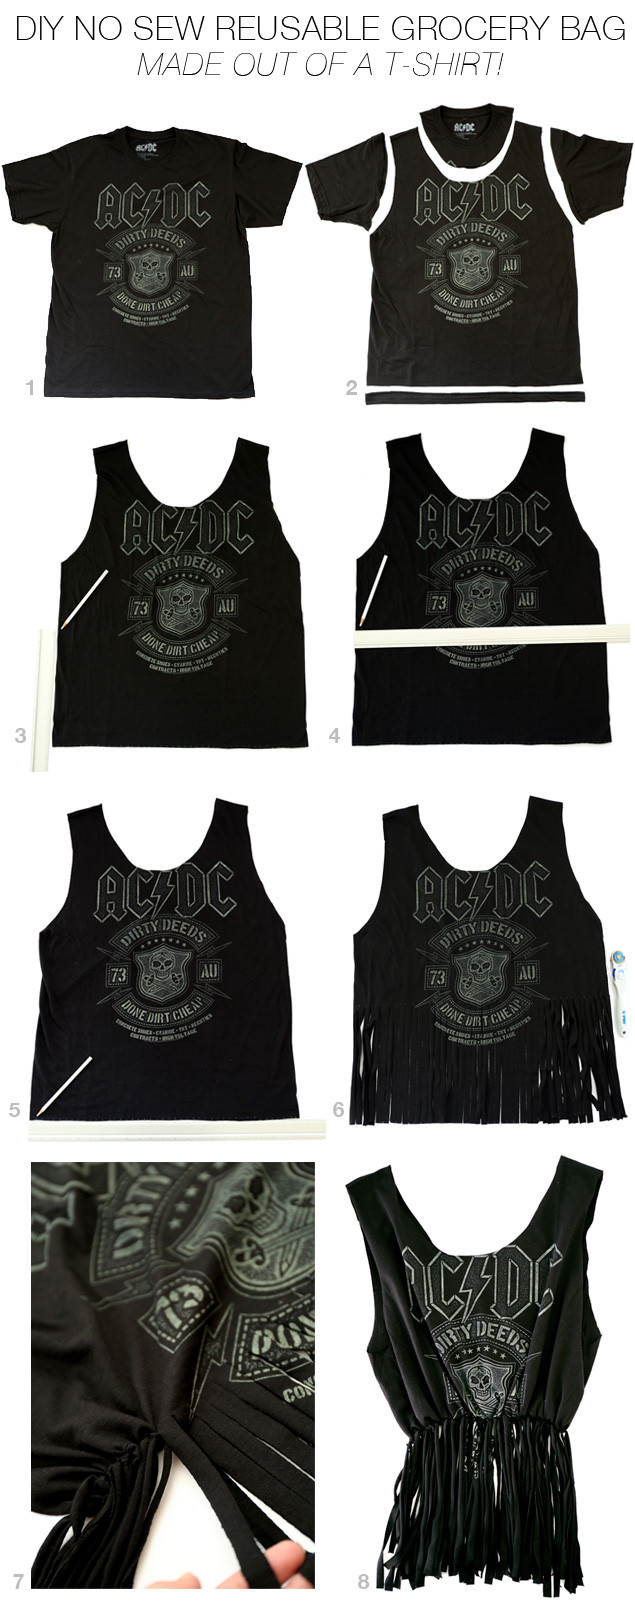 DIY Grocery Bag
Ingredients
T-shirt (the bigger the better)
white or colored pencil
scissors or rotary cutter
ruler
cutting mat
Directions
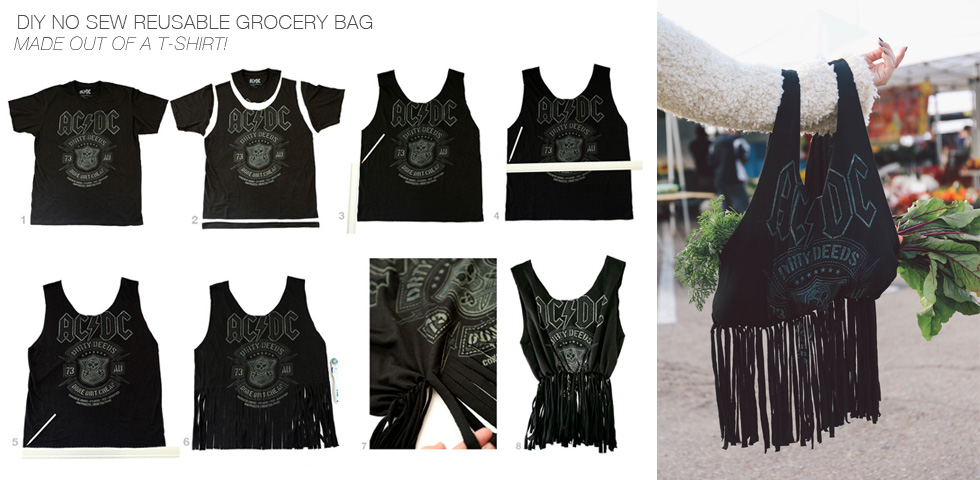
1. Get a large T shirt and lay it flat.
2. Cut off the neck (about 2-3 inches below the neck hemline), sleeves, and bottom hem.
3. From the bottom of each arm hole, measure down 6 inches and make a mark. This is where the bottom of your bag will be, and your fringe pieces will start.
4. Line your ruler up horizontal across the shirt from both marks that you just made. Start marking small dots/lines 1/2 inch apart all the way across the entire width of the shirt. This marks where each fringe will be cut.
5. Place the ruler horizontally across the bottom of the shirt and mark small dots/lines every 1/2 inch all the way across (the same way you just did in step 4). This will help you to get perfectly aligned/straight fringe pieces.
6. Using scissors or your rotary cutter and ruler, cut from the top dot, straight down to the aligning bottom dot (through both layers of fabric). Work from left to right until all of the fringe has been cut.
7. Once all of your fringe pieces have been cut, double knot both of the corresponding front and back pieces of fabric together. This will seal up the bottom of your bag.
8. Voilà, Your grocery bag is complete! For even longer fringe and more sealed up edges of your bag, stretch out your fringe and handles!
Note: If you don’t want to go through all of the marking and aligning with a ruler, you can totally freehand it and make bigger fringe pieces with scissors. I personally think it looks best when you take the time and measure out the small 1/2 inch fringe pieces, but it’s still an awesome and fun DIY no matter how you do it!
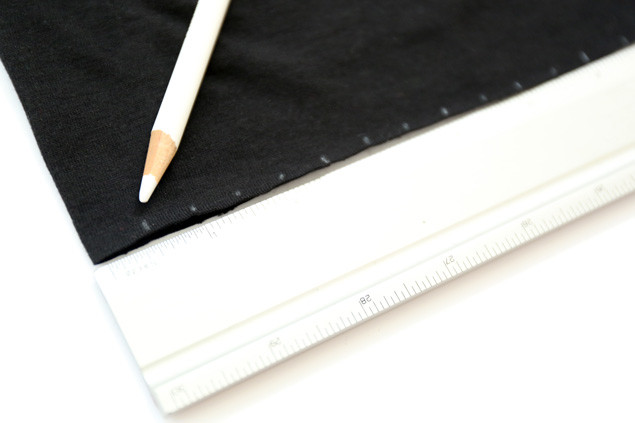 Above is an example of the dots 1/2 inch apart along the bottom of the fabric.
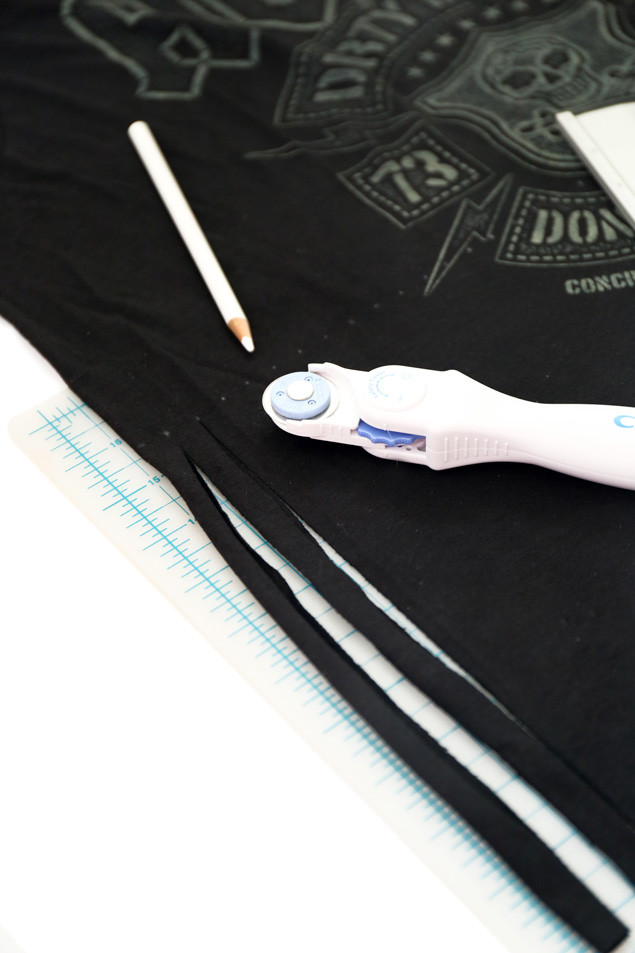 Cutting from top to bottom dot.
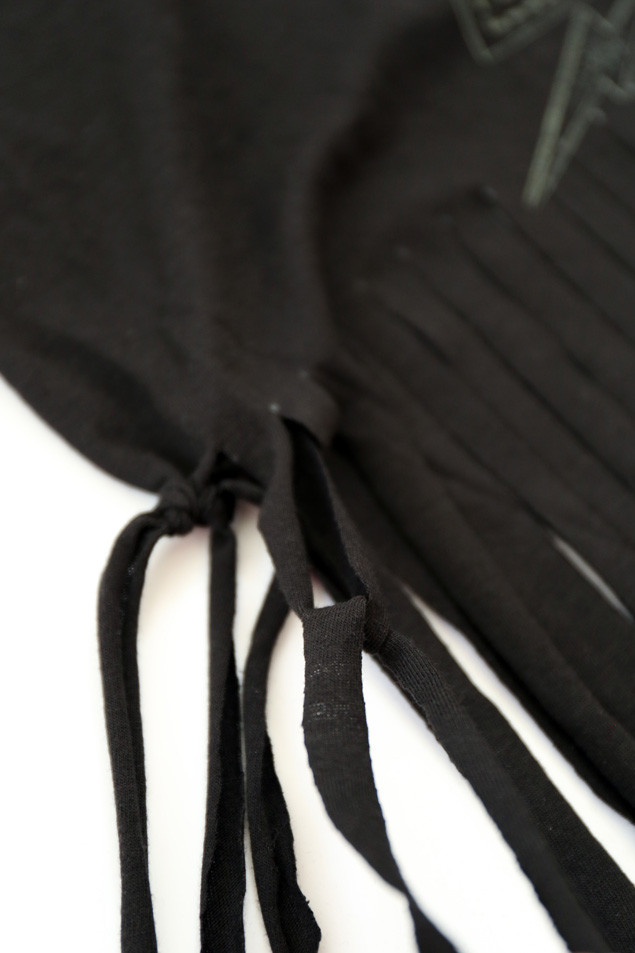 Double knotting the fringe pieces.
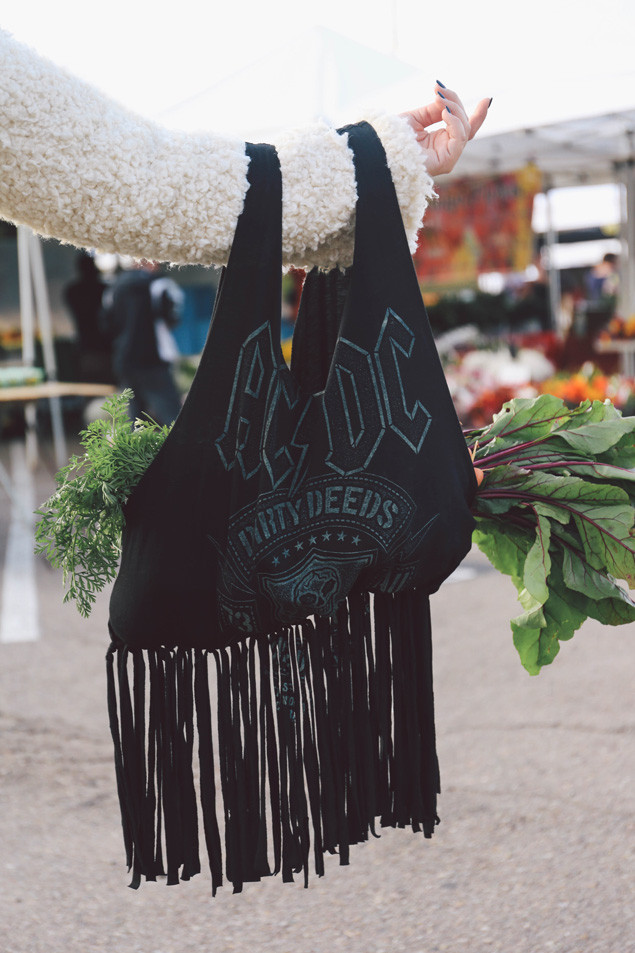 So cute! Grocery shop away!
This is a really fun project to do with friends for a girls night in, and it also makes a super cute gift!
Health & Happiness








 I have come to realize that every time I visit Seattle, I drink copious amounts of coffee! The day after Christmas Matt’s family and I went shopping and grabbed some lunch and then Nana and Papa took the kiddos home for their naps so we could go out for some java. Matt, Olivia, Michael, and I met up with my friend
 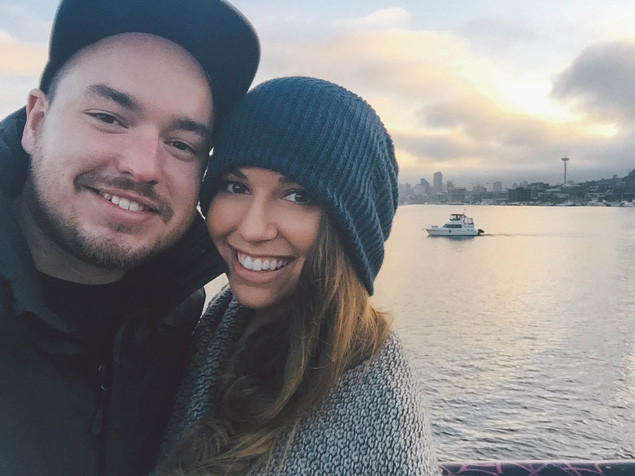 Matt and I at Gas Works Park. The view is so beautiful. Space Needle to the right!
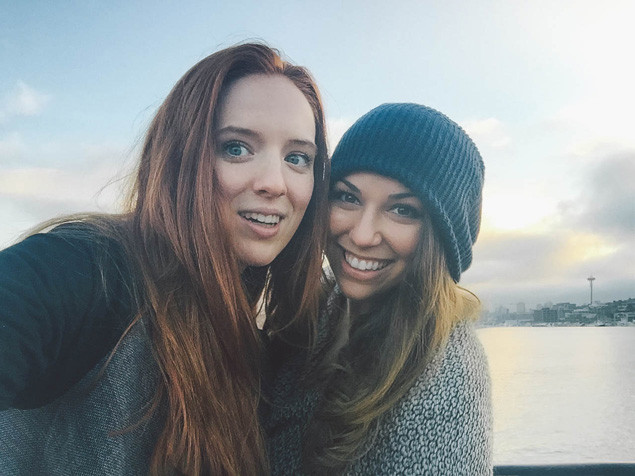 Lynae and I at Gas Works Park!
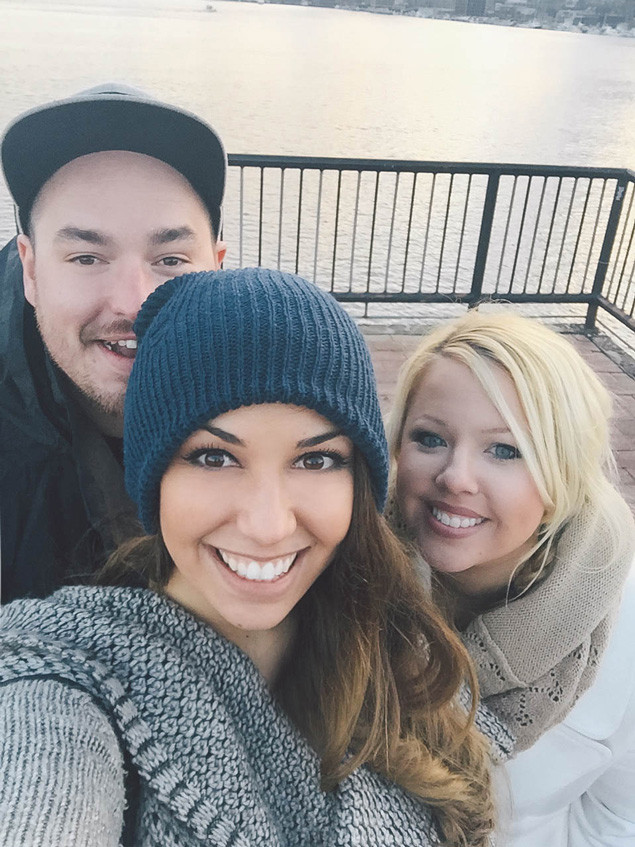 Matt, his sister Olivia, and I.
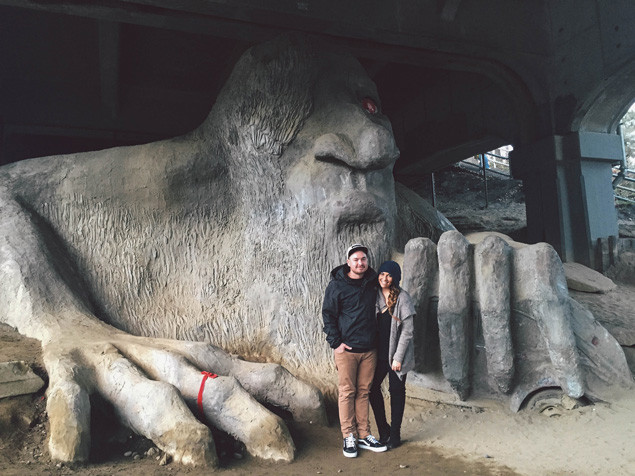 After visiting Gas Works Park, we found the
 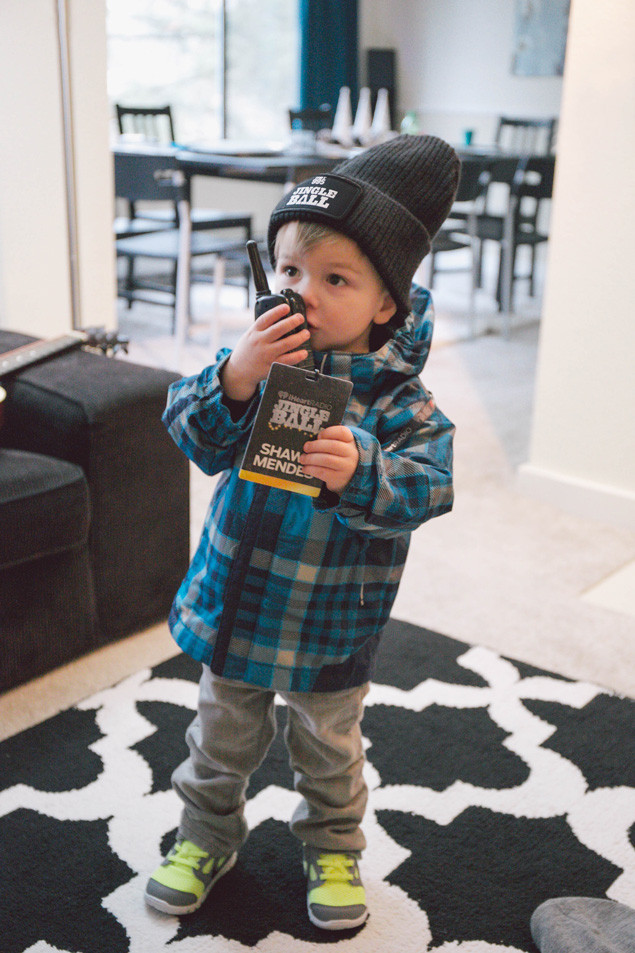 Above is Matt’s youngest nephew Maddox pretending to be Uncle Matt. We started calling him “Tiny TM” for Tiny Tour Manager! So stinkin’ cute with the Jingle Ball beanie, backstage pass, and radio!
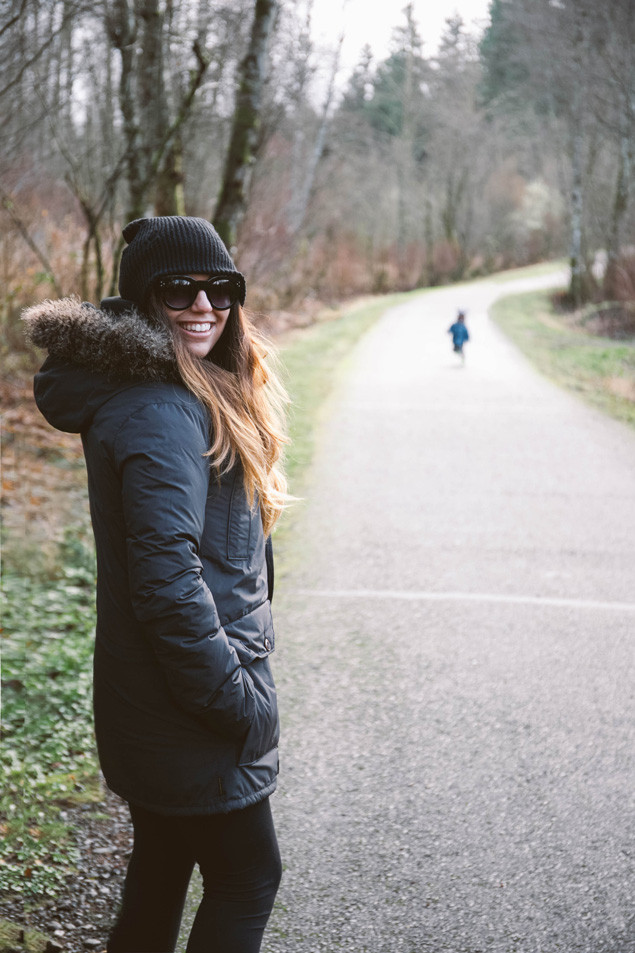 On Me: Beanie: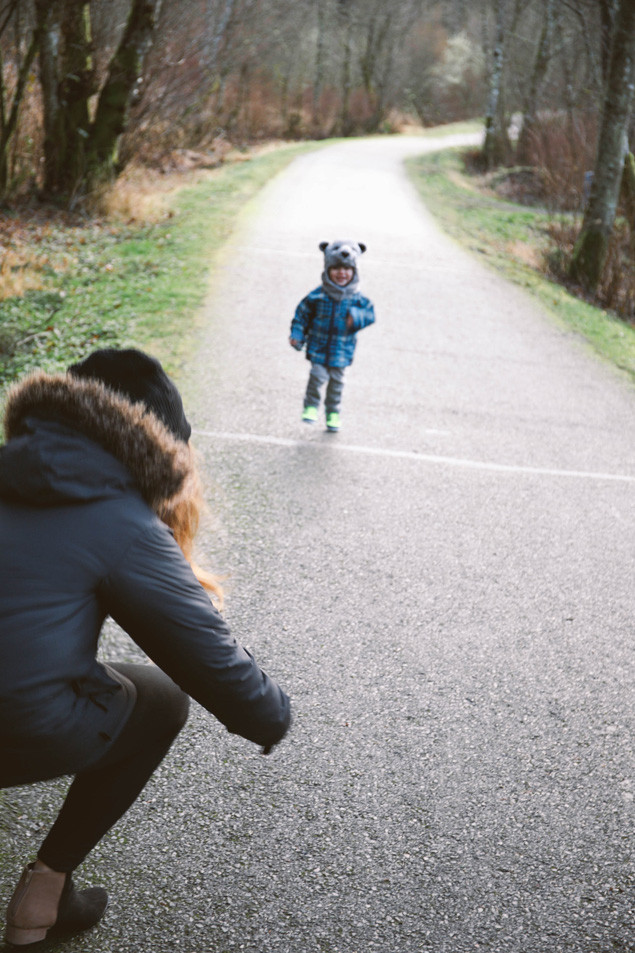
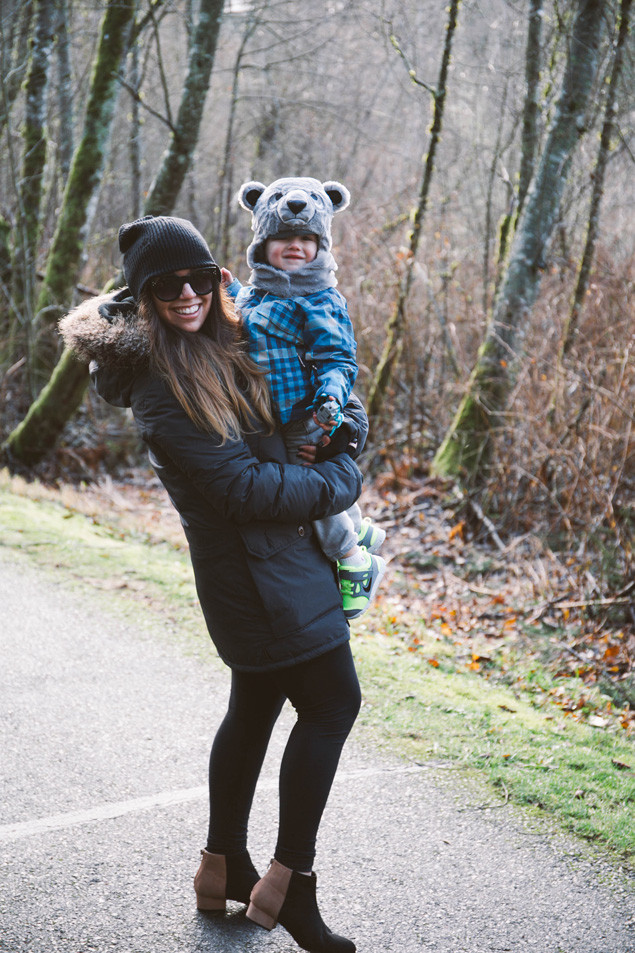 Found a baby bear in the woods! These awesome two-toned booties are from Forever 21, but unfortunately I couldn’t find them online for you guys!
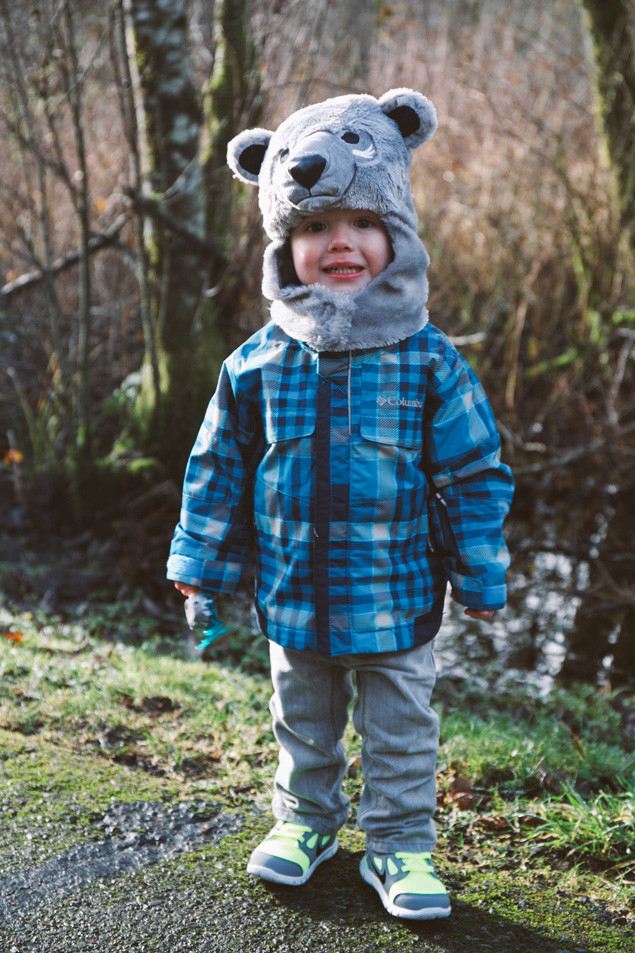 And he’s the cutest bear you’ve ever seen!
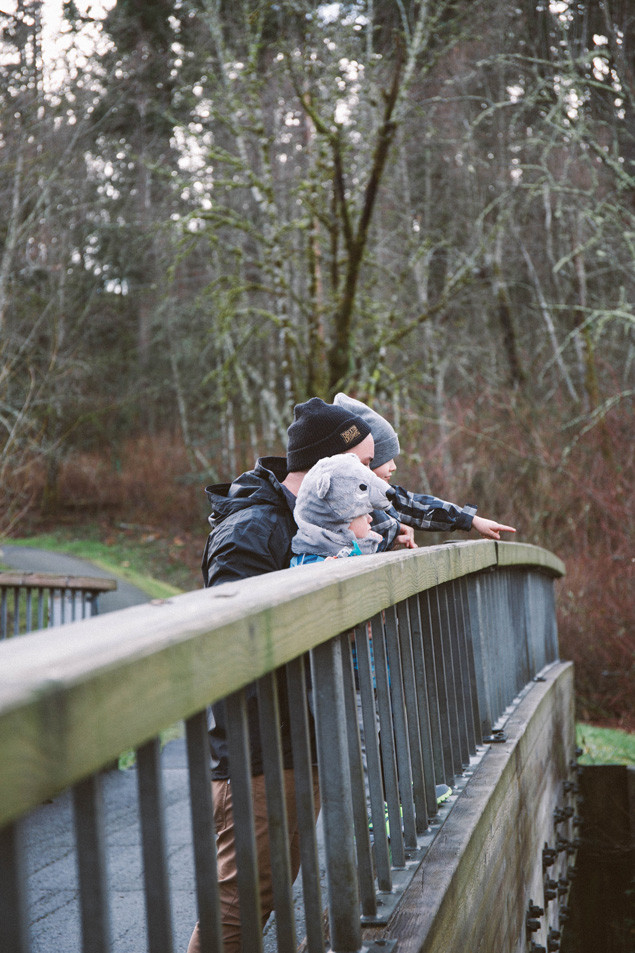 Uncle Matt and his nephews.
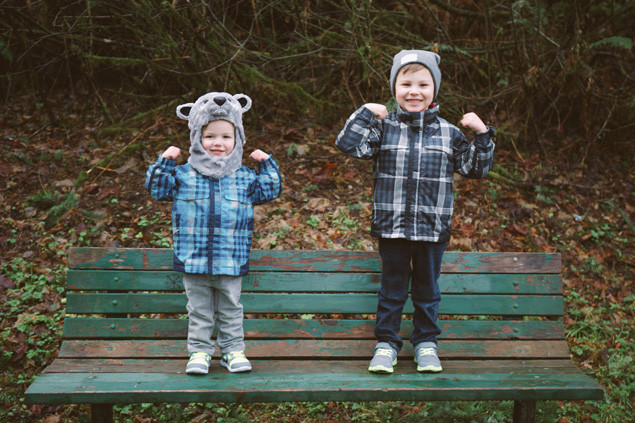 Strong nuggets!
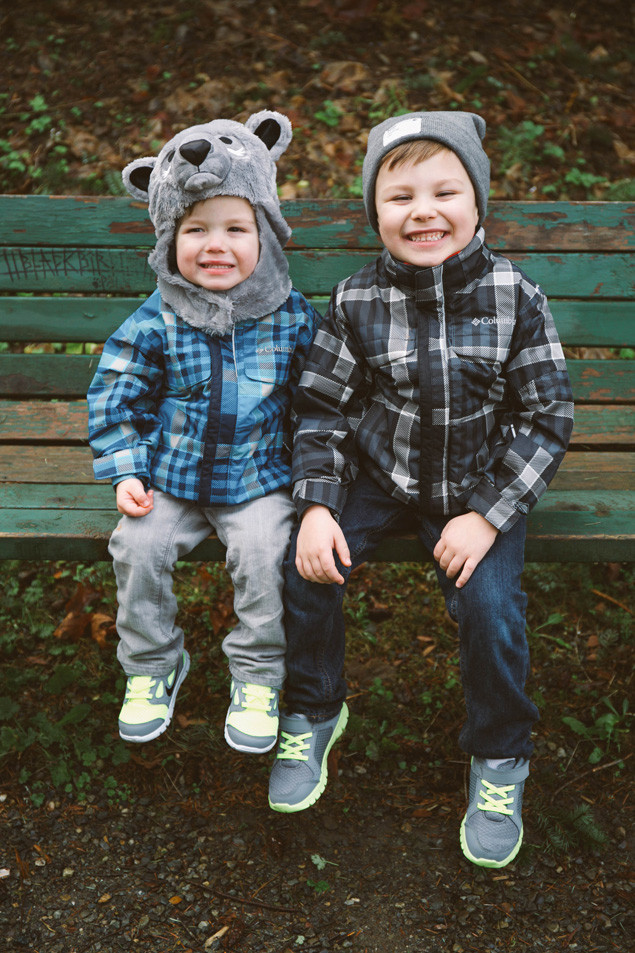 I can’t get enough of these two!
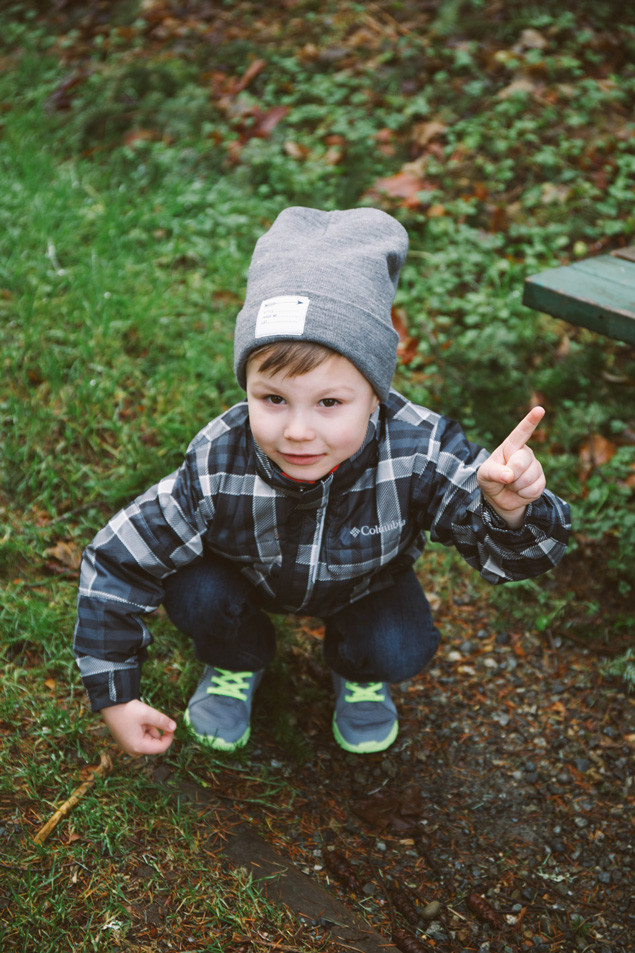 So on our walk Matt thought it would be fun to teach the boys “hard styles” (take a knee, grab a hand, make a mean face), and this is what we got from a 5 year old and a 2 year old.
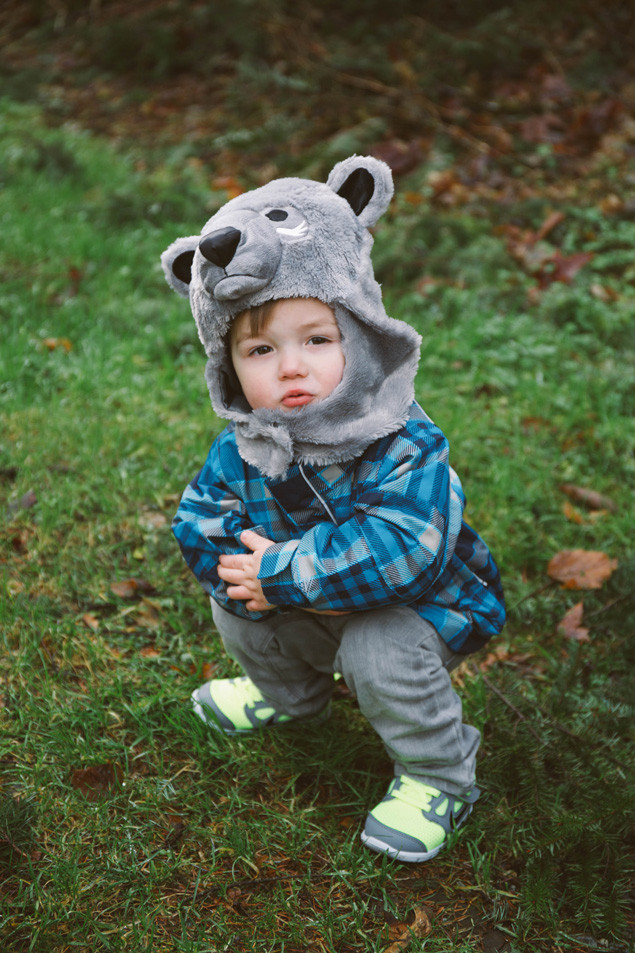 SO HARD! Check out that squat! DGAF!
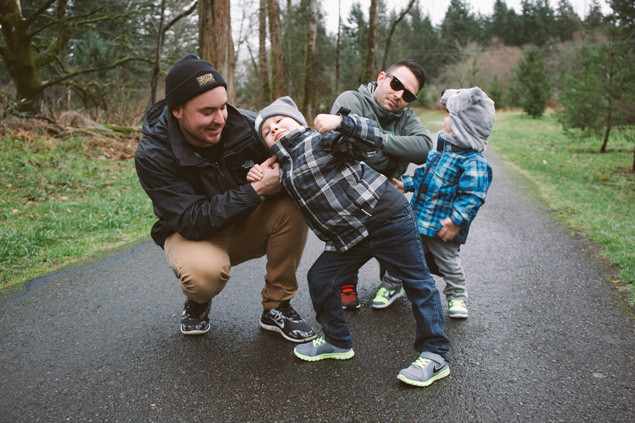 And then we tried to get all of the boys to do “hard styles.” I’m really liking those #raresquats going on in the front. So good. So hard.
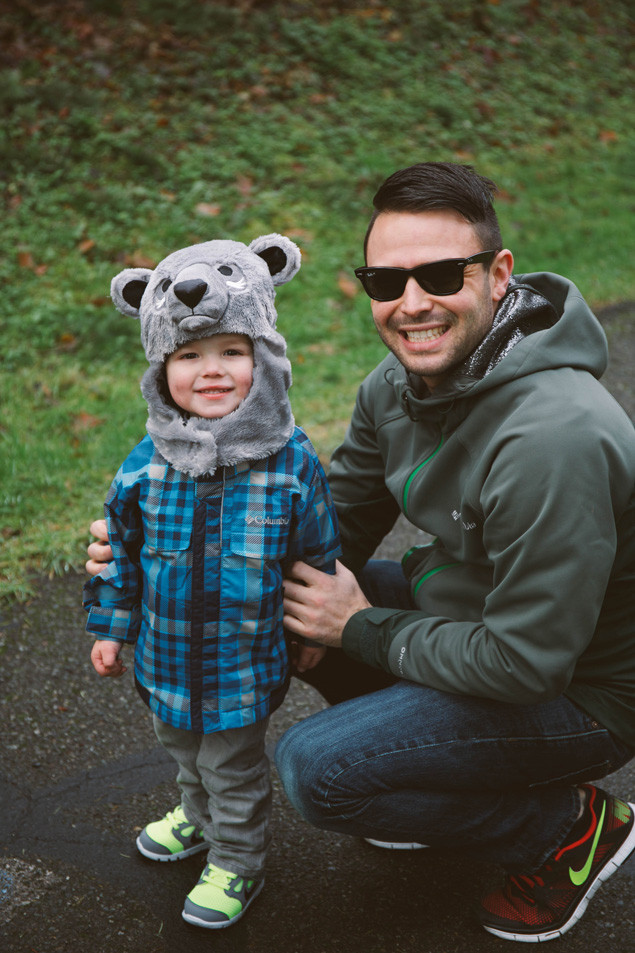 Baby bear Maddox and poppa bear Michael.
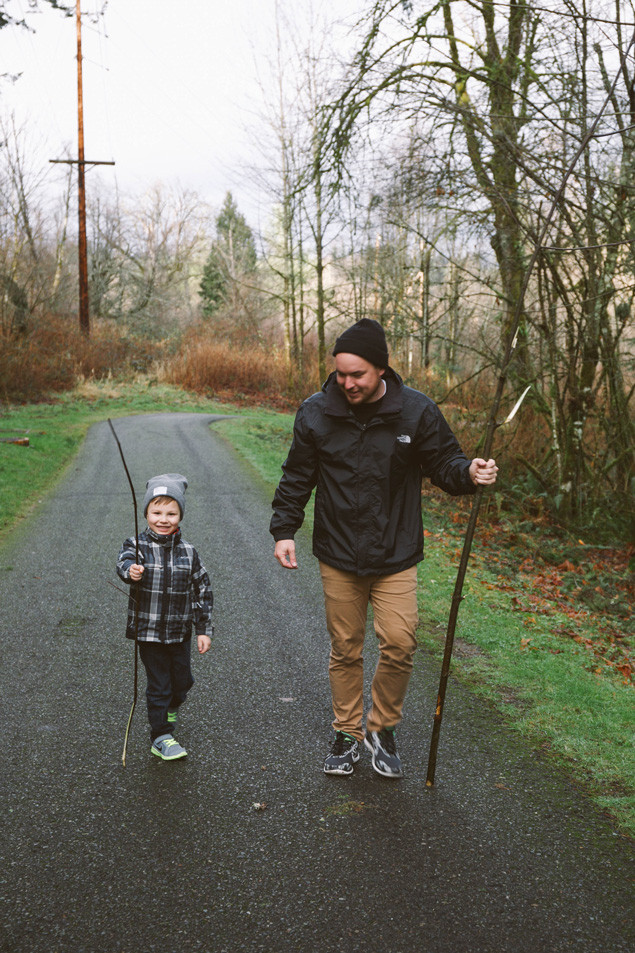 On Matt: Beanie: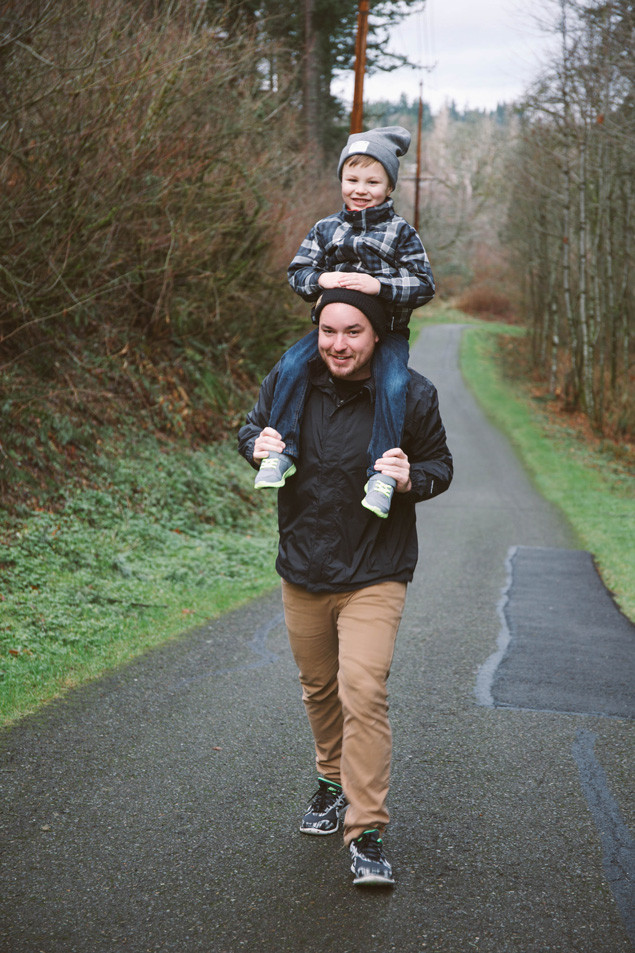
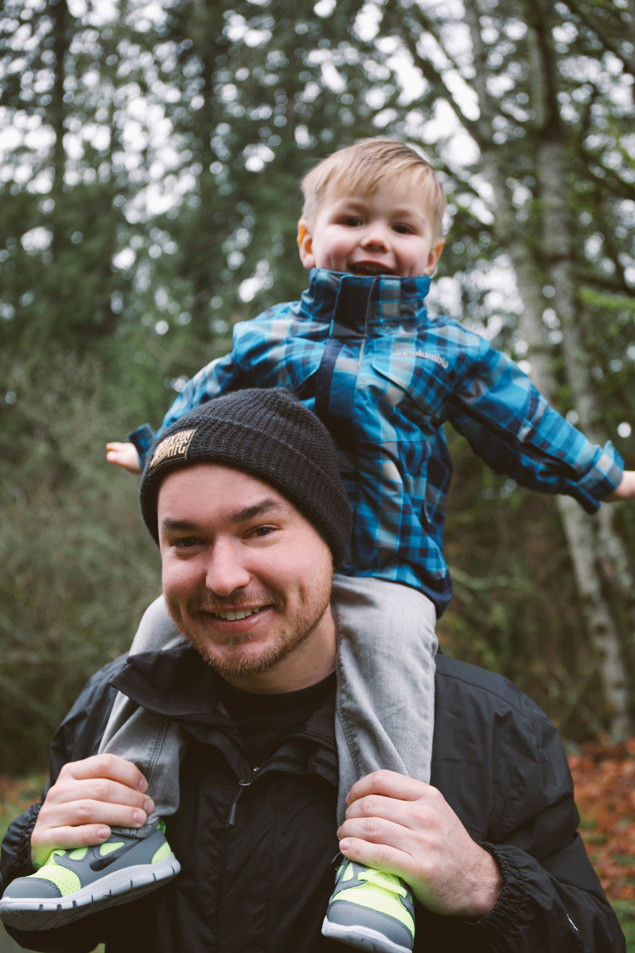 Cuties. Their dimples are too much, I can’t handle it!
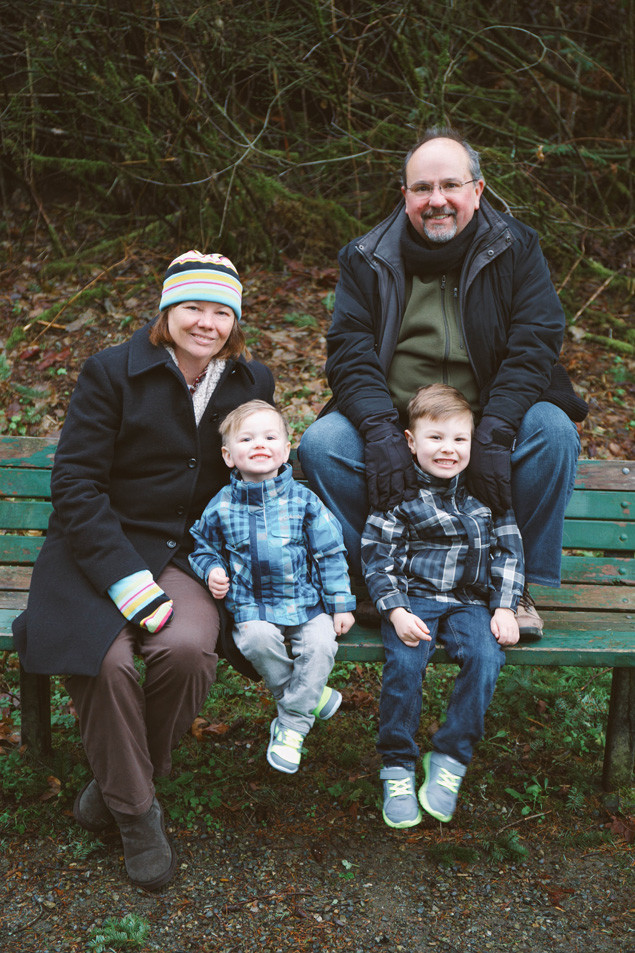 Matt’s mom Linda and dad Carlos and their grandsons!
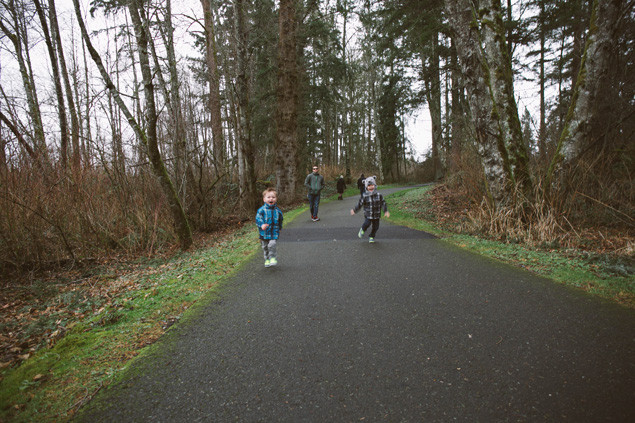 Boys will be boys!
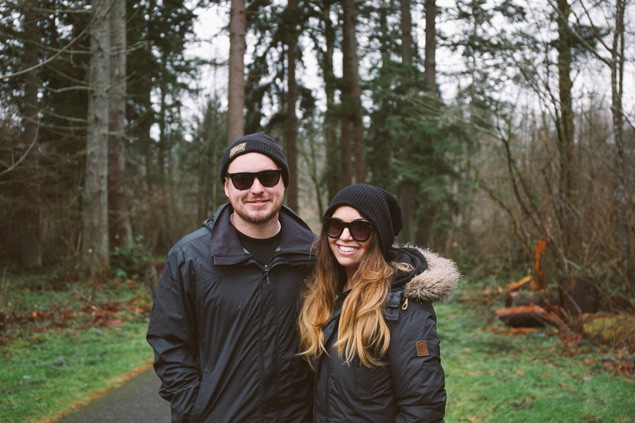 On Me: Beanie: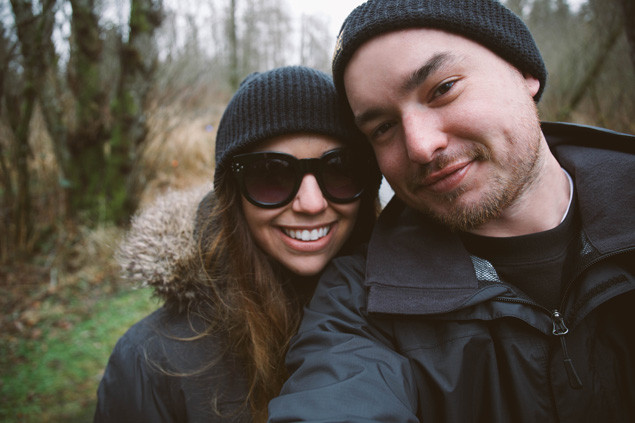
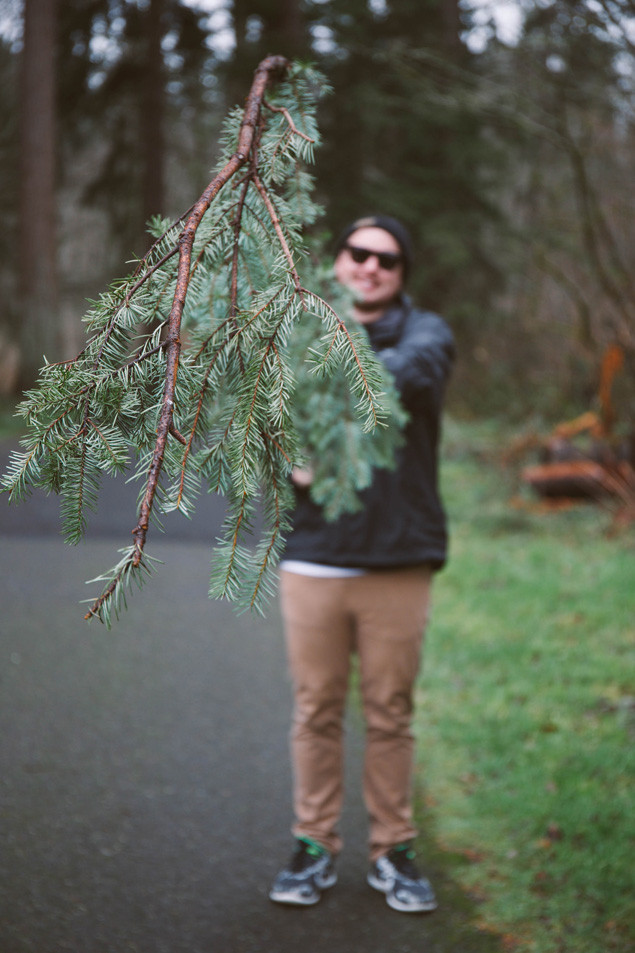
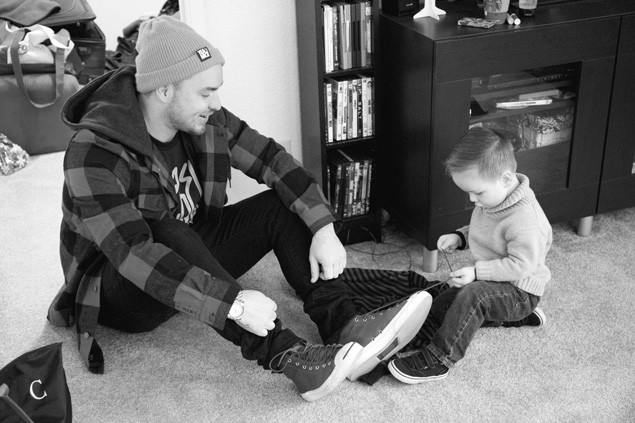 Maddox helping Matt tie his shoes before we left for Gas Works Park.
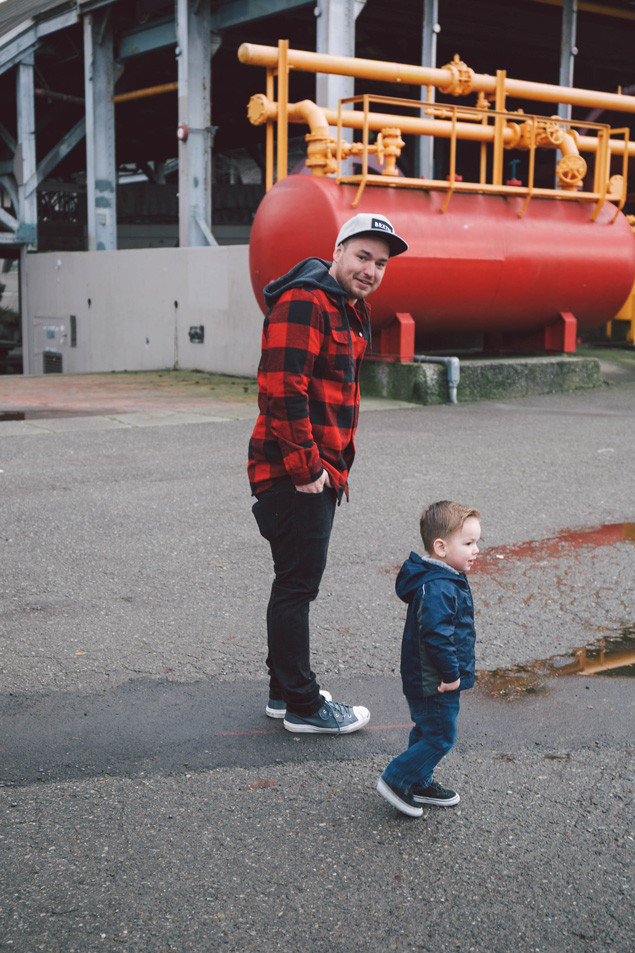 Hat:
Hat: 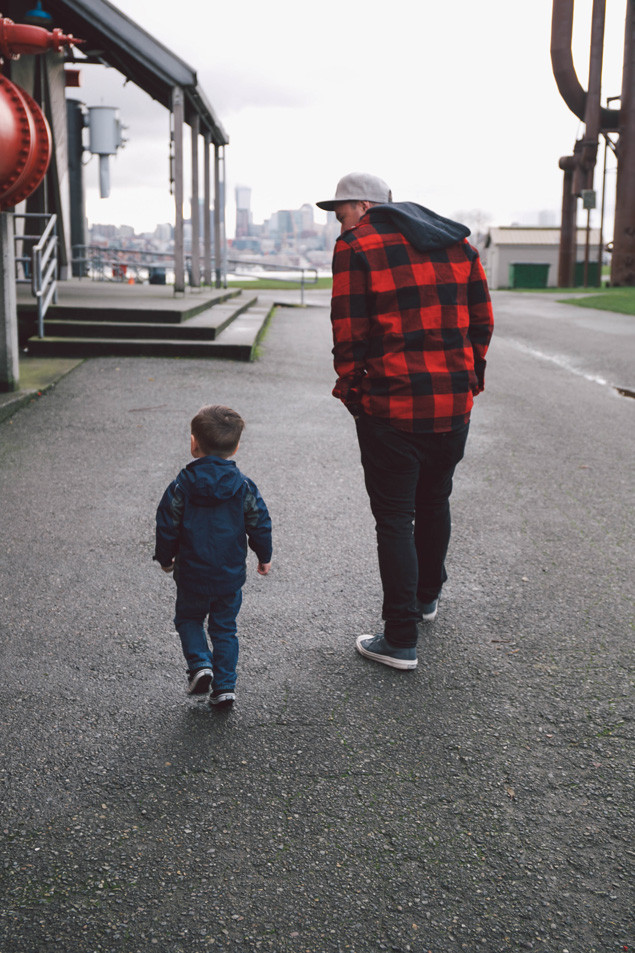
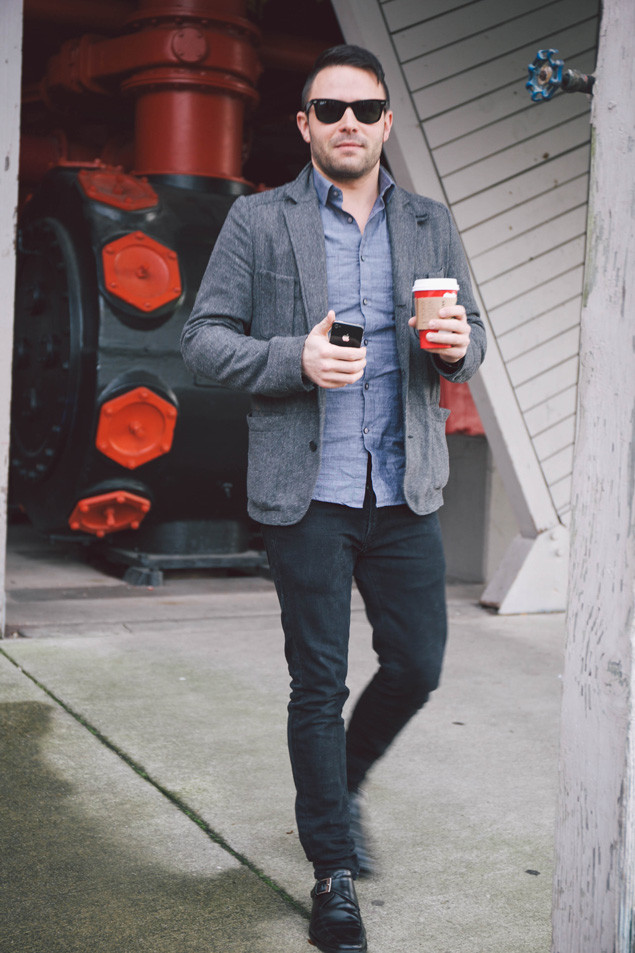
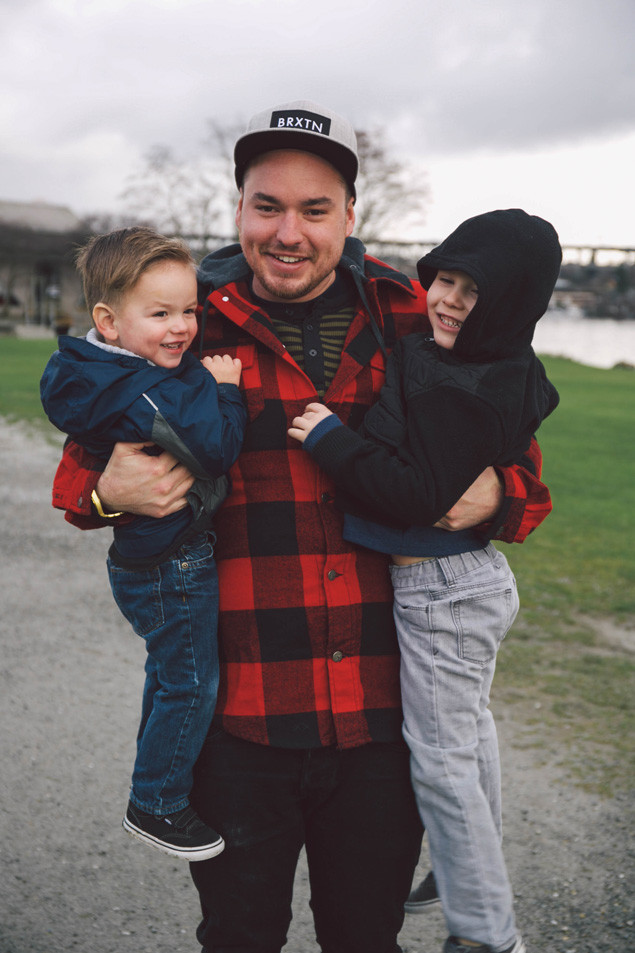 Uncle Matthew at his finest!
 There was this random platform out in the water, so Matt insisted on walking out to it for a photo.
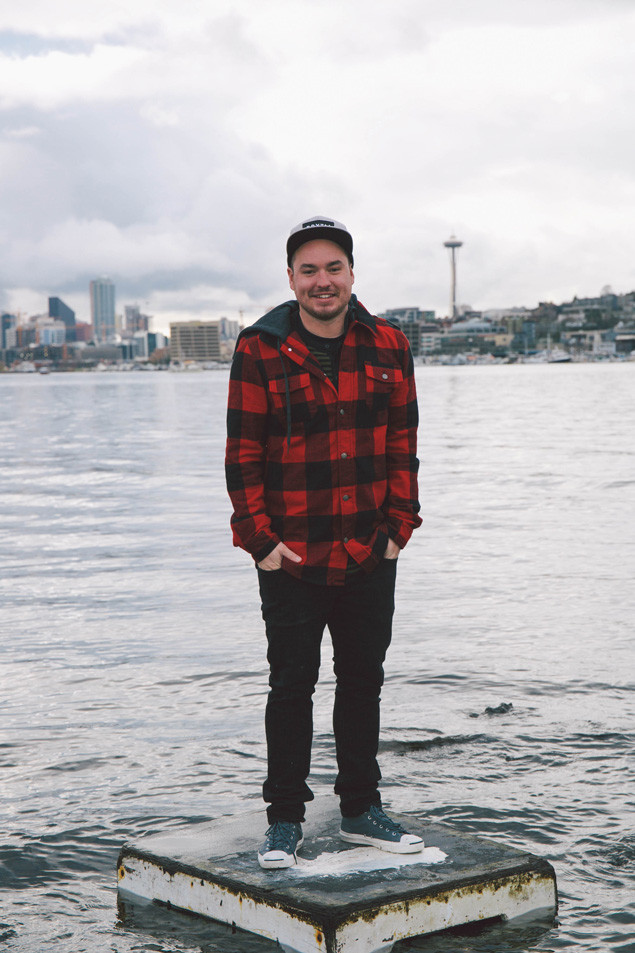 Surprisingly he made it, and didn’t fall in!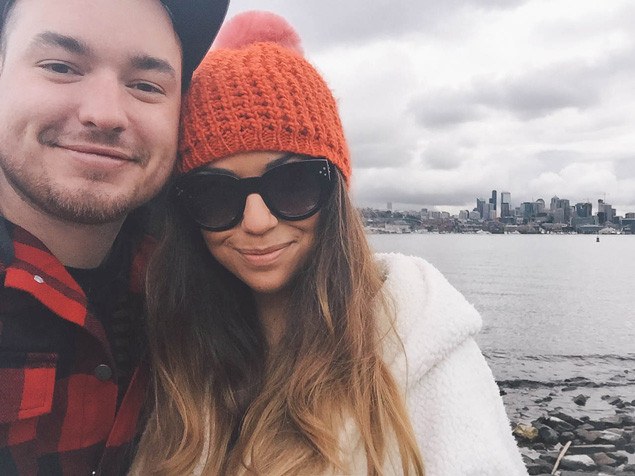

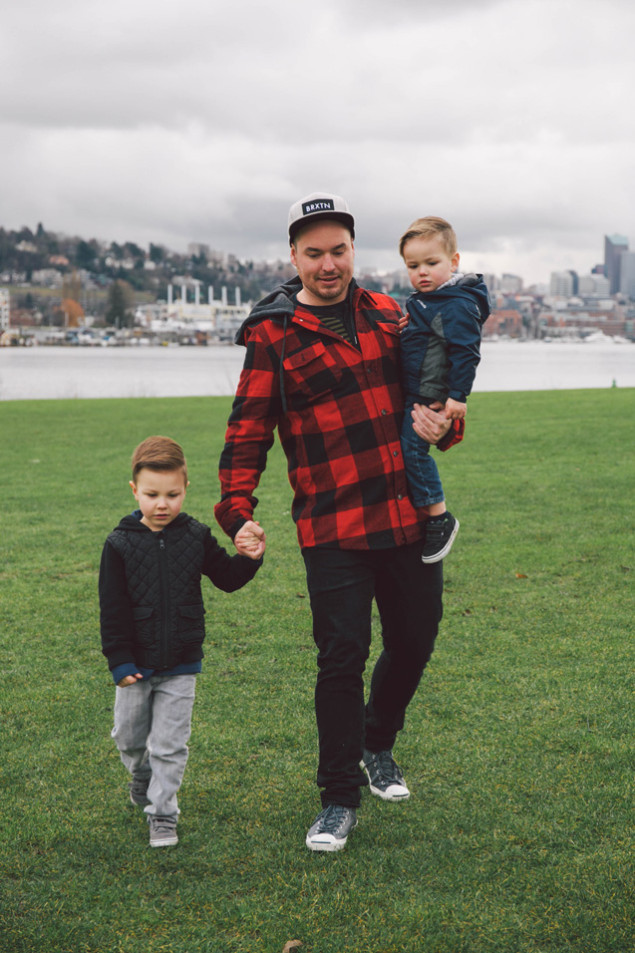 Hat:
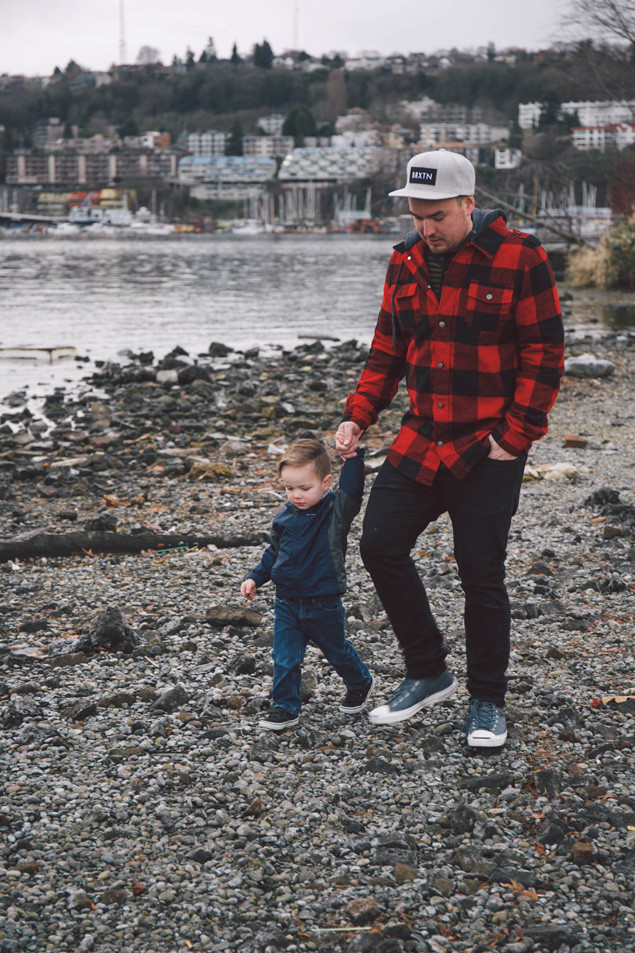
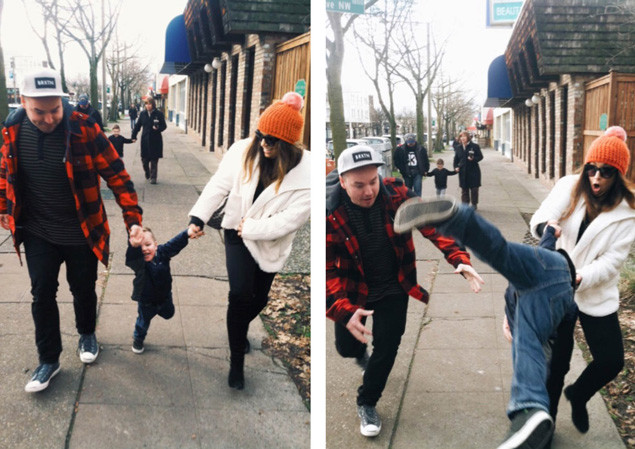
Hat: 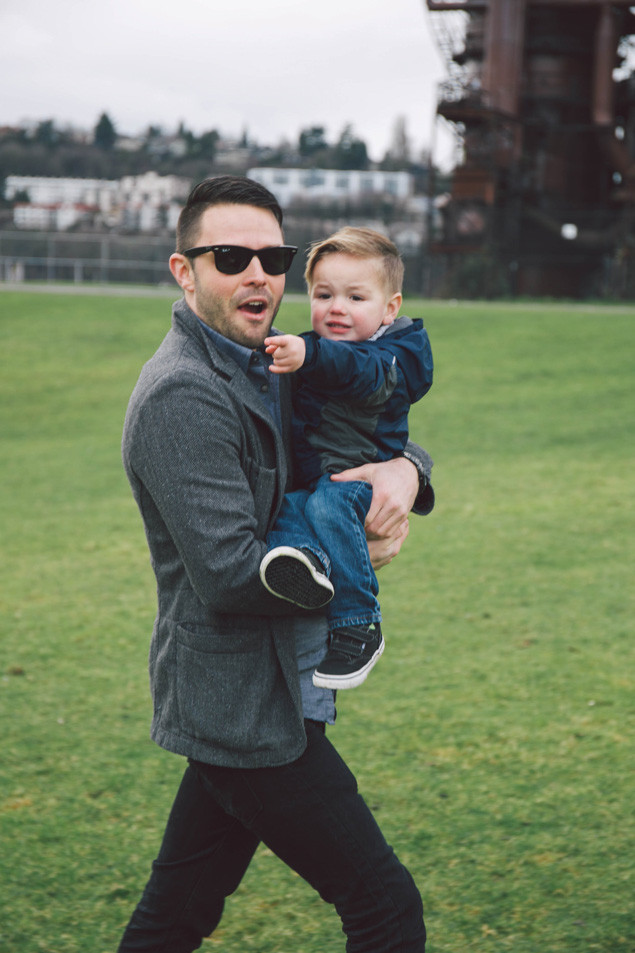 Maddox is obsessed with Matt, and every other second he would yell “I WANT HIM!!!!!” and would only hold Matt’s hand or let Matt pick him up haha. You can imagine what he’s saying in this photo!
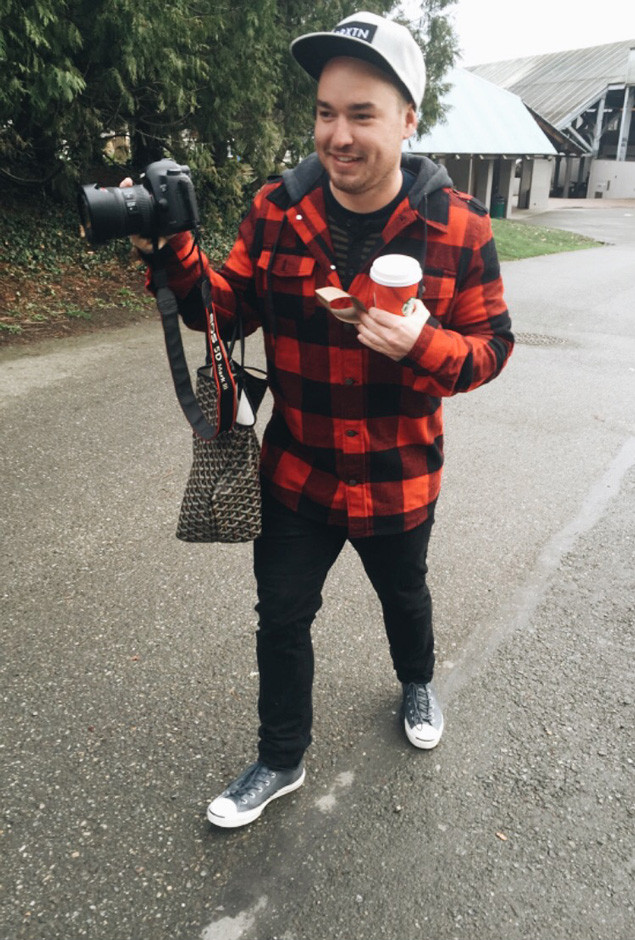 Hat:
Hat: 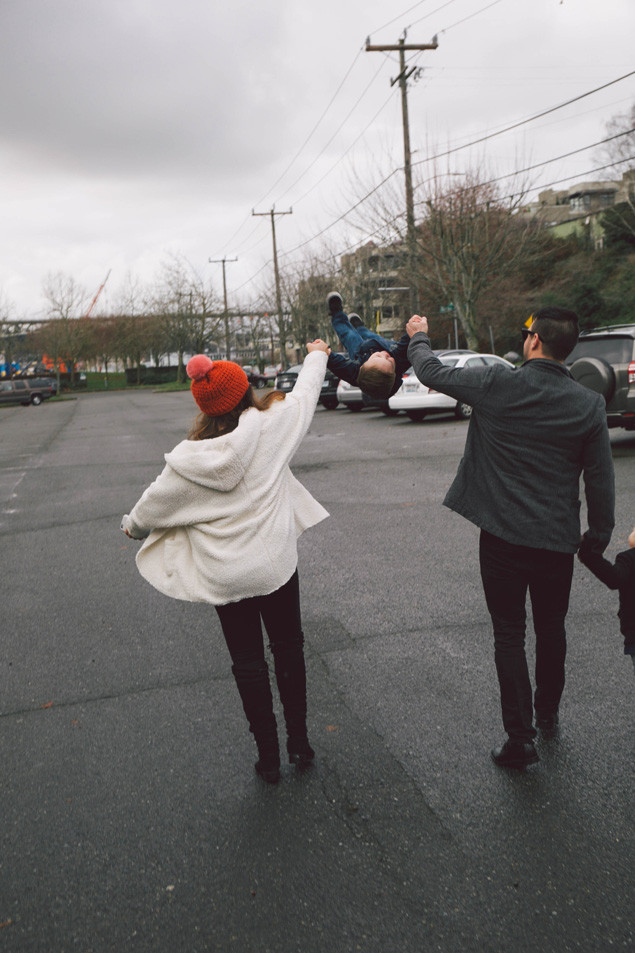 Beanie:
  On Me: Beanie: