Remember on Facebook when I said my kitchen smelled like cotton candy?
Well it wasn’t cotton candy, and it was not vegan marshmallows: it was a vegetable.
You heard that right! Sweet Roasted Acorn Squash to be exact!
Easy to prepare, delicious, nutritious, and very filling!
Ahhh tis the season of winter squash!
My seasonal squash of choice? Acorn Squash.
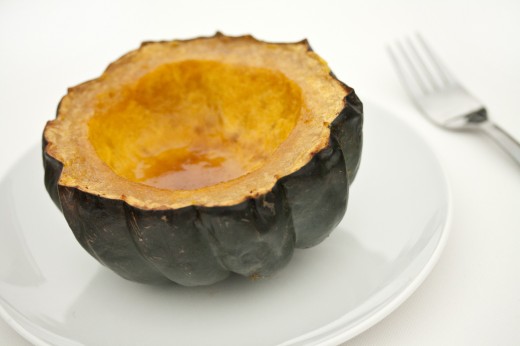
Now take a look at this fine little cutie! (seriously, I think they are so adorable!)
Don’t let the cutie patootie looks fool you, this is a mean, lean, powerhouse nutrient machine!
- One cup of acorn squash contains 145% of the daily recommended requirements for Vitamin A.
- It also contains Vitamin C, potassium, manganese, folate (folic acid), and 15% of the omega three fatty acids necessary to good health
- It’s also an excellent source of fiber that will keep you full and focused.
Now, you may be asking, how does one choose an acorn squash? Pick the cutest one available. Just kiddinggg!
Look for: Select a squash that has a good balance between green and orange skin. You want to choose a smooth squash without any soft spots. The heavier the squash, the more moist it will be, so choose a squash that is heavy for it’s size.
Avoid: Too much orange coloring on the skin, which indicates an overripe squash.
Storage: Store at room temperature (no need to refrigerate before cooking) and use within two weeks of purchase. Cooked acorn squash can be sealed and refrigerated up to 4 days.
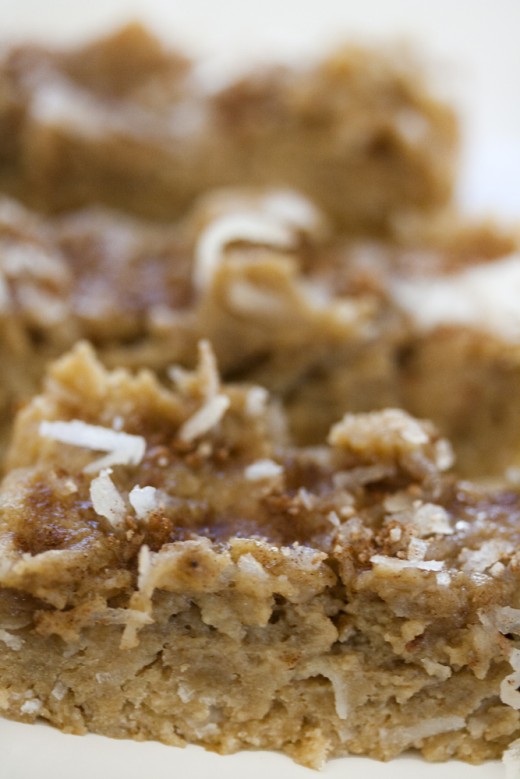
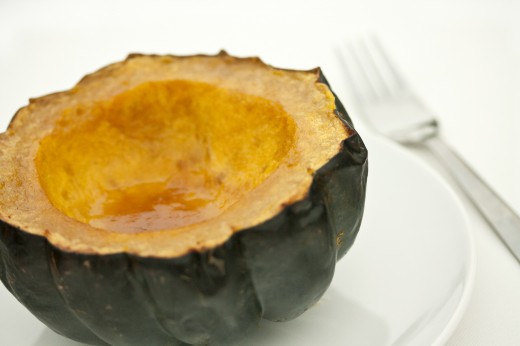
The first way I ever had an acorn squash was roasted with butter and brown sugar, and to this day it is still my favorite.There is nothing like the smell of Sweet Acorn Squash roasting in the oven. It smells like a sweet sugary dream come true!
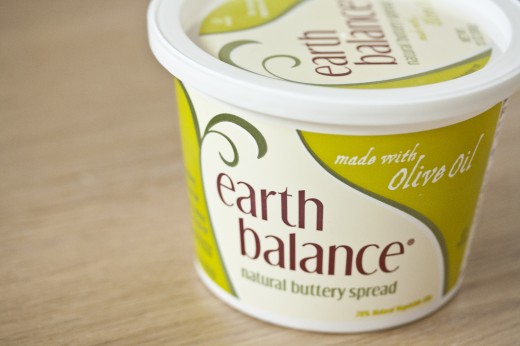
I decided to lighten up this recipe with Earth Balance Natural Buttery Spread With Olive Oil. If you haven’t tried this before, you need to head on over to your local Health Food store and get a tub. My mom and I have been using it in place of butter in our Armenian family recipes to give those heavy meals, a light touch. It’s an incredible alternative to butter, made with natural expeller-pressed oils such as soybean, olive, and Flax. It’s also vegan, lactose-free, gluten-free, casein-free, non-GMO, and contains no trans fat, and no cholesterol. With all of that said, this is a great source of healthy plant based monounsaturated, and polyunsaturated fats.
Sweet Roasted Acorn Squash
Serves 2
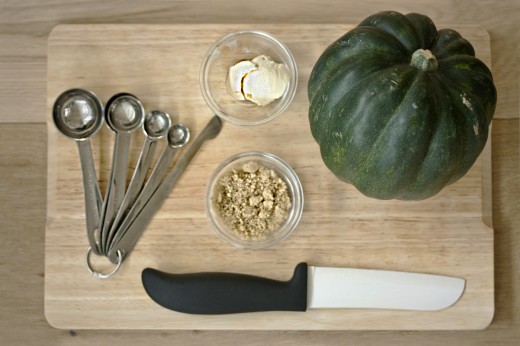
1 Acorn Squash (about 1 lb)
1 Tbsp Earth Balance Natural Buttery Spread
1 Tbsp brown sugar or Splenda Brown Sugar Blend
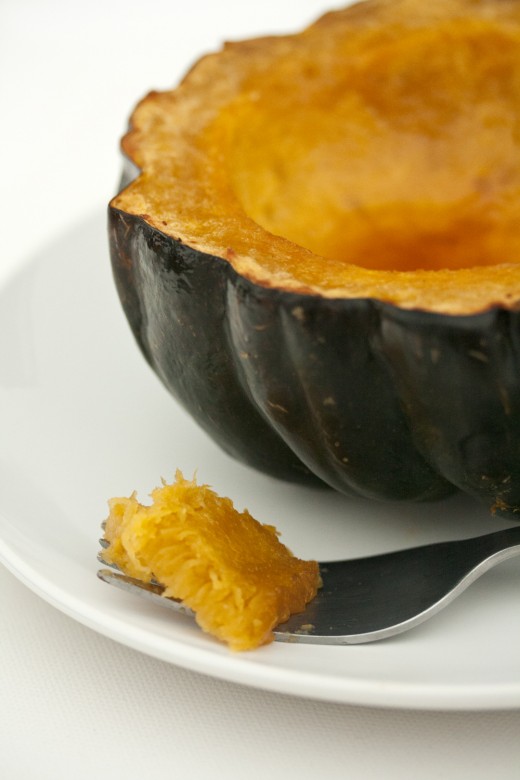
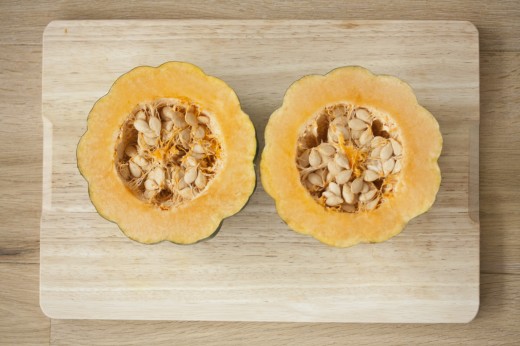
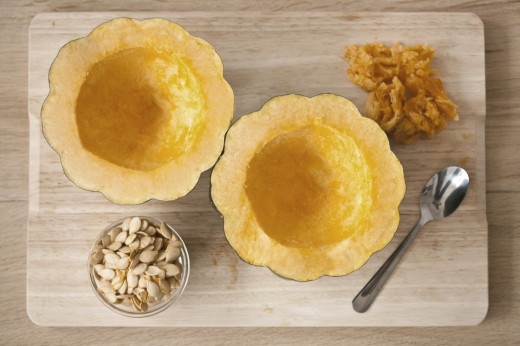
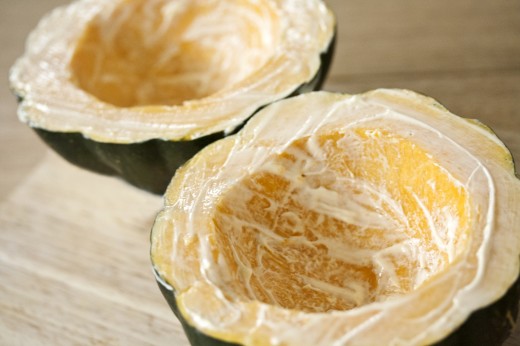
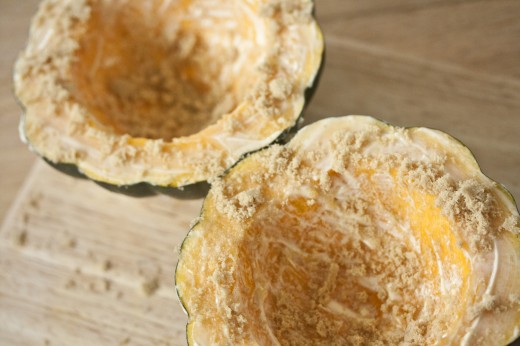
Preheat oven to 400°F and arrange a rack in the center. Cut the acorn squash in half. Scrape out the seeds and strings (like a pumpkin). Save the seeds for another recipe coming soon! Divide the Earth Balance spread into 1/2 Tbsps. Using your fingers, coat the yellow flesh of each squash with Earth Balance. Divide the brown sugar into 1/2 tbsps and sprinkle over each half of the squash. Place in a baking pan and surround with crinkled aluminum foil to hold the halves upright. Place in the oven and roast until fork tender about 45 minutes to one hour.
Note: I recommend using a baking pan with raised edges so any drippings can be caught.
On that note: If you don’t have a baking pan with raised edges, you can shape your own out of foil and then place on top of a cookie sheet.
Last note: Don’t throw the seeds away! Keep them in a ziplock or container in the fridge for another recipe.
The Rabbit Food Pyramid Breakdown
Produce: Acorn squash
Whole Grain: 0
Protein: 0
Plant Based Fat: Earth Balance Olive Oil Buttery Spread
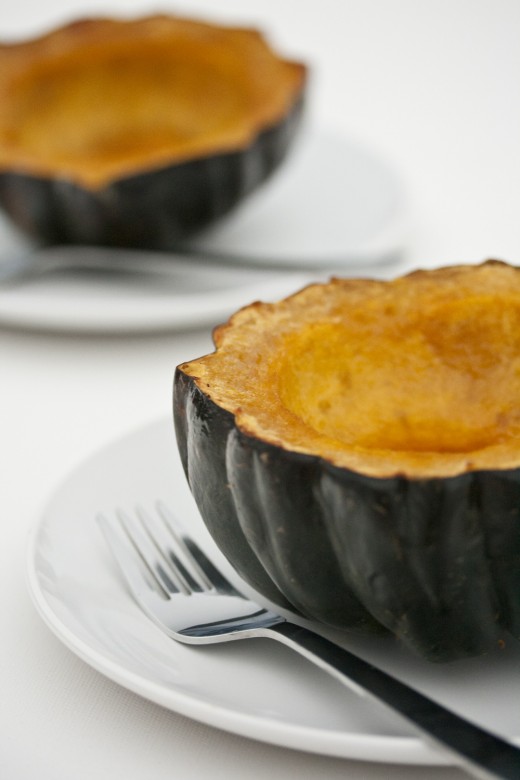
Mmmm tastes like fall, feels like winter!
Roasted acorn squash would be excellent stuffed with quinoa(whole grain) and lentils (protein). Stay tuned for a recipe to stuff your cute little squash!
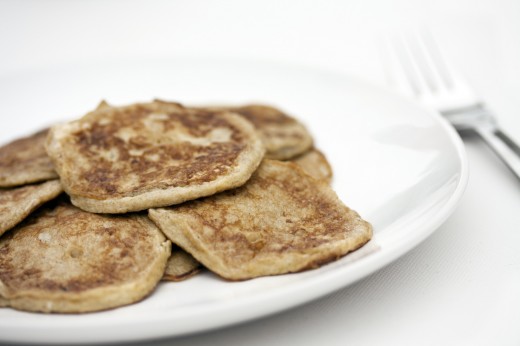
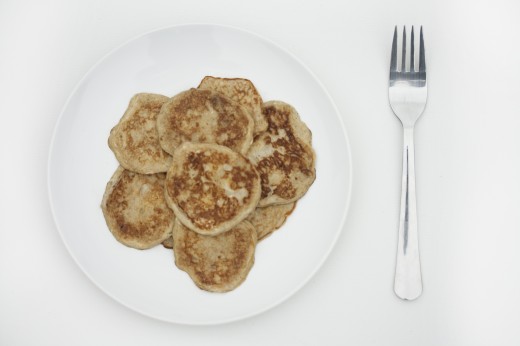
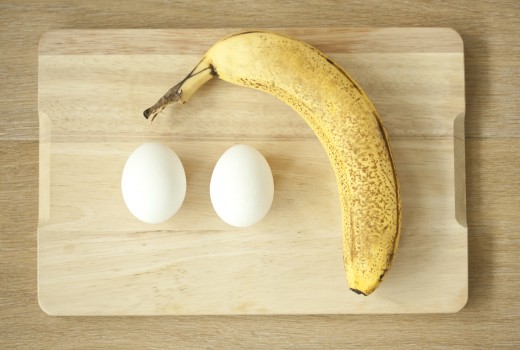
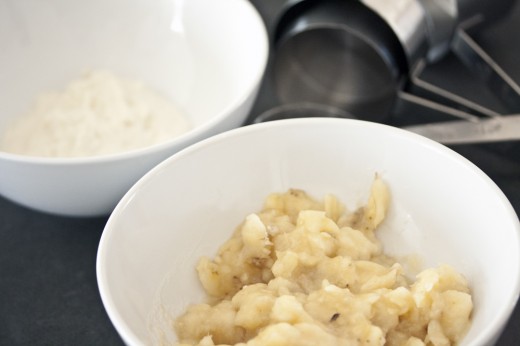
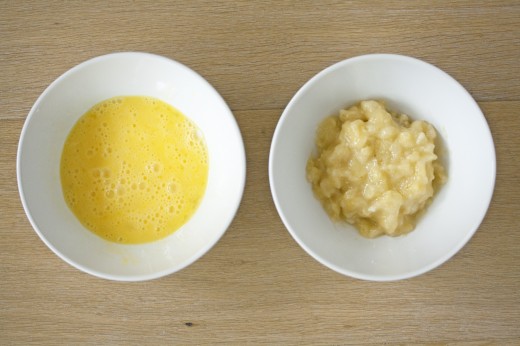 Two Ingredient Pancakes