step-by-step

Fluffy Oats

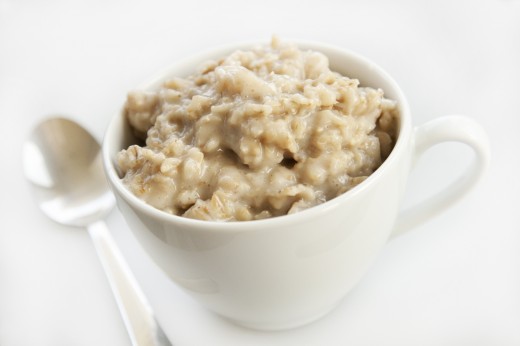
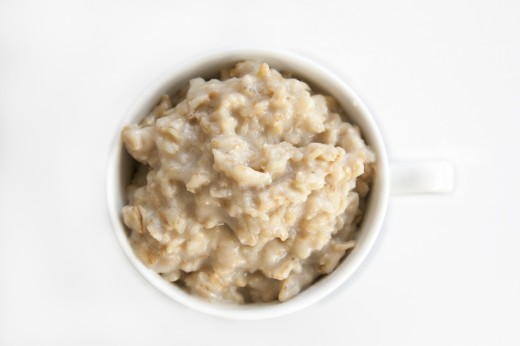
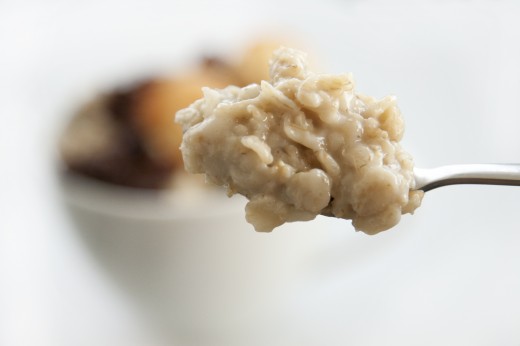
If you love oatmeal, you will love this new twist to get the fluffiest oats in the biz!
“It’s so fluffy I’m gonna die!” -Agnes from Despicable Me

Fluffy OatsMy words exactly while I was cooking these oats!

Fluffy Oats
Fluffy Oats
Fluffy Oats
Fluffy Oats
Fluffy Oats
Fluffy Oats
Fluffy Oats
Serves 1

1/4 cup whole rolled oats
1/4 cup unsweetened almond milk
1/4 cup water
1 egg white

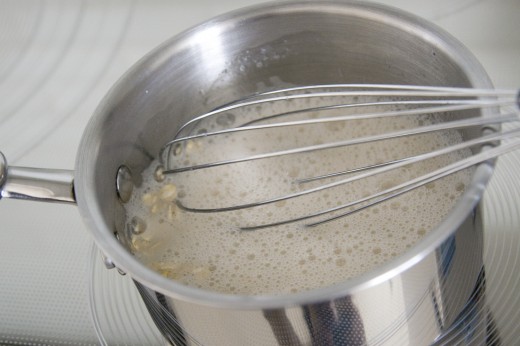
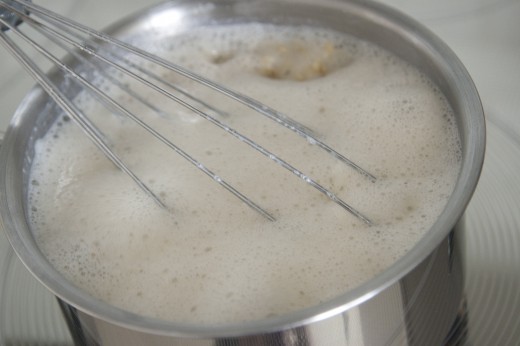
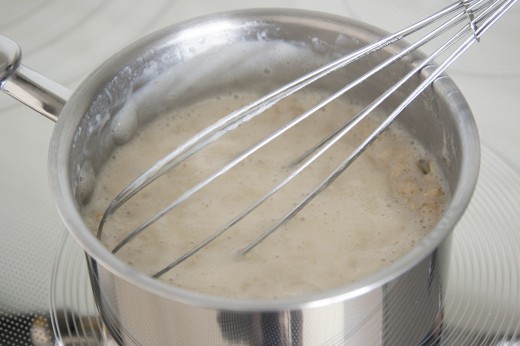
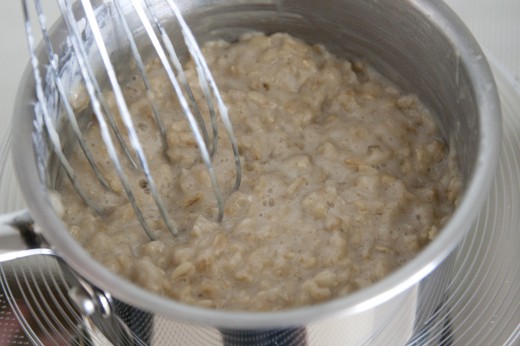
Whisk the egg until it gets a little fluffy/foamy. Combine with oats, water, and almond milk in a saucepan and bring heat to medium. Whisk the mixture until it starts to simmer. Raise the heat to high and continue whisking for a couple of minutes until it starts to thicken. Reduce heat back to medium and whisk until most of the liquid is soaked. Transfer to a bowl and enjoy with toppings!
Note: Be sure to whisk the egg before combining with other ingredients!

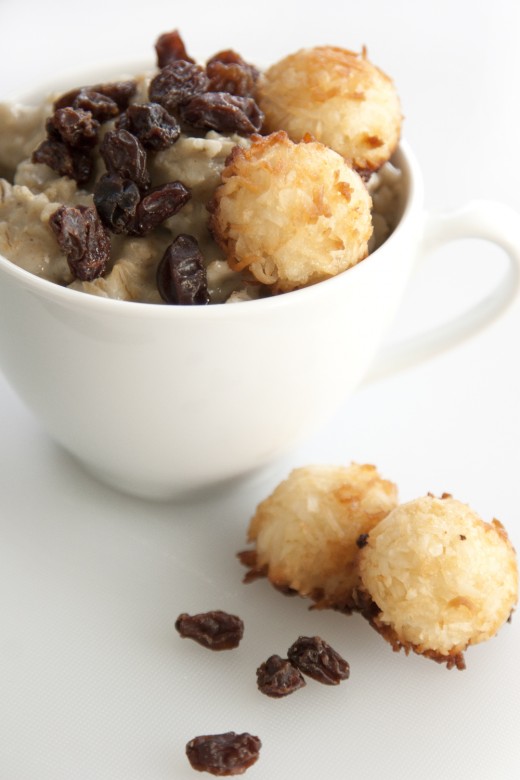
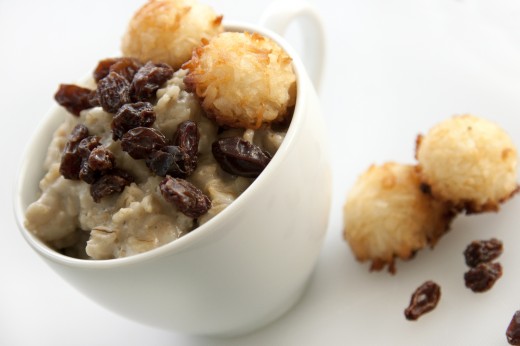
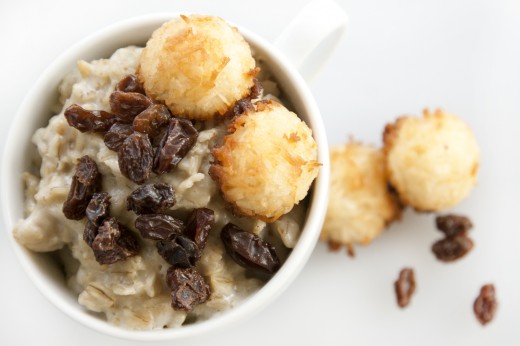
Make your oatmeal into a complete Rabbit Food meal with 1/4 cup of raisins and 4 Two Ingredient Coconut Macaroons!

The Rabbit Food Pyramid Breakdown
Produce: raisins
Whole Grain: rolled oats
Protein: egg white
Plant Based Fat: coconut macaroons
Fluffy Oats
Fluffy Oats
Fluffy Oats
Fluffy Oats

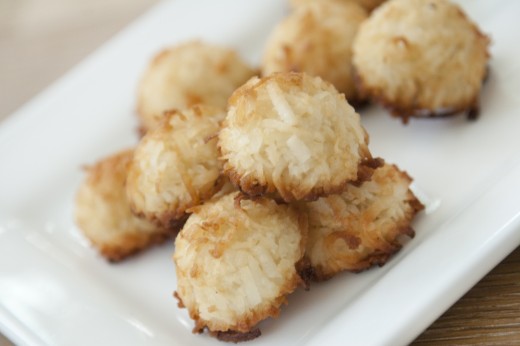
Two Ingredient Coconut Macaroons

Congratulations to the winner of my Love True Naturals Beauty Box Giveaway: Melanie H.!
Be sure to check your email!

Motivation Monday: “What you do today can improve all your tomorrows.”

My website had some technical difficulties this morning, so I apologize for the inconvenience. I’m so happy it’s back up and running!

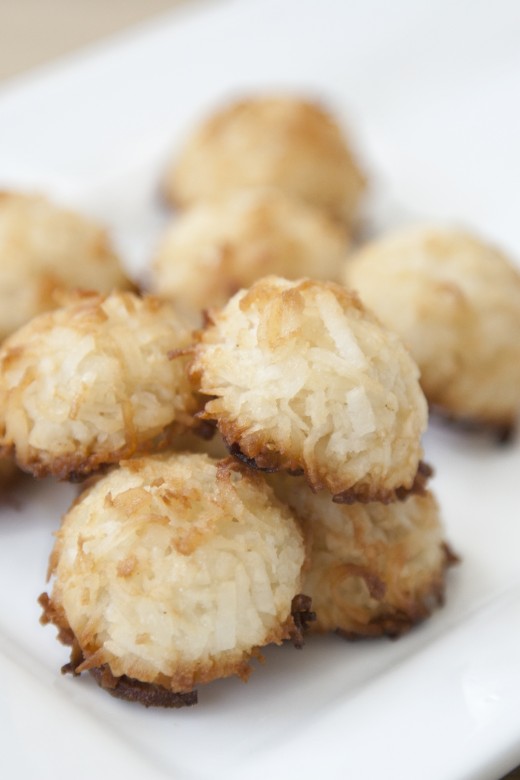
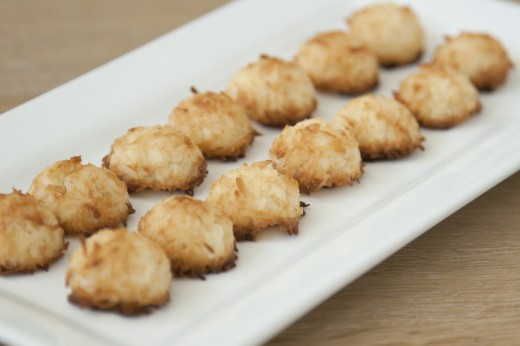
I’m obsessed with desserts and after making some toasted coconut this weekend, I though to myself; I NEED to make healthy coconut  macaroons! Most macaroons contain tons of added sugar and even full fat condensed milk, so I took to the kitchen to make a skinny bunny version with only 2 ingredients! Crispy and toasted on the outside with a lightly sweet chewy center!

This recipe is gluten-free, paleo friendly, clean, and made with healthy plant based fats!
If you’re following my Rabbit Food Pyramid: 4 Macaroons (2 Tbsp of shredded coconut) count as 1 serving of healthy plant based fats! Excellent topping for your Banana Nicecream!

Two Ingredient Coconut Macaroons
Makes 14 macaroons
(about 3.5 servings)

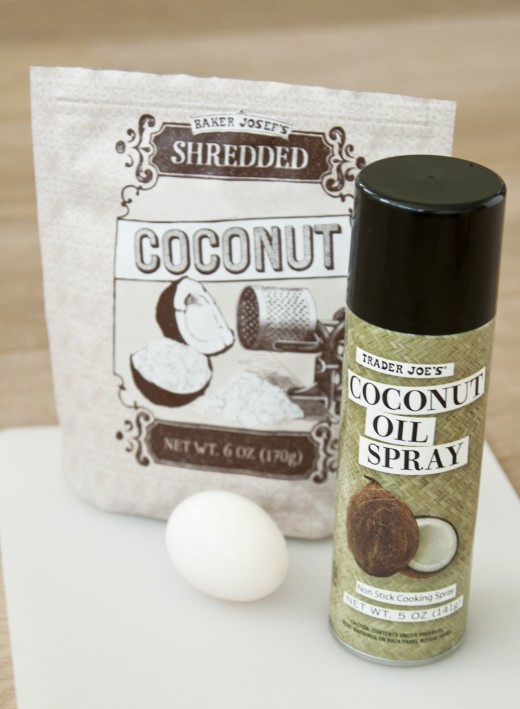
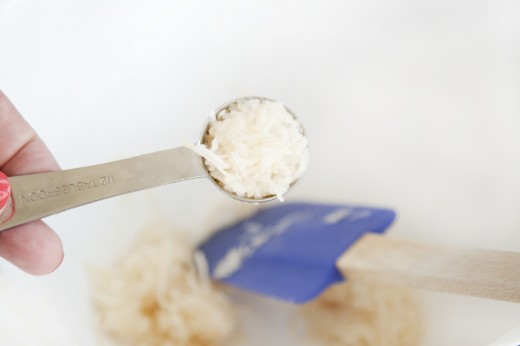
1 cup sweetened shredded coconut
1 egg white

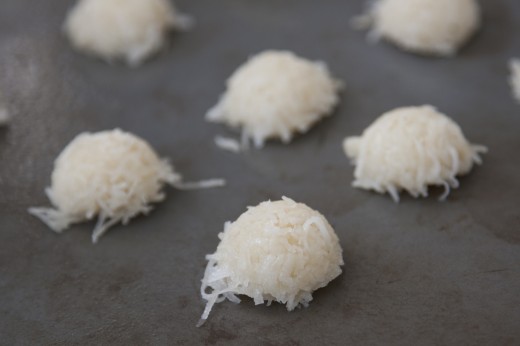
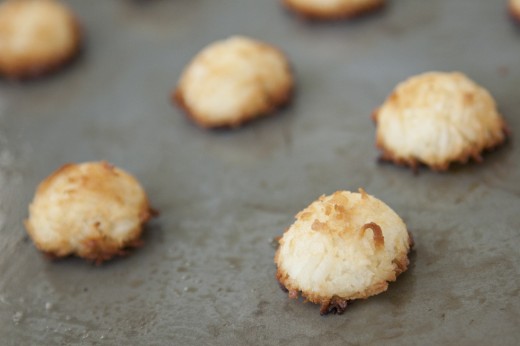
Preheat oven to 350 degrees. Whisk one egg white and then stir into the shredded coconut until well combined. Spray a cooking sheet with nonstick cooking spray (I used coconut oil spray, but any will do). Using a 1/2 Tablespoon measuring spoon, scoop the mixture, press into the spoon (to keep the mixture together), and then place onto the cooking sheet. Once all of the mixture has been scooped into 1/2 Tbsp balls, place cooking sheet in the oven and bake for 10-15 minutes until they become a light golden brown. If only the bottom halves of macaroons brown, turn the oven to broil and cook for 1 minute until the tops turn golden brown. Remove from oven and allow to cool.
Note: Watch the macaroons while baking because they tend to burn quickly.

What’s your favorite healthy dessert to make?

DIY Workout Headband

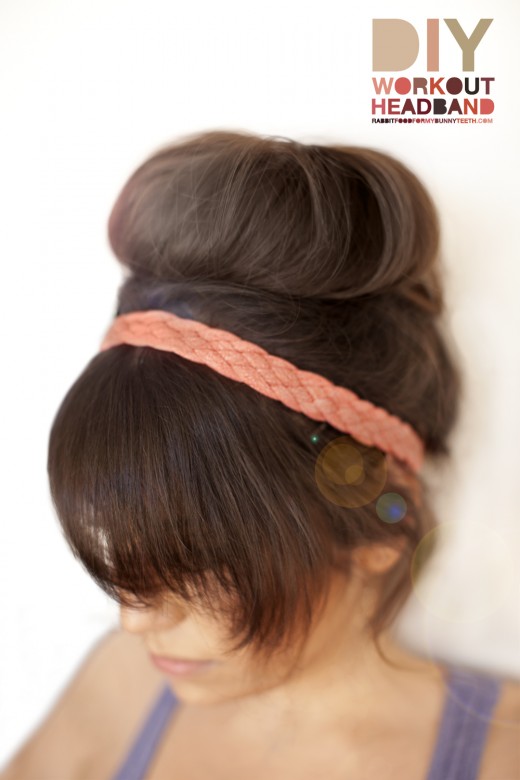
Happy Fashion Friday, and welcome to my third Workout DIY!
If you’ve already made my DIY Workout Shirt and DIY Multi-Strand Scarf you can now complete your look with a DIY Workout Headband! Keep your bangs or little whispy hairs out of your face during an intense sweat session, or hit the yoga studio in style with this super cute five strand braided headband!

Who doesn’t’ want to be decked out from head to toe in homemade RFFMBT no-sew workout clothes?!
DIY Workout Headband
Makes one chic headband
You could make up to 3 headbands depending on the size of your shirt & amount of fabric left! 

Ingredients:
1 old T-shirt
1 pair of scissors
1 piece of tape
30 minutes
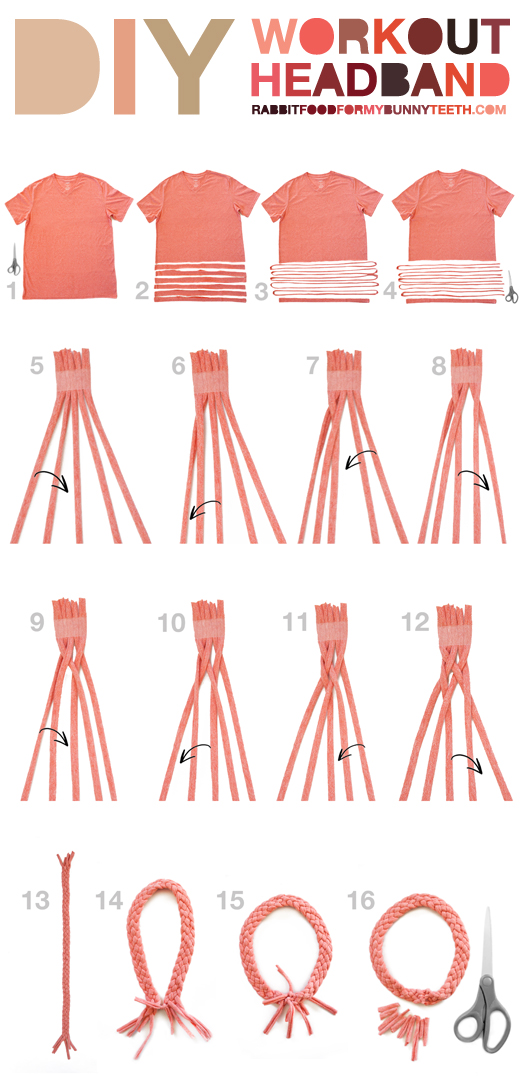
1. Start with a large T-shirt. Any old shirt will do! Seamless is a plus!

2. Cut off the bottom hem of the shirt. Then cut five 1in wide strips horizontally across the shirt starting from the bottom. You can use a ruler to guide a straight line across the shirt, but don’t worry if they aren’t perfect.

3. Set the bottom hem aside. Stretch all of the remaining strips until they become long, and the raw edges start to roll inwards.

4. Cut the five strands in half so they become long strands (instead of circles).

5. Gather the five strands, and secure them onto a hard surface with tape. This will make it easier for you to braid. Take the outside left strand and place it one over to the right.

6. Take the middle strand and place it one over to the left.

7.  Take the outside right strand and place it one over to the left.

8. Take the middle strand and place it one over to the right.

9.  Have you noticed the pattern? outside over one to the right, middle over one to the left, outside over one to the left, middle over one to the right … work from the left three strands, to the right 3 strands. Keep repeating these steps (9-12 are the same as 5-8)! Take the outside left strand and place it one over to the right.

10. Take the middle strand and place it one over to the left.

11.  Take the outside right strand and place it one over to the left.

12. Take the middle strand and place it one over to the right.

13. Once you have finished braiding, trim the headband to fit your head, leaving about an inch on each end for knotting.

14. Start by double knotting one strand from each end of the braid together.

15. Match each end with another strand from the opposite end and double knot.

16. Trim the ends off of the double knots, and you’re done!

Tadaaaa! A chic headband for your next workout! You could even make 2 or 3 headbands out of one shirt, woo!
Post or email your photos if you make a headband! I can’t wait to see your creations! 
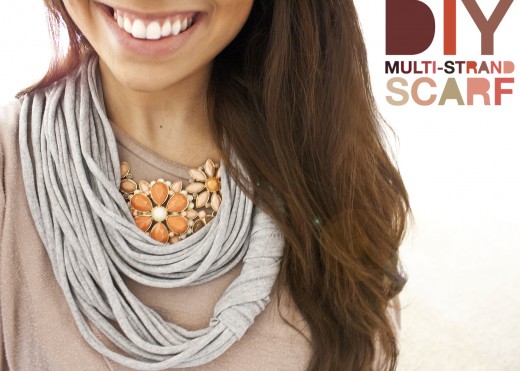
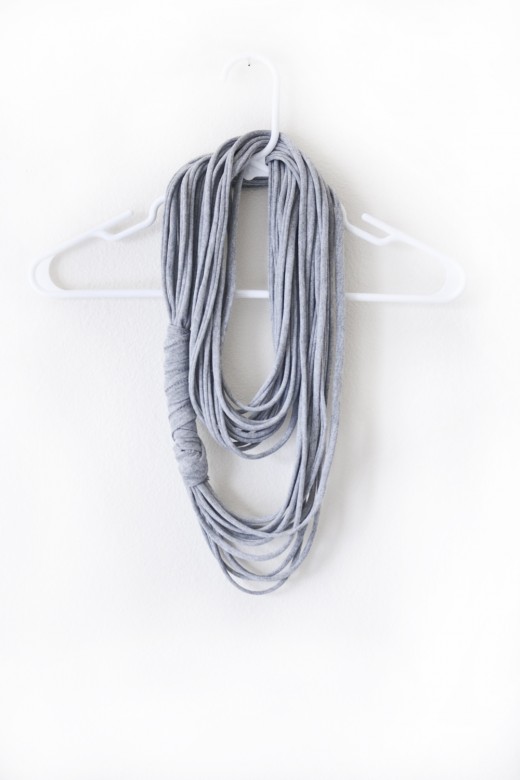
DIY Multi-Strand Scarf


I am a huge fan on no-sew projects from recycled clothing. If you were a fan of my no-sew DIY Workout Shirt, you will enjoy this one as well. Plus they will look très chic when worn together! Behold, a scarf that is perfectly lightweight and easy-to-wear to your Yoga or Bar Method class and stylish enough for running errands around town!
Oh, and did I mention there is no sewing required?!

DIY Multi-Strand Scarf
Makes one stylish scarf

Ingredients:
1 old T-shirt (the bigger the better)
1 pair of scissors
1 ruler
10 minutes


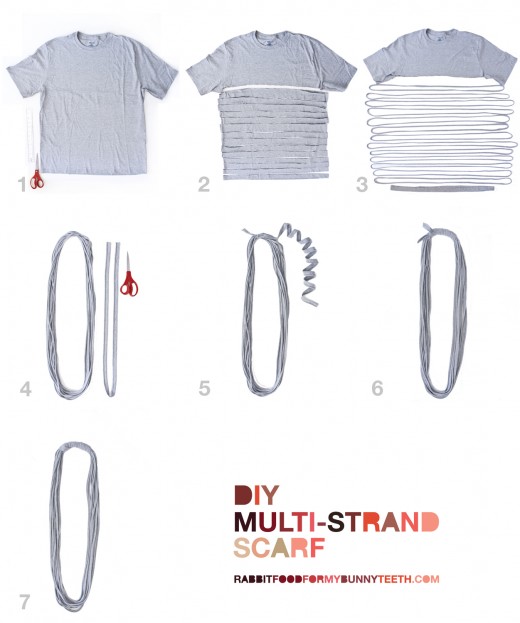
1. Start with a large T-shirt. Any old shirt will do! Seamless is a plus!

2. Cut off the bottom hem of the shirt. Then cut 1in – 2in wide strips horizontally across the shirt from bottom to armpit. You can cut as many strips as you would like (I liked my thick strips the most). The more strips, the more strands your scarf will have. You can use a ruler to guide a straight line across the shirt, but don’t worry if they aren’t perfect.

3. Set the bottom hem aside. Stretch all of the remaining strips until they become long, and the raw edges start to roll inwards.

4. Cut one end of the bottom hemline so it becomes a string.

5. Using the strip of bottom hemline, knot it around the strands to secure them in place.

6. Wrap the strip a few inches around the center of the scarf, and back over to meet the other ends. Knot the ends together tightly.

7.  Trim the loose ends and tuck the knot underneath the wrapped fabric.

Viola, a stylish scarf to wear to yoga! Wear it long or bundle it up, it’s super fun and easy-to-wear!
Post or email your photos if you make a scarf! I can’t wait to see your creations!