Ohhh my gosh, I am so excited to share this recipe with you! On Tuesday, I went to a Kappa Alpha Theta Alumni Group social and came home with the BEST recipe! My fellow sister, Carter (sorority sister for those of you who may be confused) told me all about her new healthy dessert creation, and I was all over it! Only 6 ingredients and takes 2 minutes to make, what’s not to love?! Carter has a Tumblr with tons of delish healthy recipes so make sure visit choisis la joie!

When I asked her how she came up with the recipe, she explained, “I am not Paleo, because I love cheese and sourdough bread too much, but Paleo recipes are a great place to start, because they are focused on veggies, fruits, healthy fats and proteins. This makes it so that overall, the foods I make for myself are healthier and more nutritious. Then I can indulge without guilt when I’m out for happy hour or food-truck day!” I love her philosophy on using Paleo guidelines as a starting point or base for her recipes. It’s a great way to explore different healthy foods and experiment with new recipes!
I like to emphasize that all types of foodies are welcome here whether you are vegan, vegetarian, carnivore, candy lover, paleo, gluten-free or if you follow Weight Watchers, or a low carb diet like Atkins. I want my blog to be a place where anyone can come to find inspiration and motivation to try new healthy recipes. There is no foodie judgement here! Plus most of my recipes can be easily adjusted to fit your dietary needs.
I do however want to talk about the pressure to follow a certain “diet.”
My most requested recipe adjustments are usually to make meals gluten-free, but recently I have been asked about Paleo options. I don’t follow the Paleo diet, but I love the way that Carter explained it! It makes Paleo seem less cult-like and more approachable! If you are an avid healthy living blog reader, you probably know what I mean by “cult-like” haha but if not, let me explain. CrossFit has recently turned into a phenomenon. Not only for fitness, but for it’s own “language” (box, WOD, AMRAP, etc.) and even adopting it’s own diet; Paleo. It seems like any blogger that I follow (or even Facebook friend) that goes to CrossFit, gets sucked into this crazy CrossFit cult! Suddenly they give up their vegetarian lifestyle to become full-blown carnivores and LIVE to plaster their new weight lifting PR all over the internet. It seems more like people are quick to jump into the Paleo world for the trendy CrossFit reasons than for their health. I don’t want you to get the wrong idea, I’m proud of all of my friends who do CrossFit. I know it’s something that I A) would never enjoy B) would probably suck at, and C) would most likely get hurt doing, so props to the CrossFitters in the world! But why has CrossFit gone from a trendy new exercise to intimidating hardcore lifestyle? Honestly, I would be so scared to set foot into a “box” because I wouldn’t be able to lift more than 10 lbs, would feel guilty that I ate whole-wheat, and think that Fran is my instructor, not my workout! As you can tell, CrossFit is probably not for me, but it’s a great match for so many others! Long story short, I like Carter’s approach for creating healthy recipes by starting with paleo guidelines. To me, that’s how special diets should be used. You shouldn’t feel obligated or pressured into eating a certain way to sit at the cool table haha. Not every diet or lifestyle works for everyone, and most of the time it takes a little while to find out what works for you and makes you feel your best. I don’t want anyone to think that because I eat a certain way, that they have to as well I also want everyone to know that no matter what their diet is, they are very welcome here and I respect their choices. The important thing is to eat clean whole foods as much as possible and have a healthy balance and relationship with food. Healthy eating should be fun, not intimidating!
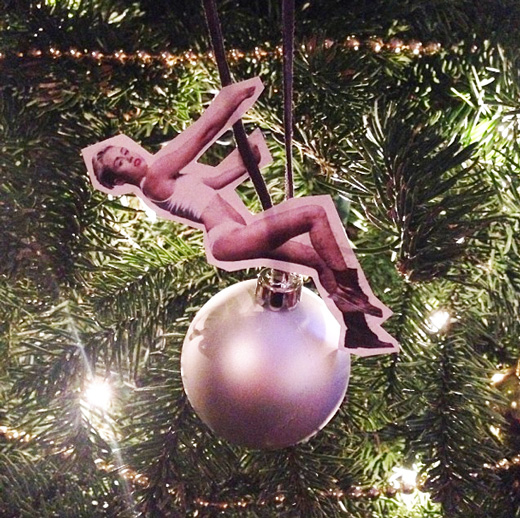
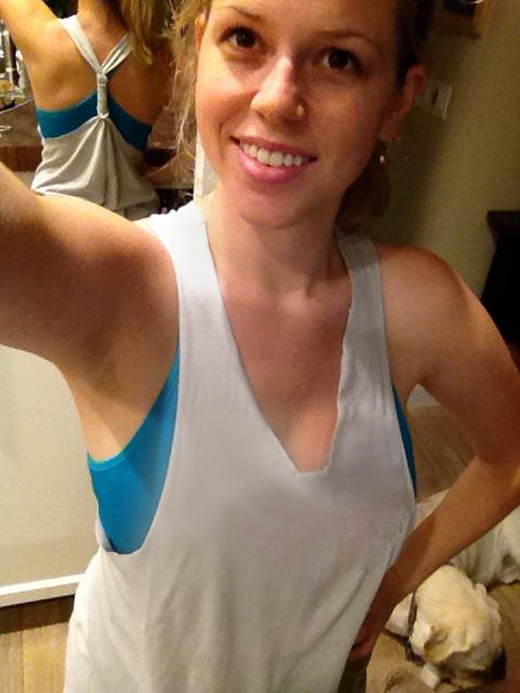 Also love that Carter made my DIY Workout Shirt before meeting me or knowing that this was my blog! So awesome!
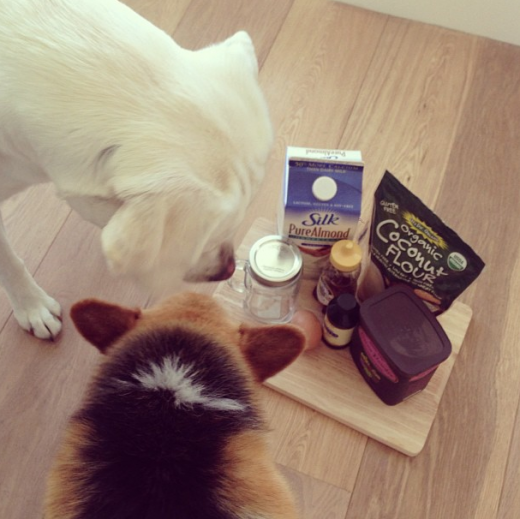 I had some very curious kitchen assistants today. Elin (Labrador Retriever) & Teddy (Corgi) had tons of fun as the cleanup crew.
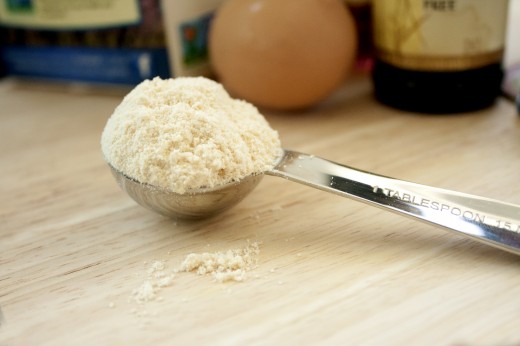 Since this recipe requires a heaping tablespoon, I thought I would show you what that looks like. If you are unsure of anything in my recipes, always feel free to ask! I had no idea what a heaping or scant Tbsp was a while ago haha yay for learning new things!
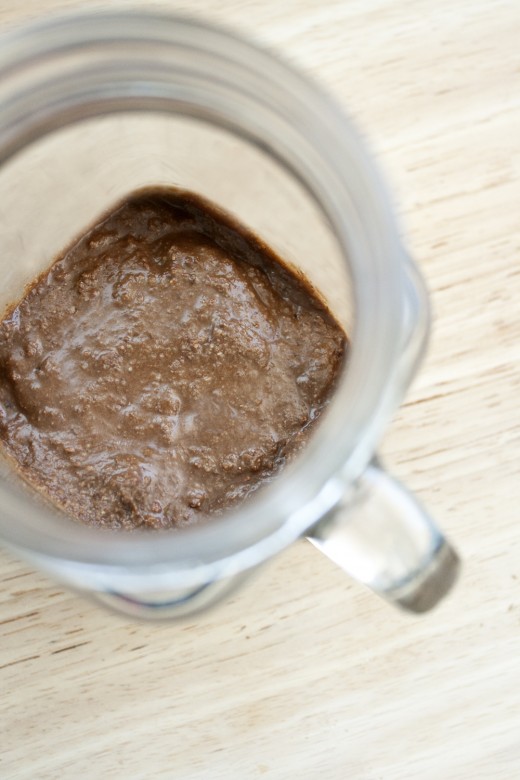 The batter before microwaving.
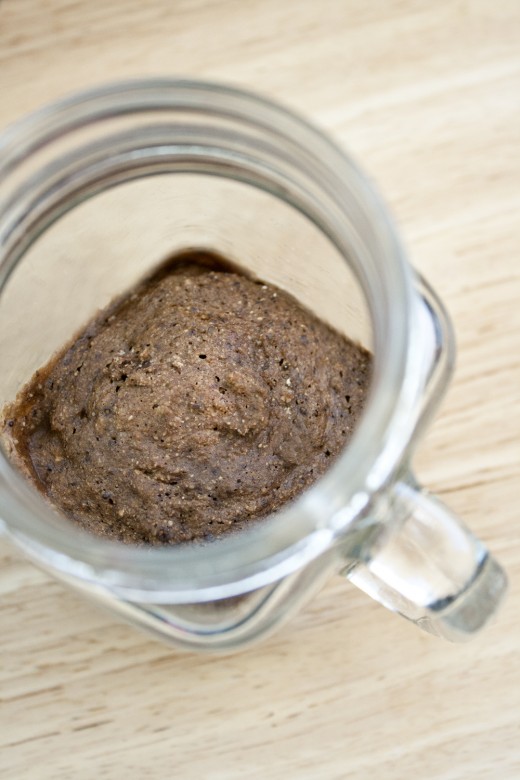 Coconut mug cake cooked!
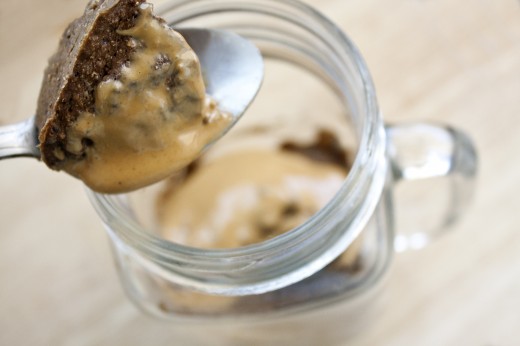
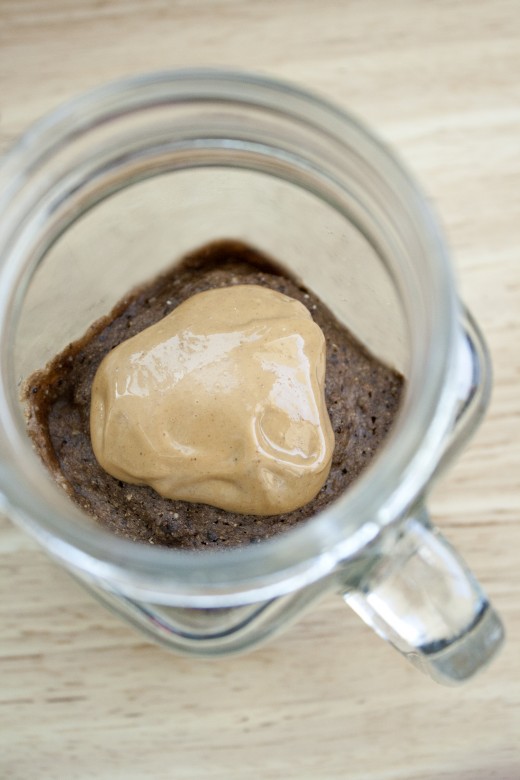 My favorite way to eat it, with one tablespoon of all-natural peanut butter!
Coconut Mug Cake
Serves 1
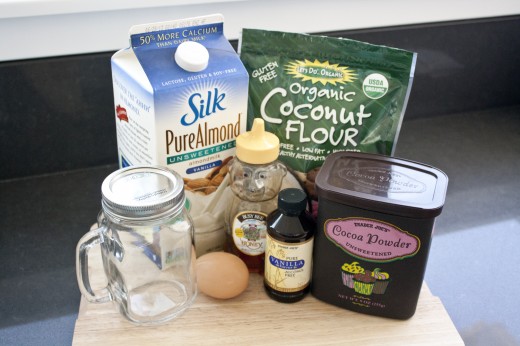
1 heaping Tbsp coconut flour
1 heaping Tbsp cocoa powder
1 Tbsp almond milk (or coconut)
1/2 Tbsp honey
1 tsp pure vanilla extract
1 egg
Combine all all ingredients together in a microwave safe mug and mix well. Microwave for 1 minute and 30 seconds to 2 minutes until cooked.
Carter’s notes: Enjoy with a big dollop of peanut butter if you’re as obsessed with the pb/choc mix as I am! You can also add some dark chocolate chips in the cake for a little extra flavor.


 Halloween is one of my fav holidays because I LOVE making costumes. I used to be your typical high school girl that bought all of those itty bitty mini dress costumes from Leg Avenue, but when I went away to college I got obsessed with making my own costumes. During this time of year, glue guns and spandex are my best friends! Since deciding on a halloween costume is always a toughie I thought it would be fun to show you some of my costumes from throughout the years! There are about 5 or 6 years worth of costumes/photos that I found, so enjoy this trip down memory lane haha. I have quite the collection of DIY costumes if I do say so myself!
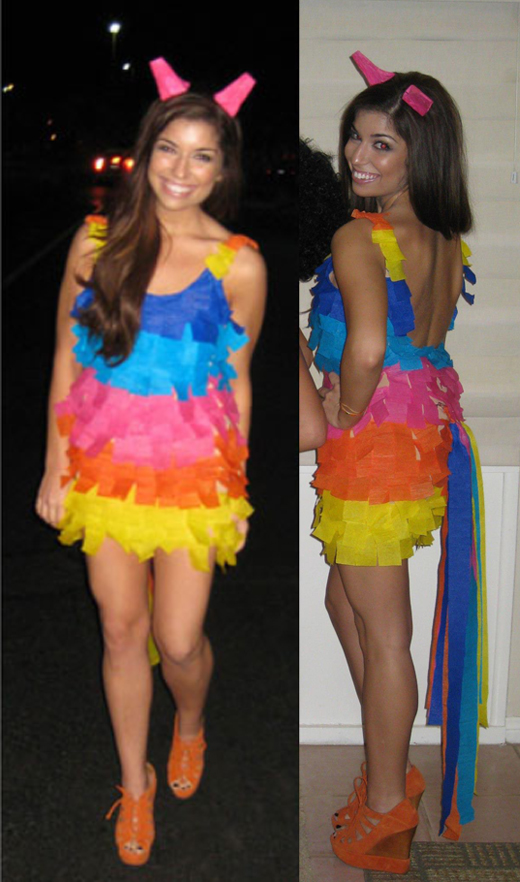
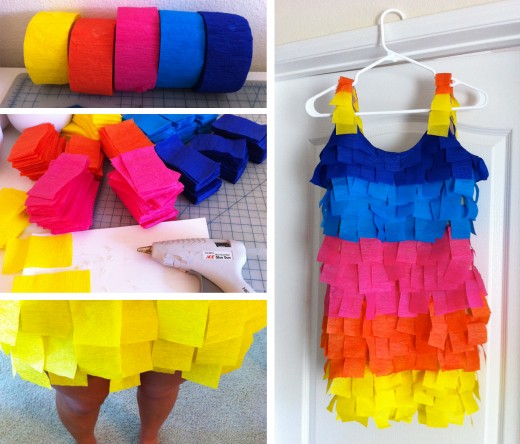 You may have seen the first two photos before because my piñata costume was featured in Seventeen Magazine last year and is
  My Pikachu costume is also featured on Seventeen’s
 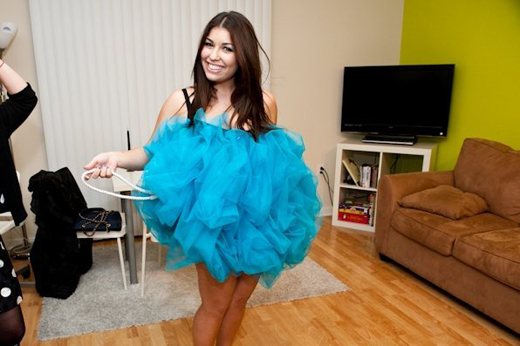 Another popular costume of mine is the loofah (also featured on
 I think my Sims costume wins for easiest costume accessory. This one is featured on
  There was also that one time I decided to dress up as a gum ball machine and glue thousands of pom poms all over my dress. I won’t elaborate on this one. IT’S SO FLUFFAYYYYYY!
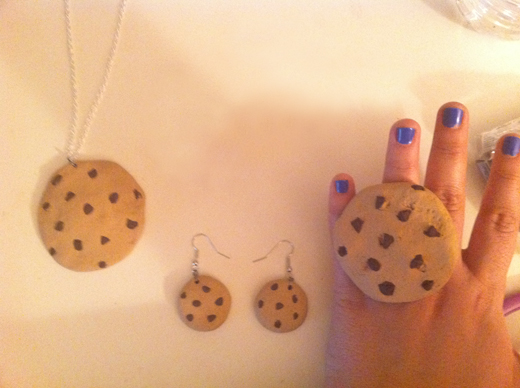 And of course, I love making costumes for my friends! I made Lauren this adorable Cookie Monster costume (similar style as the Pikachu one).
 If your costume idea falls apart or you need something last minute, I suggest stealing your boyfriend’s white button down and going with Risky Business! High white socks and Raybans are a must! Going out but don’t want to walk around in socks? Put on a pair of comfy flats and then put the white socks over them! It will appear as if you’re just wearing socks, but then you won’t have to worry about wet floors or sharp objects, problem solved!
 Teddy just LOVES dressing up for Halloween. Can’t you tell? Cutest RFFMBT mascot ever!


