before and after

Happy Healthy Halloween!

I have to start this post off with the FUNNIEST ad spot I have EVER seen.

I’m pretty sure all of my fellow health foodies will love this!!! Brought to you by Crest & Oral-B this ad titled “Halloween Treats Gone Wrong” explores the possibility of an candy-less Halloween by giving a group of children only healthy candy featuring vegetable-flavored gummies, Nori pops and tofu ghost-mallows.
Their reactions… absolutely PRICELESS!

Kid’s say the darndest things don’t they?

I literally laughed until I cried while watching this and then immediately had to show it to all of my family members. I hope you laugh as hard as I did! By the way, my favorite description is “tastes like poopie piñata!”

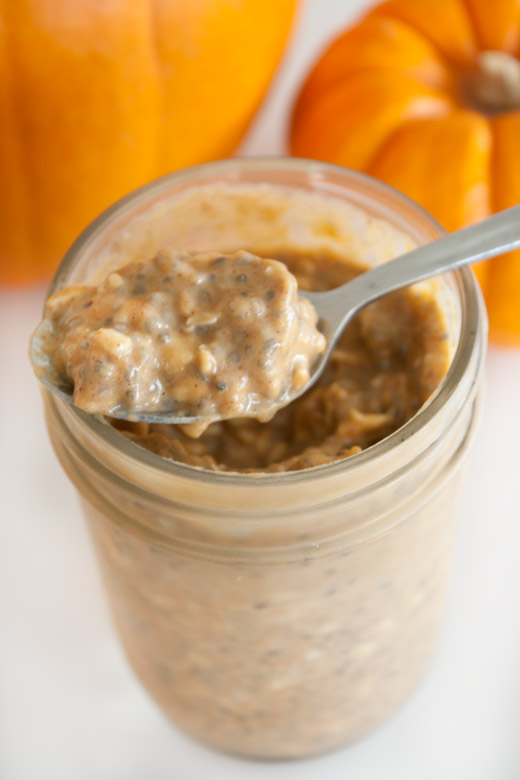
To continue my Healthy Halloween (that tastes way better than the ‘treats’ described in a that video), I recycled my Southwest Quinoa Stuffed Peppers recipe and turned the bell peppers into Jack-O-Lanterns! You could also fill these adorable Jack-O-Lantern stuffed peppers with my Tofu & Wild Rice or anything else you would like!

halloween-jack-o-lantern-stuffed-peppers1

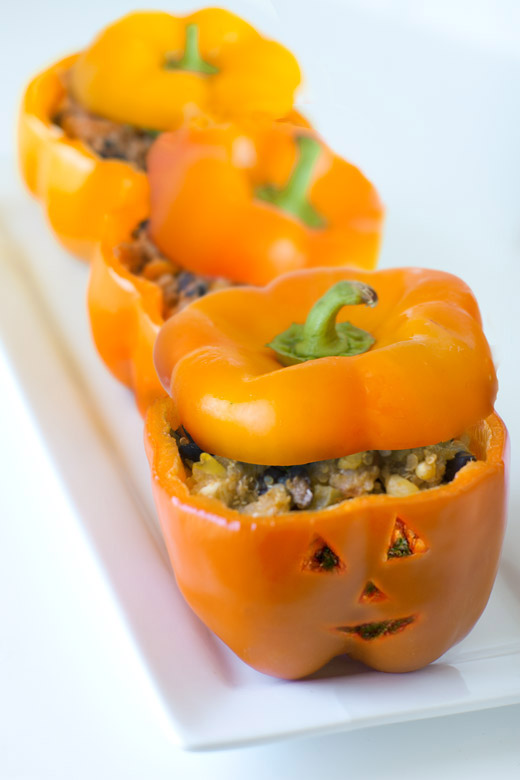
Jack-O-Lantern Stuffed Peppers
Serves 4-5

4-5 orange bell peppers
1 cup dry quinoa + 2 cups water
1 15oz can unsweetened corn kernels
1 15oz can low sodium black beans
1 4oz can diced green chiles
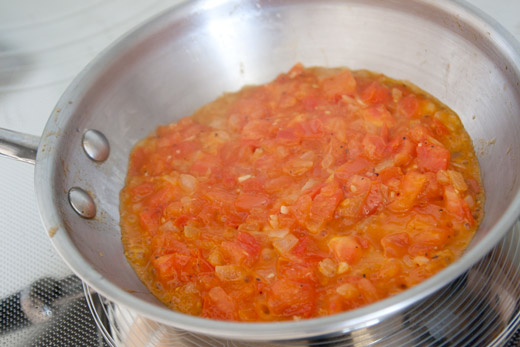
1/2 cup diced tomatoes
1/2 yellow onion
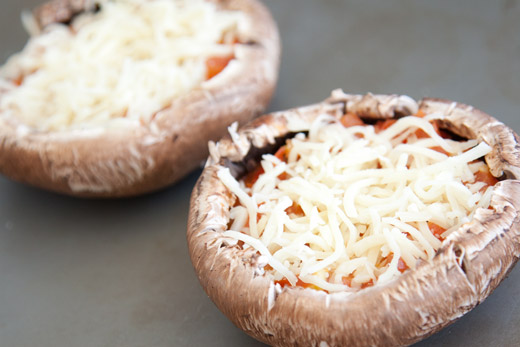
1/2 cup shredded pepper jack cheese
1 Tbsp Southwest/Fajita seasoning (I used Mccormick Salt-Free Southwest)

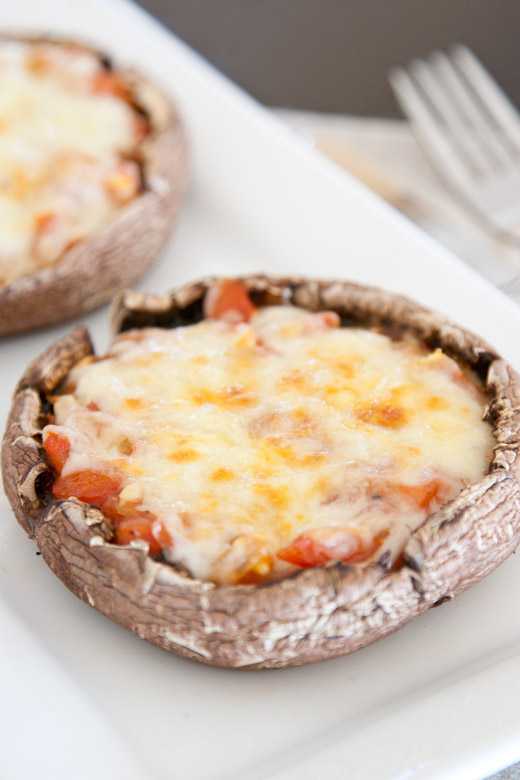
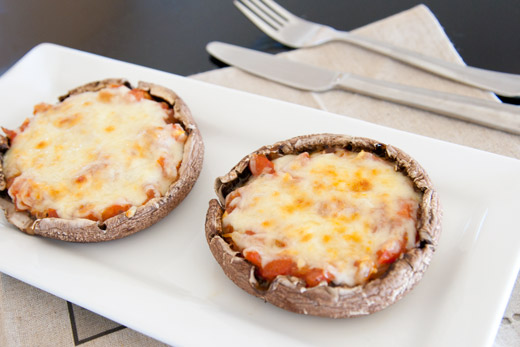
Preheat oven to 350 degrees. Bring quinoa and water to a boil, then reduce to low heat and cover for 10-15 minutes until water is absorbed. Cut tops off of bell peppers, remove seeds and “meat” from inside. With a small sharp knife, carve a traditional Jack-O-Lantern face into the bell pepper. Rinse and strain the beans and corn. Once quinoa has finished cooking combine with corn, beans, green chilies, tomatoes, onion, pepper jack cheese, and fajita seasoning. Scoop the quinoa mixture into the bell peppers. Transfer stuffed bell peppers (without lids) to a baking dish lined with foil and bake for 25-30 minutes.

Note: 1 cup of southwest quinoa mixture = 1 serving. Use this measurement when making wraps or individual stuffed bell peppers.

I’m off to construct my costume for tomorrow. I hope you have a healthy, happy, and safe Halloween!
xo

Pumpkin Pie Overnight Oats

Congratulations to the winner of my Maranatha Giveaway: Ashley!
Be sure to check your email to claim your prize : )

Ahhhh tis the season of pumpkin and spices!
My favorite thing about overnight oats is that they’re so simple to make, and easy to grab and go in the morning. There is no cooking when it comes to ONOs, just combine everything, mix it up, and let it soak overnight while you get your beauty sleep! Then come morning time, you can quickly grab your jar of fully prepped oats amidst the morning madness and eat them on your way to work or while getting ready. There is no excuse for skipping breakfast when it’s already prepared for you! I loveeee eating them cold, right out of the fridge.

Pumpkin-Pie-Overnight-Oats
Pumpkin-Pie-Overnight-Oats-1
Pumpkin-Pie-Overnight-Oats-2
Pumpkin-Pie-Overnight-Oats-3

Pumpkin Pie Overnight Oats
Serves 1

1/2 cup unsweetened soy milk
1/4 cup rolled oats
1/4 cup canned pumpkin
1 Tbsp chia seeds
1/2 Tbsp pure maple syrup
1/2 tsp pumpkin pie spice (or 1/4 tsp cinnamon, 1/8 tsp ginger, and 1/8 tsp nutmeg)

Combine all ingredients in a jar and mix until fully combined. Place in the refrigerator overnight and enjoy in the morning with a spoon!
Note: Don’t like soy milk? You can use 1/2 cup of any milk of your choice! Nonfat dairy milk and unsweetened almond milk are great too.

The Rabbit Food Pyramid Breakdown
Produce: pumpkin
Whole Grain: rolled oats
Protein: soy milk
Plant Based Fat: chia seeds

Roasted Brussels Sprouts

Sorry for the lack of posts this week! I just arrived home from a wonderful wedding weekend in Kansas. I had the best time celebrating Jocelyn & Ryan and eating my way through Kansas and Missouri with new friends!

Jocelyn-&-Ryan
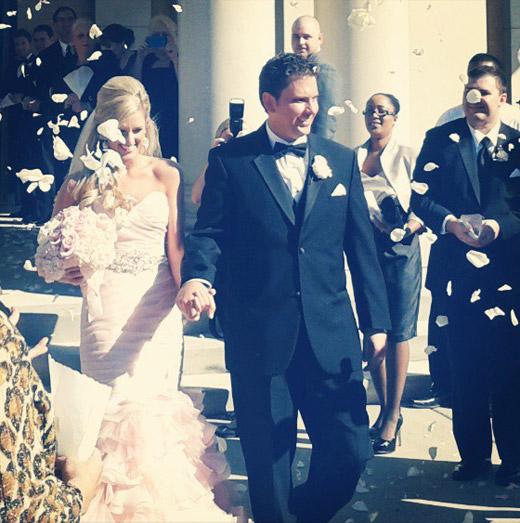
Congratulations to the blushing bride and groom! (Photo credit: Farfum)

Jocelyn-&-Ryan-Wedding
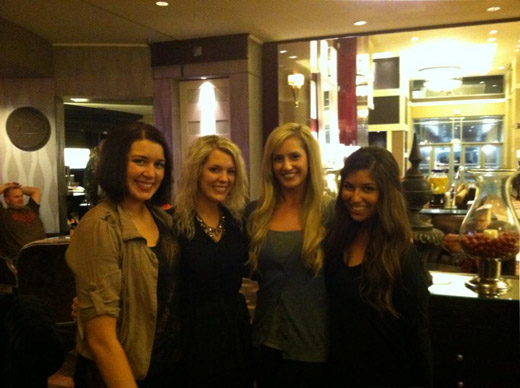
With Jocelyn and her gorgeous bridesmaids! Ashley, Nicole, Jocelyn, & me!

Jocelyn-&-Ryan-Wedding1
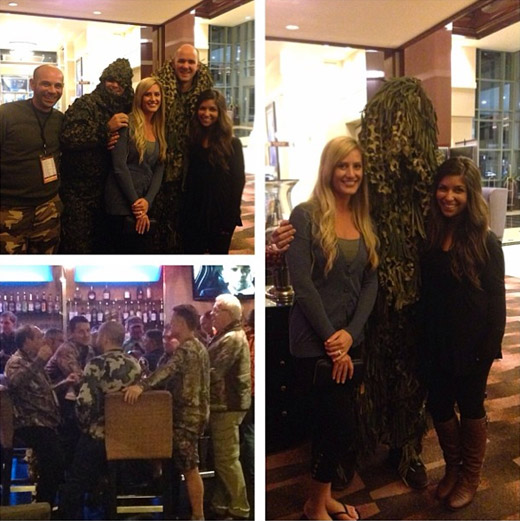
Highlight of the night before the wedding: getting photo-bombed by the camo convention at the bar! I want need a ghillie suit!

If you follow me on Instagram, you may have noticed one of my fav lunch spots: Zinc Cafe. My best friend Taryn and I ALWAYS get the roasted brussels sprouts when we’re there. We are completely hooked! The last time I was at Zinc I asked the chef what the Brussels sprouts were prepared with and he said “just a little olive oil, salt, and pepper!” I actually couldn’t believe it because they’re so flavorful, so I had to take to my own kitchen to recreate my fav lunch for you guys. The roasted Brussels Sprouts at Zinc are always chilled and tossed with cannellini beans, which is totally to die for. I decided to serve my roasted Brussels and beans over some fluffy quinoa to make this a perfectly portioned lunch or dinner for anyone following the Rabbit Food Pyramid guidelines for weight loss or maintenance!
Roasted-Brussels-Sprouts-7
Roasted-Brussels-Sprouts-6
Roasted-Brussels-Sprouts-1
Roasted-Brussels-Sprouts-2
Roasted-Brussels-Sprouts-3

Roasted Brussels Sprouts
Serves 1

2 cups Brussels sprouts, halved
1 Tbsp extra virgin olive oil
1/4 tsp ground sea salt
1/8 tsp ground black pepper

Preheat oven to 400 degrees. Cut brussels sprouts in half and coat with olive oil, salt, and pepper. Place the Brussels sprouts cut side down on a rimmed baking sheet and transfer to the oven. Bake for 25-30 minutes stirring occasionally (2-3 times) until browned and crispy. Remove from oven and serve immediately

Make it a Rabbit Food approved meal:
Serve Roasted Brussels Sprouts over
1/2 cup cooked cannellini beans
1/2 cup cooked quinoa

The Rabbit Food Pyramid Breakdown
Produce: Brussels sprouts
Whole Grain: quinoa
Protein: cannellini beans
Plant Based Fat: olive oil

Roasted-Brussels-Sprouts-4
Roasted-Brussels-Sprouts-5

Rabbit Food Pyramid Refresher

Today’s post is a little different than the norm. After reading a comment from a reacher: Stephanie, I noticed that I haven’t talked about the Rabbit Food Pyramid since I started my blog in 2012! Since I often have new readers, I think now would be a great time to re-introduce the rabbit food pyramid and how it works!

How it started:
After being on Nutrisystem for a few months and not liking the groggy lethargic feeling that overly processed shelf stable foods gave me, I branched out on my own to continue my weight loss journey. After reading numerous health and fitness magazines and articles by registered dietitians and nutrition experts, I experimented with different styles of eating and found what works for me. I quickly realized that drastic diets and cutting out food groups following “no-carb” or “fat-free” fads were not for me. It left me hangry (hungry and angry) all the time, which led to uncontrollable binging and even worse, a severe eating disorder of restrictive eating, and eventually bulimia and a brief stint with anorexia. As you can tell, food rules were a terrible idea for someone like me who has OCD perfectionist qualities.

Determined to lose weight the proper way this time, I educated myself on how to portion meals properly with balance. That meant carbs, fat, produce, and protein to keep my body nurtured and healthy. This is when the Rabbit Food Pyramid was born. I gathered the proper recommended* serving sizes of each food/food group into a huge list and divided them into four categories.

Weight loss using the Rabbit Food Pyramid: 4 small meals per day!

Breakfast:
1 serving of fruit
1 serving of whole grain
1 serving of protein
1 serving of plant based fat

Lunch:
2 servings of vegetables
1 serving of whole grain
1 serving of protein
1 serving of plant based fat

Dinner:
2 servings of vegetables
1 serving of whole grain
1 serving of protein
1 serving of plant based fat

Snack Meal:
1 serving of fruit
1 serving of whole grain
1 serving of protein
1 serving of plant based fat

Free Extras:
Spices! Anything from cinnamon to chipotle or even zero calorie natural sweeteners like Stevia.

Now that you know the formula for each meal, all you have to do is pick your food for each category! I’ve provided ideas and sample servings for each category here.
If you aren’t sure what the proper measurement is for a certain food, refer to the Rabbit Food Pyramid page to double check!

LET’S START WITH AN EASY BREAKFAST:
PB & Banana Toast

Breakfast:
Produce/Fruit: 1/2 sliced banana
Whole Grain: 1 slice whole wheat bread
Protein: 1 cup (8oz) of soy milk
Plant Based Fat: 1 Tbsp unsalted peanut butter
Free Extras: Sprinkle of cinnamon

Easy peasy! No calories, points, carbs, or macros required! Just balance from each food group!
NOW LETS GET TRICKY WITH A BREAKFAST RECIPE:

Whole Wheat French Toast

Breakfast Recipe: French Toast
Produce/Fruit:
 1 cup fresh raspberries
Whole Grain: 1 slice of whole wheat bread
Protein: 1/4 cup egg whites
Plant Based Fat: 2 Tbsp sliced almonds
Free Extras: 1/8 tsp cinnamon & 3 drops liquid stevia

Combine egg whites, cinnamon, and stevia in a bowl.  Soak the slice of bread in the egg mixture until it is absorbed. Place the bread in a pan lightly coated in cooking spray over medium heat. Pour excess egg mixture on top of the bread. Flip and cook both sides until the egg is no longer runny. Transfer to a plate and top with fresh raspberries and sliced almonds.

Maintenance:
To maintain my weight, I learned that adding one additional snack meal or protein shake per day worked perfectly for me. Of course it took some trial and error to figure out what worked for me!

I hope that this breakdown of the Rabbit Food Pyramid helps you to better understand the way that I portion my meals and create recipes!
Health & Happiness xo
Catherine

Let me know if this was helpful or if you have any questions about the Rabbit Food Pyramid!

*What works for me, might not work for everyone. The suggested serving sized are based on my own personal experience. Everyone is built differently, so if you are taller or heavier than my starting weight, you may need another small meal in your diet to fit your nutrition needs. Please consult a doctor before making any changes to your diet. This is only a suggestion based on my personal experience.

Portobello Pizza

Hoppy Monday all!
Last week I had the opportunity to attend the Bard Valley Natural Delights Medjool Date Summit in yuma, AZ! I had incredible time learning about the harvesting process and taste testing delectable recipes that I MUST share with you guys! I also met some new friends that I already miss since departing on Friday! Wahhhh. I’ll be giving you guys a full rundown of the blogger summit later this week. I cannot wait to tell you about my trip!

Today’s recipe is a Portobello Mushroom Pizza!
Loaded with veggies, this pizza is low-carb, gluten-free, and super filling!
Bon Appétit!
Portobello Pizza 10
Portobello Pizza 9
Portobello Pizza 1
Portobello Pizza 2
Portobello Pizza 3
Portobello Pizza 4
Portobello Pizza 5
Portobello Pizza 6
Portobello Pizza 7
Portobello Pizza
Serves 1

2 large portobello mushrooms
1 tomato
1/4 cup reduced fat mozzarella cheese
1/4 cup chopped onion
1 Tbsp olive oil
1 tsp lemon juice
1/2 tsp minced garlic
pinch of salt
pinch of pepper

Preheat oven to 400 degrees. Chop onion and mince garlic. Pour olive oil into a saucepan over medium high heat and add onions and garlic. Cook onions and garlic until they are slightly browned. Dice tomato and add to the saucepan along with salt, pepper, and lemon juice. Bring the sauce to a simmer and cook for 3-5 minutes. Remove gills from the portobello mushrooms by scraping with a spoon. Place portobellos on a baking sheet coated with nonstick cooking spray. Pour the sauce into each portobello and top with cheese. Bake for 12 minutes. After 12 minutes, set oven to broil for 30 seconds to 1 minute to brown the cheese. Remove from the oven and enjoy!
Tip: I suggest lining your baking sheet with foil and coating the foil with nonstick cooking spray for an easier cleanup. The portobello mushrooms tend to get pretty juicy will cooking!

In a hurry? You can always use organic tomato sauce in place of the homemade sauce! I would recommend about 2 Tbps of store-bought sauce per portobello pizza.

Vegan? Use a vegan cheese substitute such as Daiya Mozzarella Style Shreds!

Portobello Pizza 8
The Rabbit Food Pyramid Breakdown
Produce: portobello mushrooms, tomato, onion, garlic
Whole Grain: none
Protein: reduced fat mozzarella cheese
Plant Based Fat: olive oil

1 2 3 4 5 9