


Thank you SOOOOOOO much for your love and support on my comeback post, bunnies! I am so overwhelmed and humbled by your positive responses. Believe it or not, I have read every single comment, all 381.
Over years of having this blog, I started to slowly become known as a weight loss success story throughout the internet. Most of you even wrote in your comments that you found my blog on Pinterest because of my before and after photo. Being a health food blogger/weight loss success story, your body becomes a huge source of inspiration for others. And when it starts turning back into that before picture, you start feeling like your credibility and career are on the line. This is exactly what was happening in my head those months while I was away from my blog. I sat at home ashamed for letting myself get back to where I had started, for not maintaining my after image that you all know. I put all of my worth into that silly old after photo. I started turning down speaking engagements and blogger summits because I was embarrassed of what I looked like. I thought that if people met me and I wasn’t “skinny” like my after photo anymore, they would… I don’t know, I don’t even know what I really thought. That they would turn me away? Think less of me? I guess deep down I thought people would think I was a fraud. It took me until now and your incredibly kind words and comments to realize that I’m just human, and like SO MANY OF YOU I struggle with my weight.
When I first started my lifestyle change I thought I had this whole healthy eating thing down and that I would never ever go back to the “old me” — my after photo, but my friend Kathy (Healthy Happy Life) recently reminded me that “there’s never an after photo.” I got out my phone and had to write this down in my notes because it hit me like a ton of bricks at that moment. We are never an after photo, we are constantly changing. If anything, my after photo is just a snapshot of that moment, a bit of progress, but ultimately a part of my journey, not a final after photo. I placed so much of my worth on that after photo and feel like I missed out on so many HUGE opportunities because I was embarrassed and ashamed of gaining weight back. Now that… that is the only thing I should be ashamed of. I’m proud of myself for writing that last blog post. It feels like a weight was lifted off of my chest and I can finally breathe. So long story short, thank you for being a part of this crazy journey. Thank you for still coming back to my blog even when I didn’t believe in myself. Thank you for laughing and crying with me. Thank you for your inspiring comments. Thank you to everyone who used Taylor Swift lyrics in your previous comments (huge fan!). And thank you for your honesty and for sharing your stories with me and my other readers. YOU inspire me! I’m so excited for 2016 with my bunnies!
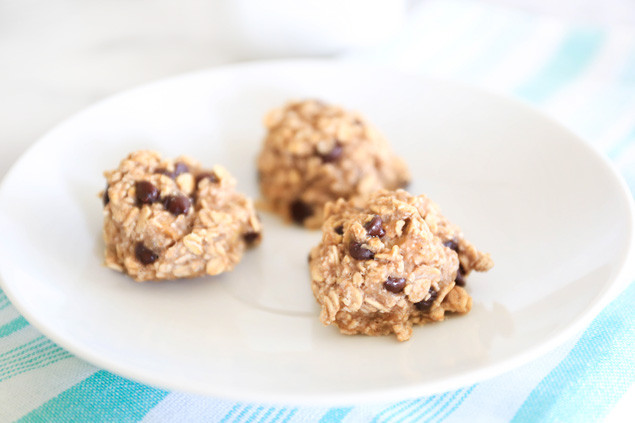
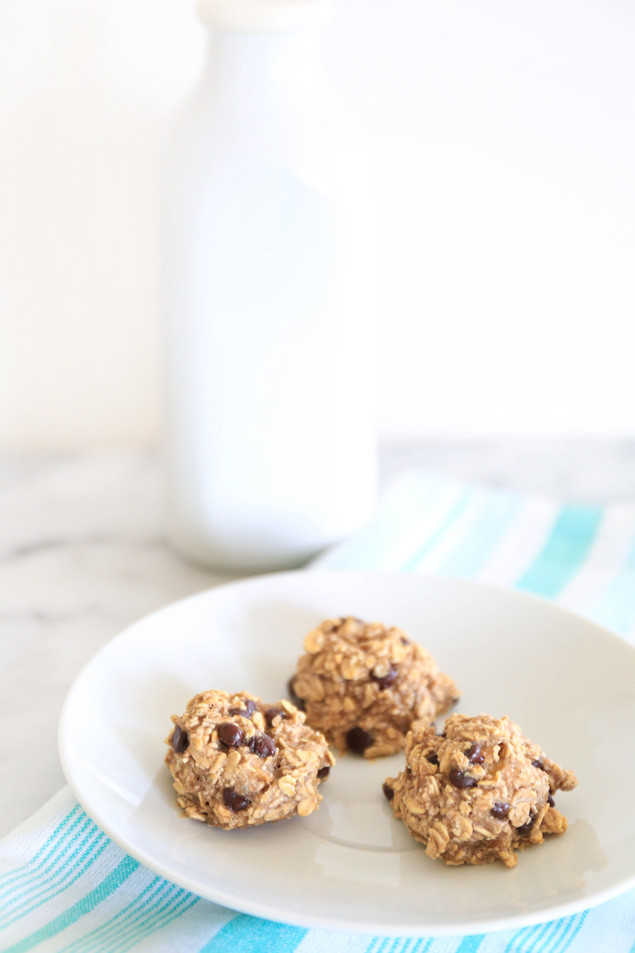
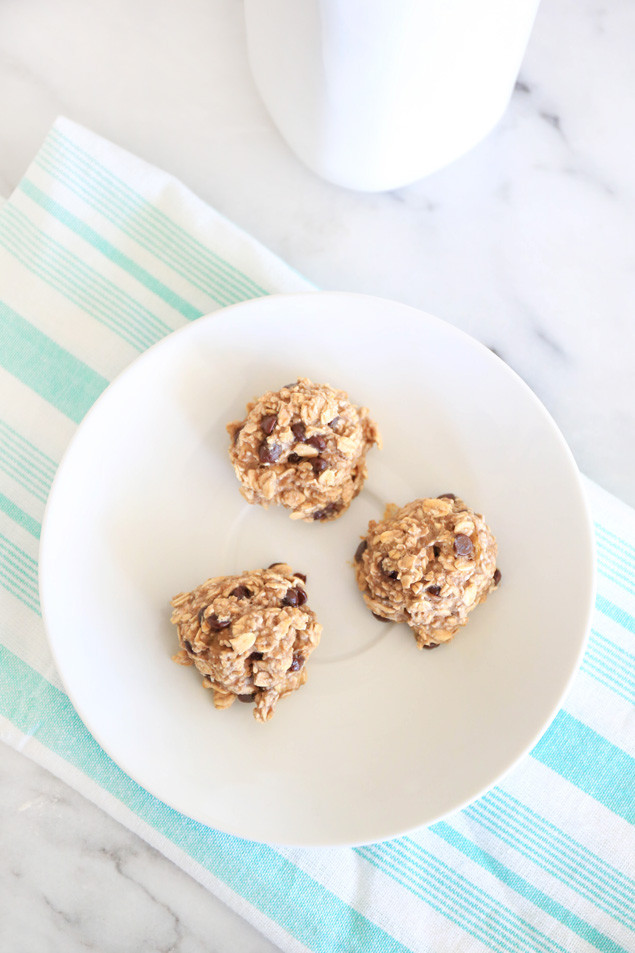
In the new year I want to slightly rebrand, take some new “promo” photos, and add in some more lifestyle posts. But first, I want to start the year off by getting back on track with you guys. I am serious about what I said in my last post about getting back on the wagon and I want to lose weight again and do it with you guys — anyone who wants to join. I am currently in Jackson Hole, Wyoming for New Years with Matt and my friends Brett and Michael, but when I get home, it’s time to shed our fur coats, bunnies! My thoughts are to start with the Skinny Bunny Cleanse (Skinny Bunny Cleanse Revisited). It’s a 5 day whole food cleanse. No juices, starving, calorie counting, or any of that nonsense. You get to eat actual food! It’s hard to start any lifestyle change or diet, but that’s why we are all going to do this together! Support support support! Each day, or at the end of each week I want to post all of my meals and keep a diary of how I felt throughout the day and how my hunger/energy levels were. We’ve got this!
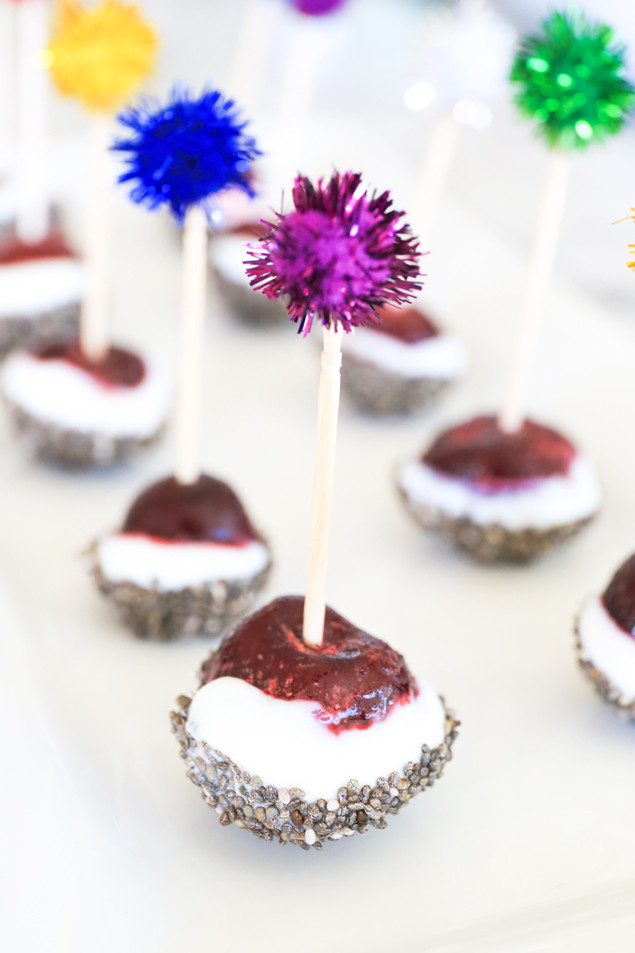
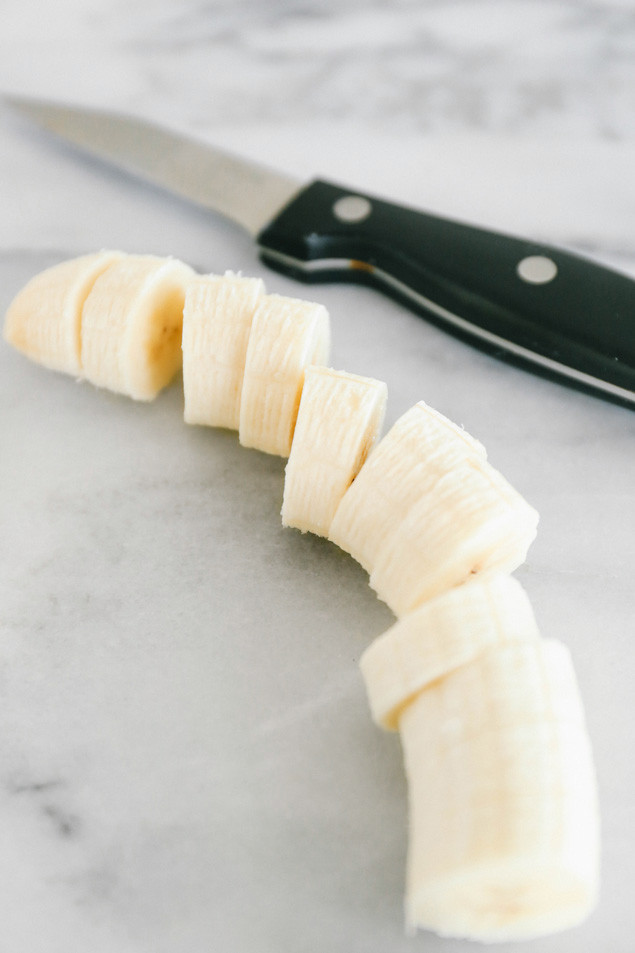
Today I have a cute NYE snack recipe. It’s inspired by one of my fav blog’s Fashion Lush’s Grape & Chia Poppers. I named these little cuties Ch ch ch ch ch ch Cherry Bombs, and now I can’t stop singing “Cherry Bomb” by The Runaways. Oh, and I’ve also included a little DIY for these adorable sparkly pom pom toothpicks.
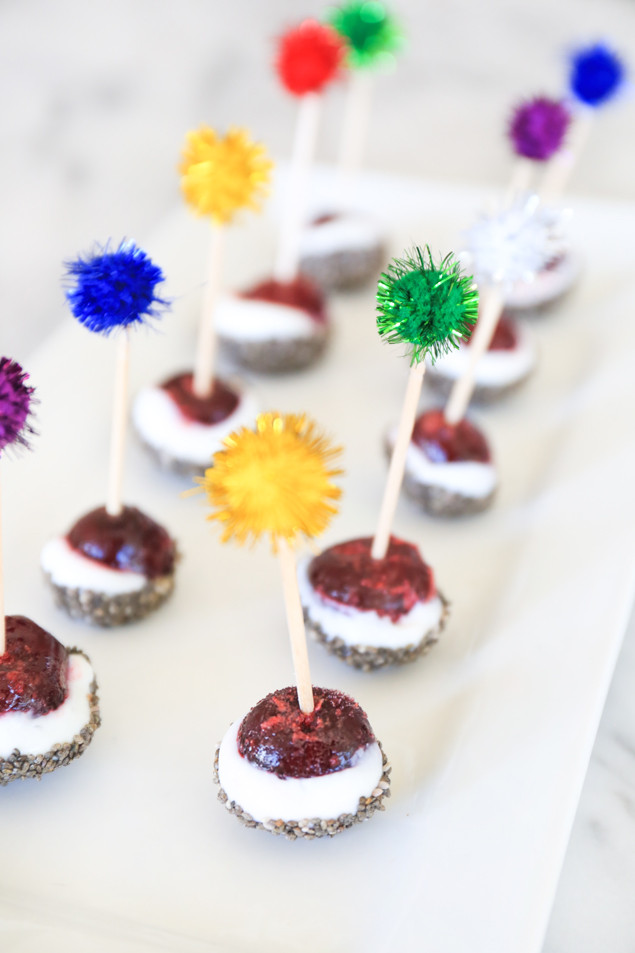
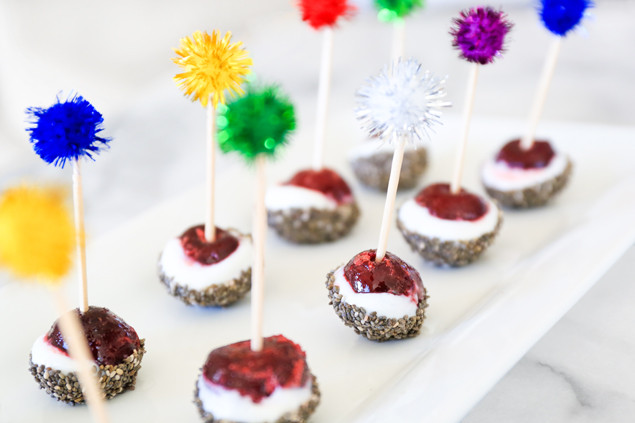
 Ch ch ch ch ch ch Cherry Bombs!
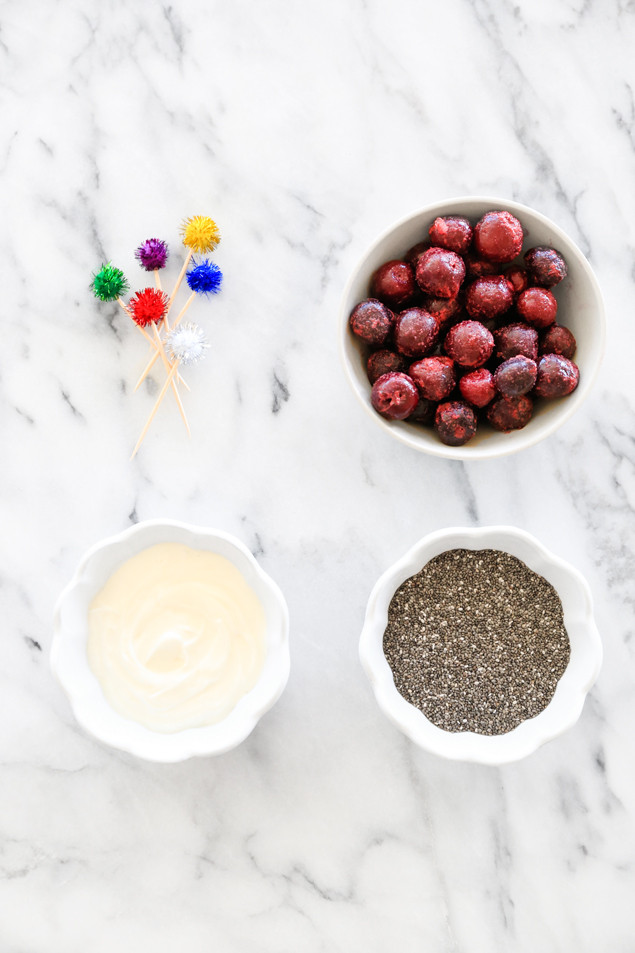
Frozen pitted dark sweet cherries
Greek yogurt (I used Vanilla)
Chia seeds
Toothpicks
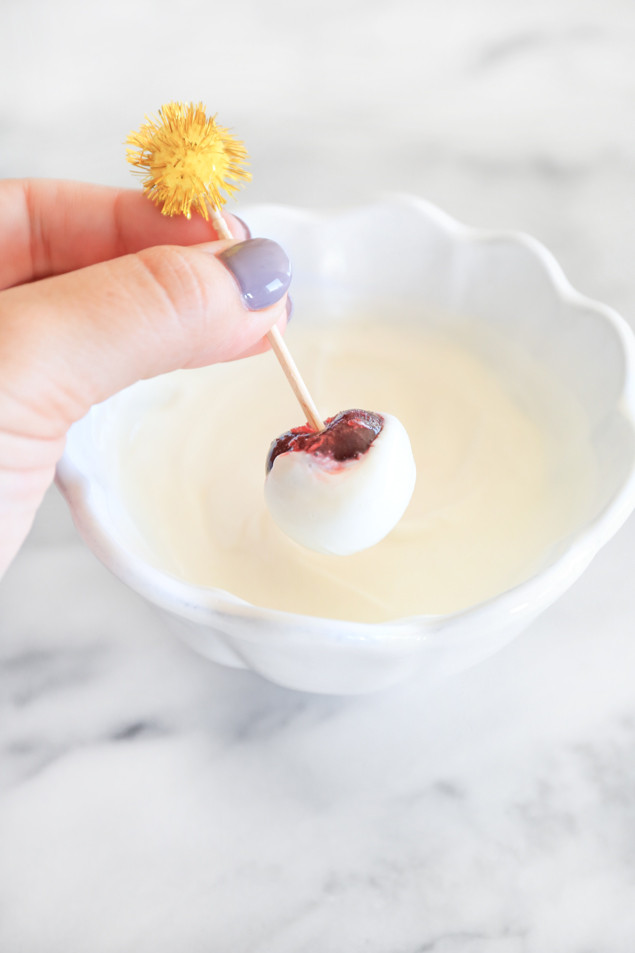
1. Place a toothpick in each frozen cherry.
2. Dip each cherry in Greek yogurt.
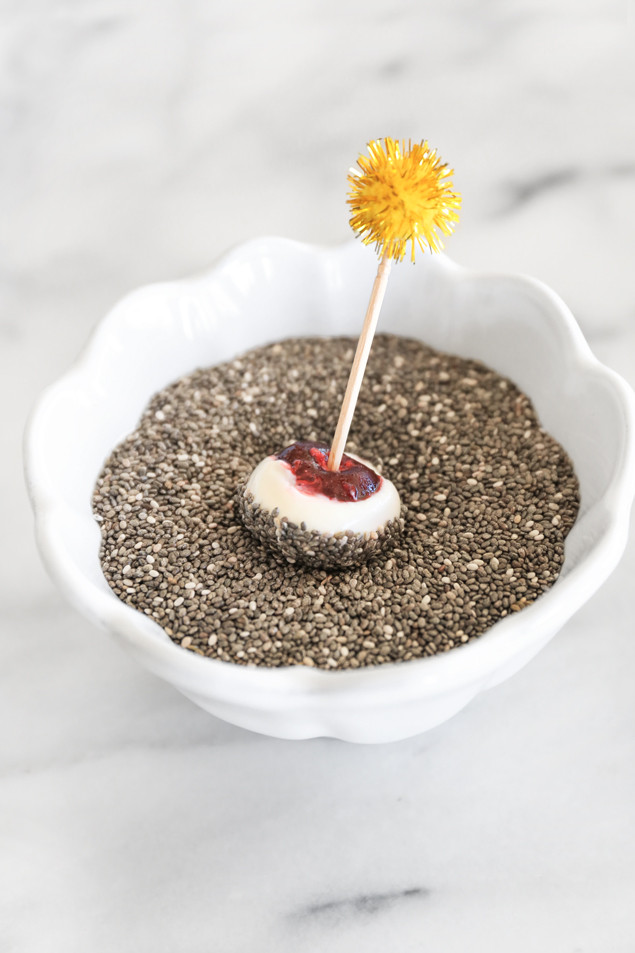
3. Dip the Greek yogurt covered cherries in chia seeds.
4. Freeze for a few hours or overnight in a freezer safe container and enjoy as a snack.

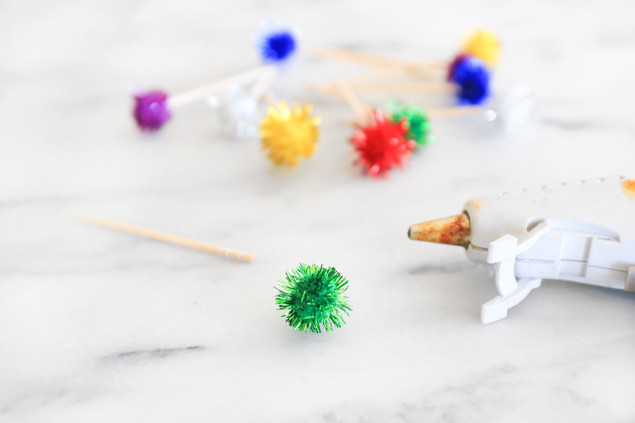
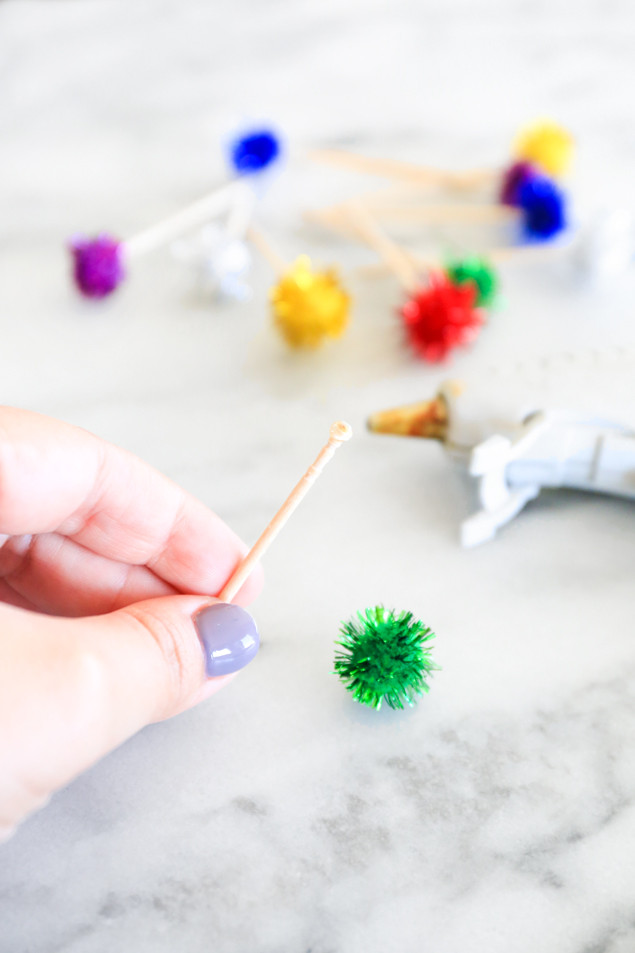
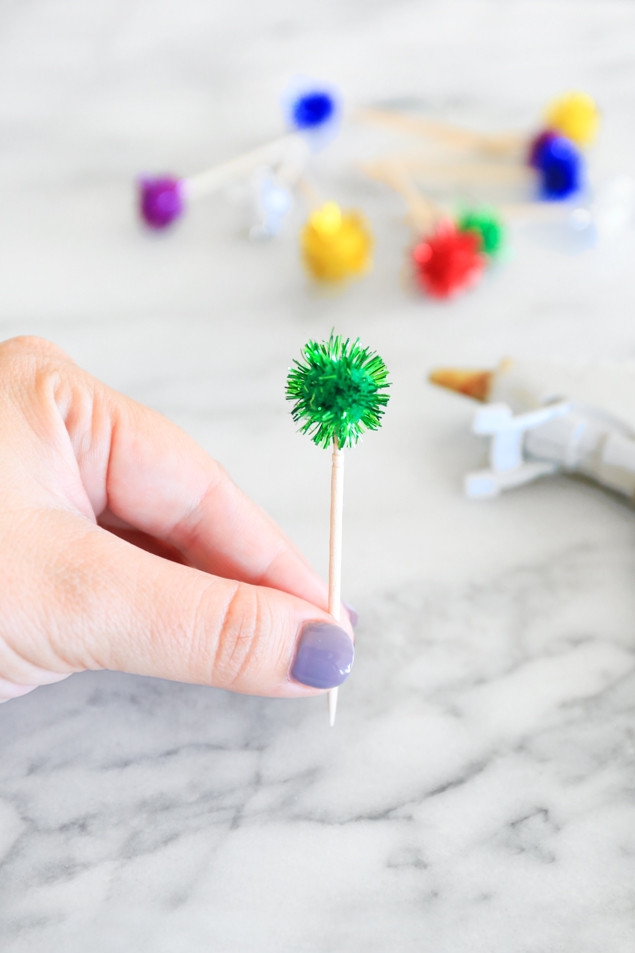
Sparkly Pom Pom Toothpick DIY
Sparkly pom poms
Toothpicks
Glue gun
Place a dot of glue on the top of a toothpick and place the pom pom at the top. Done!
 I am hosting a Facebook chat this Thursday, June 11 at 5pm PDT (8pm EST!) on the


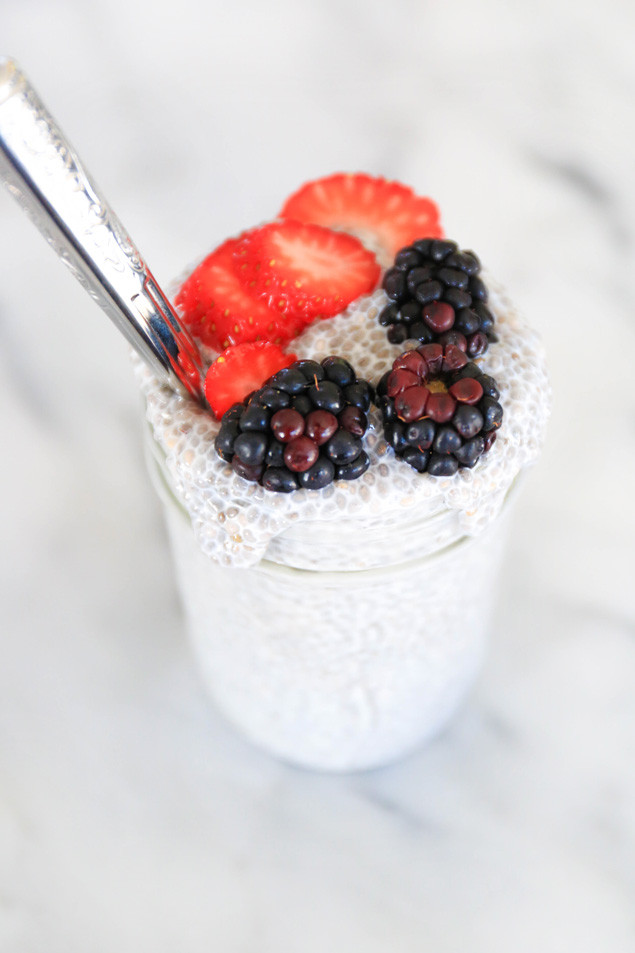
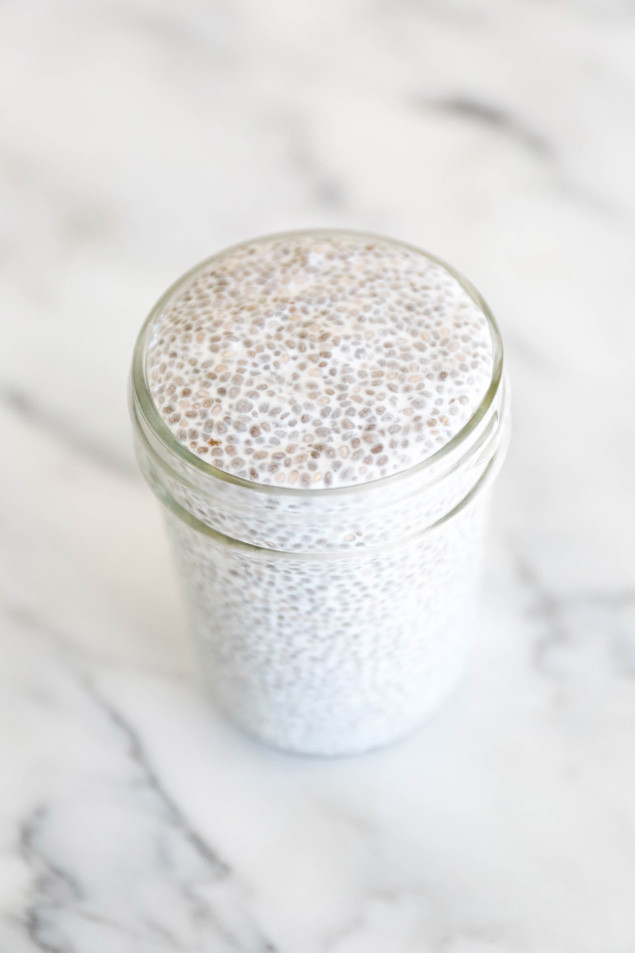
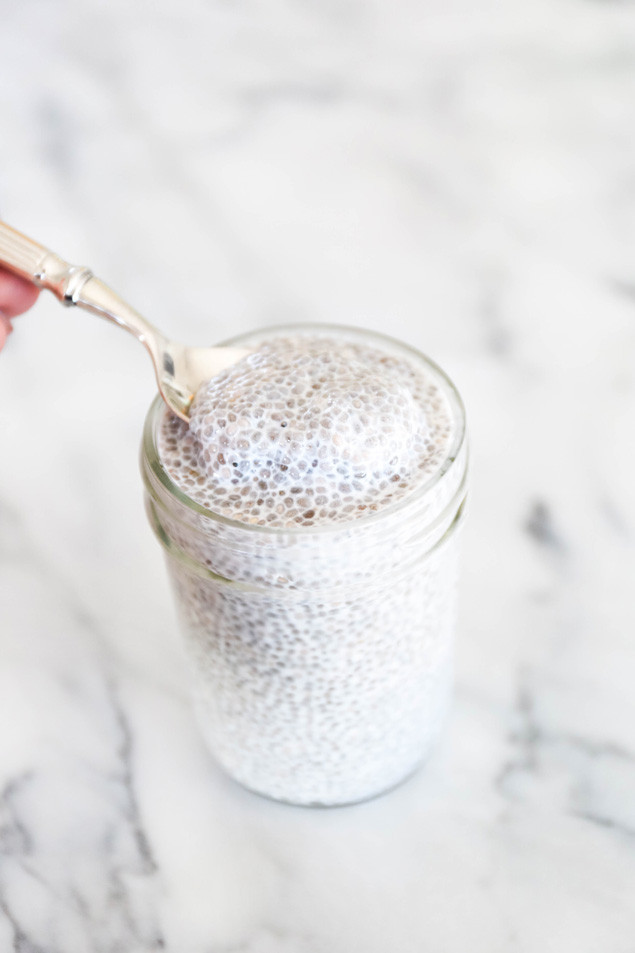
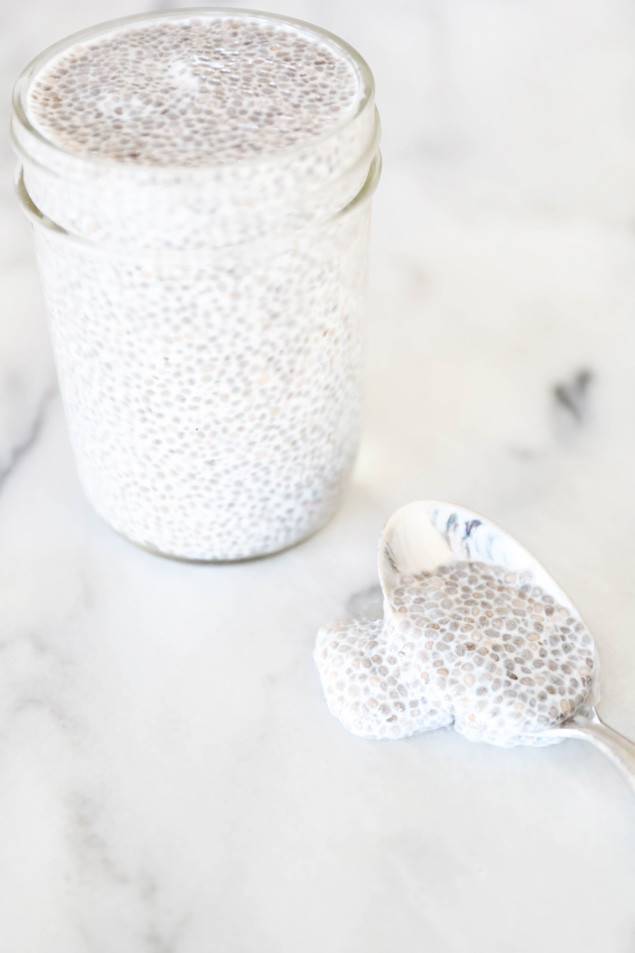
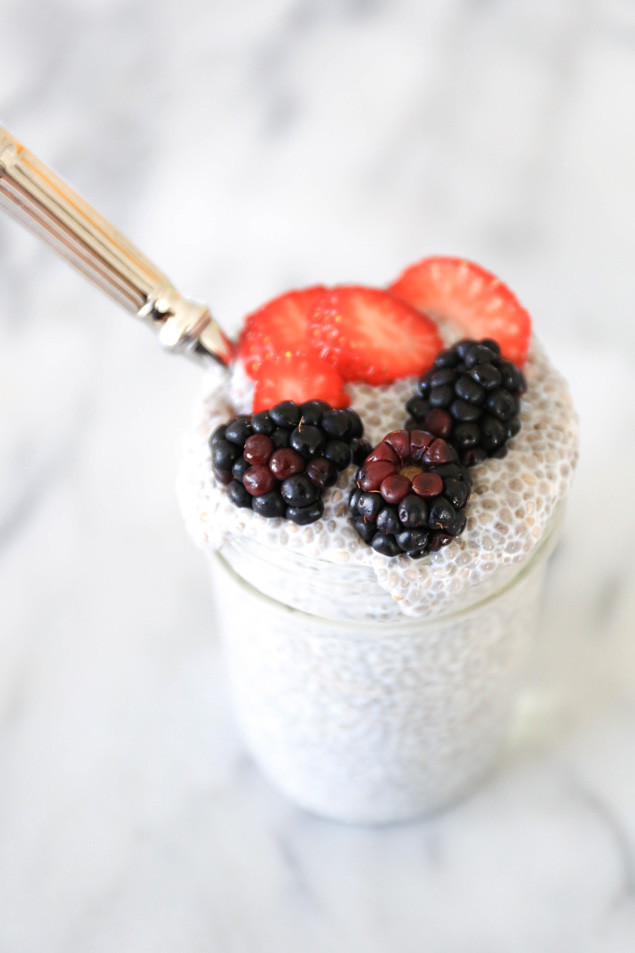
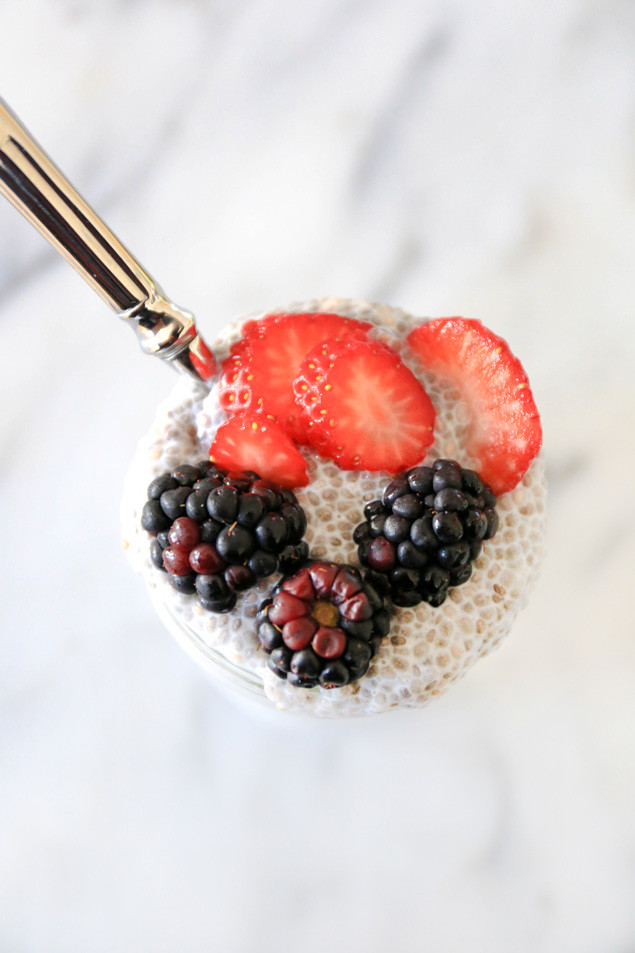 Coconut Chia Pudding