Valentine’s day is just around the corner. You’re probably imagining a romantic day filled with love, teddy bears, flowers and chocolate. That’s right, mouth watering, stomach ache inducing amounts of chocolate. Americans will purchase around 58 million pounds of chocolate during the days leading up to V-day. Oh my goji, that’s a lot of chocolate! Instead of going the traditional route of store bought truffles in heart shaped boxes, branch out and make something healthy and delish!
These gluten-free, dairy-free, soy-free, vegan bite-sized treats provide healthy plant-based fats, natural sugars, macronutrients, and tons of flavor that will satisfy your sweet tooth, give you a little burst of energy, and keep you away from the truffles! Oh, and did I mention… No baking required?!
If you’re short on time, skip the filling and just make the outer cookies for a fun dessert!
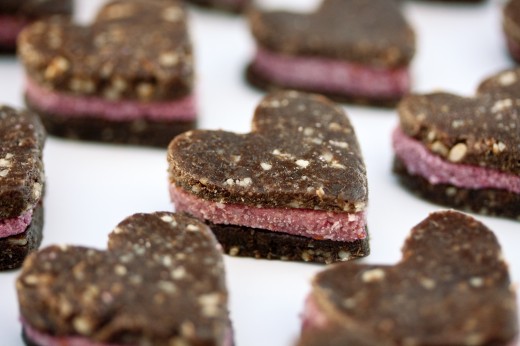
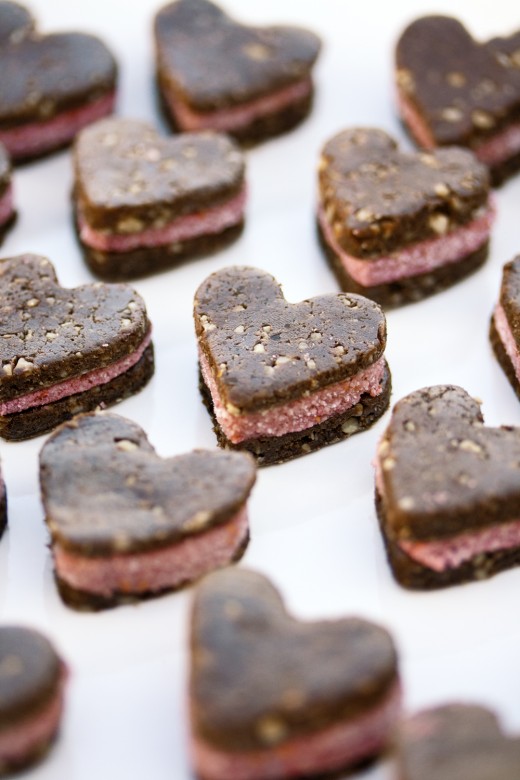
Valentines Day Cookie Sandwiches
Makes about 24 one inch heart shaped sandwiches
1 cup pitted Medjool dates (pitted)
1/2 cup unsalted sunflower seeds
1/2 cup walnuts
3 Tbsp raw cacao powder (or 4 Tbsp cocoa powder)
1/2 tbsp pure vanilla extract
Filling:
1/2 cup raspberries
2 Tbsp coconut flour
1 Tbsp coconut oil
1 Tbsp honey or agave
1 tsp vanilla
Blend the sunflower seeds and walnuts in a food processor until finely ground but not a nut butter consistency. Add the cacao powder and vanilla extract and blend again until mixed evenly. Remove pits from dates. Add the the dates and process until a dough like mixture is formed. You should be able to sculpt the dough without crumbling. Remove the dough from the food processor and transfer onto a large piece of wax paper. Cover the top of the dough with wax paper, and flatten with a rolling pin. Place the flattened dough in the freezer (with both sheets of wax paper) while you make the filling. For the filling, combine raspberries, coconut flour, coconut oil, honey, and vanilla in a food processor and blend until smooth. Transfer the filling mixture onto a large piece of wax paper. Cover the top with another piece of wax paper and use a rolling pin to flatten. Transfer the filling (with wax paper) to the freezer. While the filling is setting, remove the outer dough from the freezer and remove the top layer of wax paper. Using a 1 inch heart shaped cookie cutter, cut the dough into hearts. Remove the filling from the freezer and remove the top layer of wax paper. Using the cookie cutter, cut the filling into hearts. Place one heart of filling over one cookie heart, and top with another cookie heart to form a sandwich. Store in the freezer until served.
Note: I used frozen raspberries in the filling to expedite the setting process.


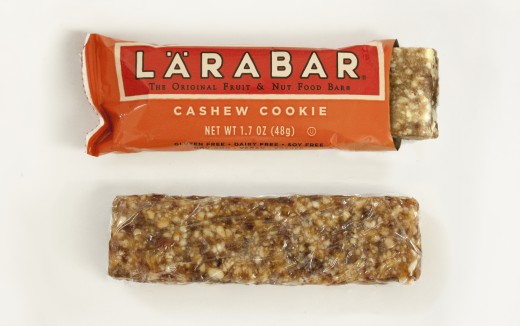
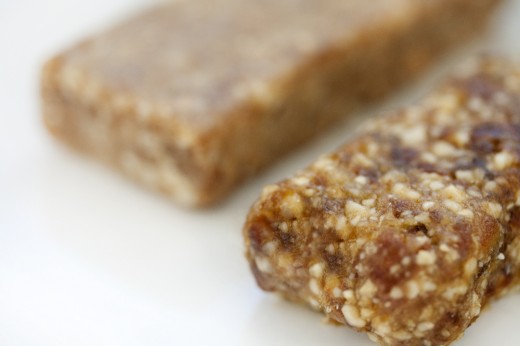 Cashew Cookie Larabars
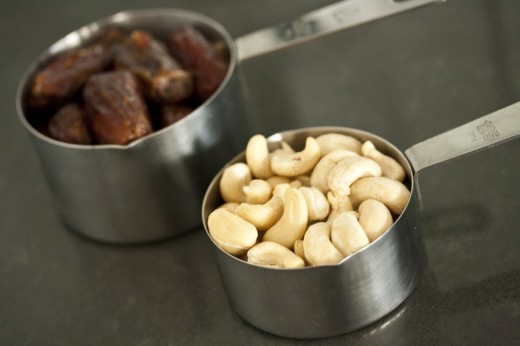 Pulse…
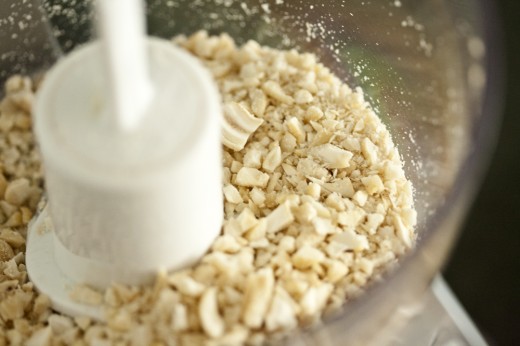 Blend…
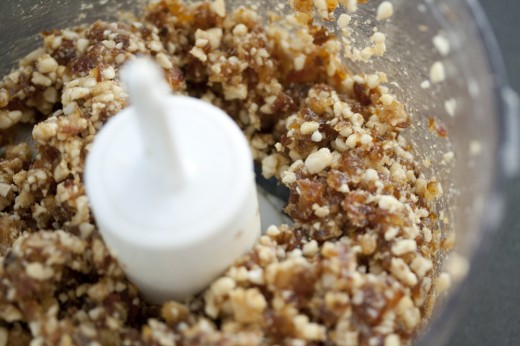 Roll…
Roll…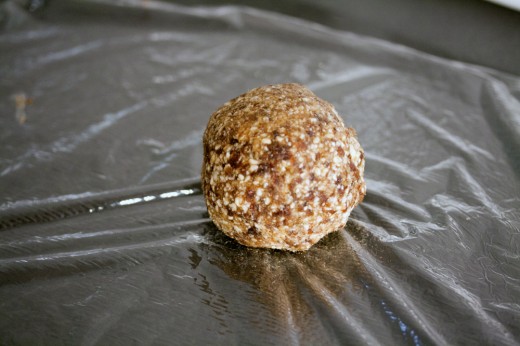 Flatten…
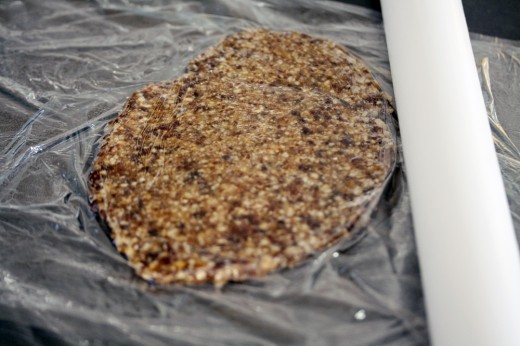 Cut…
Cut…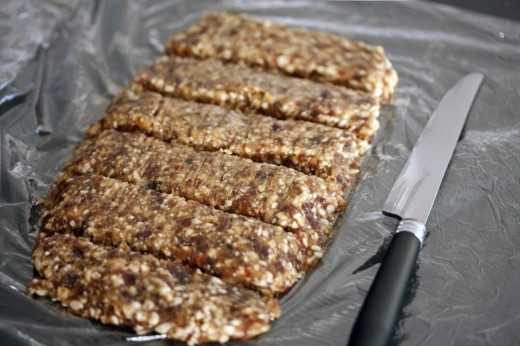 Wrap…
Wrap…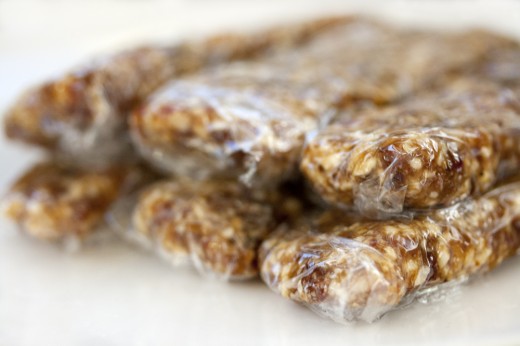 …Enjoy!