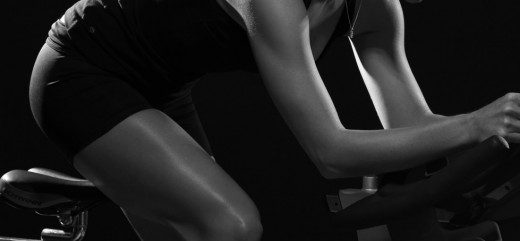
Spinning is definitely no ride in the park but all that pedaling will work the quads, hamstrings, glutes, calves, and core and give you a total calorie burn anywhere from 400 calories and up! Good news for anyone with joint issues, indoor cycling keeps impact on the joints to a minimum.
I’ve been totally addicted to spin class at Full Psycle recently! Once I powered myself through my first class I was absolutely hooked. Since some of you guys have been asking me questions about spin class on Instagram, I thought I would share what I’ve learned so far. I’m no expert, but I hope that these tips will make spinning seem a little less intimidating and maybe inspire you to try a class! I mean, it’s just a stationary bike… how terrible could it be?! haha.
CATHERINE’S QUICK TIPS
Reserve a bike before class: Spin class popularity is on the rise, so make sure to call or reserve a bike online beforehand if your studio requires it.
Don’t sit in the very back row: I know, we’re all tempted to snag a bike in the very back row our first time, but if you sit towards the front (second row) you will be able to watch the instructor and veterans. Its often helpful to watch a pro and use them as a guide.
Don’t go faster than the veterans: If your legs are going faster than the veterans or instructor, you probably don’t have enough intensity and you’re not doing yourself any favors. When your instructor says “give it your all” or “go go go” think of it as intensity, not leg speed.
Kick your heals out with some force to unclip from the pedals: I saw a girl a few days ago take her feet out of the shoes and leave them on the pedals after class! No need to do that haha, unclipping is easy!
Bring water: Seriously, I drank an entire 1 liter bottle of Smart Water my first class!
If you have a Heart Rate Monitor Watch: BRING IT! You will be so motivated and inspired by your endurance and the amount of calories you burn!
 (source: Full Psycle)
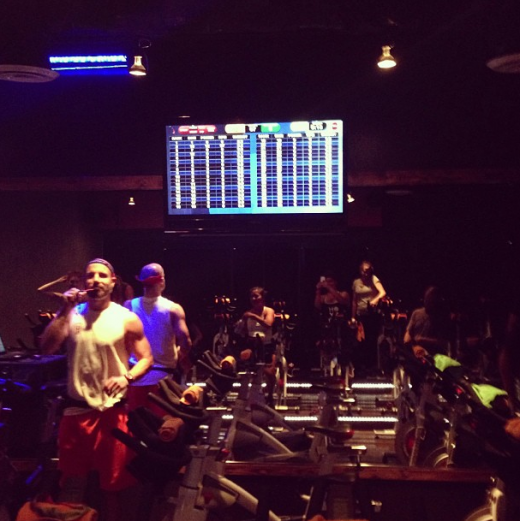
What to expect: Expect a vigorous workout! You will burn upward of 400 or more calories per 45 minute class. Every class is different, but you’re going to get a hardcore workout no matter what. For those of you who say “I never sweat,” you will!
Don’t be intimidated: Yes, there will probably be some seasoned pros in your class, but there will also be some newbies and people of all different ages, sizes, and level! Spinning is less intimidating than you may think.
Don’t let the fear of the unknown stop you from trying an awesome workout! Remember that anything new is always scary. It’s just spinning!
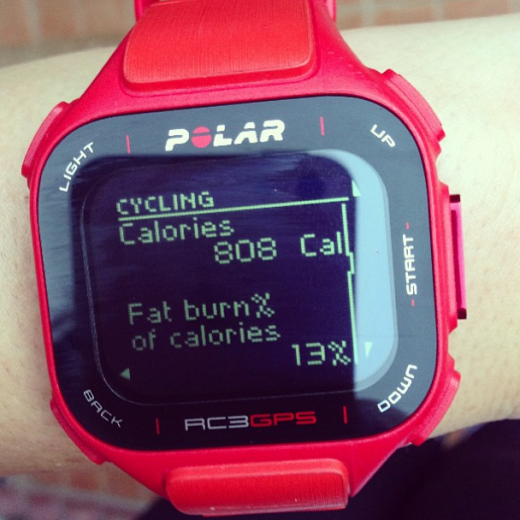 My new PR calorie burn from Spin class at Full Psycle!
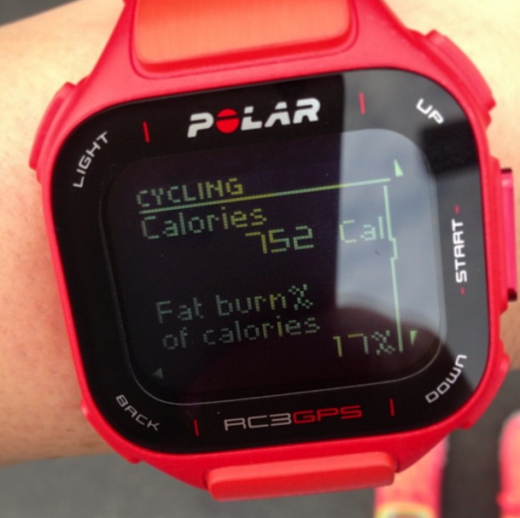 Polar sent me their new Polar RC3 GPS to review, and I am so obsessed with it. Aside from the clips I have been wearing to class, this is one of the biggest reasons I am so addicted to spin. You can watch your progress and see your exact calorie burn, minimum, average, and maximum heart rate, distance, and more! I’ve been wearing the heart rate monitor to class and it has been life changing you guys! I will be doing a full review on this watch and it’s functions in a couple of weeks!
THE ATTIRE:
Suit up: You will definitely work up a sweat, so throw on some moisture-wicking clothes to keep cool and dry.
Girls: I recommend crops and a fitted tank that’s tight so you don’t have a lot of extra fabric. Oh, and it can’t hurt your ride to put on something you feel confident in!
Guys: Shorts and a tank. A lot of guys end up without shirts by the end of class because it can get pretty hot in the studio.
Thoughts on padded bike shorts: The saddle can be an issue for some people and I’ll admit, the seats can definitely take some getting used to, but my advice would be to take the class in your normal workout gear and see what you think before buying cycling shorts. I don’t think padded cycling shorts are 100% necessary since you do spend a good amount of time out of the saddle, but it’s all about preference. If it makes you more comfortable, go for it!
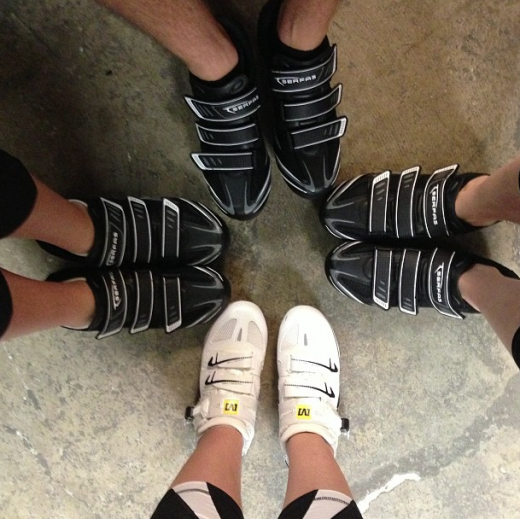
Shoes matter: Make sure to call ahead or look at the FAQ online to see if your shoes are okay for class. In most cycling classes normal athletic kicks are just fine, but in others, cycling shoes are required.
My two cents on cycling shoes: I suggest finding a studio that has cycling shoes to rent, because with cycling shoes the feet are connected to the pedals much more securely. “Clips” as they’re called, can also make you more comfortable on the bike, give you more power, and allow you to get more integration of muscles in the legs for an overall better workout.
WHAT TO BRING
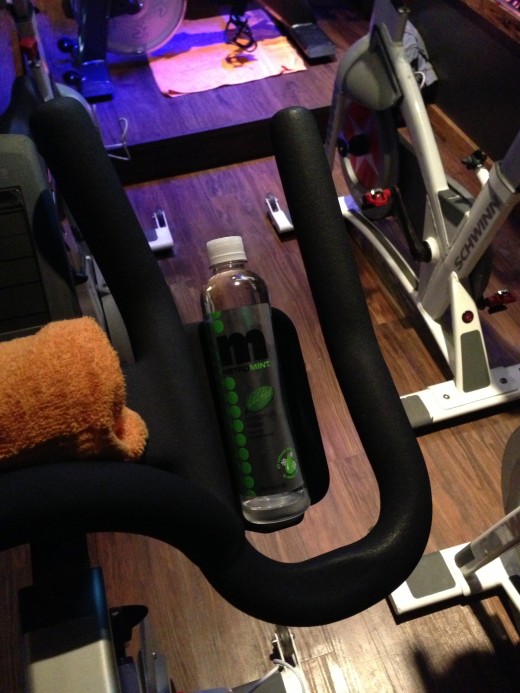
Towel: Bring a towel if your studio doesn’t provide them and keep it draped over the handlebars for easy access.
Water Bottle: You are definitely going to want a big bottle of water nearby! Swigging water is encouraged mid-ride to stay hydrated, although the spin n’ sip may take some coordination haha. Sport cap bottles are suggested.
BEFORE YOU ARRIVE
Eats: It’s important to feel like Goldilocks before class. You know… not to be too full and not too hungry.
Hydration: Stay well hydrated before, during and after class! You know you are properly hydrated if you are not feeling thirsty. Probably a good idea to use the restroom before class too!
Arrive 15 minutes before class begins, especially if it’s your first time. You will probably have to sing a waiver and it takes a few minutes to get properly situated on your bike.
IN CLASS
Bike setup is key to a great ride: Don’t be afraid to ask your instructor for help setting you up on the bike. It’s the best way to prevent unnecessary discomfort and injuries!
Resistance: There are no real gears to change, but there is a resistance knob (or computer screen in some cases). There should always be some resistance on the pedals. It takes a few classes to get familiar with the right amount of resistance for you, but you’ll get the hang of it.
Don’t give up: If you start to feel exhausted or overwhelmed, just sit down in the saddle, take the tension down, and continue to peddle through the end of the class if you can. You’ll be prouder of yourself for enduring the class than walking out! Give yourself permission to build into this activity and you’ll find that you enjoy it more each time.
AFTER CLASS
Stretch: Take full advantage of stretching those legs to keep tightness and injuries to a minimum.
Eat: It may seem a little counterintuitive, but immediately after your workout is the best time of day to eat. Try to eat a high protein meal right away, because your body’s ability to refill muscle energy stores decreases by 50 percent if you wait to eat just 2 hours after your workout! Everyone loves an incentive to eat, right?!
Hydrate: Drink plenty of water and stay well hydrated following your workout.
Indoor cycling puts things in full gear with its awesome tunes, control over resistance and speed, and overall intensity. Hop on to the nearest bike and give this class a go!
Do you have any additional tips for first time spinners or a story about your first class? I would love to hear about it!