vegetables

Juice Pulp Crackers

Hi everybunny!

I hope you guys are having a great week so far!
I wanted to start by saying THANK YOU for your support with my last post. There are so many times that I struggle with body image and/or eating and just want to crawl into my bed and lock myself in my room because I’m ashamed, upset, and flat-out sad… but time and time again you guys have shown me that I am most definitely not alone, and have nothing to be embarrassed about. Your comments were so empowering and I appreciate your vulnerability and honesty. You are all so strong and seriously beautiful writers! I love you guys so much. My readers make me so incredibly happy each and every day. Expect a giveaway this week, to show my love and appreciation!

So I just found out this week that my “advertise” contact form has not been working. Ahhhh! This is the WORST! I apologize to anyone who has messaged me in the past few weeks and not gotten a response. I feel so unprofessional and cannot even imagine how rude people must think I am. I am working with my web host to get my contact form working again. In the meantime, if you have a professional inquiry please email me at: Screen Shot 2013-11-18 at 11.12.39 PM.

I also wanted to say sorry for being MIA last week! I was in Texas for a wedding and then in Arizona visiting my friends at Natural Delights and judged the recipe contest at the 2nd Annual Yuma Medjool Date Festival! There will definitely be some new Medjool date recipes coming up and possibly a giveaway for you guys!

Finally, here is the recipe I promised!
Sorry for the delay : ( and thank you for your patience!

Juice-Pulp-Crackers-8

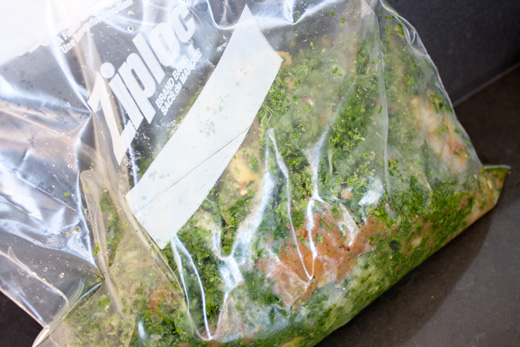
Don’t you hate seeing food or nutrients go to waste?

Although most of us use juice pulp for compost or unfortunately throw it away… many people don’t realize that they are leaving behind all of the great fiber that the fruits’ and veggies’ skins contain.

Fiber serves a very important role in our diet. When eating whole fruits and vegetables, the natural fiber helps to slow down the process in which the body breaks down and releases sugar, which prevents blood sugar from spiking and crashing. Fiber can also help you feel fuller longer and keeps your digestive system running smoothly and efficiently.

Bottom line, there is value in this often-neglected pulp!

Next time you make a juice, think twice before tossing the pulp!
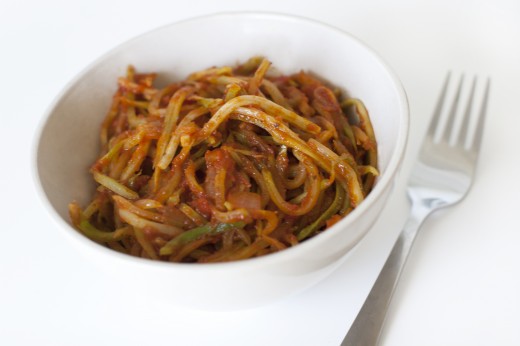
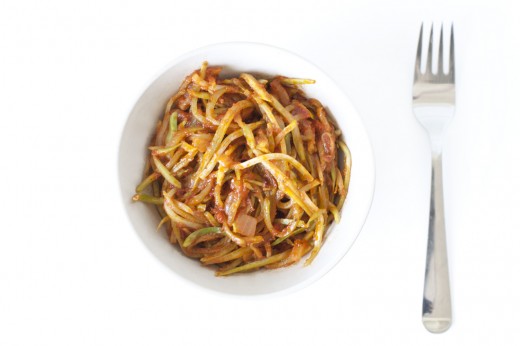
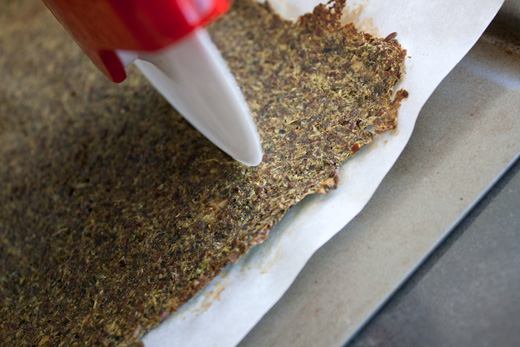
It’s easy to transfer your fibrous juice pulp into hearty and delicious Juice Pulp Crackers.

Juice-Pulp-Crackers-9
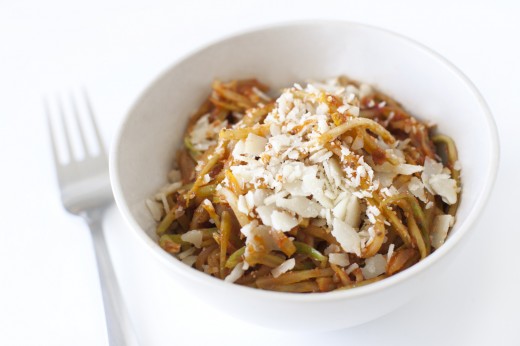
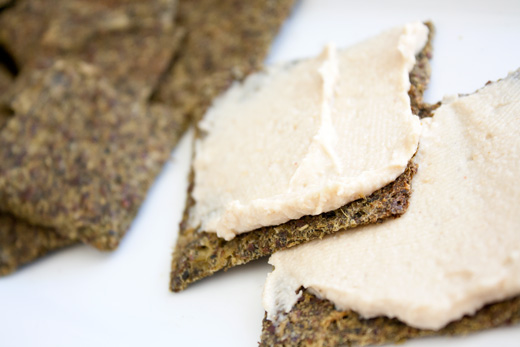
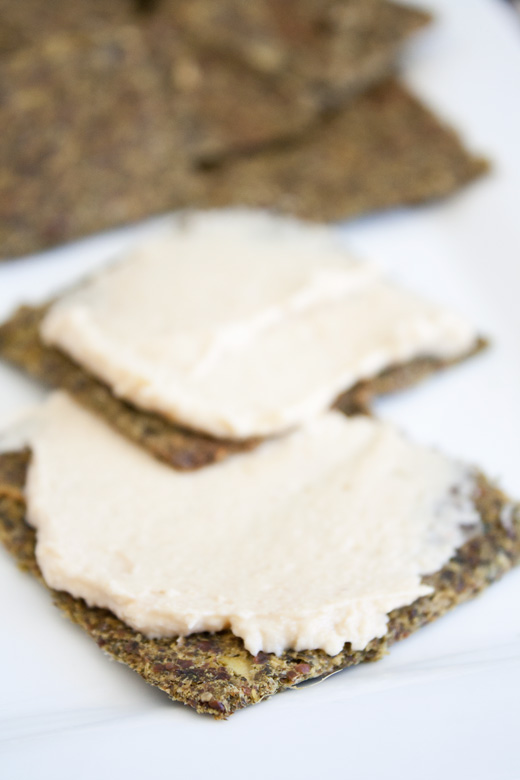
I love slathering hummus on my Juice Pulp Crackers!
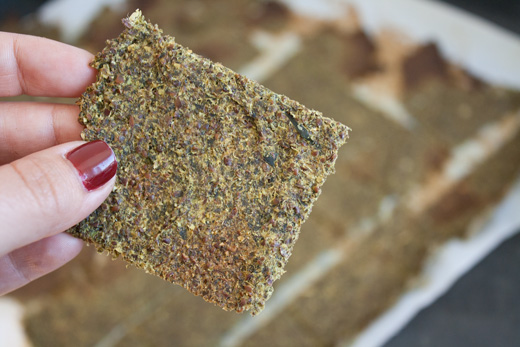
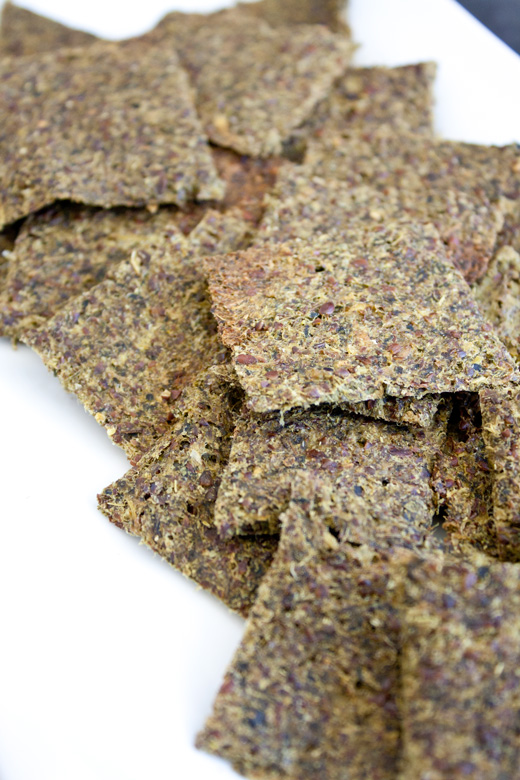
Juice-Pulp-Crackers-10
Juice-Pulp-Crackers-1
Juice-Pulp-Crackers-2
Juice-Pulp-Crackers-3
Juice-Pulp-Crackers-4
Juice-Pulp-Crackers-5
Juice-Pulp-Crackers-6
Juice-Pulp-Crackers-7

Juice Pulp Crackers
Makes about 25-30 crackers

2 cups juice pulp
1/2 cup ground flax meal
1 tsp sea salt
2 tsp thyme (I used dried)
1 tsp black pepper
1/4 cup water

*Make sure that all inedible seeds and skin are removed from produce before juicing if you intend to use the pulp for crackers!
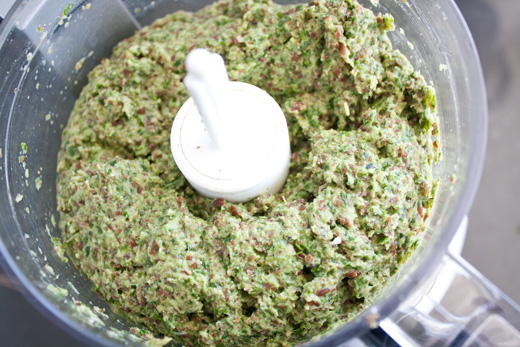
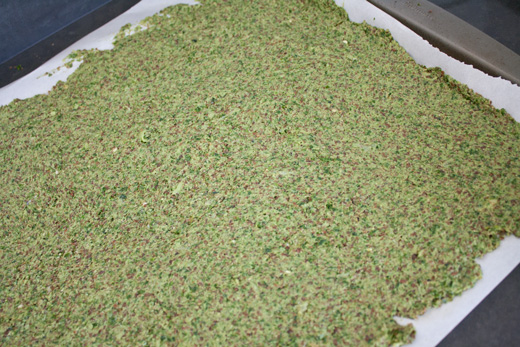
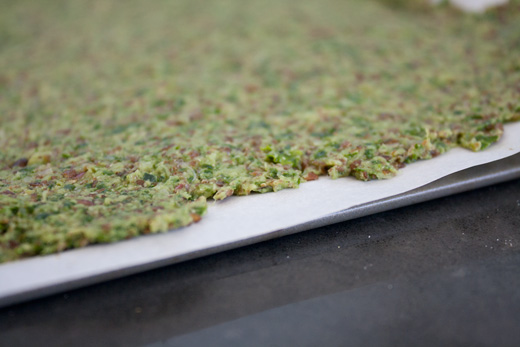
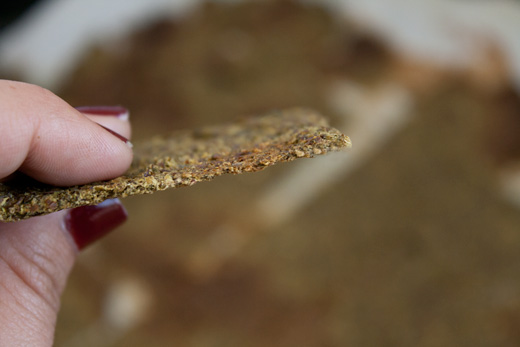
Preheat oven to 350 degrees. Combine all ingredients in a food processor. Slowly add water until the mixture is well combined but still sticky (The amount of water may vary based on how watery your pulp is). Cover a baking sheet with parchment paper and spread the mixture out very thinly (you want this as thin and even as possible). You will want this to be as thin as possible or your crackers may turn out bready versus crunchy. Bake for 30-40 minutes until crispy. Remove from oven and cut into 1.5 inch squares.

Note: Like kale chips, these don’t store very well, so they are best to eat the same day they are made!
Dehydrating: If you have a dehydrator you can spread the mixture evenly onto a teflex or “fruit leather” dehydrator sheet. Set dehydrator to 115 and for 5-6 hours, flip the cracker over, and dehydrate for an additional 4-5 hours until crunchy.

The pulp for these crackers was from my Glowing Green Juice so I thought that thyme, salt, and pepper was a great addition, but feel free to experiment with different spices and seasonings! Cayenne would give a ice kick to your crackers!

Portobello Pizza

Hoppy Monday all!
Last week I had the opportunity to attend the Bard Valley Natural Delights Medjool Date Summit in yuma, AZ! I had incredible time learning about the harvesting process and taste testing delectable recipes that I MUST share with you guys! I also met some new friends that I already miss since departing on Friday! Wahhhh. I’ll be giving you guys a full rundown of the blogger summit later this week. I cannot wait to tell you about my trip!

Today’s recipe is a Portobello Mushroom Pizza!
Loaded with veggies, this pizza is low-carb, gluten-free, and super filling!
Bon Appétit!
Portobello Pizza 10
Portobello Pizza 9
Portobello Pizza 1
Portobello Pizza 2
Portobello Pizza 3
Portobello Pizza 4
Portobello Pizza 5
Portobello Pizza 6
Portobello Pizza 7
Portobello Pizza
Serves 1

2 large portobello mushrooms
1 tomato
1/4 cup reduced fat mozzarella cheese
1/4 cup chopped onion
1 Tbsp olive oil
1 tsp lemon juice
1/2 tsp minced garlic
pinch of salt
pinch of pepper

Preheat oven to 400 degrees. Chop onion and mince garlic. Pour olive oil into a saucepan over medium high heat and add onions and garlic. Cook onions and garlic until they are slightly browned. Dice tomato and add to the saucepan along with salt, pepper, and lemon juice. Bring the sauce to a simmer and cook for 3-5 minutes. Remove gills from the portobello mushrooms by scraping with a spoon. Place portobellos on a baking sheet coated with nonstick cooking spray. Pour the sauce into each portobello and top with cheese. Bake for 12 minutes. After 12 minutes, set oven to broil for 30 seconds to 1 minute to brown the cheese. Remove from the oven and enjoy!
Tip: I suggest lining your baking sheet with foil and coating the foil with nonstick cooking spray for an easier cleanup. The portobello mushrooms tend to get pretty juicy will cooking!

In a hurry? You can always use organic tomato sauce in place of the homemade sauce! I would recommend about 2 Tbps of store-bought sauce per portobello pizza.

Vegan? Use a vegan cheese substitute such as Daiya Mozzarella Style Shreds!

Portobello Pizza 8
The Rabbit Food Pyramid Breakdown
Produce: portobello mushrooms, tomato, onion, garlic
Whole Grain: none
Protein: reduced fat mozzarella cheese
Plant Based Fat: olive oil

Kiwi Greenie

Congratulations to the winner of my Red Apple Lipstick Giveaway: Katie!
Be sure to check your email to claim your prize, Katie! xoRFFMBT red apple giveaway winner— Winners are chosen using a random number generator : ) —

Today’s recipe is a green smoothie, just in time for this massive heat wave headed our way! It includes tropical flavors of mango and kiwi along with super spinach, and plant based fat from avocado to give a rich creamy texture! Enjoy!

Kiwi Greenie
Kiwi Greenie
Kiwi Greenie
Kiwi Greenie

Serves 1

1 kiwi, peeled
1 cup frozen mango
1 cup frozen spinach (or 2 cups fresh)
3/4 cup unsweetened almond milk
1/4 medium avocado

Combine all ingredients in a high powered blender and blend until smooth.
Note: If you don’t have a high powered blender, start by blending the spinach and almond milk first until spinach is completely smooth. Then add other ingredients.

Kiwi Greenie

Beet Burgers

In celebration of 4th of July I had to keep the tradition going with a veggie burger recipe!

These burgs are seriously filling. Loaded with brown rice, black beans, beets, oat bran, and jalapeños to add a little heat! They’re also gluten-free, vegan, low-fat, and will give your average beef burger a run for its money.

I hope that everyone has a fun and safe holiday!
For all of my international bunnies, happy Thursday to you tomorrow!

Beet Burgers
Beet Burgers
Beet Burgers
Beet Burgers
Beet Burgers
Beet Burgers
Beet Burgers
Beet Burgers
Beet Burgers
Beet burgers
serves 4

1 can low-sodium black beans
1 cup cooked brown rice
1/4 cup finely chopped beets (I used canned)
2 Tbsp diced jalapeños
2 Tbsp oat bran
1 tsp chili powder
1/2 tsp paprika
1/4 tsp salt
2 Tbsp Medjool Date BBQ Sauce or BBQ sauce of your choice

Toppings:
4 slices of Monterey Jack cheese or vegan cheese
1 Tomato, sliced
1 Red onion, sliced
Kale or lettuce

Strain beans but do not rinse. Place beans in a food processor and pulse until mashed but not puréed (you want some texture/chunks in there. Transfer beans to a mixing bowl. Strain beets and place beets in the food processor and pulse until finely chopped. Measure 1/4 cup and add to the mixing bowl. Add the diced jalapeños, brown rice, oat bran, chili powder, paprika, and salt and fold until well combined. Divide the mixture into four and form patties. Line a baking sheet with foil and spray with nonstick cooking spray. Place the patties on the foil lined baking sheet and place in the fridge for 1 hour. This is an important step in getting the right consistency. After the patties have been chilled, Preheat oven to 375. Transfer the baking sheet to the oven and cook for 30 minutes. Remove the patties from the oven at the half-way mark (15 minutes) and baste with barbecue sauce (do not flip the patties). Place the baking sheet back in the oven and continue baking for the remaining cooking time. If you wish to add cheese, set the oven to broil during the last minute of cooking, place cheese on each patty and broil for about 30 seconds. Serve on a whole grain bun, in a fresh lettuce wrap, or on “grilled portobello buns” and enjoy your holiday!
Note: Make sure to chill the patties in the refrigerator before baking.
Spicy Tip: Beet Burgers aren’t super spicy, but if you want them a little more mild, remove seeds from the  jalapeños or try using green chillies.
Shortcut: I used precooked brown rice and heated it in the microwave before adding to the recipe to save me a few minutes. I also used canned beets and black beans!
Warning: Do not grill on a barbecue, they can fall apart!

Looking for other veggie burger recipes?
Chickpea Patties
Black Bean Burgers

I Can’t Believe It’s Not Pasta!

I Can’t Believe It’s Not Pasta!
I can't believe it's not pasta!

Really, I can’t believe it!
There’s tons of hype about spaghetti squash these days, but I found out the hard way that I’m extremely allergic. After the allergy incident, I was determined to find a light healthy veggie pasta alternative. I’m pretty proud of this one!

This is an excellent pasta alternative for someone who is looking for something light and healthy, gluten free, low carb, vegan (without the cheese), or someone who is simply looking for a tasty way to incorporate more veggies into their diet. Also a huge plus for mommies who want to disguise more veggies in their kids meals!

So what’s the secret noodle?
Broccoli! Broccoli slaw to be exact.

What is broccoli slaw?
Broccoli slaw is made of raw shredded broccoli stalks. Sometimes you will see it in the grocery store mixed with shredded carrots and/or cabbage.

Sound too scary?
Give it a try by slowly incorporating the broccoli pasta into your regular pasta! Start with a larger ratio of pasta, and then each time you make it, try using more of the broccoli pasta.


Considered to be one of the most nutritious vegetables, broccoli offers us:

  • High amount of potassium.
  • Magnesium and calcium that help regulate blood pressure.
  • One cup of broccoli contains the RDA of vitamin C, an antioxidant necessary for fighting against free radicals.
  • Contains high levels of both calcium an vitamin K, which are important for bone health.
  • High in fiber, which aids in digestion and helps to make us feel full and prevent overeating.
  • Trace minerals, such as zinc and selenium that act to strengthen the immune system.

Now that you’ve met your new friend broccoli, let’s make some “pasta!”

I can't believe it's not pasta!

I Can’t Believe It’s Not pasta!
Serves 1

2 cups raw broccoli slaw
1/4 cup organic tomato/marinara sauce
1/4 cup chopped yellow onion
1/4 cup shaved parmesan cheese
1 tbsp olive oil

Place olive oil and chopped onions in a skillet over medium/high heat. Cook the onions until they become translucent. Add the broccoli slaw to the same pan and sauté for about 5 mins, tossing frequently. Add the tomato sauce to the pan and stir until evenly coated and heated. Transfer the “pasta” to a bowl and top with parmesan cheese.
Note: You want the broccoli slaw to get soft, but not mushy. “Al dente” is probably the best description!

I can't believe it's not pasta!

The Rabbit Food Pyramid Breakdown
Produce: broccoli, onions, and tomato sauce
Whole Grain: –
Protein: parmesan cheese
Plant Based Fat: olive oil

1 2 3