delicious

Juice Pulp Crackers

Hi everybunny!

I hope you guys are having a great week so far!
I wanted to start by saying THANK YOU for your support with my last post. There are so many times that I struggle with body image and/or eating and just want to crawl into my bed and lock myself in my room because I’m ashamed, upset, and flat-out sad… but time and time again you guys have shown me that I am most definitely not alone, and have nothing to be embarrassed about. Your comments were so empowering and I appreciate your vulnerability and honesty. You are all so strong and seriously beautiful writers! I love you guys so much. My readers make me so incredibly happy each and every day. Expect a giveaway this week, to show my love and appreciation!

So I just found out this week that my “advertise” contact form has not been working. Ahhhh! This is the WORST! I apologize to anyone who has messaged me in the past few weeks and not gotten a response. I feel so unprofessional and cannot even imagine how rude people must think I am. I am working with my web host to get my contact form working again. In the meantime, if you have a professional inquiry please email me at: Screen Shot 2013-11-18 at 11.12.39 PM.

I also wanted to say sorry for being MIA last week! I was in Texas for a wedding and then in Arizona visiting my friends at Natural Delights and judged the recipe contest at the 2nd Annual Yuma Medjool Date Festival! There will definitely be some new Medjool date recipes coming up and possibly a giveaway for you guys!

Finally, here is the recipe I promised!
Sorry for the delay : ( and thank you for your patience!
Juice-Pulp-Crackers-8

Don’t you hate seeing food or nutrients go to waste?

Although most of us use juice pulp for compost or unfortunately throw it away… many people don’t realize that they are leaving behind all of the great fiber that the fruits’ and veggies’ skins contain.

Fiber serves a very important role in our diet. When eating whole fruits and vegetables, the natural fiber helps to slow down the process in which the body breaks down and releases sugar, which prevents blood sugar from spiking and crashing. Fiber can also help you feel fuller longer and keeps your digestive system running smoothly and efficiently.

Bottom line, there is value in this often-neglected pulp!

Next time you make a juice, think twice before tossing the pulp!
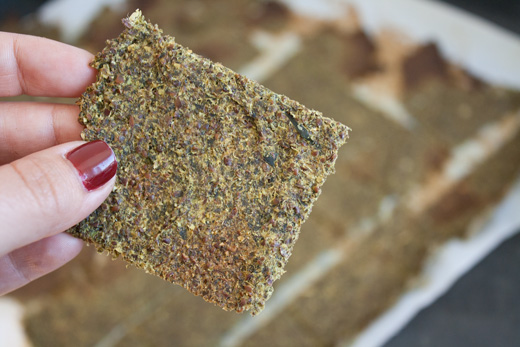
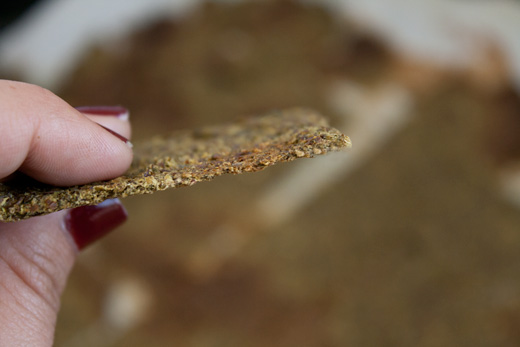
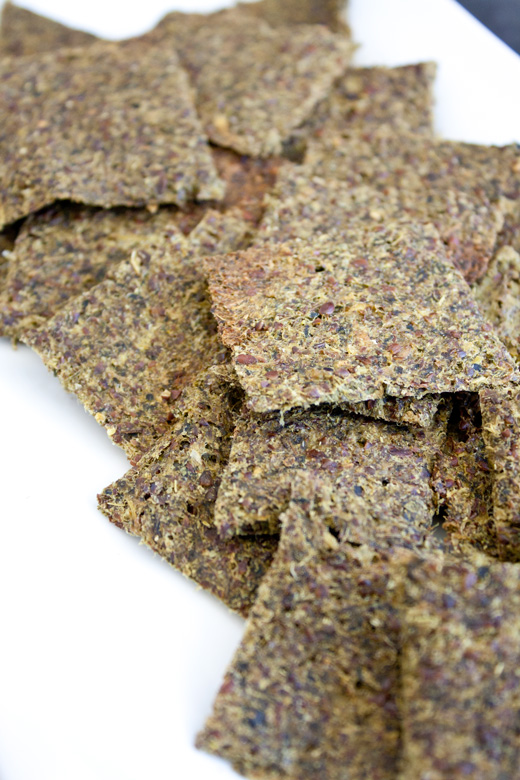
It’s easy to transfer your fibrous juice pulp into hearty and delicious Juice Pulp Crackers.
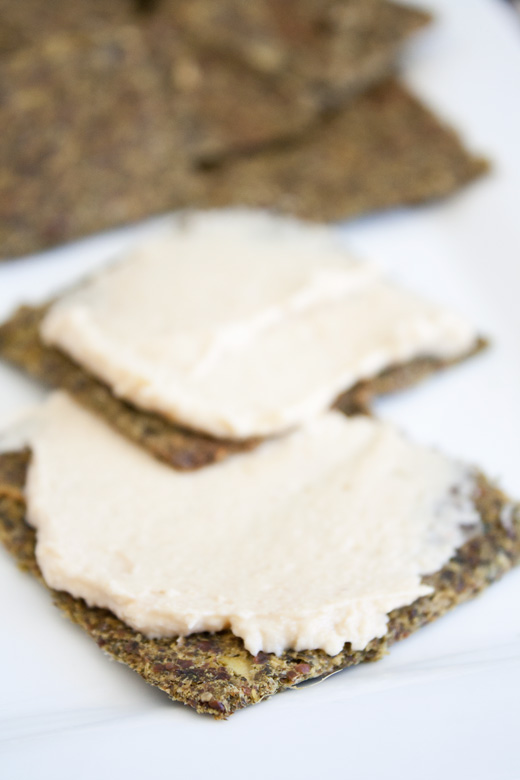
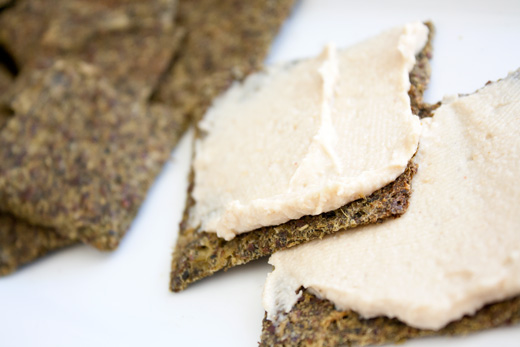
Juice-Pulp-Crackers-9I love slathering hummus on my Juice Pulp Crackers!
Juice-Pulp-Crackers-10
Juice-Pulp-Crackers-1
Juice-Pulp-Crackers-2
Juice-Pulp-Crackers-3
Juice-Pulp-Crackers-4
Juice-Pulp-Crackers-5
Juice-Pulp-Crackers-6
Juice-Pulp-Crackers-7

Juice Pulp Crackers
Makes about 25-30 crackers

2 cups juice pulp
1/2 cup ground flax meal
1 tsp sea salt
2 tsp thyme (I used dried)
1 tsp black pepper
1/4 cup water

*Make sure that all inedible seeds and skin are removed from produce before juicing if you intend to use the pulp for crackers!
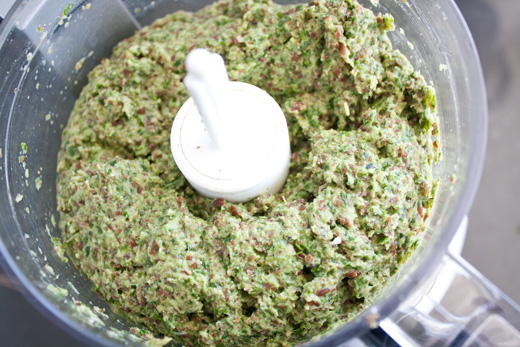
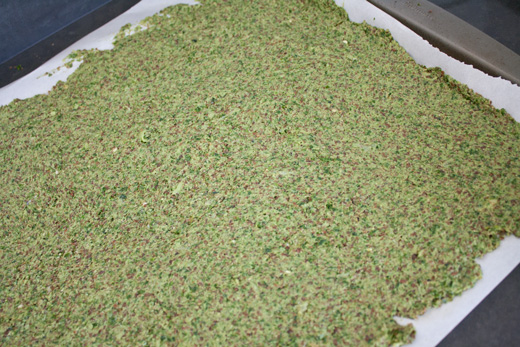
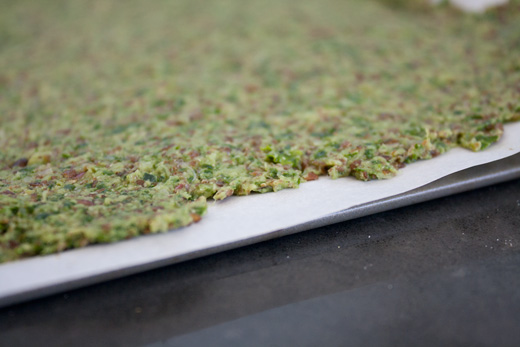
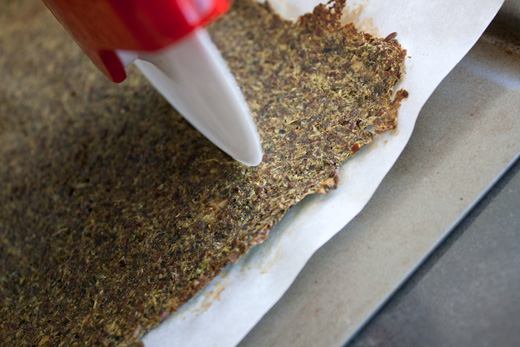
Preheat oven to 350 degrees. Combine all ingredients in a food processor. Slowly add water until the mixture is well combined but still sticky (The amount of water may vary based on how watery your pulp is). Cover a baking sheet with parchment paper and spread the mixture out very thinly (you want this as thin and even as possible). You will want this to be as thin as possible or your crackers may turn out bready versus crunchy. Bake for 30-40 minutes until crispy. Remove from oven and cut into 1.5 inch squares.

Note: Like kale chips, these don’t store very well, so they are best to eat the same day they are made!
Dehydrating: If you have a dehydrator you can spread the mixture evenly onto a teflex or “fruit leather” dehydrator sheet. Set dehydrator to 115 and for 5-6 hours, flip the cracker over, and dehydrate for an additional 4-5 hours until crunchy.

The pulp for these crackers was from my Glowing Green Juice so I thought that thyme, salt, and pepper was a great addition, but feel free to experiment with different spices and seasonings! Cayenne would give a ice kick to your crackers!

Vegan Cookie Dough Bites

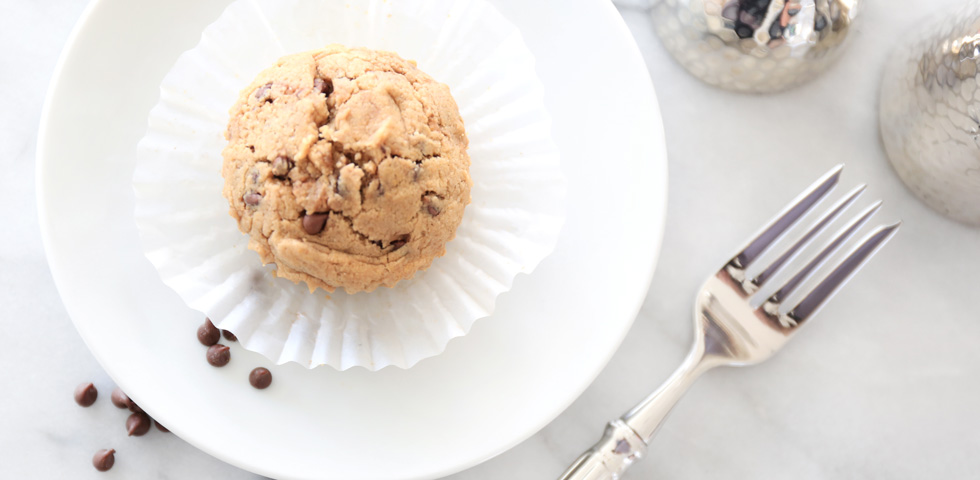
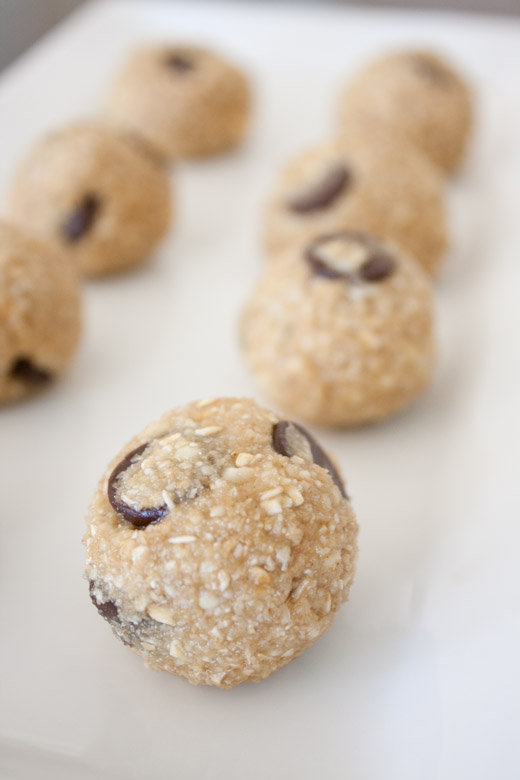
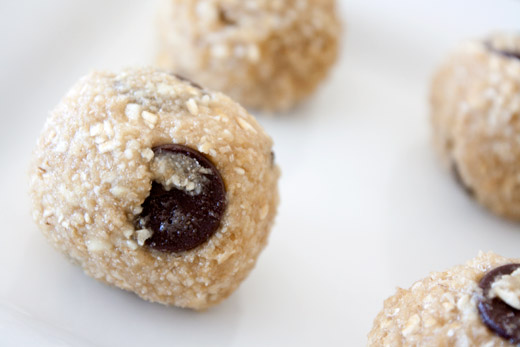
If you’re craving something sinful, there is always a healthier alternative to satisfy your craving. These Vegan Cookie Dough Bites are made with cashews and oats and don’t contain any refined sugar, butter, or eggs. Just 100% plant based ingredients that not only satisfy your sweet tooth, but provide nutrients and energy as well!

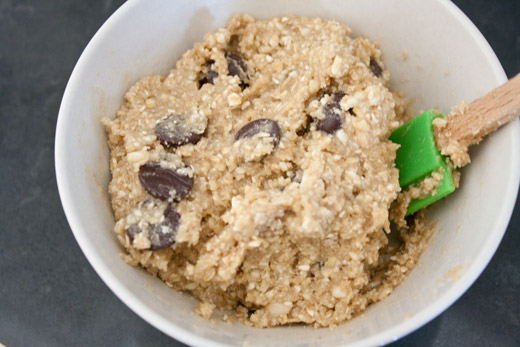
I posted a picture of the dough on Instagram last week and promised a recipe by the “next week.” Well ladies and gentlemen, that did not happen. You see, I loved it so much that I ate the entire bowl before I could even photograph it! Actually, I didn’t even roll it into bites at that point!!! It was just one of those days, and healthy vegan cookie dough solved all of my problems, haha. As promised, here’s the recipe!

Healthy-Vegan-Cookie-Dough-Bites-4
Healthy-Vegan-Cookie-Dough-Bites-5
Healthy-Vegan-Cookie-Dough-Bites-1
Healthy-Vegan-Cookie-Dough-Bites-2
Healthy-Vegan-Cookie-Dough-Bites-3

Vegan Cookie Dough Bites
Makes 8 bites

1/2 cup raw unsalted cashews
1/4 cup rolled oats
1/4 cup whole wheat flour
1/2 tsp salt
1/2 tsp pure vanilla extract
3 Tbsp pure maple syrup
2 Tbsp dark chocolate chips

Combine cashews, oats, flour, and salt and grind in a food processor until becomes fine. Add maple syrup and vanilla and process until well combined and dough starts to form. Transfer the dough to a bow and fold in the chocolate chips. Form the dough into 1 tablespoon size balls. Store in refrigerator.

Single Serving PB Cookie

Hoppy Fridayyyyy my little bun buns!
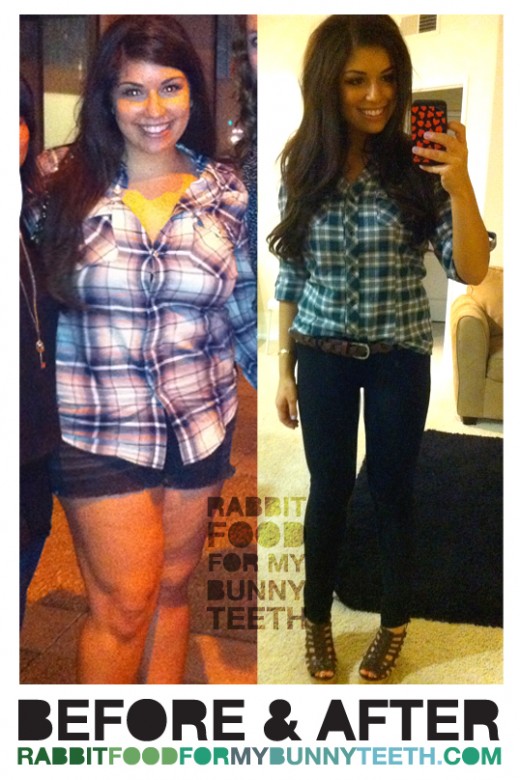
A few of you have asked me for more before and after photos because they help you to stay motivated and on track. I searched my computes for quite some time to find old photos, but noticed that I don’t have too many full body pictures of myself. I was usually very covered up or couldn’t stand photos of myself, so I deleted them. Anyways here is another before and after to show you guys what rabbit food can do for your body! I hope that this can inspire you guys to eat more rabbit food!
Before & After
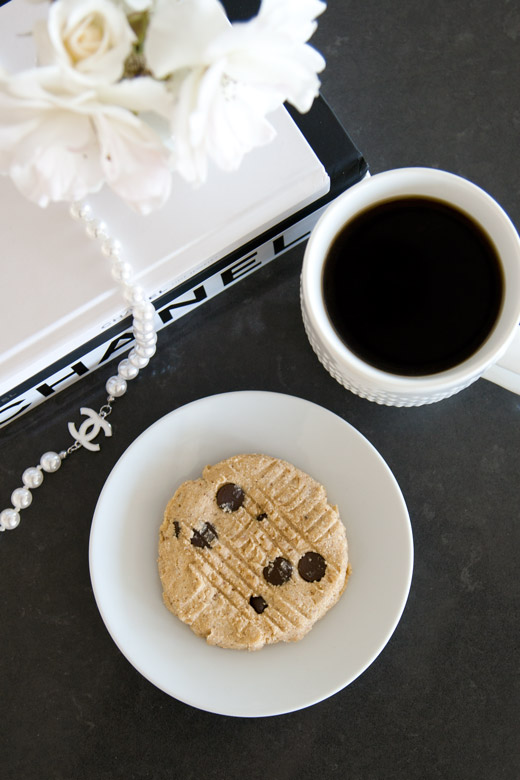
So last week I said that I was going to go prop shopping for my kitchen/blog photos. That semi-happened, but I literally cannot get away from black and white props! It’s my fav! The Coco Chanel kitchen lives on!

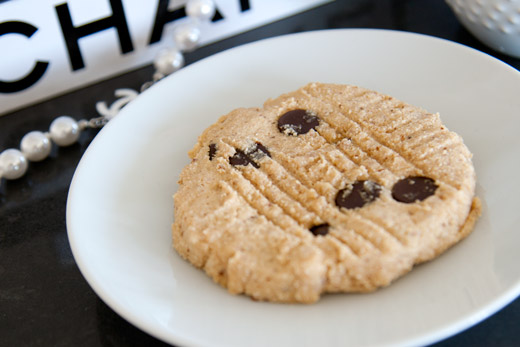
I love love love dessert. I get my sweet tooth from my mom, who can literally eat candy and cookies like there’s no tomorrow and maintain her petite frame. I wasn’t blessed with that same gene, but man I love me some sugaaaa! I’m the kind of person that cannot live without dessert or a little something sweet every day. Instead of traditional store bought cookies loaded with oil, salt, refined sugar, and bad saturated fats (not to mention the totally addictive-cannot-stop-eating-one-after-the-other feeling that comes along with them!), I took to my kitchen to give an old fav a healthy spin! I wanted to make a super clean, healthy, peanut butter cookie that can be enjoyed with coffee and good conversation. Something that feels indulgent and naughty, but is actually quite filling and good for you!

Believe it or not, this recipe only calls for 7 ingredients that you probably have in your kitchen already!

Single Serving PB Cookie
Serves 1

1 Tbsp almond flour
1 Tbsp coconut flour
1 Tbsp creamy peanut butter
1 Tbsp unsweetened almond milk
1/2 Tbsp egg whites
1/2 tbsp chocolate chips (or 1 tsp mini)
1 packet stevia

Combine all ingredients in a bowl and mix until well combined. Spread the dough onto a microwave safe plate and flatten into a cookie shape. microwave for 1:15-1:30 minutes.

Single Serving PB Cookie

Guest Blogger: Selena {Nom Nom Crunch}

Hi my little bunnies!
I am still on vacation, so while I’m exploring the Netherlands I have some fabulous guest bloggers for you to meet! Thank you so much to everyone who submitted to be a guest blogger! I had no idea that I would have such a huge response from readers and bloggers, and I was so excited to hear from you guys! If you weren’t selected this time, don’t worry because I am keeping  everyone’s submissions in mind for my next vacay!

Today, I’d like to introduce you to Selena from Nom Nom Crunch! Not only is Selena gorgeous and a fabulous foodie, but she is also a friend and sorority sister of mine! I die over her recipes. I mean seriously, can you come and cook for me everyday Selena?!
A fun little fact: Nom Nom Crunch was started on my couch! What can I say, my house is blog central!

Hello from NomNomCrunch.com

Hi Bunnies!

I’m Selena and I blog over at NomNomCrunch.com.

Since I was little, I always struggled with weight. I was always trying new diets, everything from the cabbage soup diet (which I swear forever scarred my taste buds for any soup with cabbage in it) to Weight Watchers to Paleo. I have probably tried them all.

Well my weight loss journey is far from over but I have definitely learned a thing or two. But the most important thing I have learned after trying diet after diet is that there isn’t a diet in the world out there that’s one-size-fits-all. I learned more about myself and my own habits when I stopped playing with yo-yos and just ate better, as a lifestyle.

I struggle with portion control. I like to making excuses. I am a social eater. I like to enjoy a Slurpee or Starbucks just because it seems like a good day for one. People say that recognizing your weaknesses is the hardest part, but I think the day-to-day struggle to fight these old habits and make a change is where your determination and strength are really put to the test.

So my blog is all about my journey to lose weight. I like to share my healthy recipes and fitness endeavors. If you want to know more about me, check out the “About Me” section on my blog.

in progress

For now, I’m going to tell you a little secret: I never liked oats.

Recently I started working out with a new trainer and she asked me if I liked oats because that’s what she was planning for my daily breakfast. I told her, “of course I like oats!” But the truth is, I only WANT to like oats. I never actually made it to the point of actually liking them yet…. until I got creative. I have a sweet tooth so you’ll notice I added stevia in EVERYTHING!

For my oat customization recipes, use Catherine’s Fluffy Oats Recipe as the base.

Fluffy Oats
Serves 1

1/4 cup whole rolled oats
1/4 cup unsweetened almond milk
1/4 cup water
1 egg white (1 egg white = 2 tbs if you’re using it from a carton)

Whisk the egg until it gets a little fluffy/foamy. Combine with oats, water, and almond milk in a saucepan and bring heat to medium. Whisk the mixture until it starts to simmer. Raise the heat to high and continue whisking for a couple of minutes until it starts to thicken. Reduce heat back to medium and whisk until most of the liquid is soaked. Transfer to a bowl and enjoy with toppings!
Note: Be sure to whisk the egg before combining with other ingredients!

Now for the customizing…

Customize Your Oats via NomNomCrunch.com

Berry Bliss

When you are combining the oats, water and almond milk together:
+ 2 tsp of vanilla extract
+ 2 tsp of stevia

Top it off with a berry reduction:
Put a handful of mixed berries into a food processor or blender. (I used raspberries and strawberries.) Then pour into a sauce pan, add 1 tsp of stevia and bring your stove to high heat, slowly stirring the mixture consistently. When the sauce begins to bubble and the color darkens, reduce to medium heat and continue to stir to prevent burning. After about 2-3 minutes, it’s ready to pour onto your oats. The sauce will be the consistency of olive oil.

Berry Bliss Oats via NomNomCrunch.com

Berry Bliss Oats via NomNomCrunch.com

Berry Bliss Oats via NomNomCrunch.com

PB&J

When you are combining the oats, water and almond milk together:
+ 3 tsp of PB2 or another powdered peanut butter alternative
+ 2 tsp of stevia

Top it off with a spoonful of your fav jam or jelly. I used a natural huckleberry jam I got from while on vacation in Yellowstone. Just keep in mind when adding your jam/jelly, many of them have added sugars so you don’t want to go crazy with it.

PB&J Oats via NomNomCrunch.com

PB&J Oats via NomNomCrunch.com

Choconut

When you are combining the oats, water and almond milk together:
+ 1 tbs of unsweetened coco powder
+ 3 tsp of stevia
SWAP the water for coconut water

Top it off with some coconut shreds and almonds.

Choconut Oats via NomNomCrunch.com

Choconut Oats via NomNomCrunch.com

Apple Pie

When you are combining the oats, water and almond milk together:
+ 1 tsp cinnamon
+1 tsp vanilla extract
+ 3 tsp of stevia

Top it off with caramelized apples:
Heat up 1/2 tsp of coconut oil and 1 tsp of honey in a small skillet on high heat. Once the oil and honey are warm, add half of an apple to the skillet, chopped or sliced. Any type of apple will do. Traditionally apple pie is made with McIntosh apples (according to Eating Well), but I just like to use whatever is on hand. I used HoneyCrisp. With a wooden spoon, stir the apples around until they are completely coated in the oil and honey. Continue to stir until the apple begins to soften and turns to a golden brown. Then pour onto your oats.

Note: Because this recipe has real sugar (honey) in the mix, it will burn a lot easier than the berry recipe. Keep an eye on your apples and keep stirring. Burned honey on your pan can mean death to your pan.

Apple Pie Oats via NomNomCrunch.com

Apple Pie Oats via NomNomCrunch.com


Follow Selena on:

Tofu Asparagus Spring Rolls

Congratulations to the winner of my ENLIGHTENED Ice cream giveaway: Valerie M!
Be sure to check your email! & Enjoy your cold ice cream during this crazy heat wave!

This week I have been giving my 100% and going to spin everyday. I am so in love with the endorphin rush that it gives me, and the calorie burn isn’t bad either! I hope that you guys have been scoping out some new workout classes to try this weekend. You may just find your new thangggg. I love motivating you guys with personal posts about my fitness progress and body/weight stuff, but I just can’t get myself to post it along with these gorgeous recipe photos! I feel like those kinds of posts need to be separate, so I’ve set some posts aside next week for updates on how everything is going in the workout world! Right now it’s time for some rabbit food!

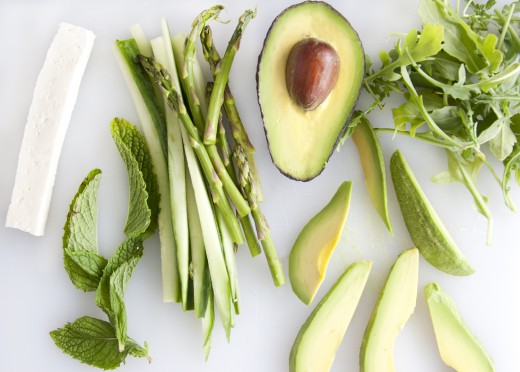
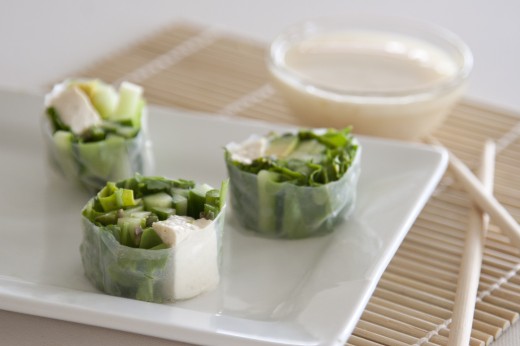
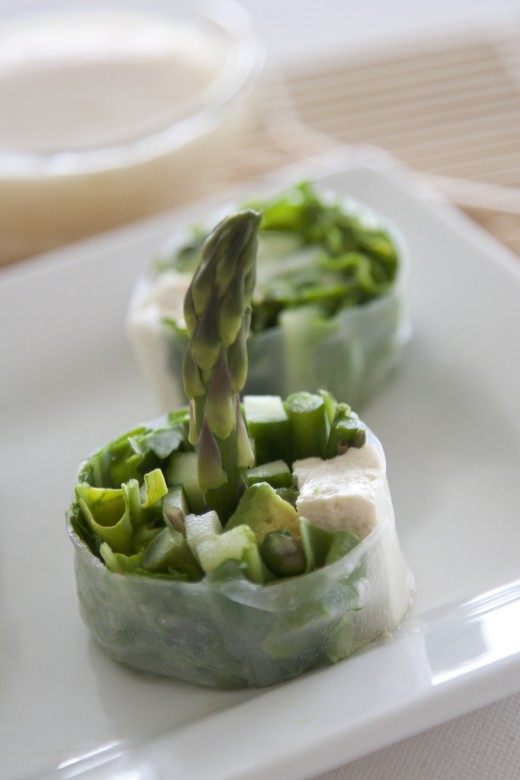
I absolutely love all of these bright green veggies! Beautiful!

Tofu Asparagus Spring Rolls
Serves 1

1 spring roll (rice paper) wrap
1 inch strip of firm tofu
6 spears of asparagus
1/2 cucumber, sliced
1/4 medium avocado
1/4 cup arugula
4-5 mint leafs

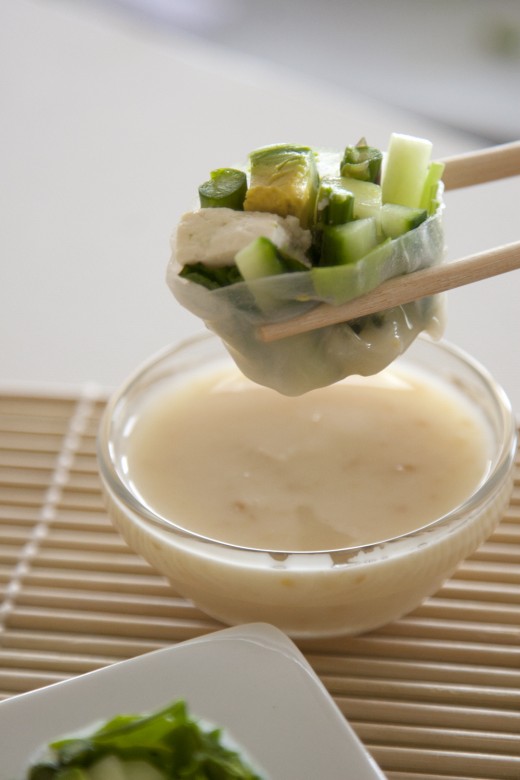
Sesame Miso Sauce
*Also pairs well with low sodium soy sauce, or tamari if you don’t feel like making sauce!

2 Tbsp tahini
1 Tbsp white miso paste
1 Tbsp agave nectar
1/2 Tbsp tamari or soy sauce
1 tsp grated ginger root

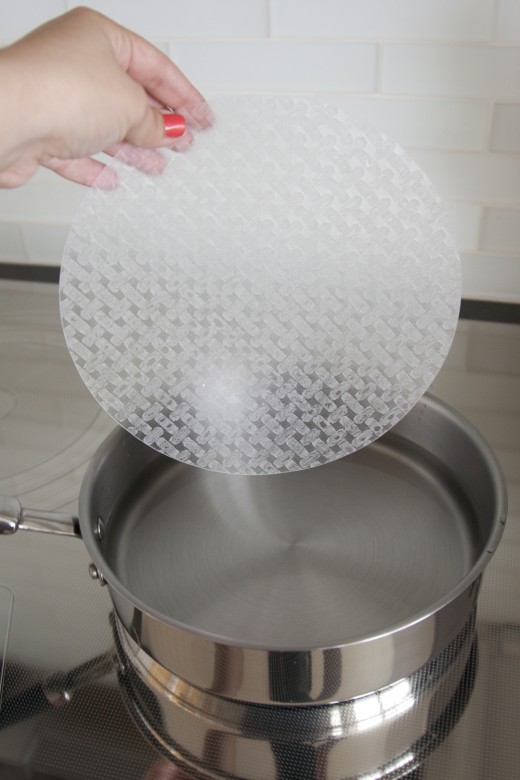
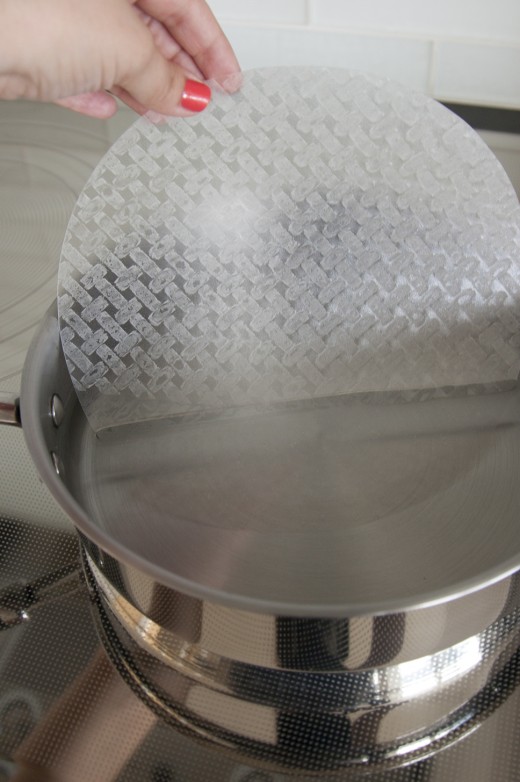
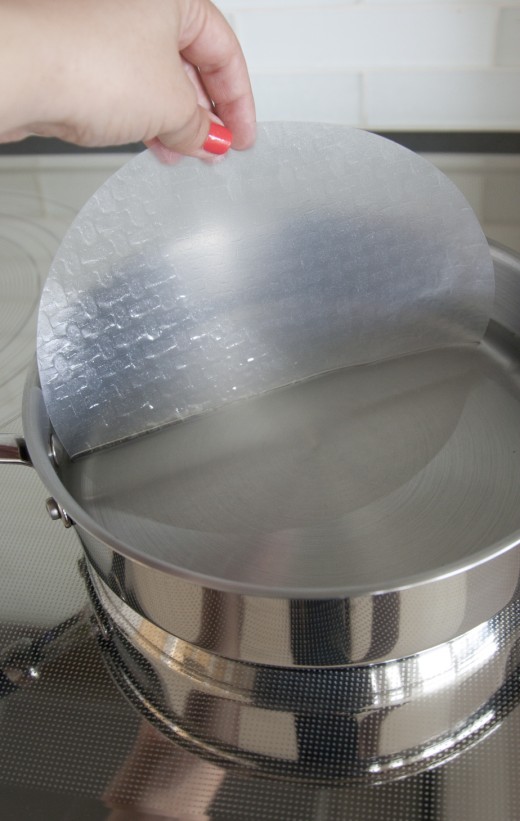
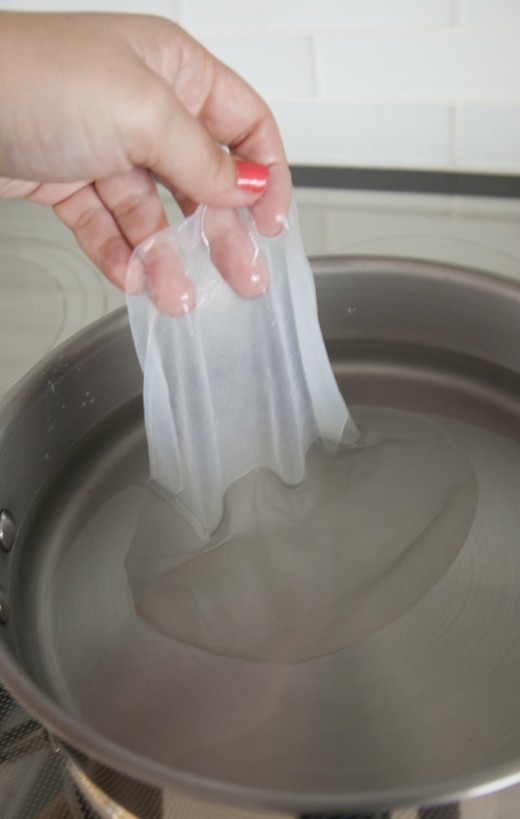
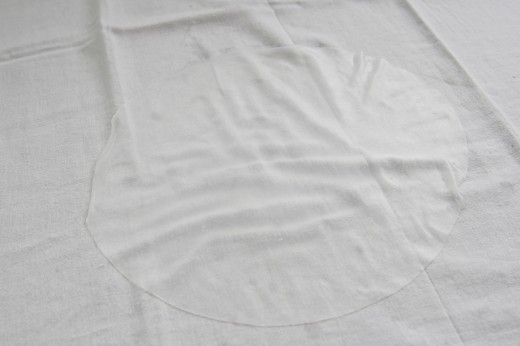
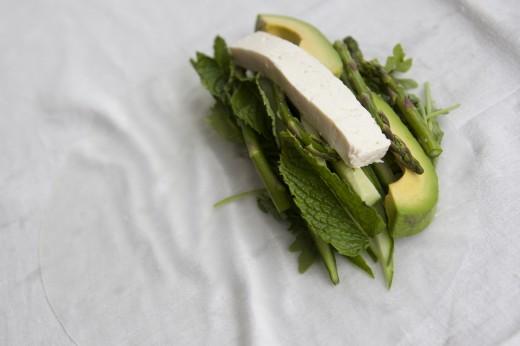
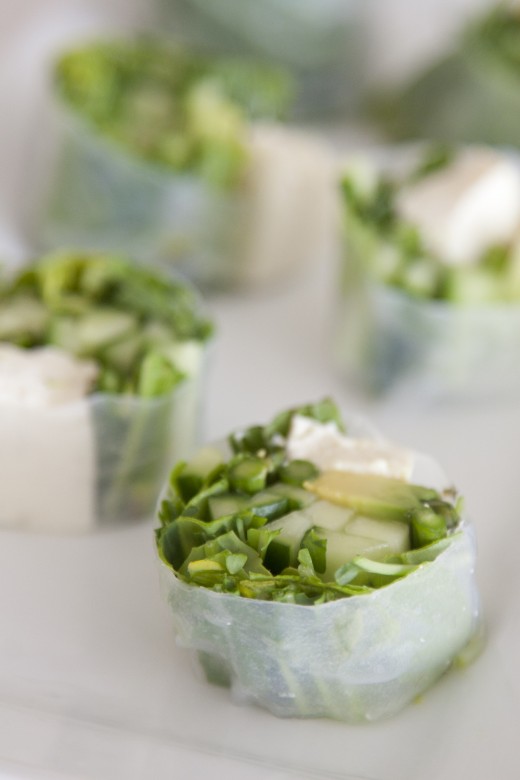
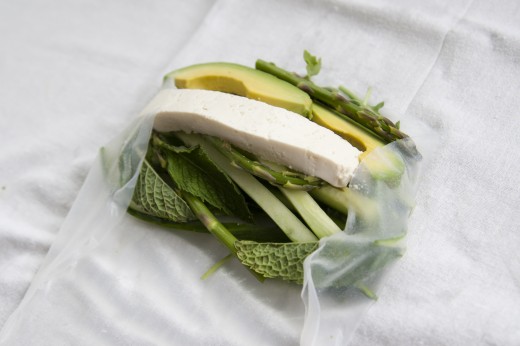
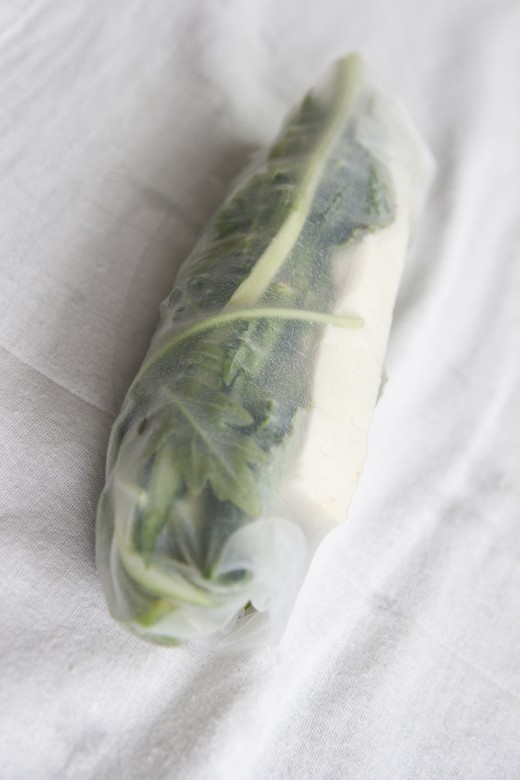
Refrigerate all ingredients beforehand. Wash and cut ingredients for inside the spring roll. Fill a bowl or saucepan with warm water. Begin dipping the spring roll wrap in the water and rotate. Continue gently dipping until the rice paper becomes transparent and limp. Lay the pliable wrap on a piece of cheese cloth or clean kitchen towel. Place the ingredients on the top center of the wrap. Fold the sides in over the filling. Then tightly push the ingredients together folding the top corner over, then roll until completely wrapped. Chop in half or into 6 pieces.
Note: I have found that wrapping the spring roll on a towel is the best way to prevent it from sticking and tearing.
Another Note: The spring rolls are much easier to handle if cut in half vs. small pieces!

The Rabbit Food Pyramid Breakdown
Produce: asparagus, cucumber, arugula, and mint
Whole Grain: complete this meal with 1/2 cup of cooked brown rice!
Protein: tofu
Plant Based Fat: avocado

1 2 3 4