Hi buns!
Thank you SOOO much for the sweet comments on my last post. I cannot tell you how much you lift me up. Sometimes it’s challenging to write about how down I am and the fact that I’m not where I really want to be, but it’s part of life. It means a lot to me that some of you mentioned how much you appreciate my honesty when I post these kinds of things. I appreciate your supporting more than you even know. You guys are 100% the reason why I love this blog so much!
I’ve been enjoying spending some time with Matt since he got home (Sunday) after a month on tour in Europe, so I’m finally going to respond to all of your comments tonight : ) I wasn’t sure if I would be able to pick him up at the airpot last Sunday night but I surprised him and popped out of the back seat of his parents car! He was totally shocked, I got him good!
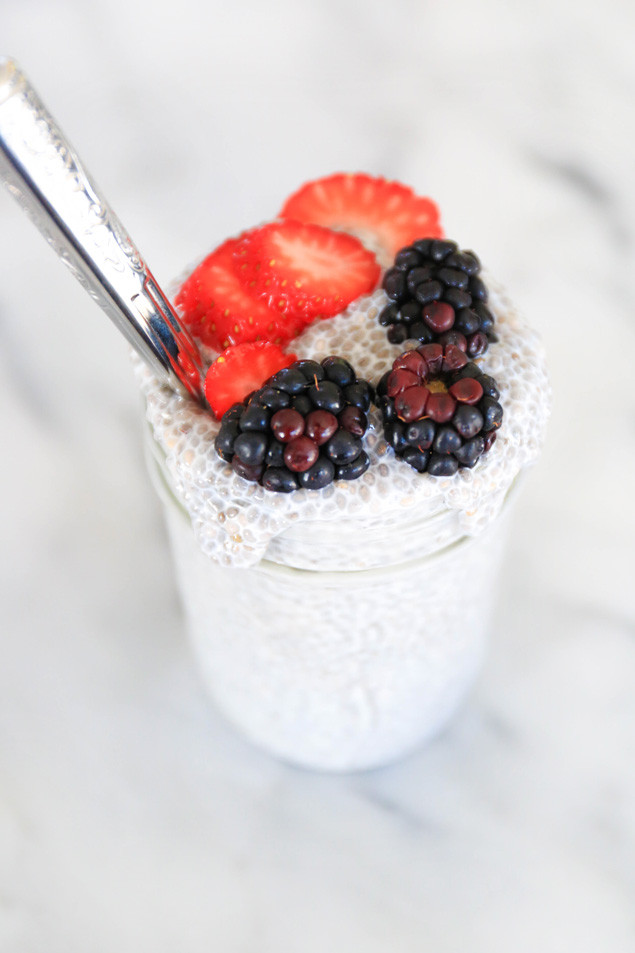
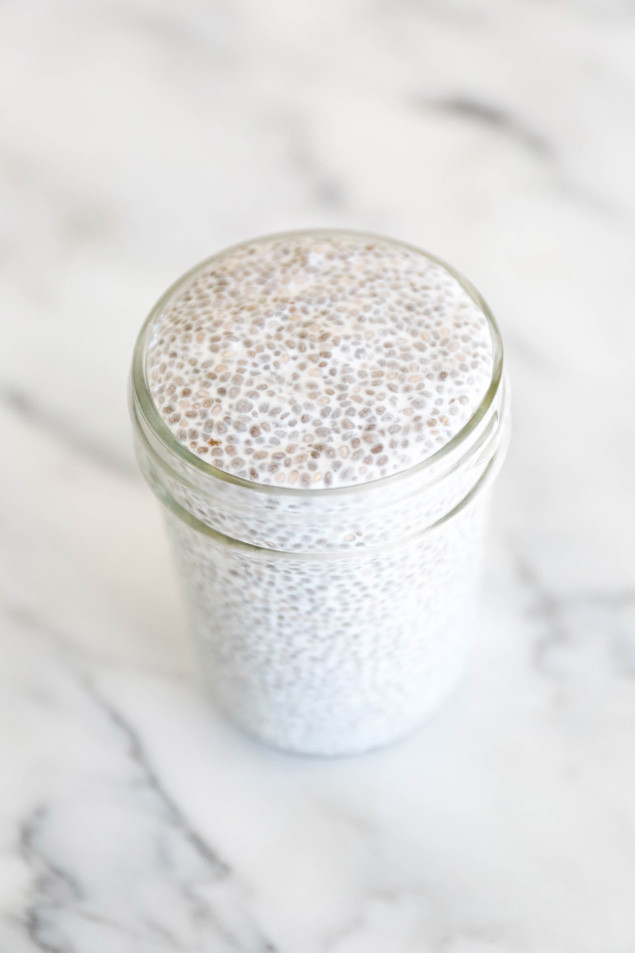
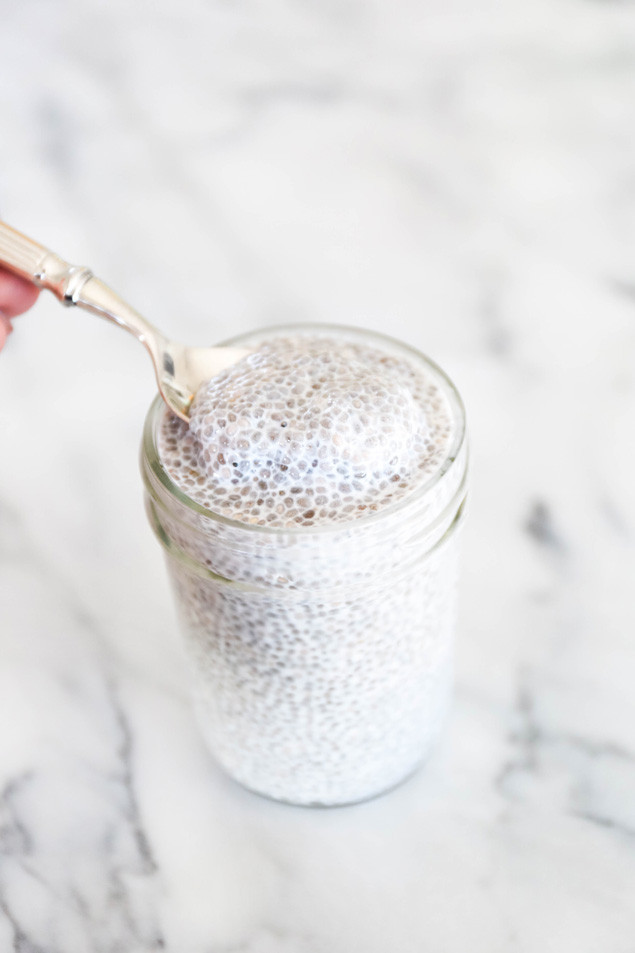
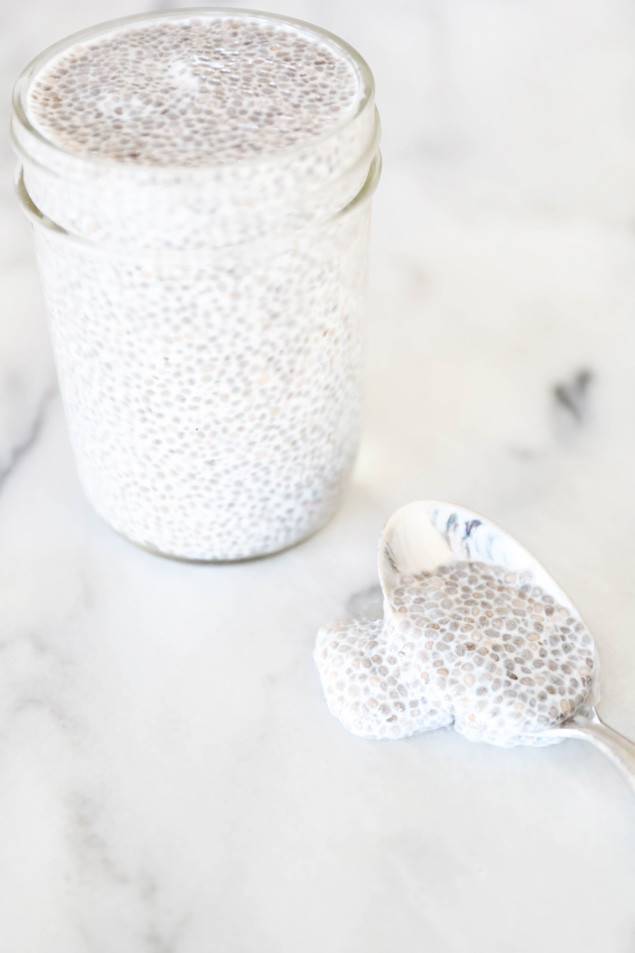
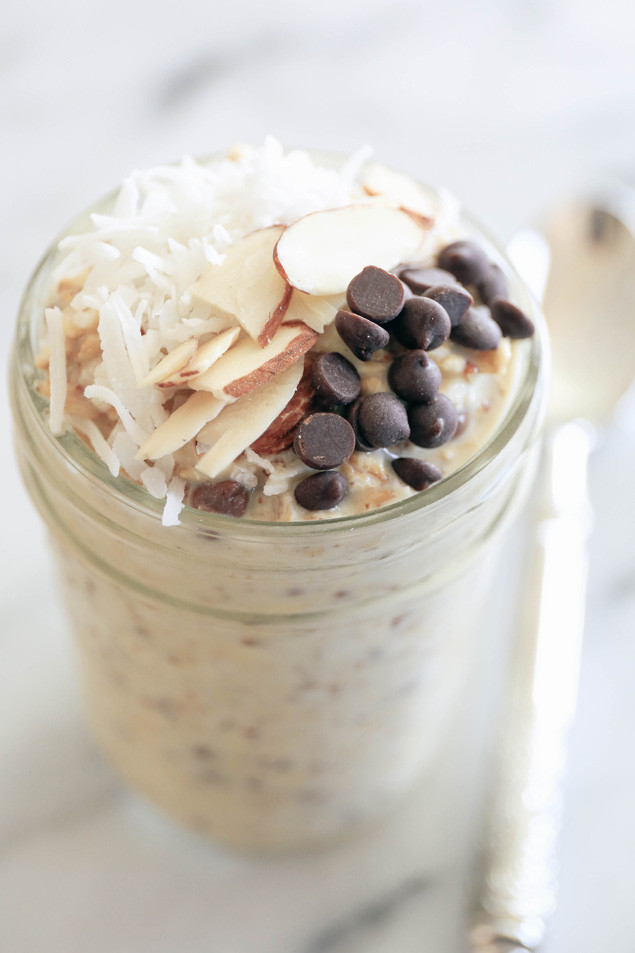
Chia seed pudding is one of the easiest healthy snacks to make. You literally throw all of the ingredients in a glass jar, refrigerate it overnight, and it’s ready for you the next day! Easy peasy! And you guys know I love easy no fuss recipes!
Some of you may still be new to chia seeds and pretty intrigued by them, or possibly scared of them! Don’t worry, I’ve got you covered!
Soooo, what exactly is a Chia seed?
The Chia plant (Salvia hispanica) is a member of the mint family that’s native to Mexico and Guatemala. Chia seeds are often eaten raw, but can also be soaked in liquid to form a gelatinous mixture. Chia seeds can also be ground into a powder for baking!
What do they taste like?
Chia seeds don’t really taste like anything. Their flavor is practically non-existent, but he magic is in the texture. When combined with water or liquid, they absorb 9 times their weight in water, forming a gel-like consistency. They are great in smoothies and oatmeal because they add texture and a thicker consistency. The proof is in the pudding… ha ha ha
Why Chia?
Chia seeds are an amazing source of plant-based fat, and are especially high in Omega 3 fatty acids which reduce inflammation and may help lower risk of heart disease, cancer, and arthritis. They also contain a large amount of fiber, which aids with weight loss by keeping your stomach feeling full. Last but not least, these tiny little seeds are filled with magnesium, potassium, and powerful antioxidants to help rid our bodies of free radicals. Talk about big things in small packages!
Depending on the brand, 1 Tablespoon of dry Chia seeds tallies up to about 55 calories, 5g of Fat, 5g of Carbohydrate, 6g of Fiber, 3g of Protein.
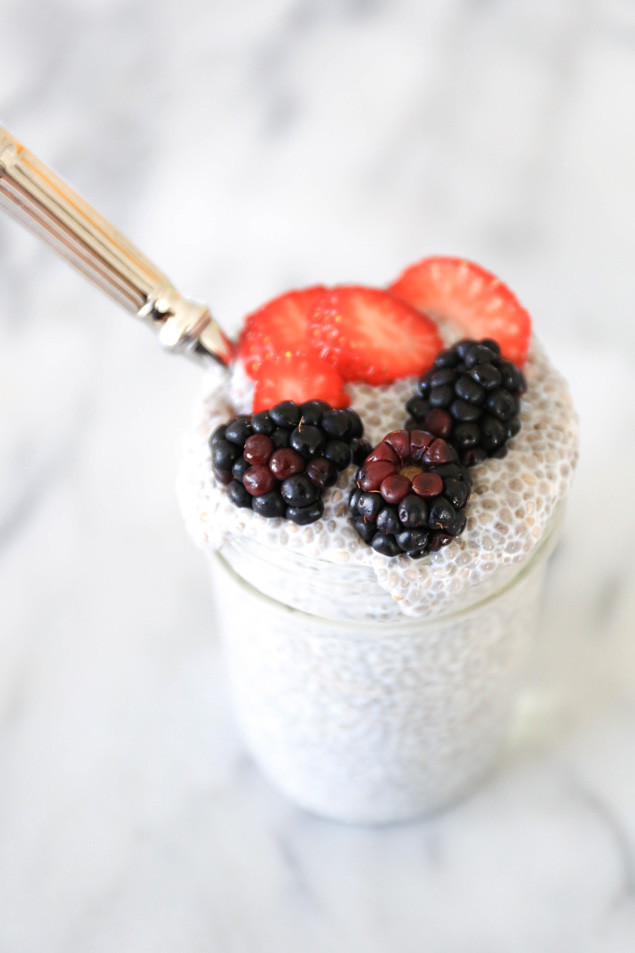
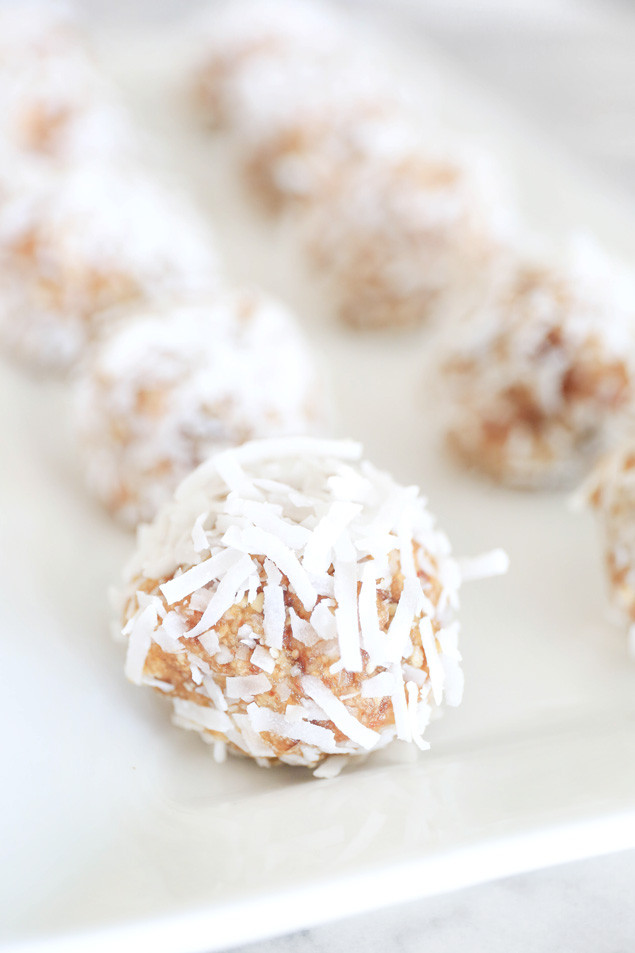
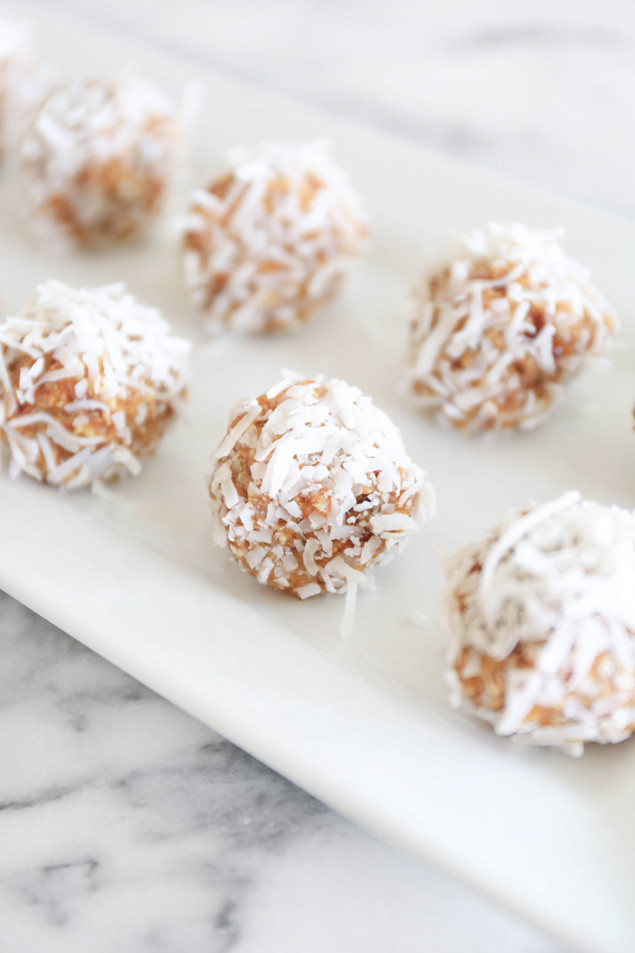
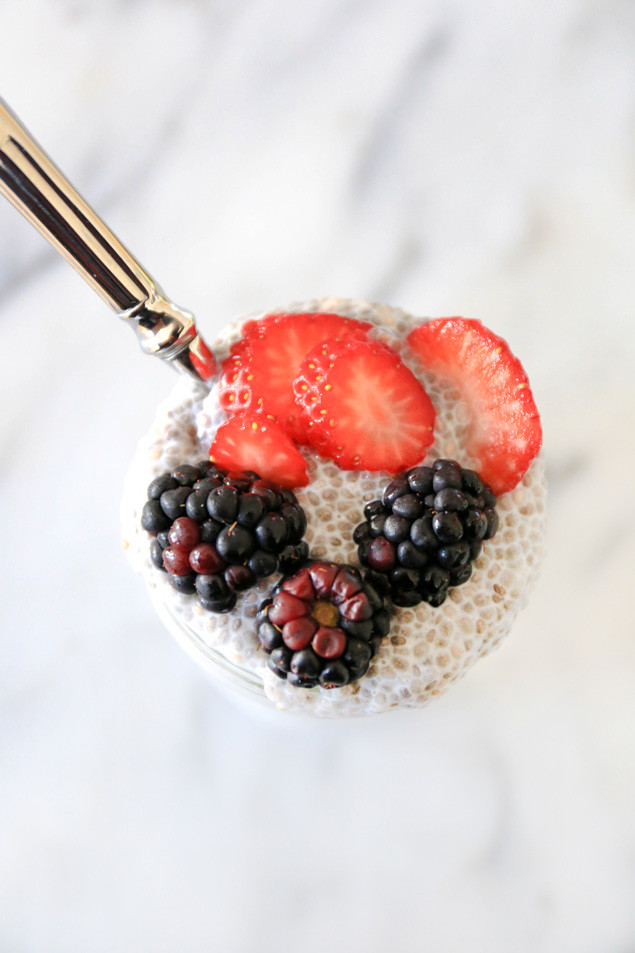 Coconut Chia Pudding
Serves 2
1 cup unsweetened coconut milk (I like So Delicious)
1/4 cup chia seeds
1 Tbsp maple syrup
1. Whisk together coconut milk and maple syrup in a glass jar
2. Stir in chia seeds.
3. Cover jar with lid and refrigerate overnight.
4. Top with fresh berries or enjoy plain.
Note: If you use sweetened coconut milk, you can omit the maple syrup.
Tip: The longer you leave your chia seed pudding in the fridge, the thicker it will get!

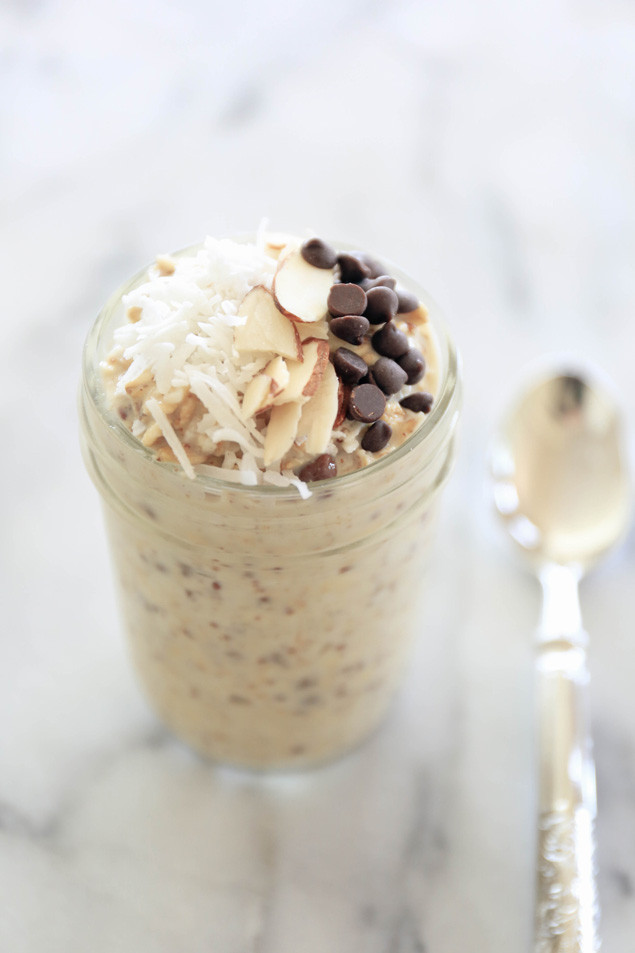
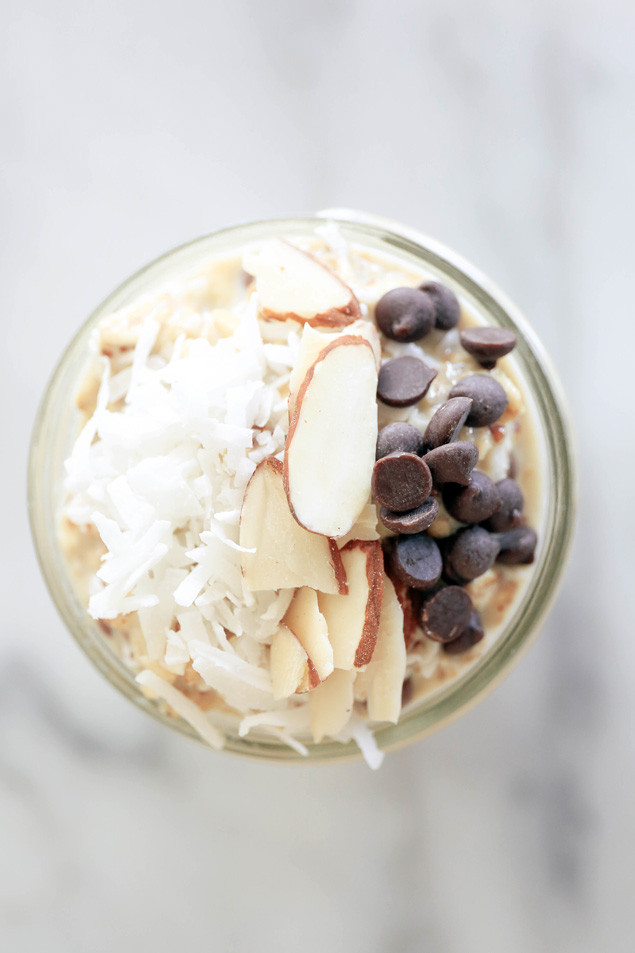
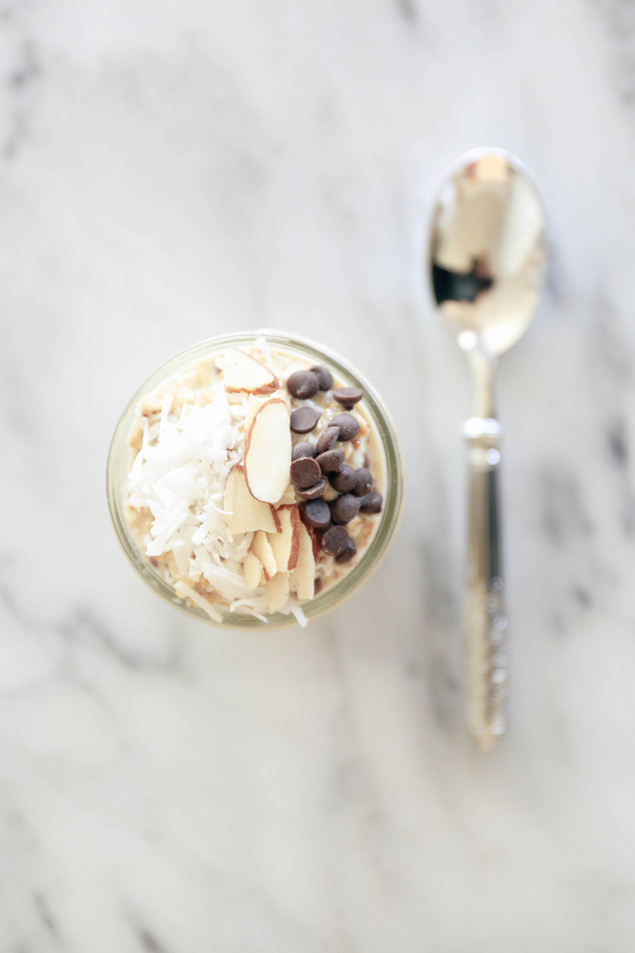
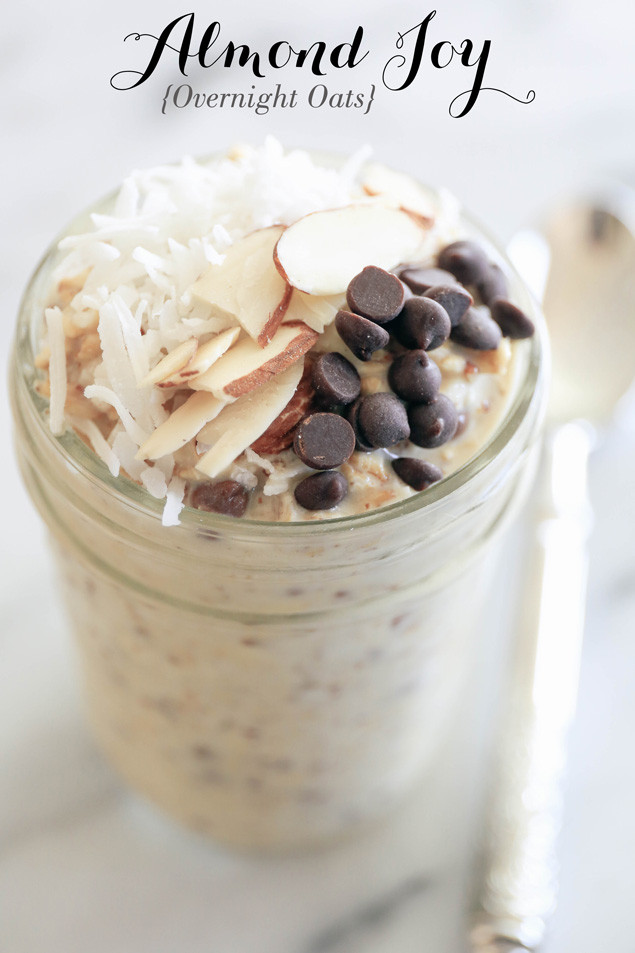 My favorite thing about overnight oats is that they’re so simple to make, and easy to grab and go in the morning. There is no cooking when it comes to “ONOs,” or “OIAJ” (oats in a jar) just combine everything, mix it up, and let it soak overnight while you get your beauty sleep! Then come morning time, you can quickly grab your jar of fully prepped oats amid the morning madness and eat them on your way to work or while getting ready. There is no excuse for skipping breakfast when it’s already prepared for you! I loveeee eating them cold, right out of the fridge.
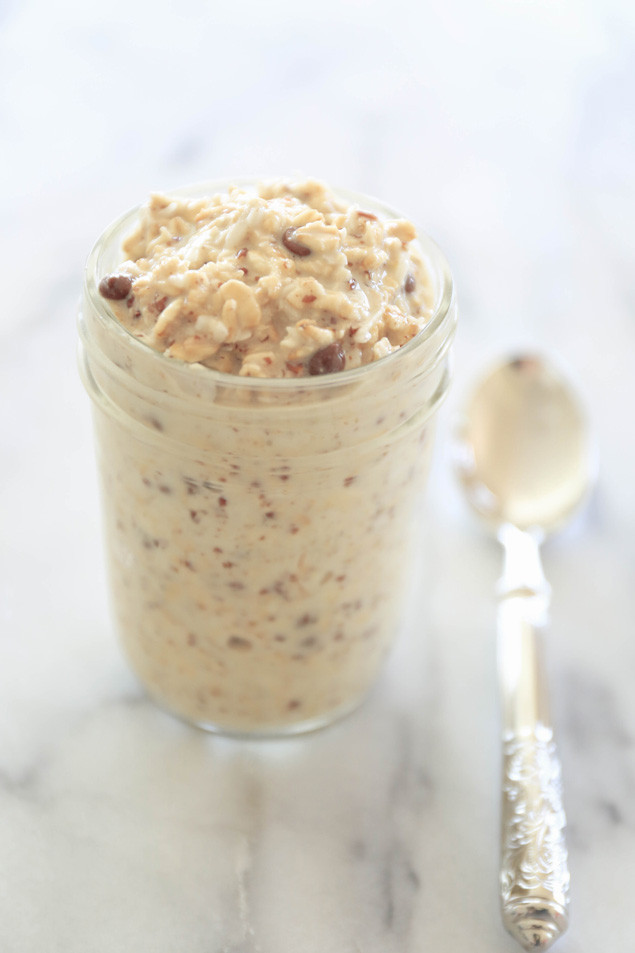
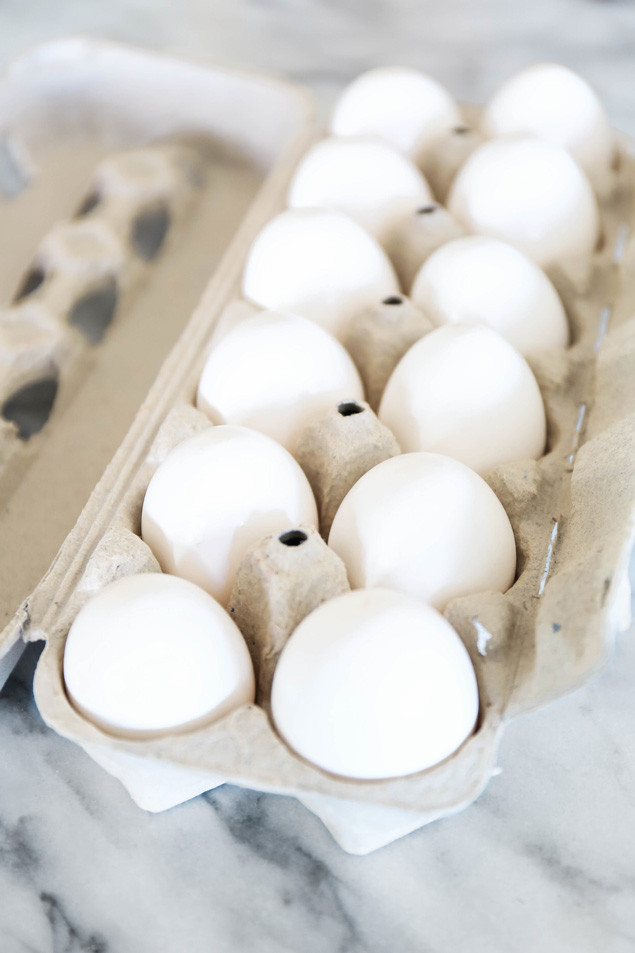
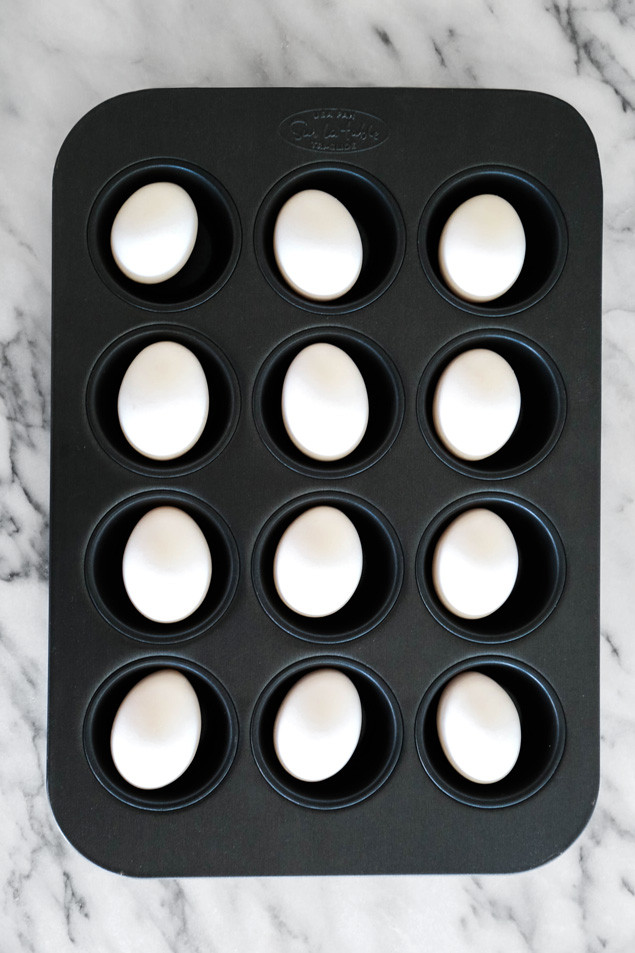

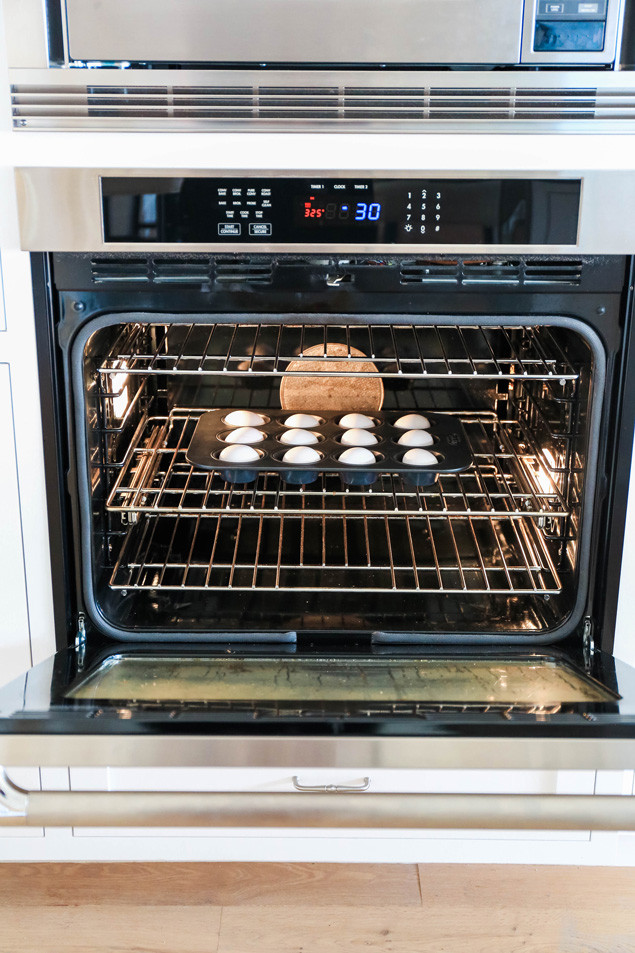
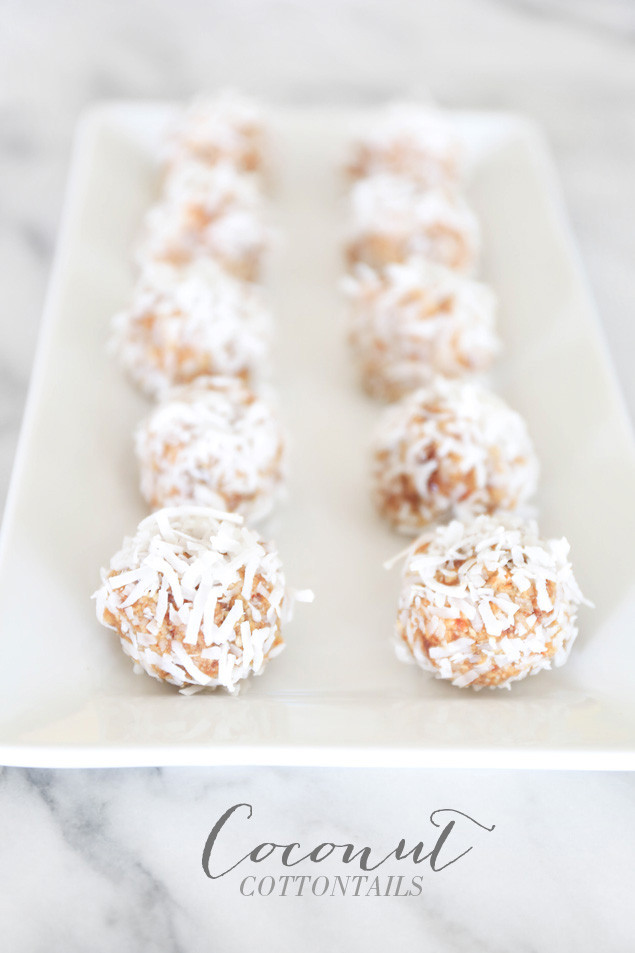 I cannot believe Easter is this weekend! This year is going to go by so fast. Sorry for the lack of posts, bunnies! I am the maid of honor in my best friend’s wedding on May 2nd and I threw her a bridal shower last Sunday (a DIY from the shower coming this week)! On top of throwing the shower, I also had two house guests here from out of state so everything was a little hectic! I have seriously been dying to make more YouTube videos! I already have an absurd list of things I want to film for you guys and I cannot wait! For now, enjoy this super cute healthy Easter recipe!