Fashion

Fashion

Restocking Shirts Soon!

Hoppy Monday Bunnies!

 Motivation Monday: “If you change nothing, nothing will change.”

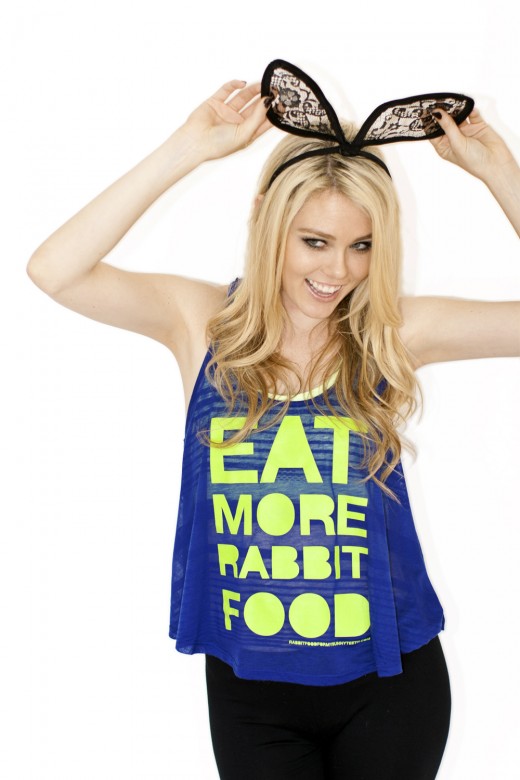
I have been getting tons of emails regarding Eat More Rabbit Food shirts!
Since I have received a lot of the same questions I thought I would finally take to my blog to answer them all at once!

Catherine Eat More Rabbit Food Shirts
But before I do, I wanted to say thank you to everyone who bought a shirt! I’m so happy you love them as much as I do! I am obsessed with all of your Instagram and Twitter photos in your RFFMBT shirts!

When will there be more shirts for sale?
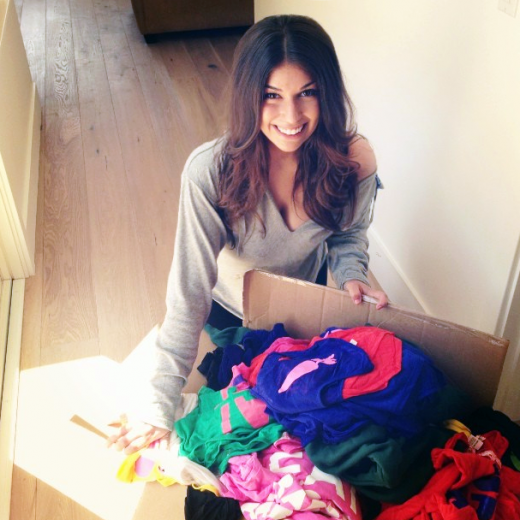
I am dropping them off to be printed today! That means I should be getting the finished shirts back sometime next week. Then I need to photograph them on my gorg bunny model Brett, and get them listed in my online shop! Expect new shirts in a couple of weeks!

Why don’t you offer exchanges?
As you may have noticed, the shirts sell really fast (because my bunnies are the best!). By the time you receive yours and want a n exchange, they may be completely sold out and I won’t have any in stock to exchange with you!

Will you sell men’s shirts?
Ohhhhh yeahhhhh!

Why is International shipping so expensive?
I use flat rate shipping since US shipping prices keep going up! I’m trying to find a more affordable way to get shirts to my international bunnies!

If you have any issues with a shirt when it arrives (such as physical damage to the garment) please contact me via my online shop and I will do my best to find a solution!

I just used so many exclamation points!
Because you guys make me so happy!!!!!!!!!!

Eat More Rabbit Food Shirt 1
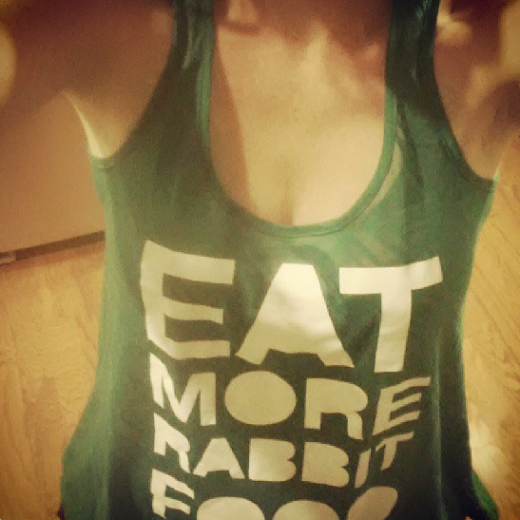
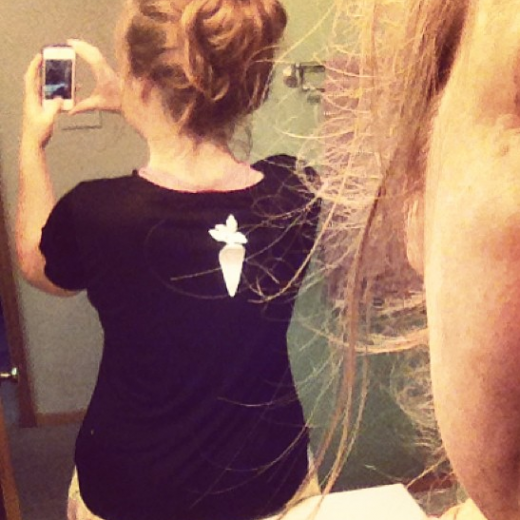
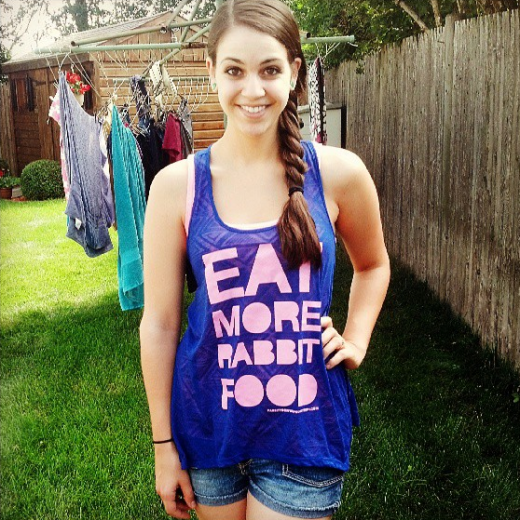
@nlator17 via Instagram

Eat More Rabbit Food Shirt 3
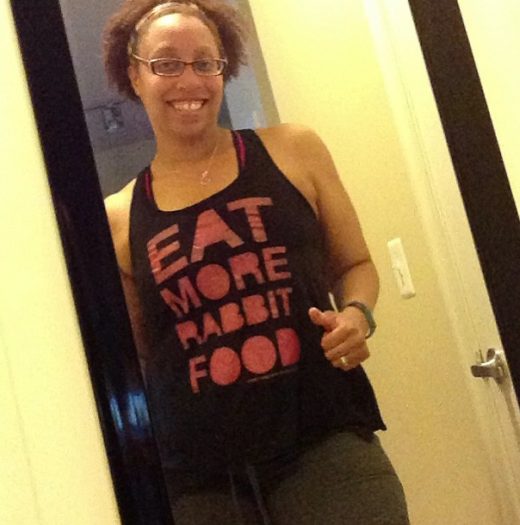
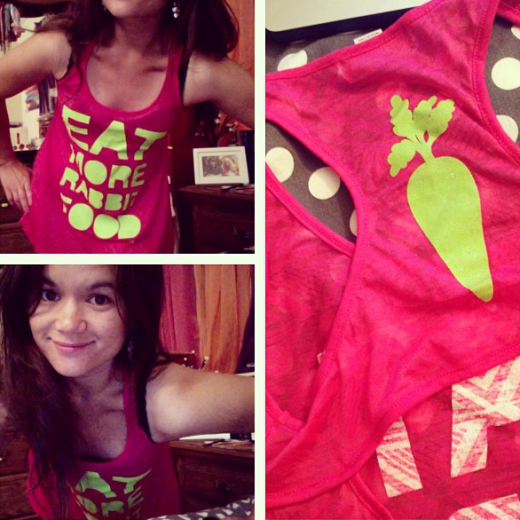
@dearbarbz via Instagram

Eat More Rabbit Food Shirt 4
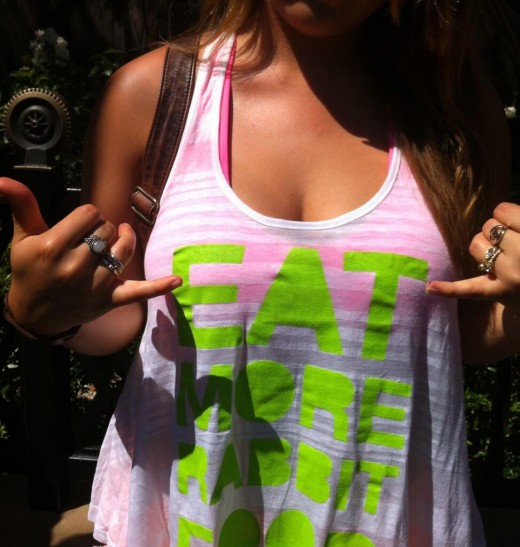
@beckysue84 via Instagram

Eat More Rabbit Food Shirt 6
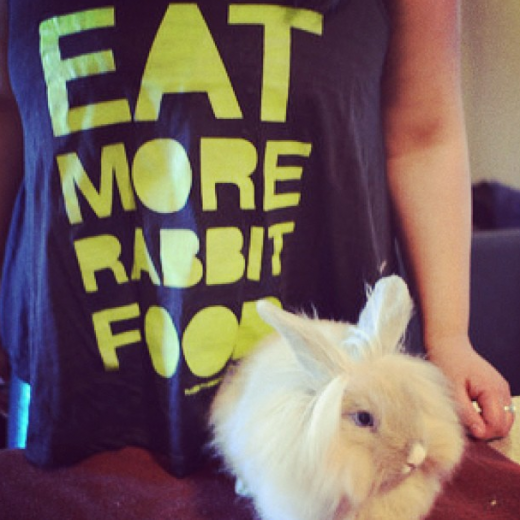
@elenanevarez via instagram

Eat More Rabbit Food Shirt 5@kbrooksfit via Instagram

Eat More Rabbit Food Shirt 8@simplyyshane_ via Twitter

Eat More Rabbit Food Shirt 7@mapleandmochi via instagram

Eat More Rabbit Food Shirt 2@chefboyardeak via Instagram

I’m going to my second ever spin class tonight with my friends Taryn & Katelin, think happy thoughts! I’m scared haha
Just keep pedaling, just keep pedaling, just keep pedaling, pedaling, pedaling.

Eat More Rabbit Food Shirts Are Back!

I’m excited to announce that my “EAT MORE RABBIT FOOD” shirts are back!
Head on over to the RFFMBT store to check out all of the new colors and styles as well as some other goodies! Get them while they’re hot!

Huge thank you to my gorgeous model Brett!
She’s the ultimate bunny babe!

Eat More Rabbit Food Shirt

Health & Happiness xo
Catherine

EAT MORE RABBIT FOOD SHIRTS!

I am sooo excited to announce that I have an official RFFMBT online store!
I have received thousands of emails about my “EAT MORE RABIT FOOD” shirts and after months of your guys asking, they are finally here!

The process took way longer than expected, but I wanted to find the perfect shirts that you guys would love. The process entailed a wholesale and sales license, designing, ordering and printing the shirts, and last but not least coding my online store, which was a little tricky! I am so excited to hear what you guys think!

“EAT MORE RABBIT FOOD” tops are available in both a Racerback and T-Shirt.
All shirts are constructed out of a super soft tri-blend fabric and made in the USA by American Apparel!

Hop on over to the official RFFMBT Store (check out the new “shop” tab!) for more details and prices!


What do you think about the new RFFMBT shirts?

DIY Workout Headband

Happy Fashion Friday, and welcome to my third Workout DIY!
If you’ve already made my DIY Workout Shirt and DIY Multi-Strand Scarf you can now complete your look with a DIY Workout Headband! Keep your bangs or little whispy hairs out of your face during an intense sweat session, or hit the yoga studio in style with this super cute five strand braided headband!

Who doesn’t’ want to be decked out from head to toe in homemade RFFMBT no-sew workout clothes?!
DIY Workout Headband
Makes one chic headband
You could make up to 3 headbands depending on the size of your shirt & amount of fabric left! 

Ingredients:
1 old T-shirt
1 pair of scissors
1 piece of tape
30 minutes

1. Start with a large T-shirt. Any old shirt will do! Seamless is a plus!

2. Cut off the bottom hem of the shirt. Then cut five 1in wide strips horizontally across the shirt starting from the bottom. You can use a ruler to guide a straight line across the shirt, but don’t worry if they aren’t perfect.

3. Set the bottom hem aside. Stretch all of the remaining strips until they become long, and the raw edges start to roll inwards.

4. Cut the five strands in half so they become long strands (instead of circles).

5. Gather the five strands, and secure them onto a hard surface with tape. This will make it easier for you to braid. Take the outside left strand and place it one over to the right.

6. Take the middle strand and place it one over to the left.

7.  Take the outside right strand and place it one over to the left.

8. Take the middle strand and place it one over to the right.

9.  Have you noticed the pattern? outside over one to the right, middle over one to the left, outside over one to the left, middle over one to the right … work from the left three strands, to the right 3 strands. Keep repeating these steps (9-12 are the same as 5-8)! Take the outside left strand and place it one over to the right.

10. Take the middle strand and place it one over to the left.

11.  Take the outside right strand and place it one over to the left.

12. Take the middle strand and place it one over to the right.

13. Once you have finished braiding, trim the headband to fit your head, leaving about an inch on each end for knotting.

14. Start by double knotting one strand from each end of the braid together.

15. Match each end with another strand from the opposite end and double knot.

16. Trim the ends off of the double knots, and you’re done!

Tadaaaa! A chic headband for your next workout! You could even make 2 or 3 headbands out of one shirt, woo!
Post or email your photos if you make a headband! I can’t wait to see your creations! 

DIY Multi-Strand Scarf


I am a huge fan on no-sew projects from recycled clothing. If you were a fan of my no-sew DIY Workout Shirt, you will enjoy this one as well. Plus they will look très chic when worn together! Behold, a scarf that is perfectly lightweight and easy-to-wear to your Yoga or Bar Method class and stylish enough for running errands around town!
Oh, and did I mention there is no sewing required?!

DIY Multi-Strand Scarf
Makes one stylish scarf

Ingredients:
1 old T-shirt (the bigger the better)
1 pair of scissors
1 ruler
10 minutes


1. Start with a large T-shirt. Any old shirt will do! Seamless is a plus!

2. Cut off the bottom hem of the shirt. Then cut 1in – 2in wide strips horizontally across the shirt from bottom to armpit. You can cut as many strips as you would like (I liked my thick strips the most). The more strips, the more strands your scarf will have. You can use a ruler to guide a straight line across the shirt, but don’t worry if they aren’t perfect.

3. Set the bottom hem aside. Stretch all of the remaining strips until they become long, and the raw edges start to roll inwards.

4. Cut one end of the bottom hemline so it becomes a string.

5. Using the strip of bottom hemline, knot it around the strands to secure them in place.

6. Wrap the strip a few inches around the center of the scarf, and back over to meet the other ends. Knot the ends together tightly.

7.  Trim the loose ends and tuck the knot underneath the wrapped fabric.

Viola, a stylish scarf to wear to yoga! Wear it long or bundle it up, it’s super fun and easy-to-wear!
Post or email your photos if you make a scarf! I can’t wait to see your creations!


1 2 3 4